Bog oak coffee table (Finished.....photo heavy).

UKworkshop.co.uk

Help Support UKworkshop.co.uk:

This site may earn a commission from merchant affiliate links, including eBay, Amazon, and others.
Orraloon":28f5zgc5 said:
I like the handle that looks like a leather strap. Hope you don't mind if I copy that one day.
Regards
John

Not in the least! Sincerest form of flattery and all that.

The decision here is to do the black strap with brass dome-headed screws, and to loose-fit the cross straps over those screws to see if we like them.
 
Me too. The strap handle is a nice interesting feature. The cross bits are a step too far and detract from the lines. I quite like the little pins though. Might even use two on a diagonal. Maybe.
 
Looking good Mike.

Nice to see someone else cooking up their own finishes too! I've got a thing for Danish oil at the moment, first coat flooded on (no faffing about, just get plenty on), second coat (bit more careful) and the third coat with a good glug of oil based varnish mixed into it.
 
I decided on a 2 stage glue up, firstly to de-stress the whole procedure, and secondly, to fit around meetings and work. So first thing this morning I quickly cut some grooves for buttons:

wCvwnI2.jpg


Then I glued up the two ends and the front drawer surround:

Gg8E6vJ.jpg


z18e5vY.jpg


I also pushed some really awful filler crudely into all the cracks on the underside of the table top, to prevent the resin mix running through:

3Squ0dW.jpg


Damn stuff wouldn't come out of the nozzle at all, so I cut the bottom open and took it from there,

That was phase one. Then this evening I did phase two, which were the two long sides (front and back), having de-clamped the ends:

BaAumQB.jpg


I also cleaned up the filler, leaving the table top ready for resin. I can't wait for that pleasure...
 
will1983":2vfzrrlf said:
........Nice to see someone else cooking up their own finishes too!........

There's a guy in Poland, I think, who has a business making expensive bog oak furniture, and he doesn't apply any finish at all normally. Now that I've worked with it a while I can understand why. The wood is naturally waxy. All he does is sand it an awful lot with a very fine grit, and it polishes up to a deep shine without the addition of any finish at all. It really is a very odd material.
 
I'm saving progress updates for one last post which will include the finished piece of furniture in situ, but I thought I'd drop this little hint here as a foretaste. Everything is now finished apart from the finish on the top, which I started tonight:

WovVEtT.jpg


How many days to christmas? Well, however many there are is how many coats of oil/ varnish/ white spirit mix it will have.
 
Oh no. Sorry to say, but that looks terrible! Why are you only finishing half the table top?


I'll get my coat... and make sure the door hits me several times on the way out ;) Looking forward to the final post Mike. Oh, and I'd call this a quick build if it were me.
 
Right, where were we? Ah yes.....

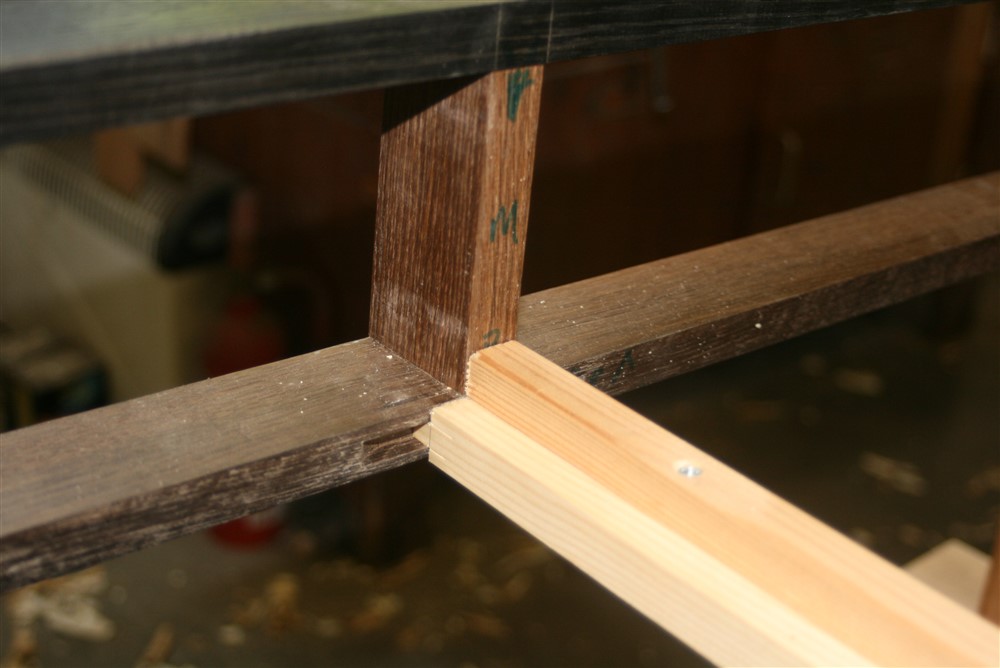
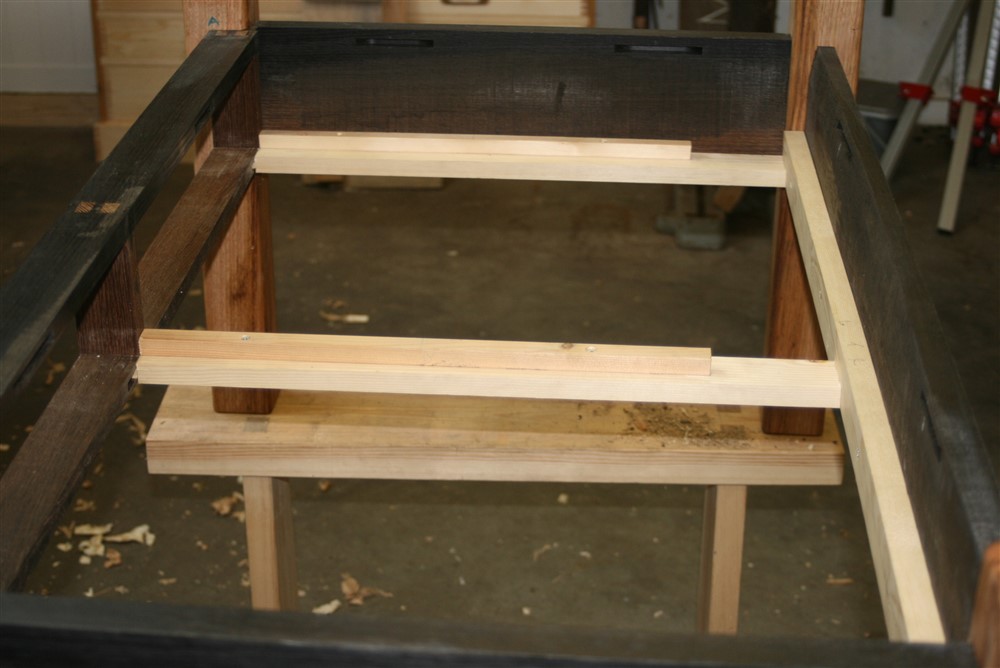
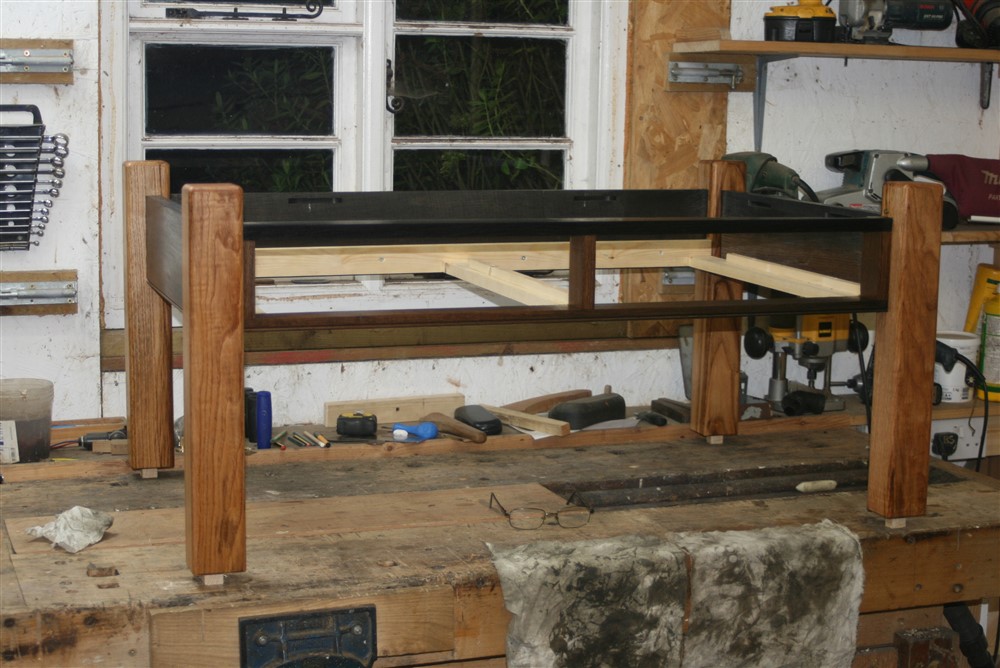
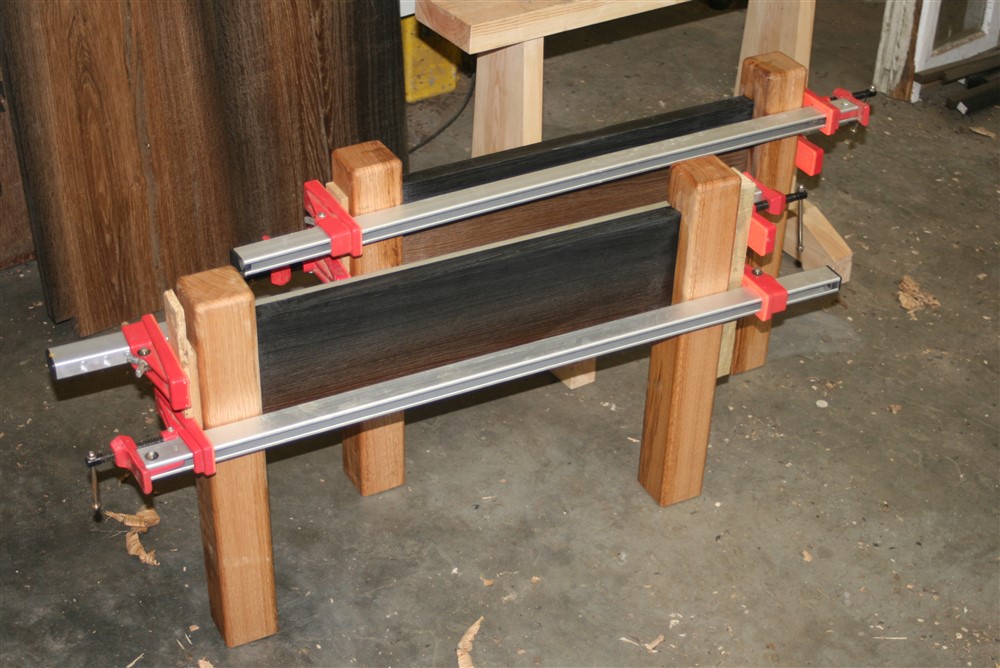
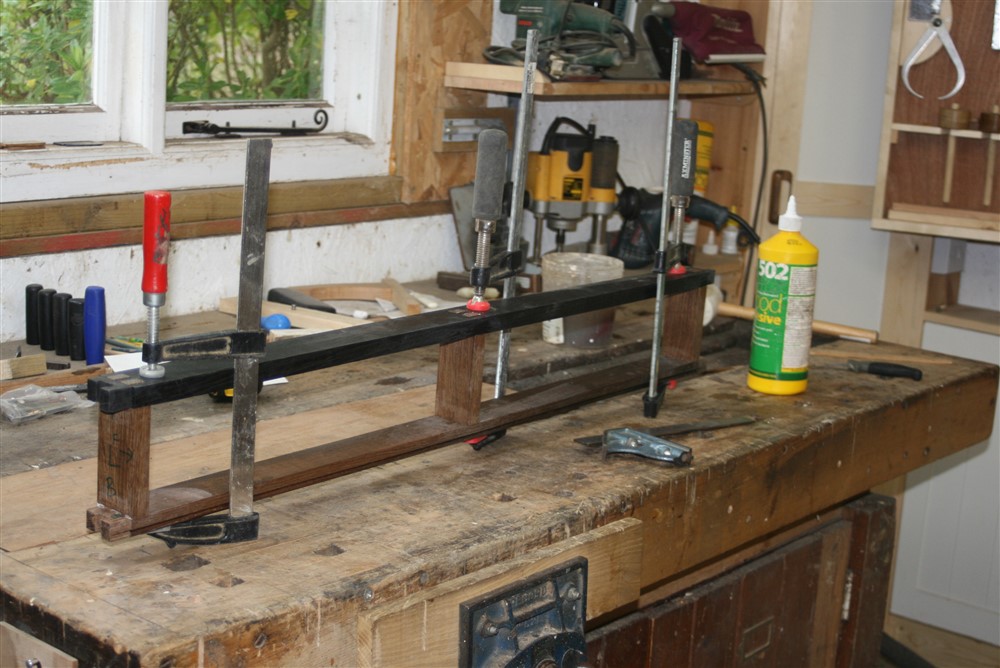
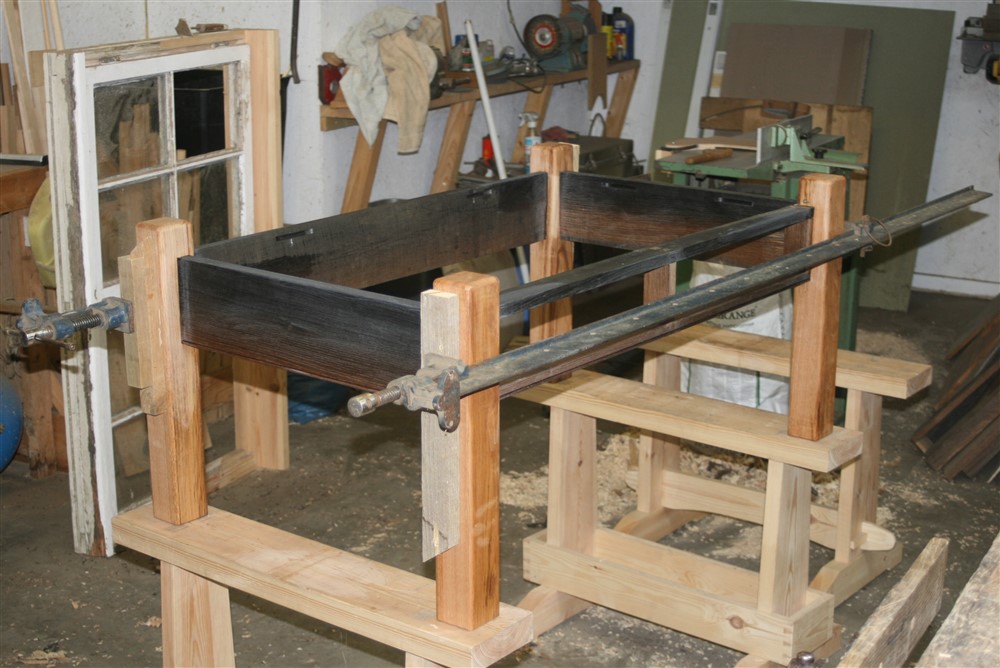
Having assembled the frame, I made a quick softwood frame for the drawer runners:

3ne8OaJ.jpg


FEsJgrI.jpg


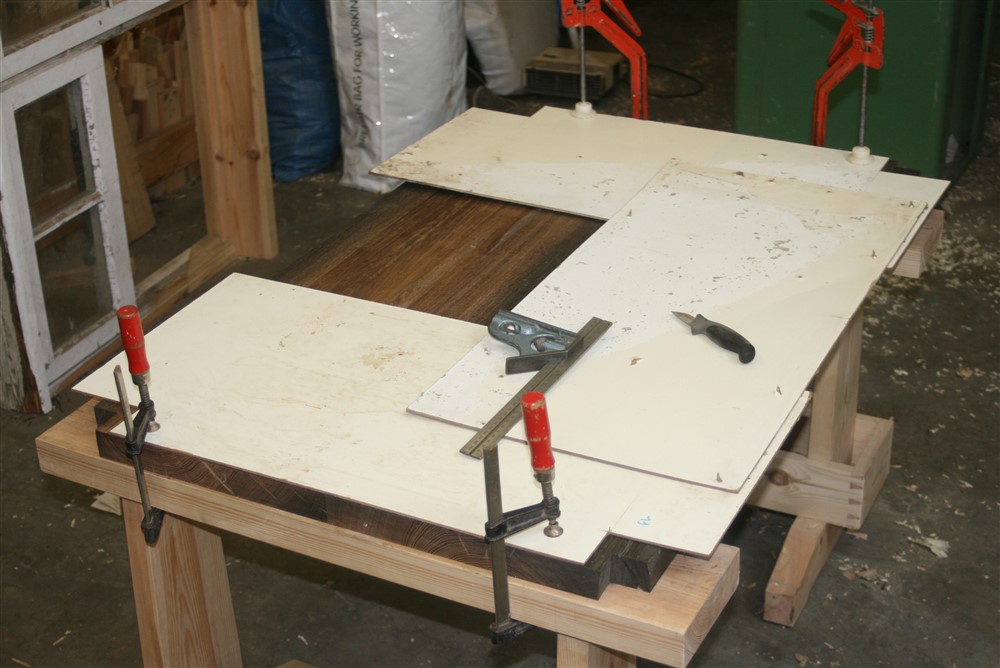
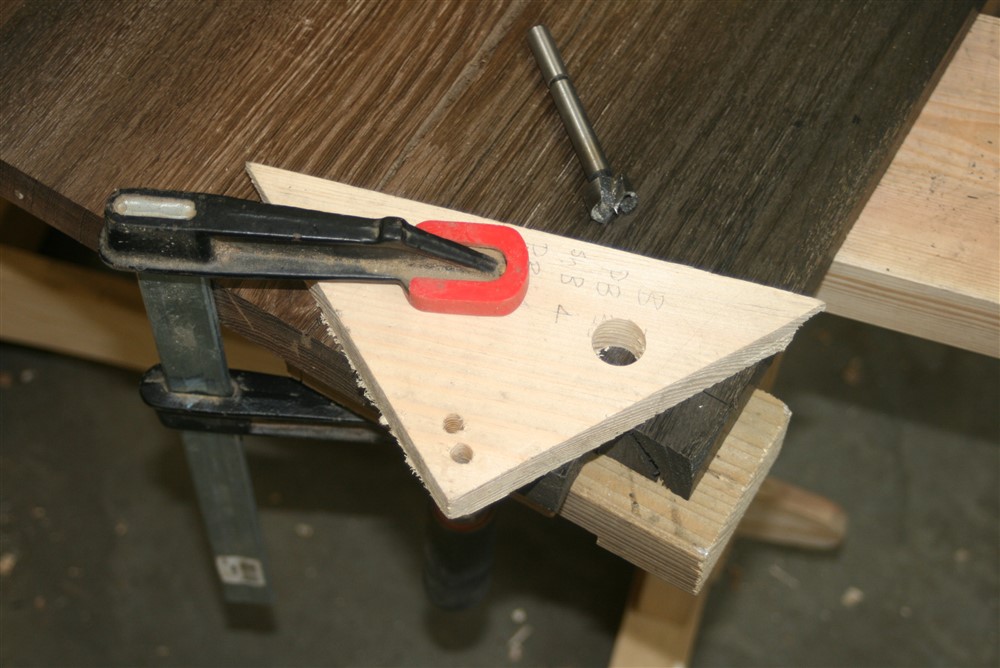
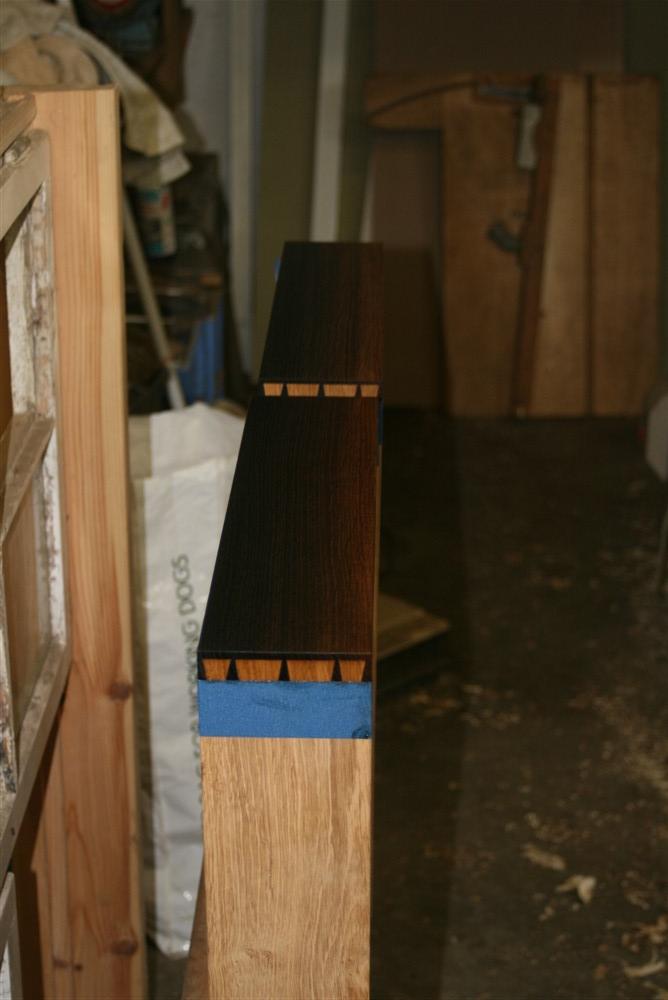
Time to take a few deep breaths and cut the table top to size. I never used to get nervous going out to bat in a crisis in front of 20,000 people and a TV audience, but I sure as hell get nervous with stuff like this. I thought about how I was going to do this days in advance. First job was to make a really accurate template:

Rc21HXn.jpg


5xJAq80.jpg


YOIBako.jpg


u21mvIC.jpg


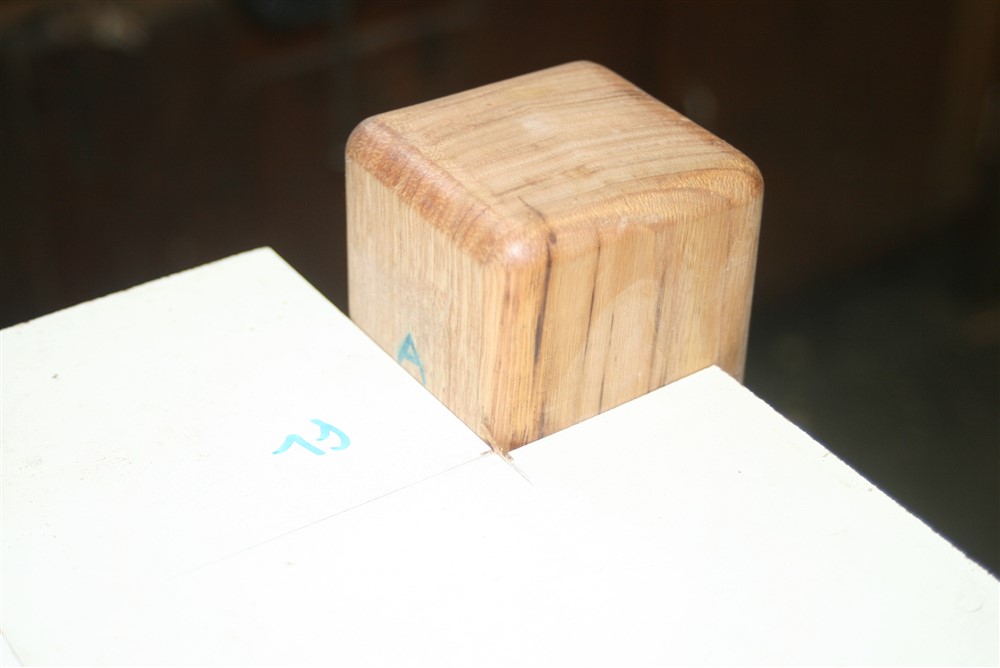
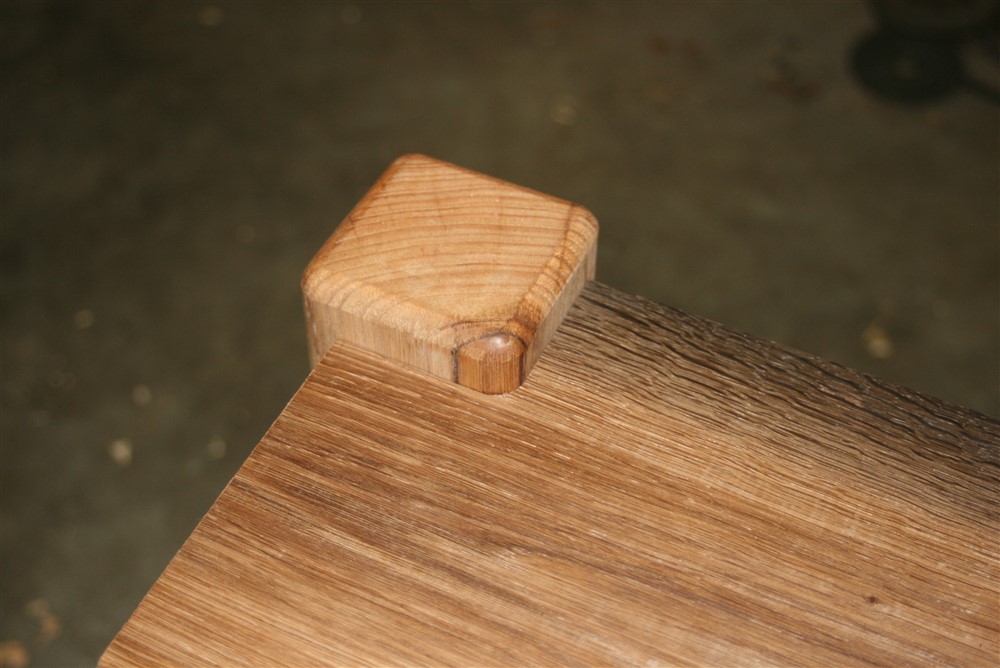
After placing the template in position on the table top, I used the appropriate sized forstner bit to locate the hole for the corner of the leg cut-outs. Remember, the legs have an aggressive round over:

9KlLdIa.jpg


I secured a guide in place (I can tell you this took ages, checking, re-checking, taking it apart and starting again....):

LP9vlbB.jpg


tK3JPhc.jpg


XmpvJjG.jpg


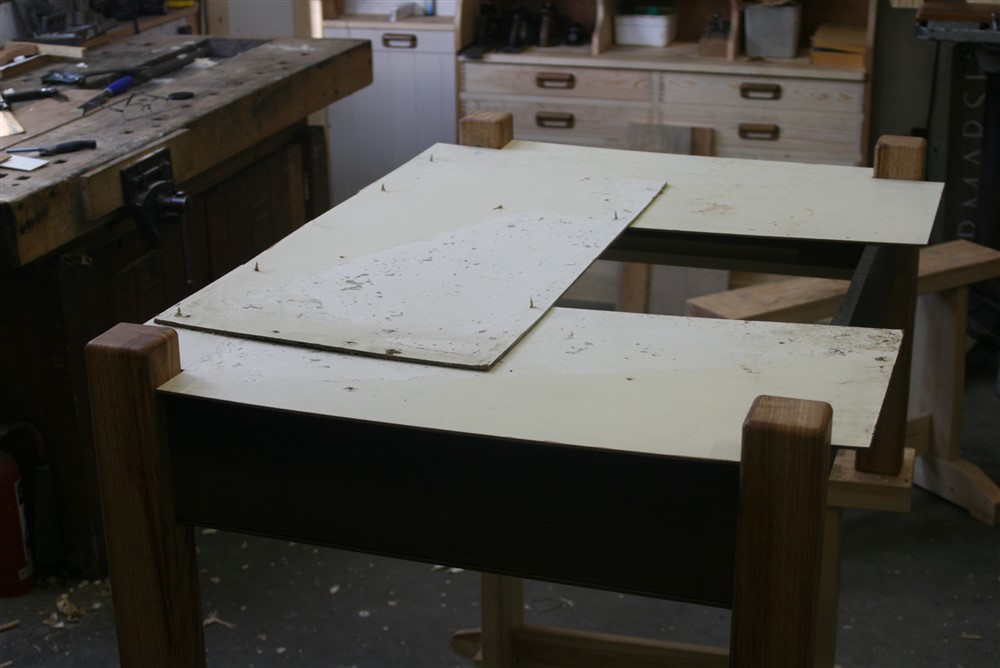
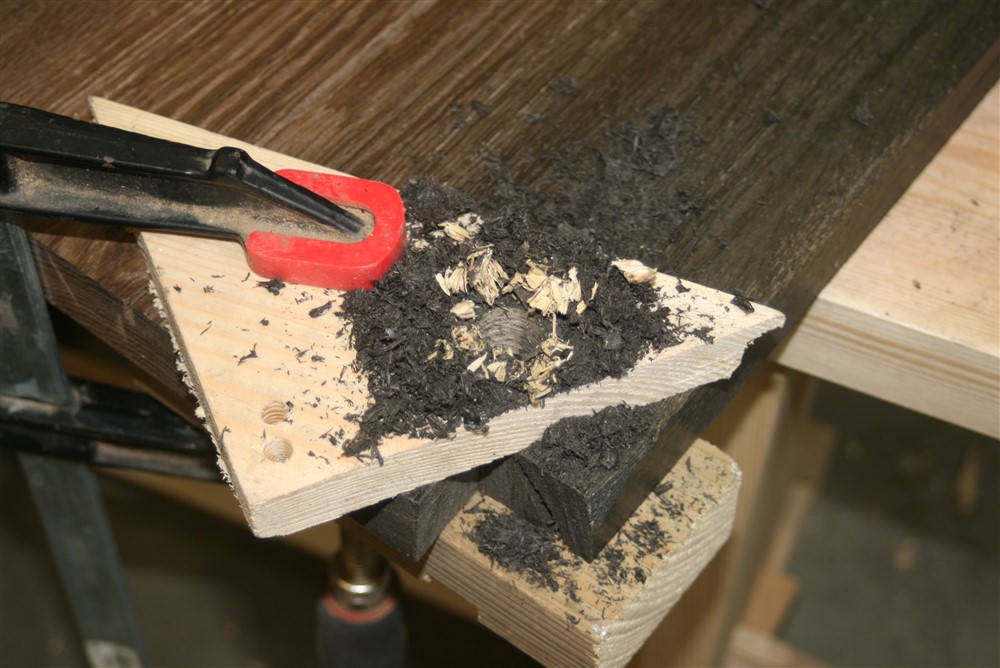
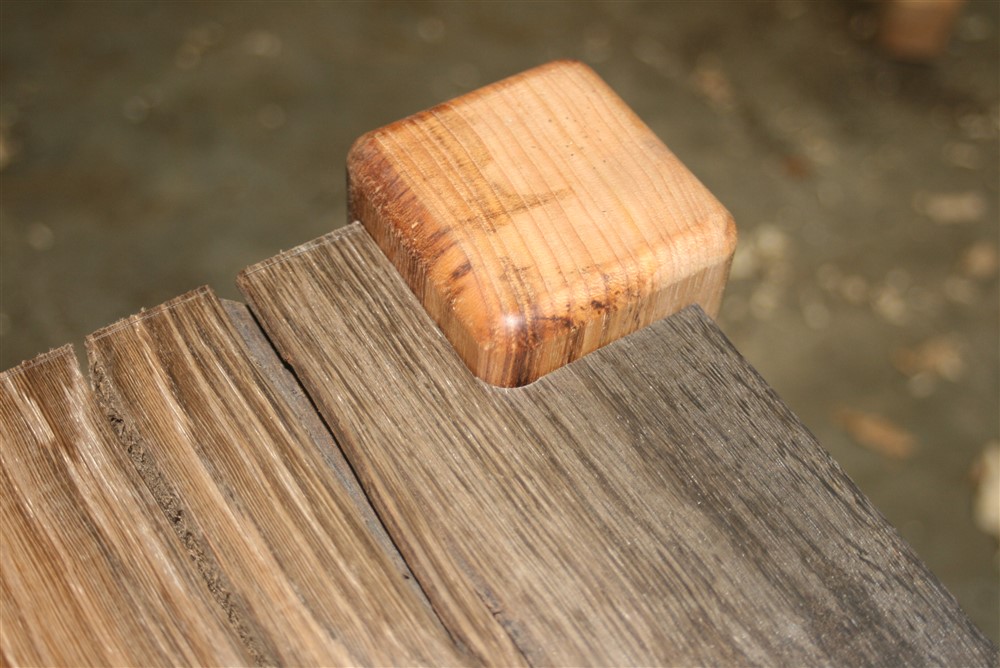
After completing the little straight cuts with a tenon saw (no photo), I did a trial fit. It dropped in first time......which isn't necessarily a good thing. However, three of the cut outs were absolutely perfect, and one was a gnat's slack. Much better than I hoped!! Phew:

ZPB5tZq.jpg


pGALyGE.jpg


This is the not-quite-perfect one:

ANWsT84.jpg


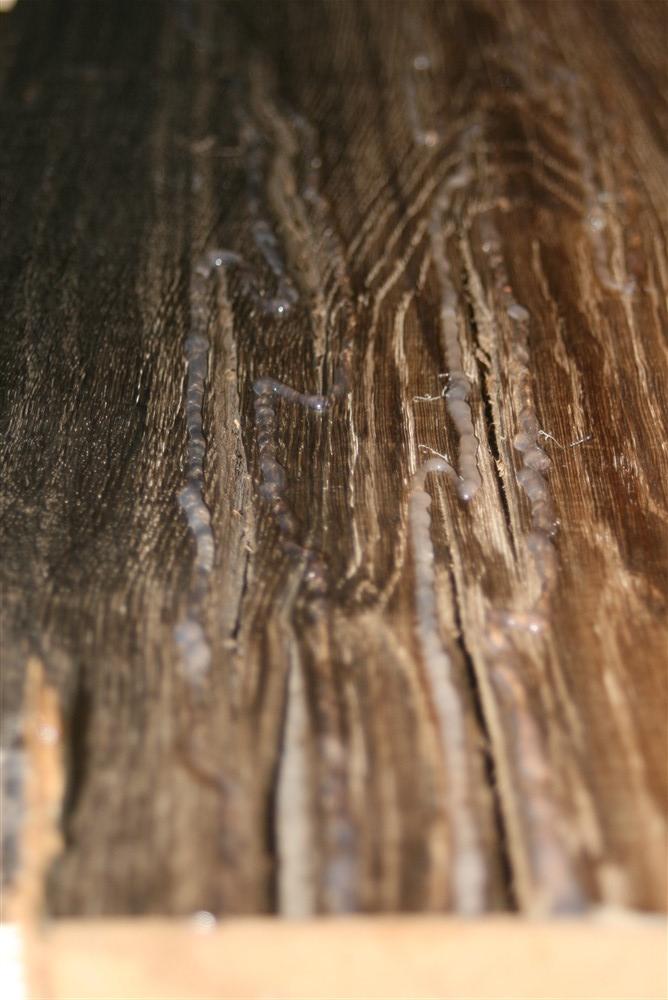
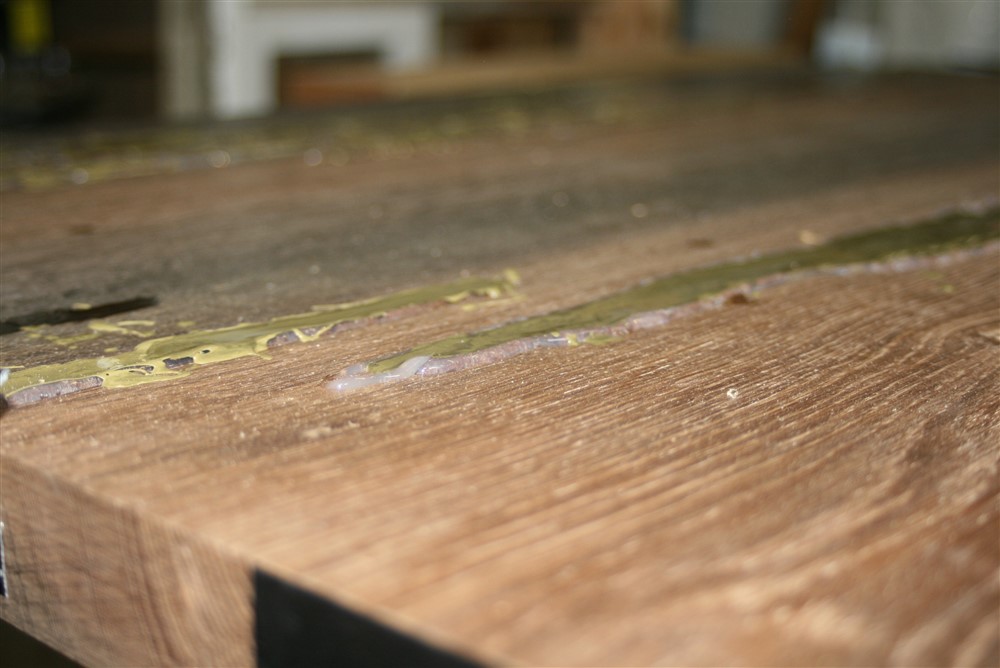
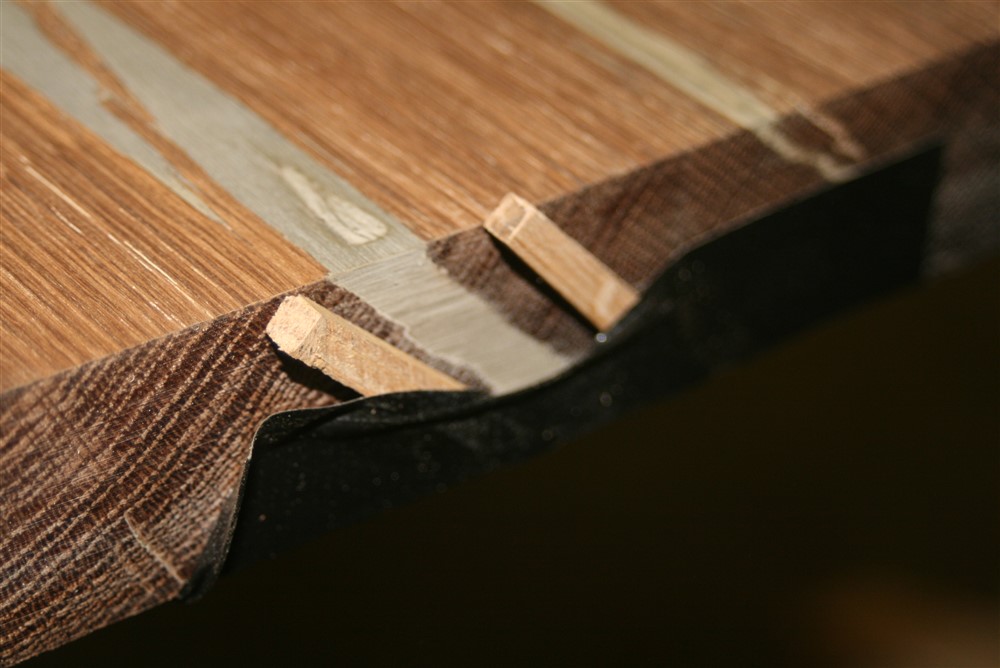
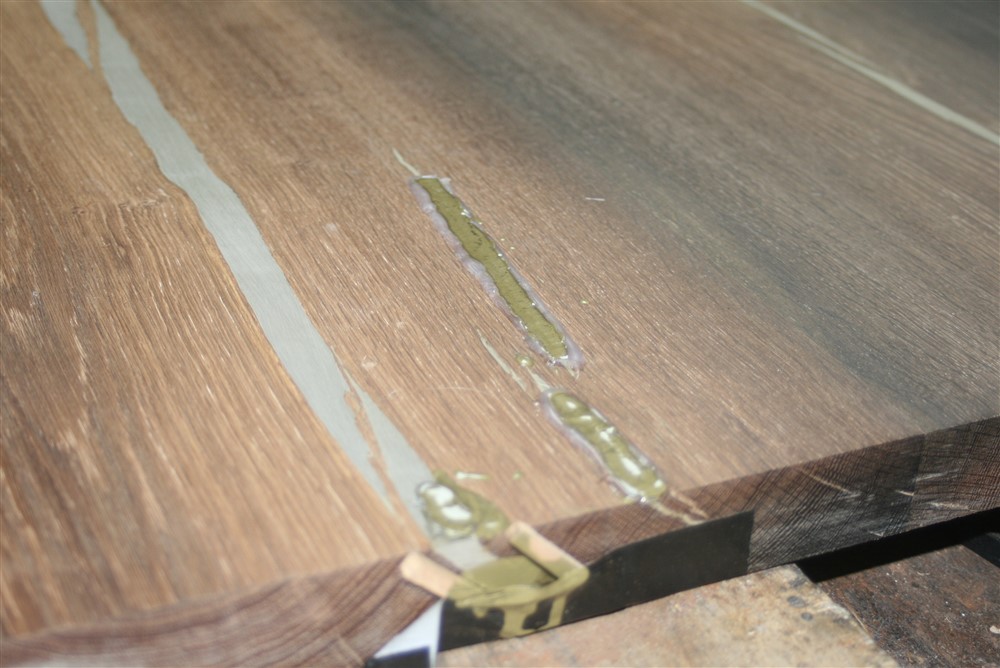
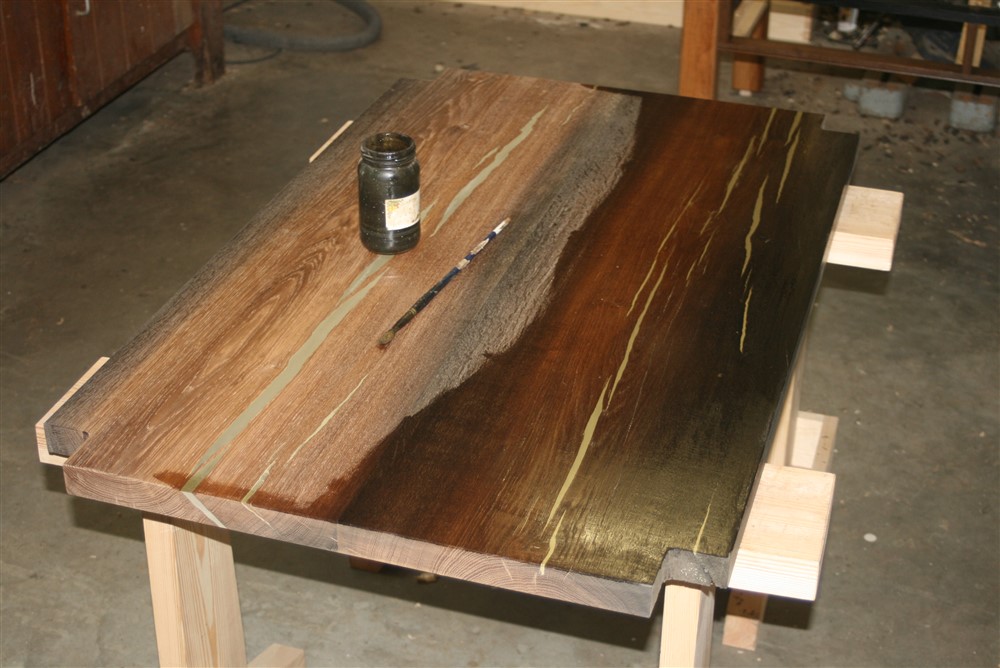
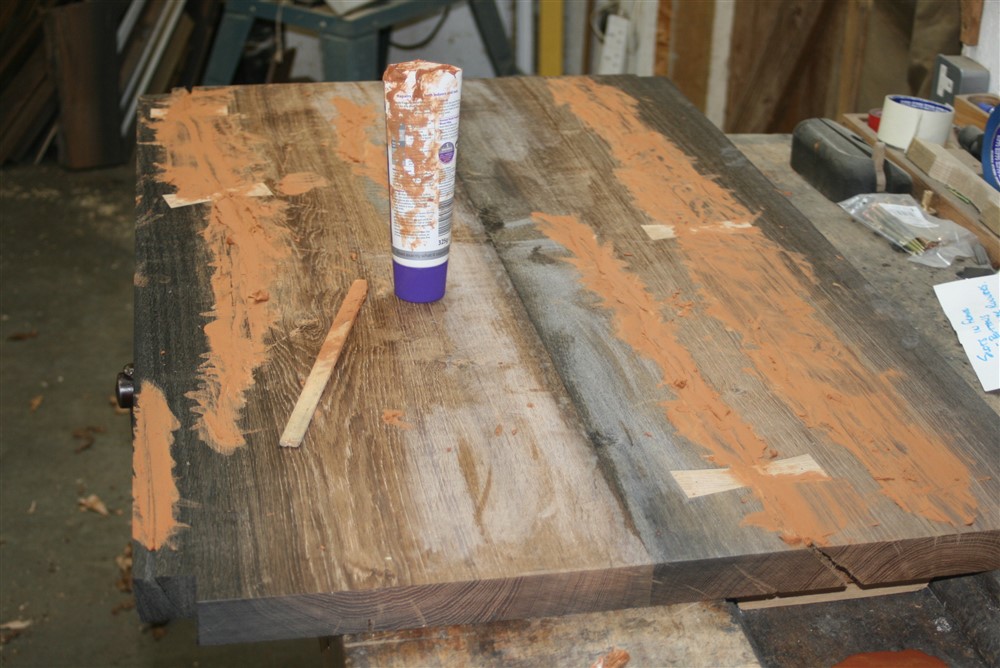
As if that wasn't enough to give me palpitations, next came the step which I'd been dreading from the moment I selected the timber: filling the top. First, I built little dam walls around all of the cracks with hot-melt glue:

vBjO4oX.jpg


5C6Sgty.jpg


I also taped up the ends of cracks where they showed on the end grain, or glued on some temporary dams of off-cuts of hardboard. Remember the cracks in the underside had already been filled with a cheap filler.

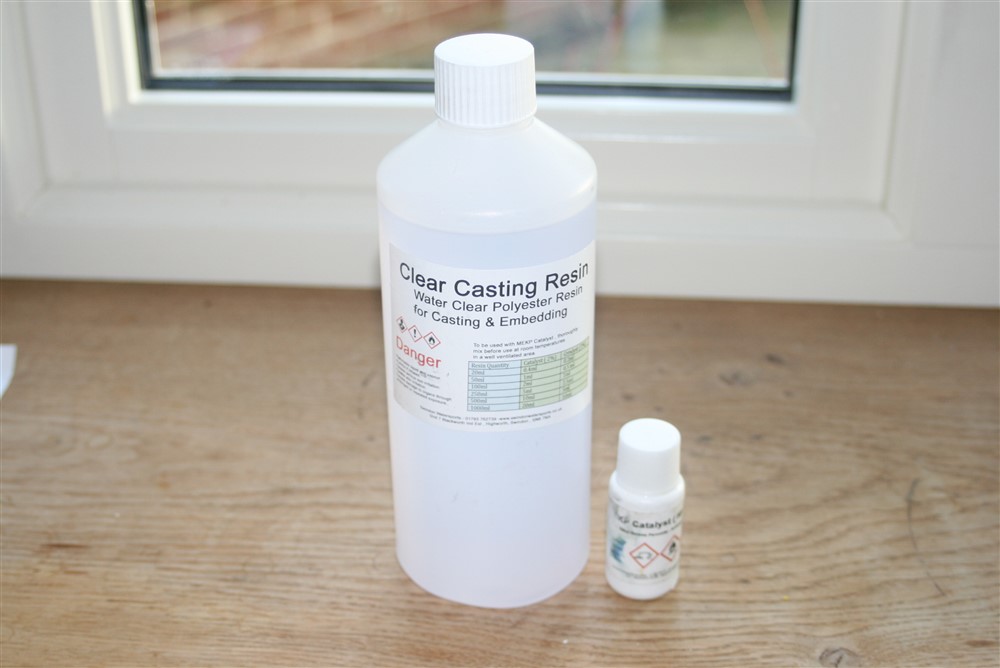
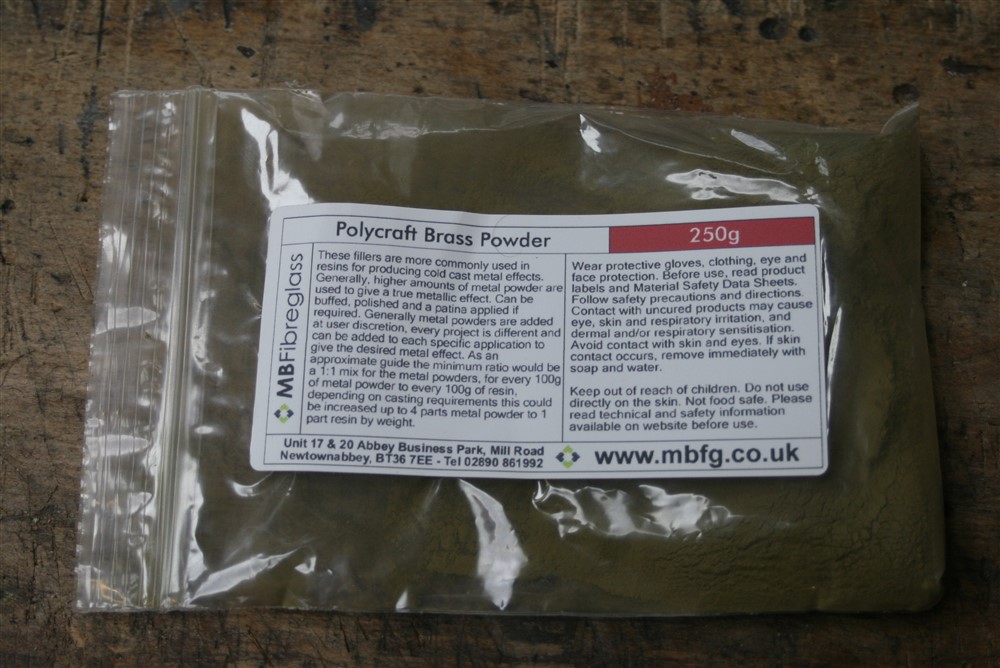
Then I mixed some of this:

yDGYzOB.jpg


...with some of this:

XdhZvtY.jpg


.........and trickled it into the cracks:

ll9AKXV.jpg


ZIKRx2a.jpg


4wC5oiH.jpg


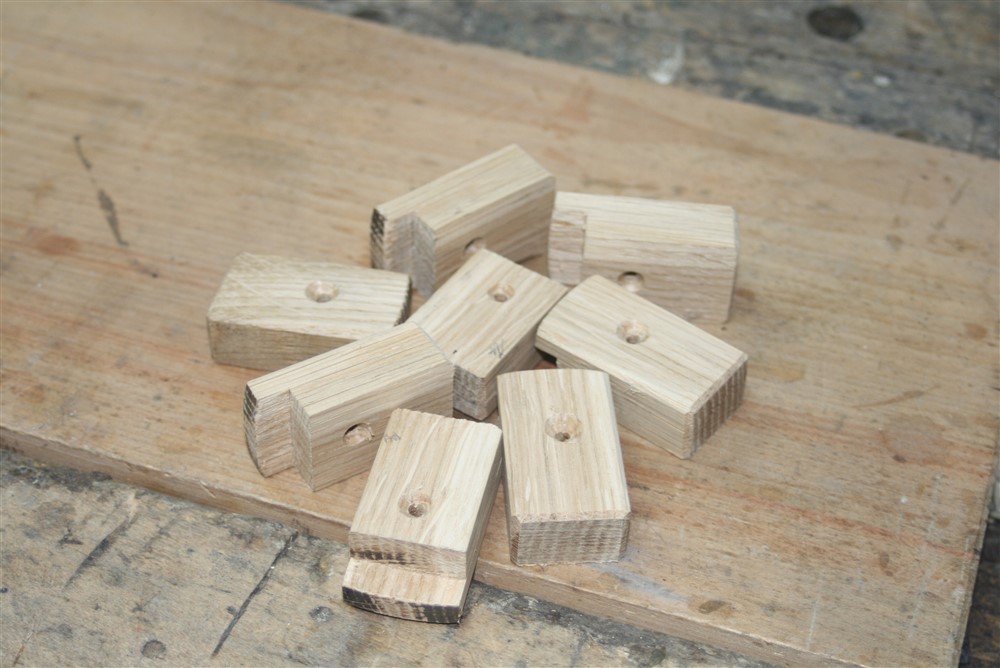
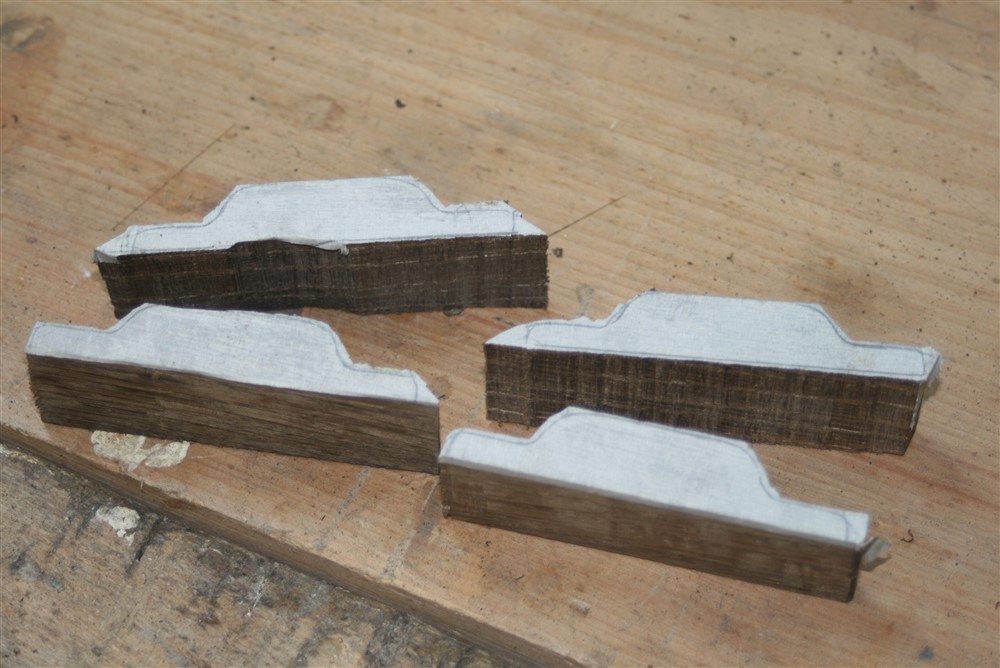
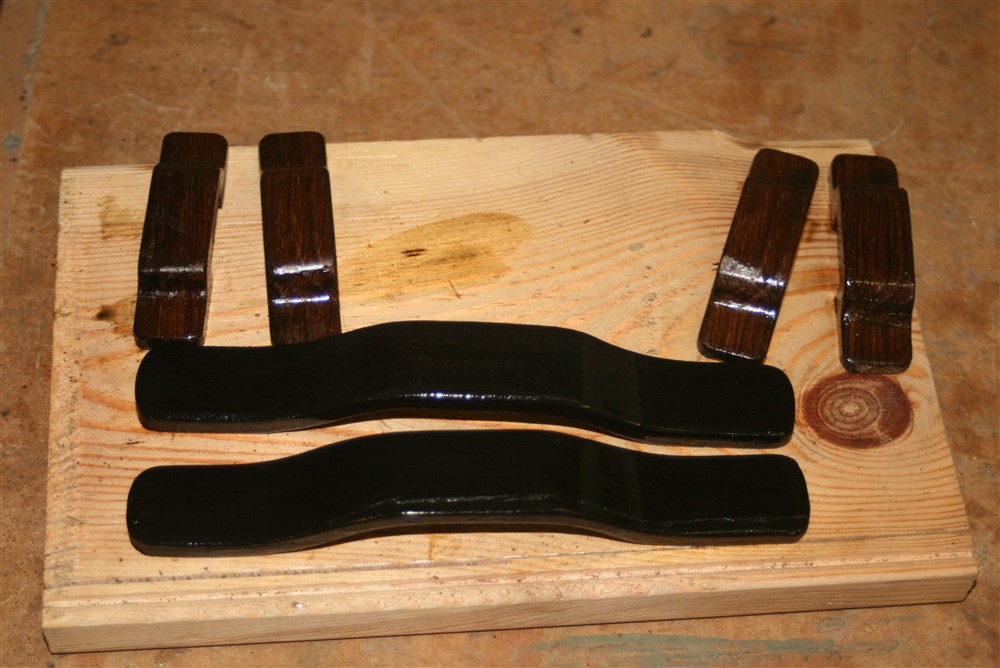
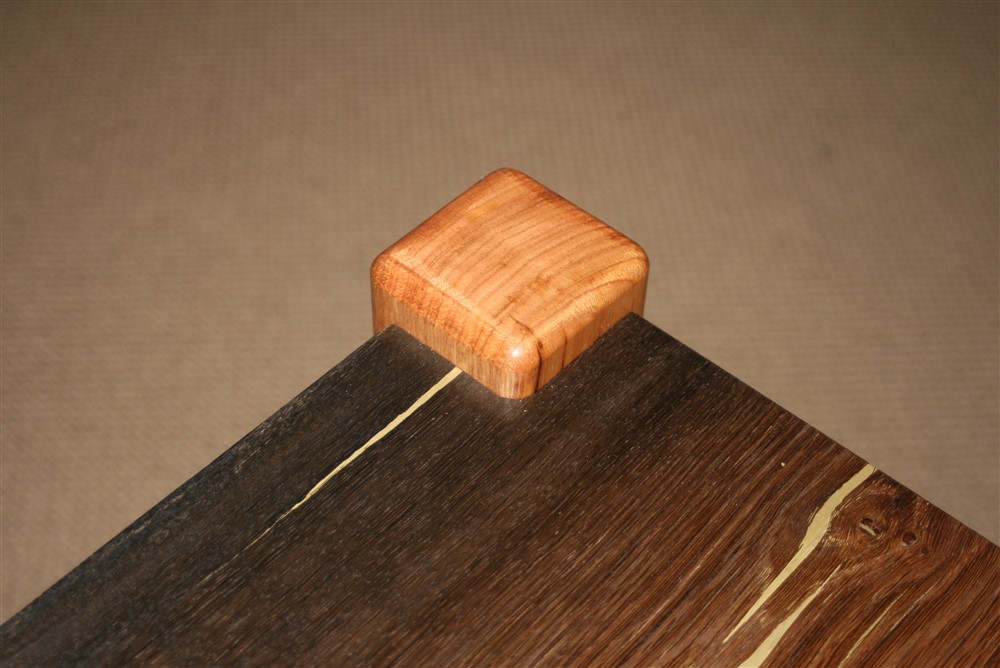
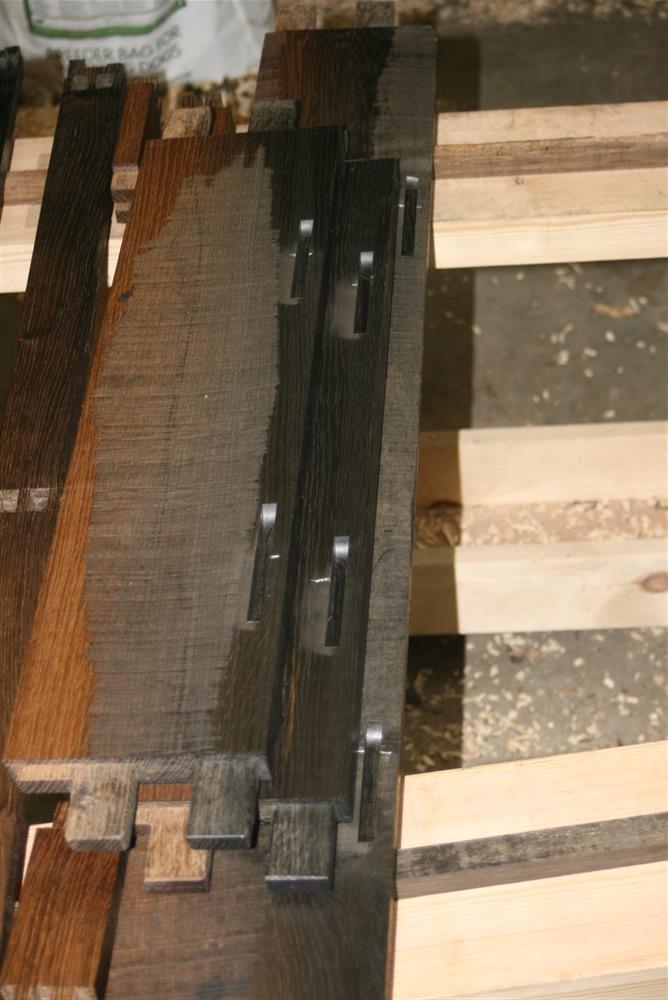
There's actually a little more to it than that. I did the bigger cracks in two pours, using just clear resin for the first bit, to within about 6 or 8 mm of the surface, then came back with the brass-filled resin the following day. Whilst that lot dried, I did secondary jobs such as making oak buttons:

vxHEGCW.jpg


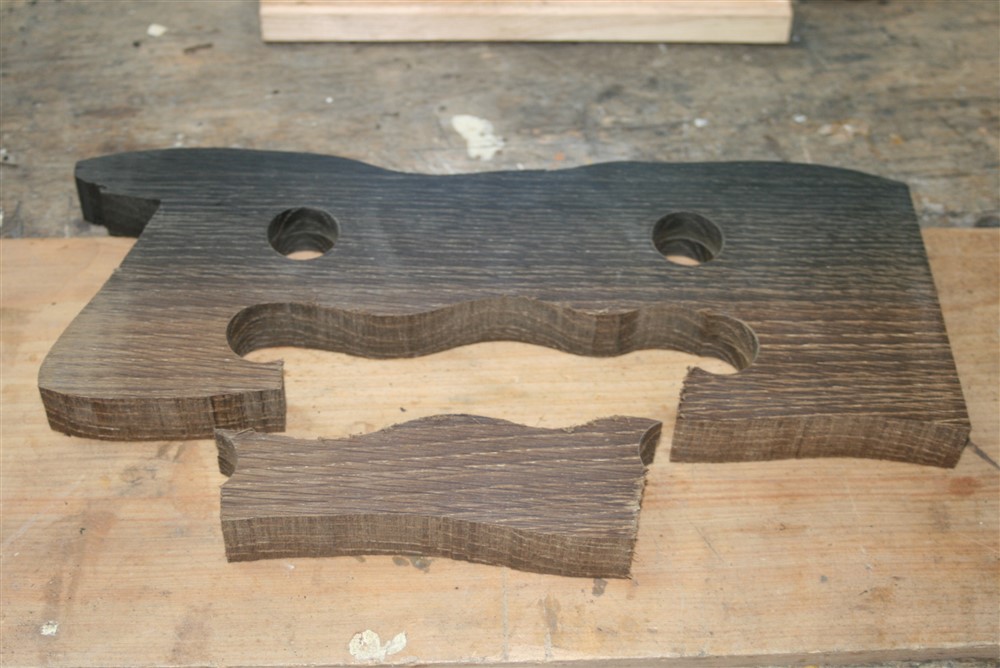
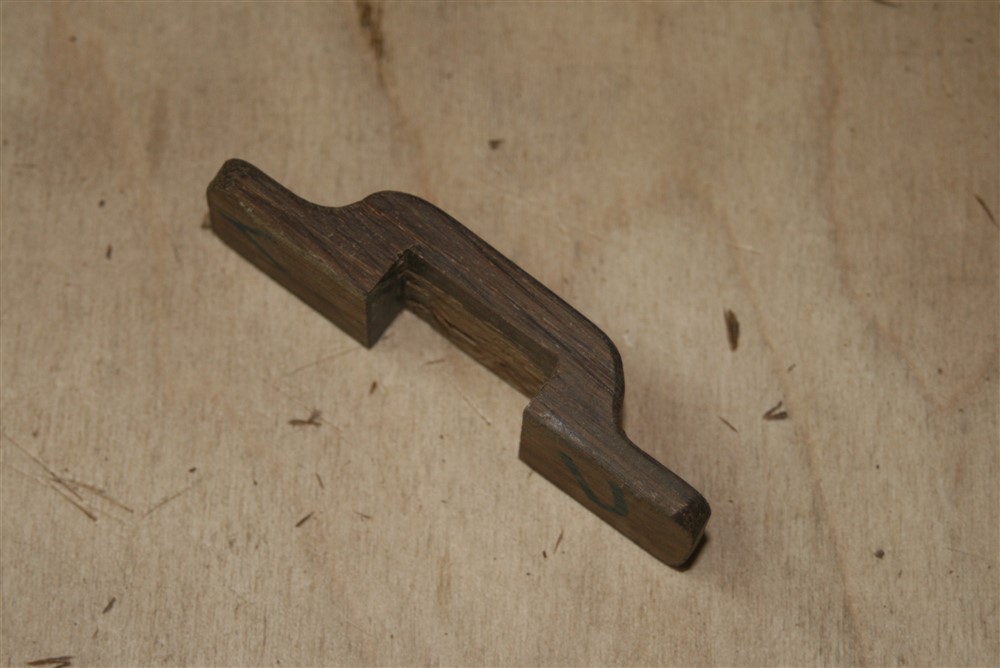
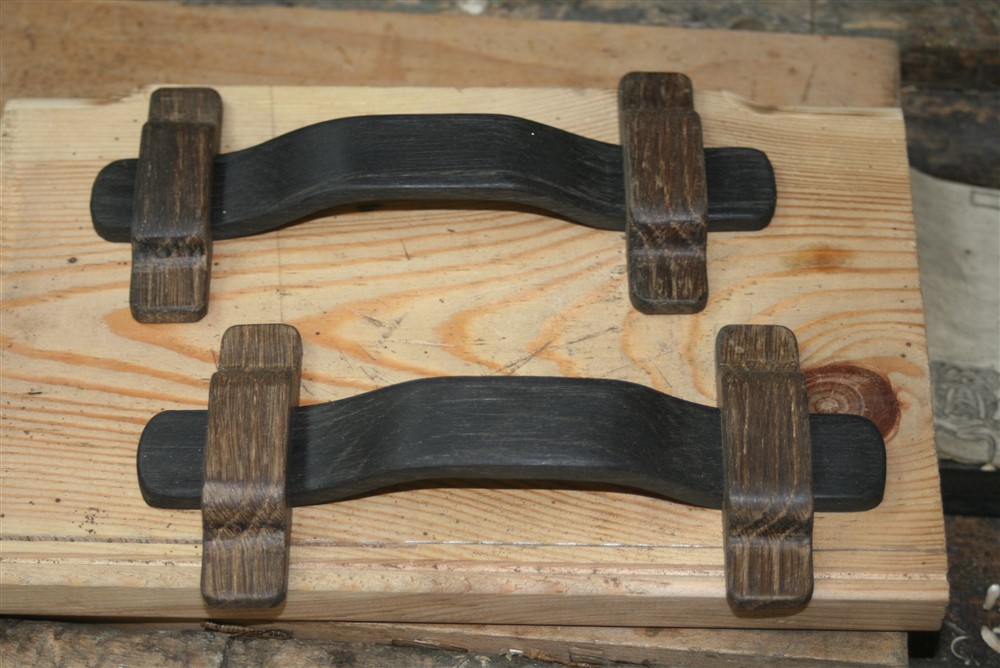
.......and the little strap thingies for the drawer handles:

431ejPN.jpg


hUrvCJv.jpg


I hate wasting this precious timber, and I couldn't find any dark brown amongst my off cuts, so I had to generate some from the middle of a board.......hence the saw handles.

EvfPOHq.jpg


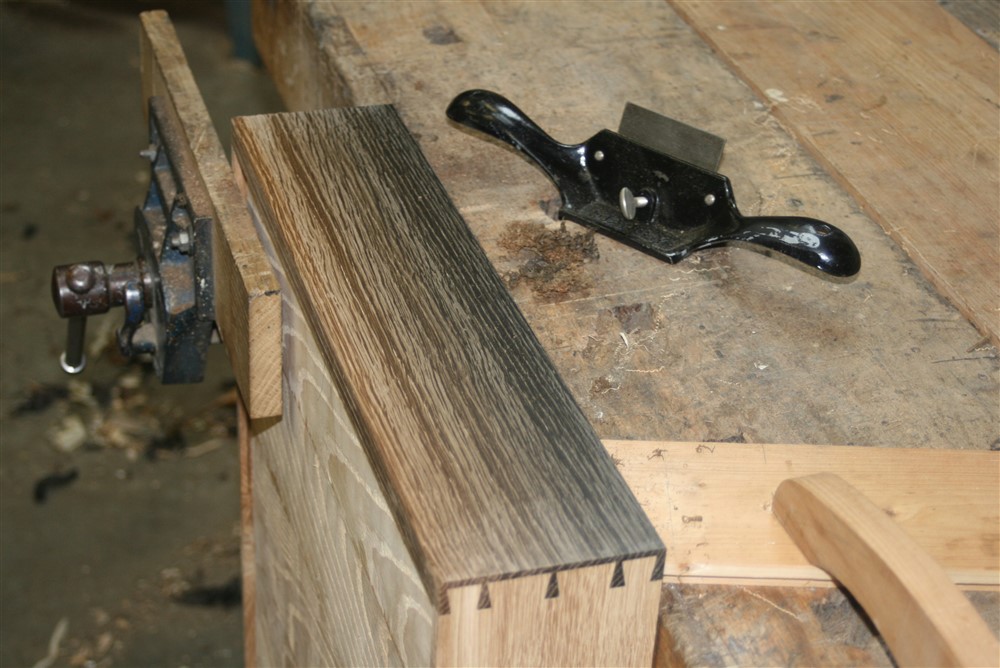
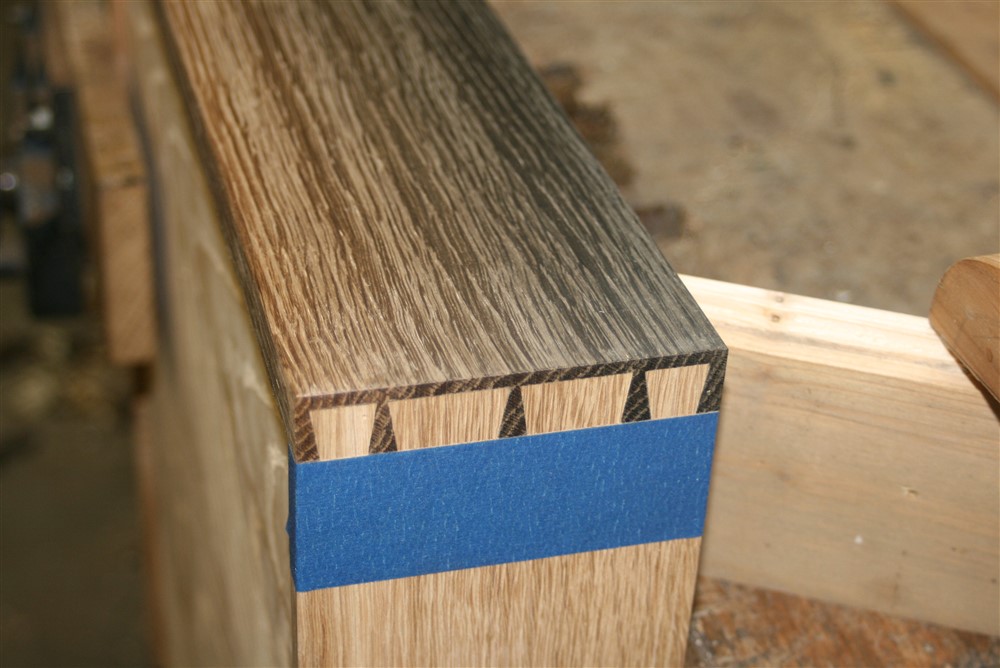
Marking out is such a pain on this dark wood, so once again.....masking tape.

nnARKQs.jpg


7KRNVWt.jpg


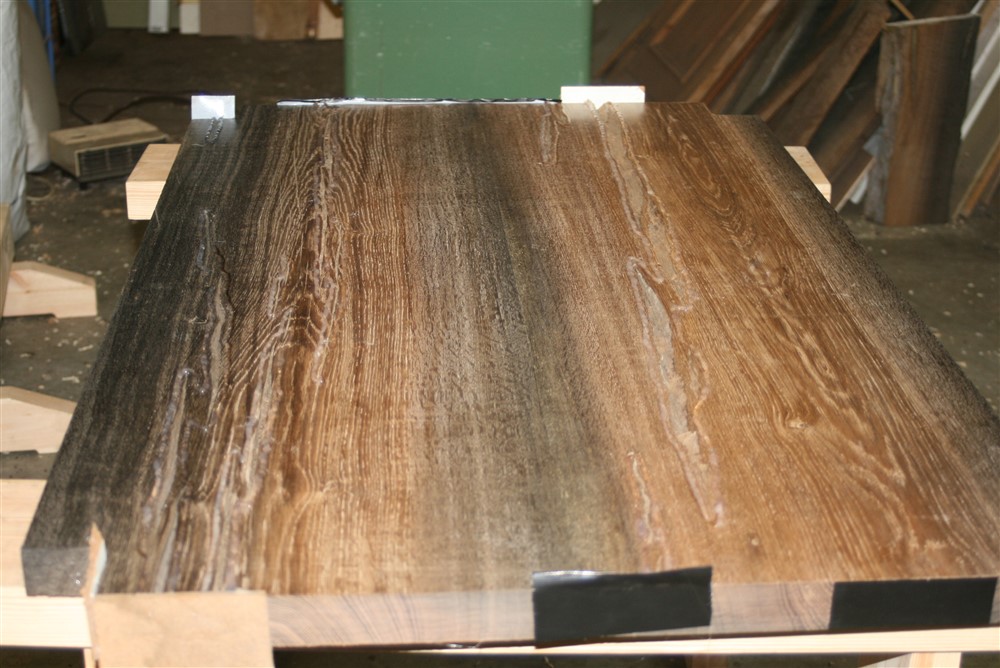
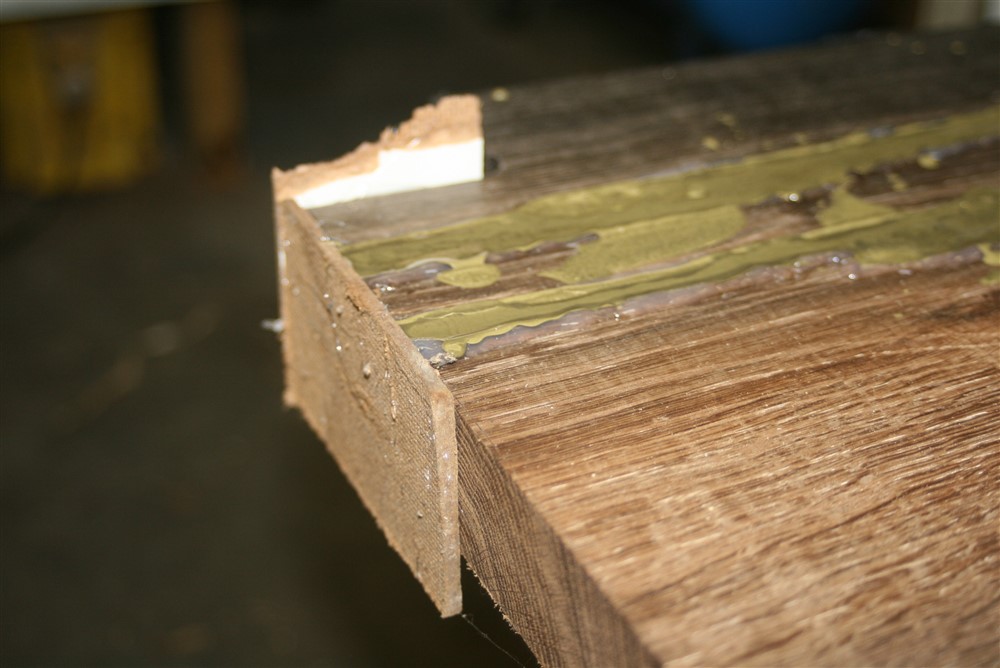
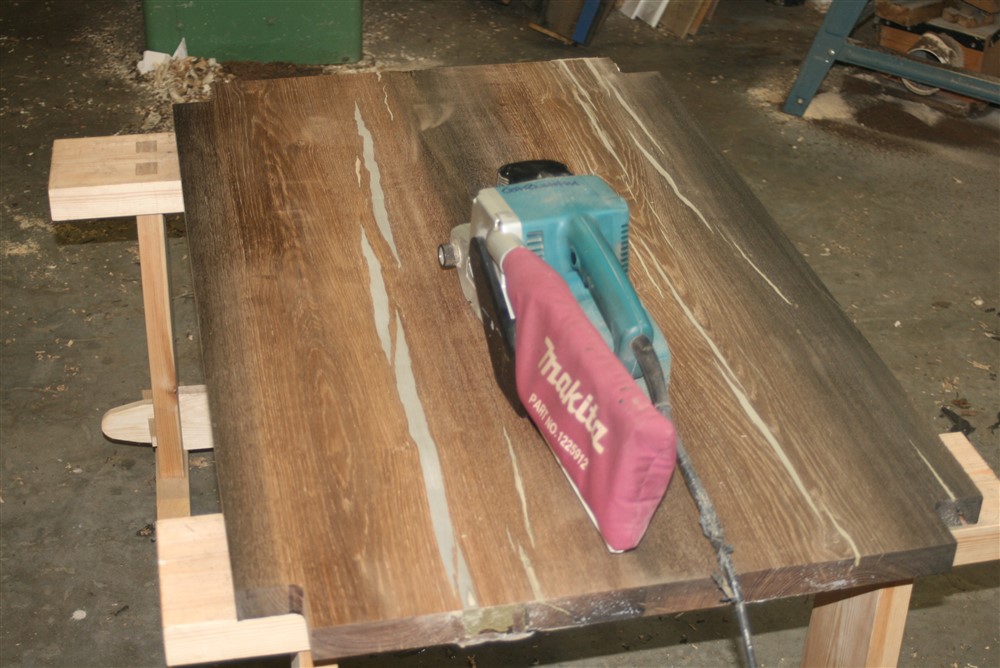
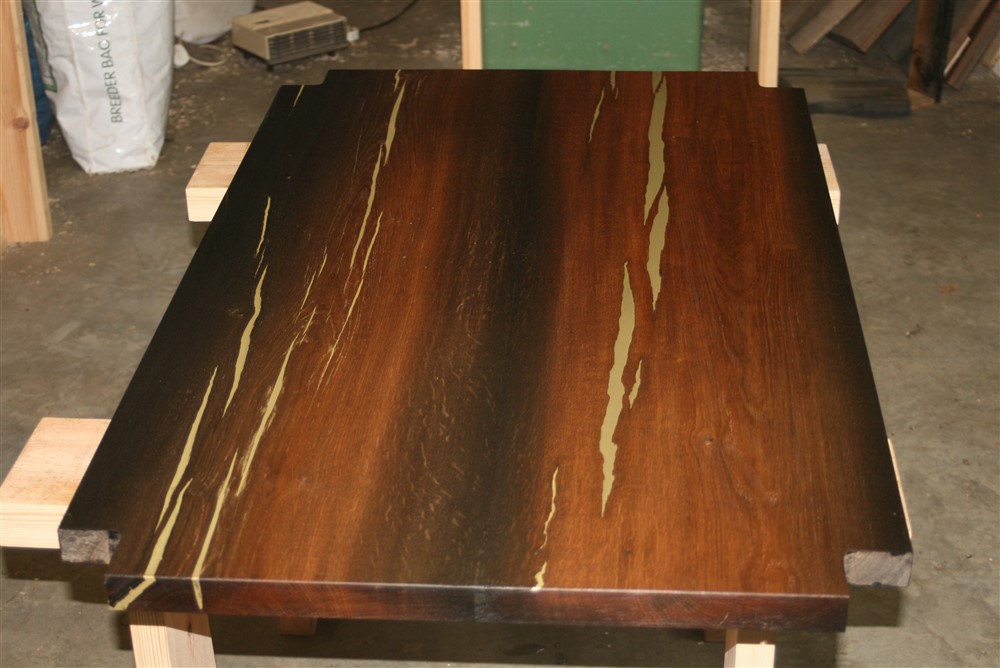
Back to the table top. I sanded off the bulk of the resin:

BMLNvKN.jpg


Unfortunately, there were 3 or 4 low spots, including a couple on end-grain. Time for another pour:

rec4s7x.jpg


Whilst that was drying I got on with finishing the rest of the table. My wife tells me that my workshop would have been uninhabitable by anyone with a sense of smell because of the resin, so there is the occasional bonus from not having one. Oil/ varnish/ white spirit mix on everything, then wipe it off within 7 minutes:

D1UWyML.jpg


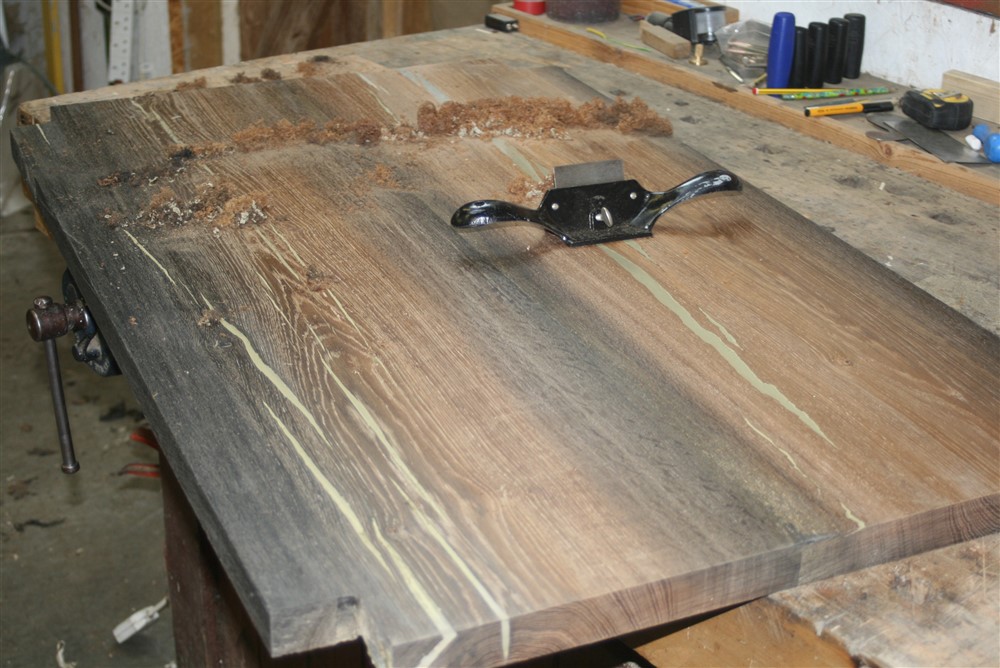
This Stanley no. 80 cabinet scraper was an absolute godsend:

slesVAC.jpg


ZPsrmLs.jpg


zEWHNZe.jpg


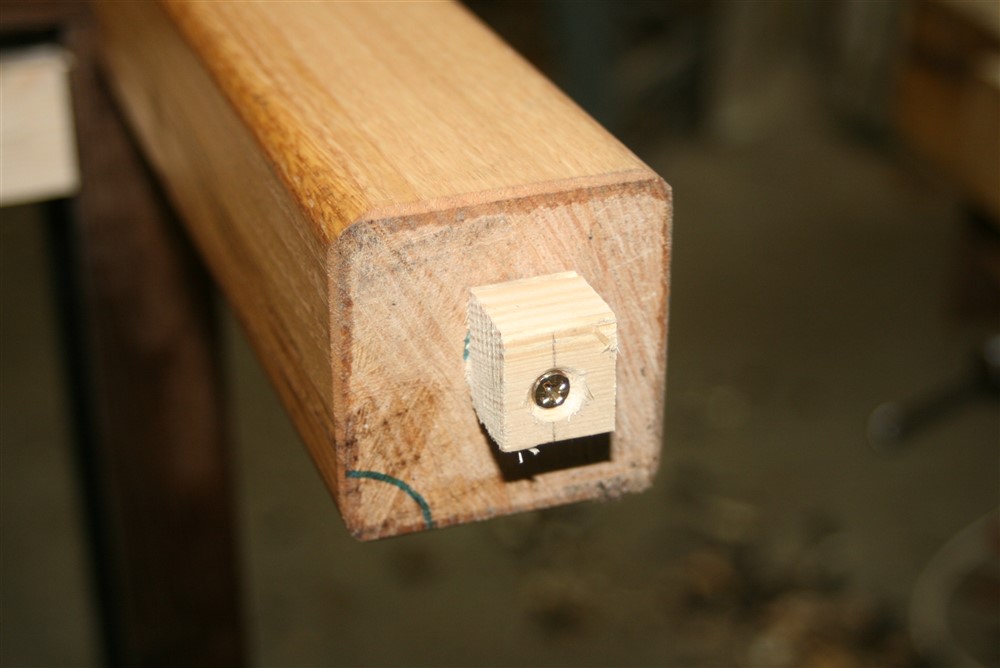
I screwed some little blocks onto the ends of the table legs so that I could finish easily all the way done to the bottom:

SrBGWbz.jpg


pBrp9mc.jpg


Back to the top:

9D2t4YB.jpg


eq89OT2.jpg


J0wyN5Z.jpg


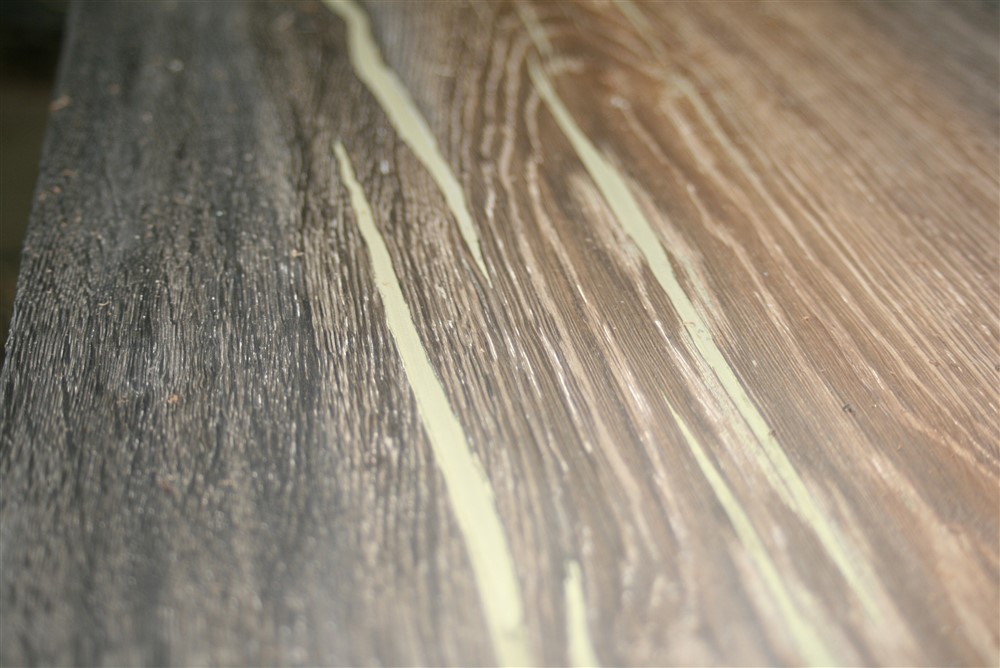
The brass is showing up matt and greenish in these photos. I've no idea why, because in real life it is satin and metallic.

Now, take a close look at this next photo. In sanding down the filler I finished off with 180 grit paper. This next picture shows the difference between sanding and finishing with a blade. The lower half (closer to the viewer) is sanded. The upper part (further away) is scraped. The sanded area looks dull and matt. The scraped wood looks glossy and bright:

9i5vB4b.jpg


I thinks that's rather persuasive, personally.
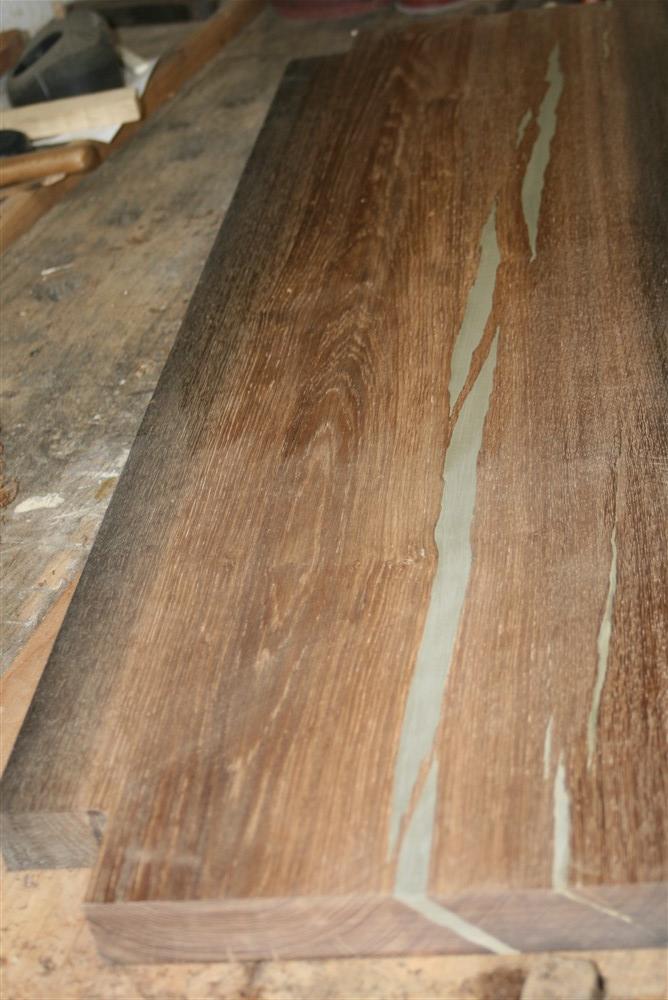
I hated doing this:

f1oPGzS.jpg


All my planes are razor sharp and well set, and normally end grain is a doddle. It wasn't with this stuff. In the end I had to just get it good enough and then stop, because I was in danger of going past my lines. It isn't the easiest wood to work with.

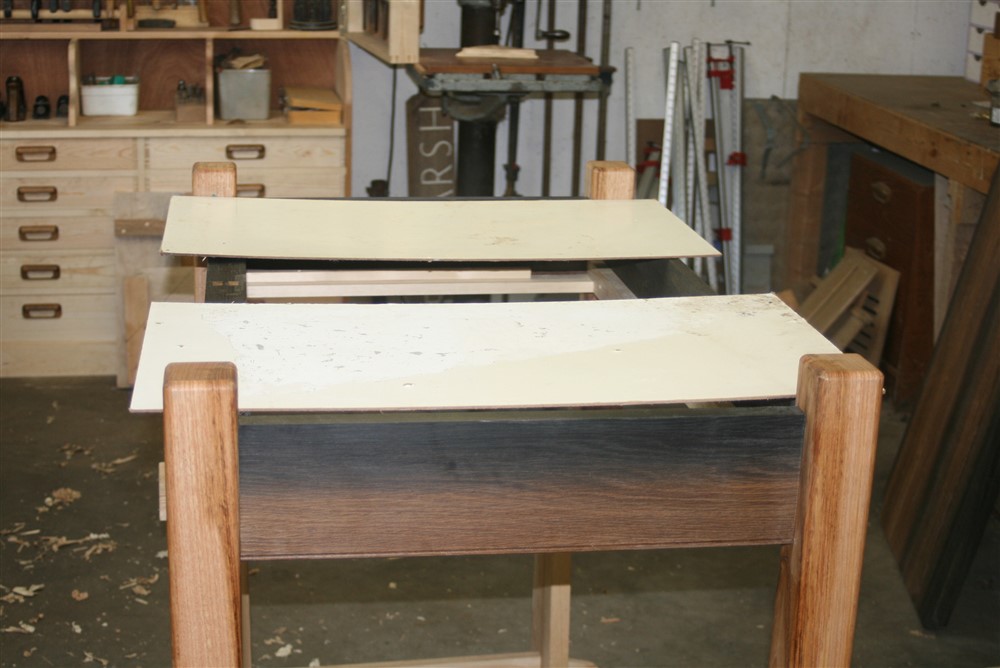
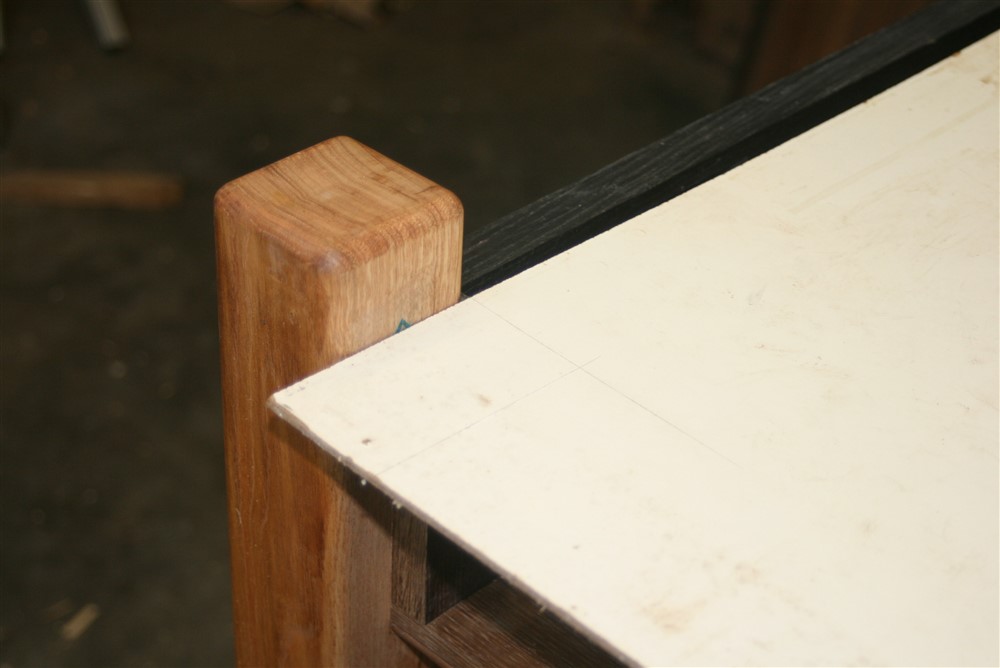
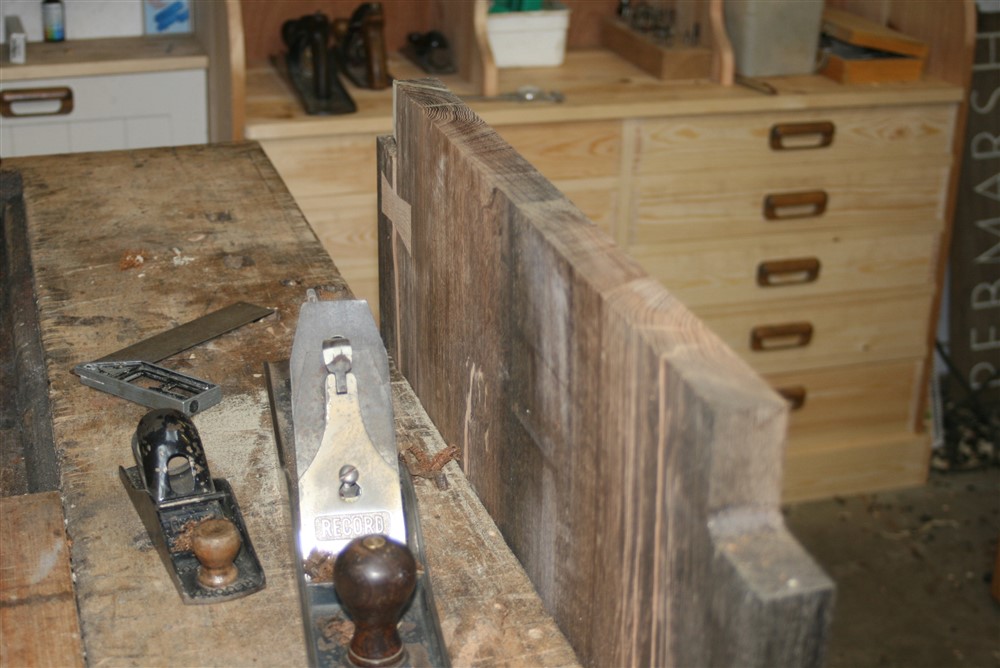
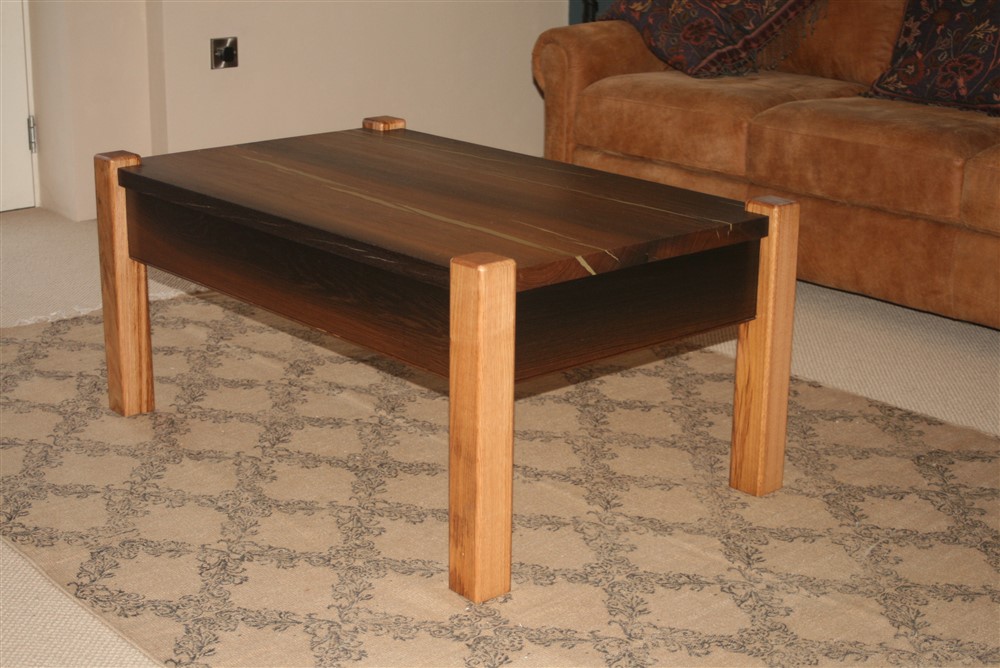
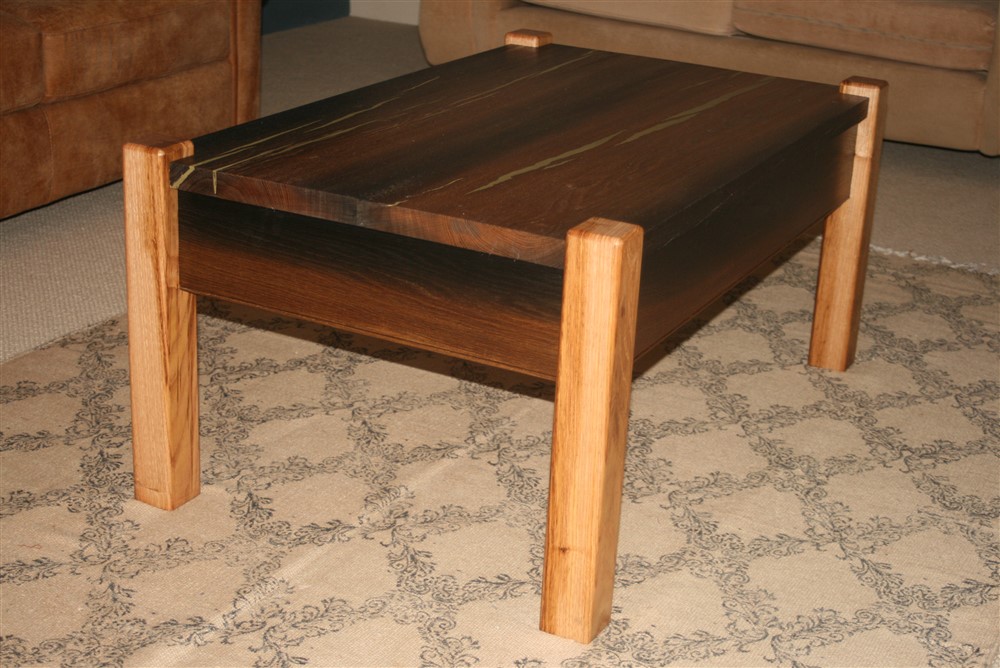
You've seen this before:
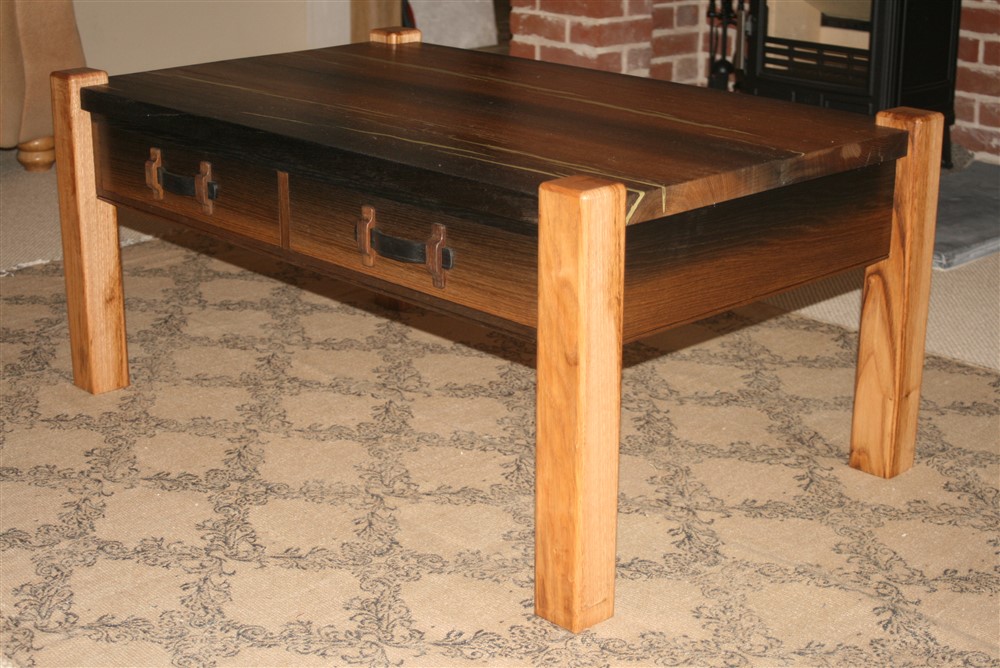
W2Sx1Ss.jpg


But not this:

QlsYFpI.jpg


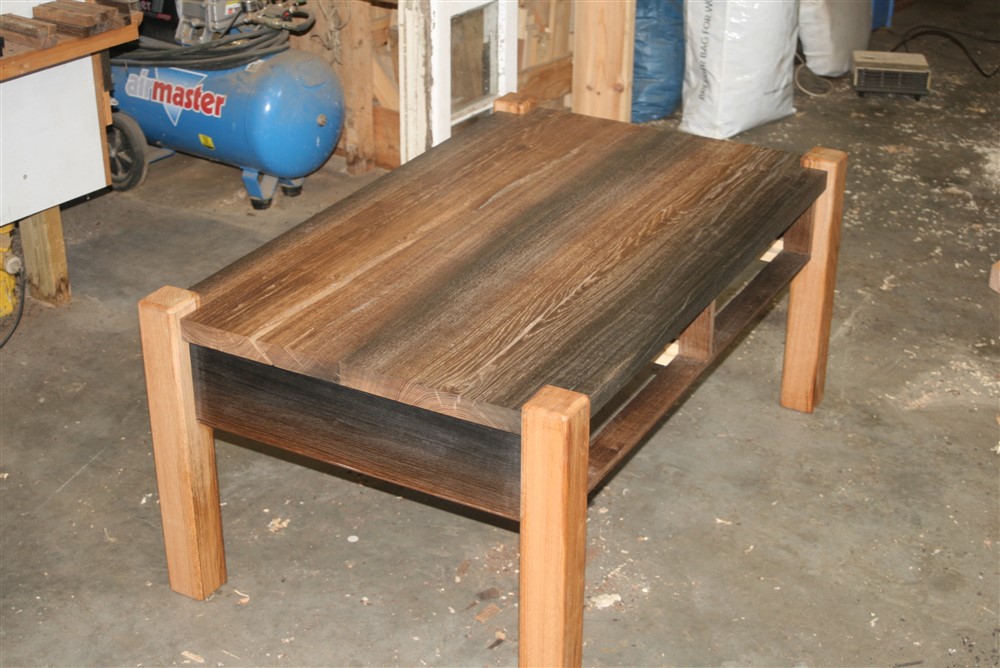
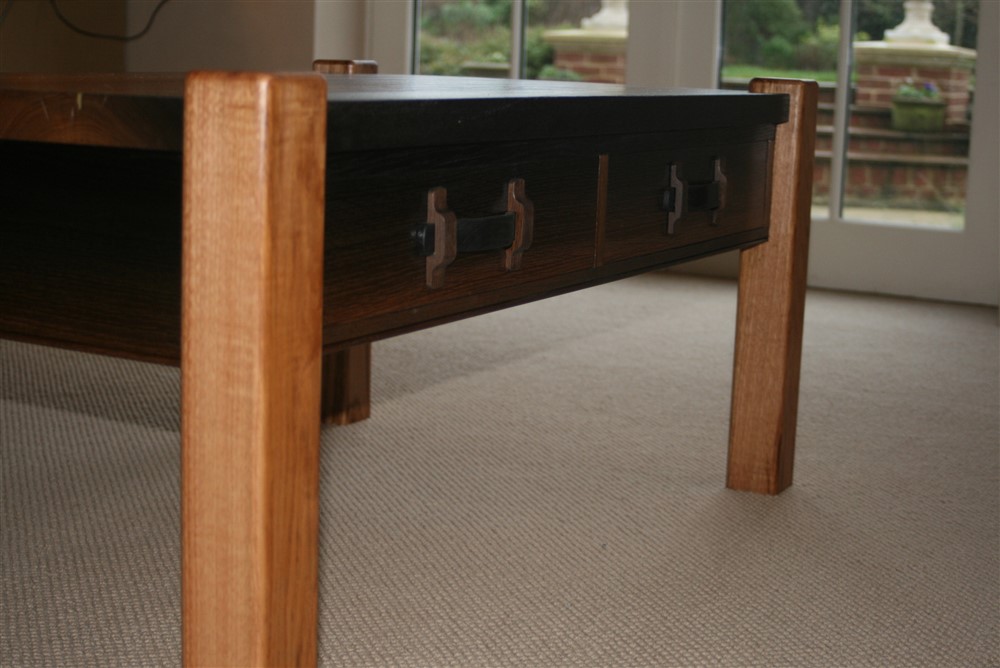
I did a final assemble and minor adjustments, and brought it into the house. The body of the table and the drawers have had 4 coats of finish. I might just do one final coat on the drawer fronts and handles. The table top has only had one, so is just sitting in position for the sake of these photos:

CDOKn4p.jpg


l68eSy9.jpg


ScvcOxf.jpg


u6X2n5B.jpg


I8LVMim.jpg


8sqZDuV.jpg


Z86p9wQ.jpg


D26BA0N.jpg


The strap thingies over the drawer handles are just hot-melt glued in place temporarily, awaiting a committee decision.

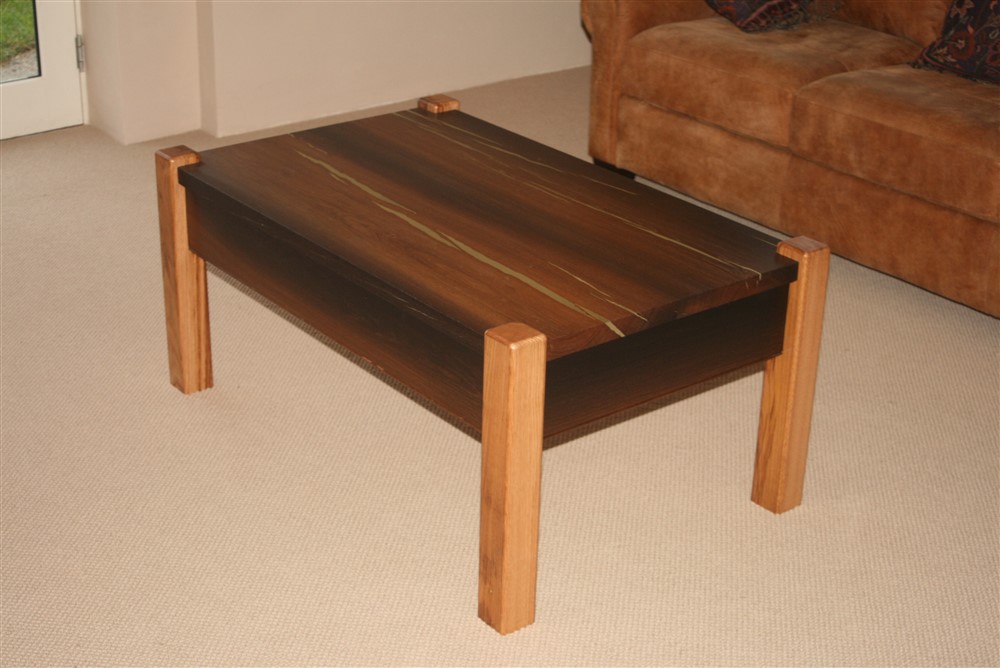
Finally, there is a gap here which is crying out for a matching end table, so watch this space:

JJpMQpl.jpg
 
Bloody marvellous!

I can't see any gap on the gappy leg and I bet nobody except you will.

I was doubtful about the brass fill but now that the top is so beautifully dark, it all makes sense.

Thanks for sharing the journey, especially the worrying bits and the useful tips passed on.

=D> =D> =D>
 
Very nice Mike, I didn't think the oak legs would work but I was wrong.

Are you planning a scaled down version for the side table?

Pete
 
I haven't really thought about that one yet Pete, but I suspect it would be taller and "lighter" (ie slim legs, slim apron, slimmer top), maybe without a drawer. I've got a staircase to make first, but I'll open the conversation about the side table with my wife this evening.
 

Latest posts

Back
Top