CHJ
Established Member
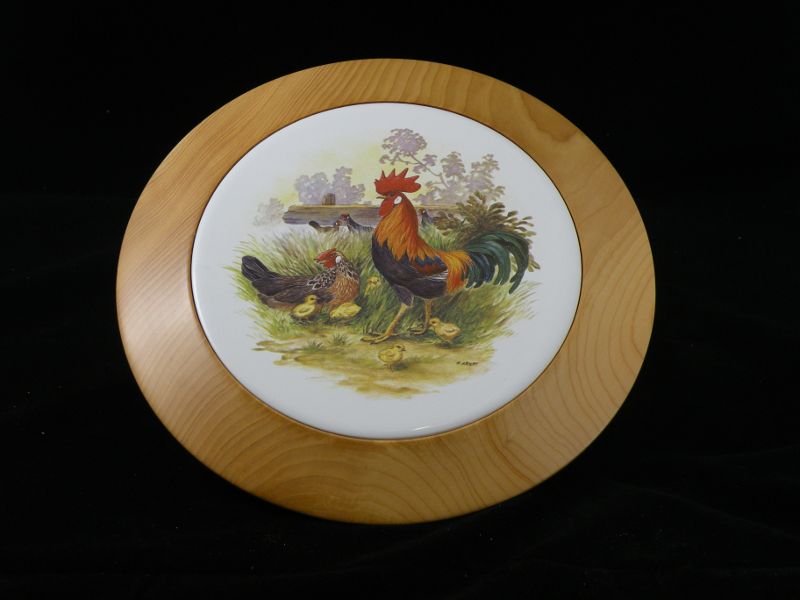
Bodrighy":1hoptpvr said:Posh toilet roll holders! Something different.
Pete
Hmmmm, will remember that, especially as the Brummie thought it was funny.


Bodrighy":1hoptpvr said:Posh toilet roll holders! Something different.
Pete
Now now Chas,i thought they were beer pump pulls :lol:especially as the Brummie thought it was funny.


It's just a case of getting organised Tom, actually the blanks were cut yesterday.wizer":2a0u00gh said:Seven bowls in a day :shock: I can't get through one!
You have a lathe, make it work.wizer":2a0u00gh said:I'd love a set in our cupboard.
don't fixate on form, proportions etc, the salad is not going to care and as long as SWMBO is happy to have them in the cupboard they'll do.Bodrighy":1h06wmkw said:As Chas said, it's all about organising it. Nice sharp tools it doesn't take that long to knock out a basic bowl without frills which is what these are (no criticism meant Chas) We can get hung up on being fancy and just keeping it simple is sometimes a lot better.
pete
wizer":35jrfoqz said:.....The thought of making more than one thing on the lathe, to be a near copy, fills me with dread. .....
Steve Jones":2kzo01bm said:Very nice Chas,
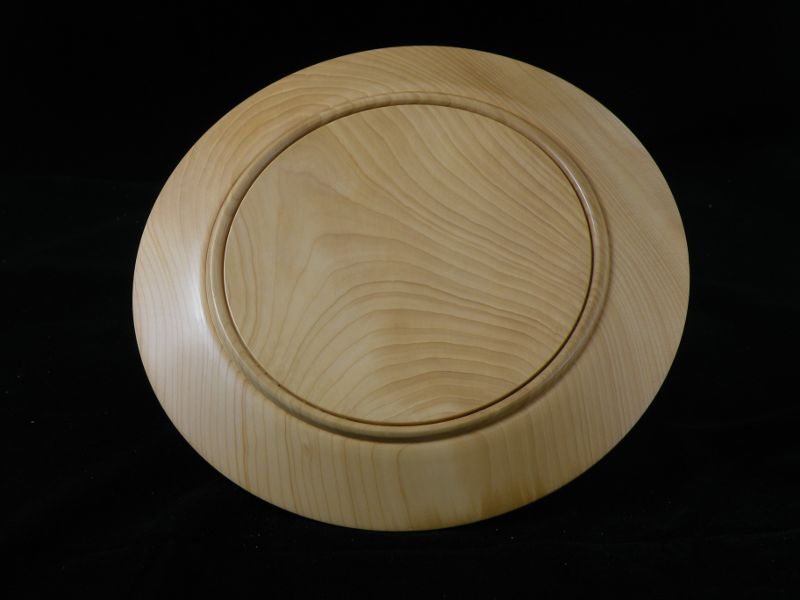
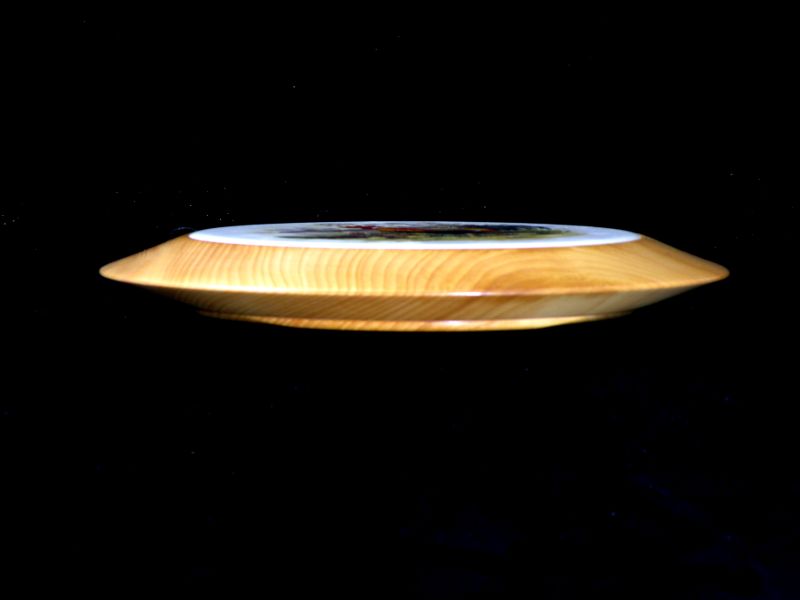
Can I ask are the tiles simply glued in place or left to float in case of timber expansion ?
Steve
No chance, the list doesn't stop growing as it is.hog&bodge":22w7rt27 said:relaxing hour in shed...lol..want to be on your Xmas list.
It will come, just keep practicing and one day things will start to flow.hog&bodge":22w7rt27 said:Just spent 3 hours and all I got was sawdust.
hog&bodge":n8ersae8 said:.......Them Small Beech Salad Bowls look the business I like the way you finish the bases of your work.
Alex..
Enter your email address to join: