Tool Cabinet

UKworkshop.co.uk

Help Support UKworkshop.co.uk:

This site may earn a commission from merchant affiliate links, including eBay, Amazon, and others.
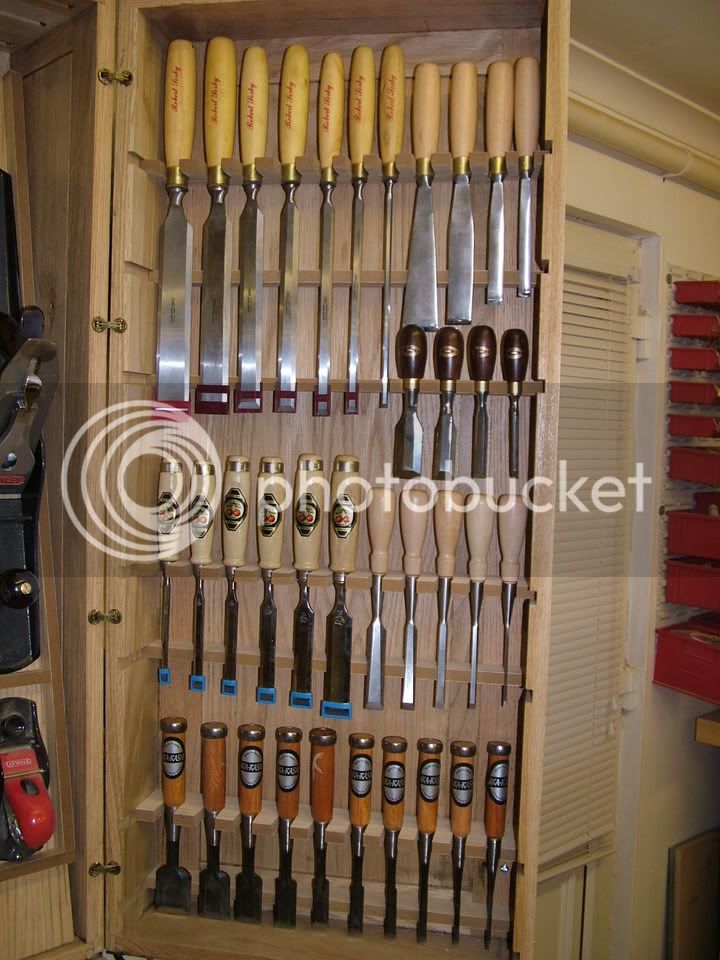
Thanks for all your kind comments. I shall certainly be pleased when it is finished and look forward to when I can show it properly stocked too :wink:

Tim - you are quite right, I'm glad I had the DC hose moved!
 
Superb Chris - (although I can't really believe you are not going to have it in pride of place in the house!)

Adam
 
Chris,
Gorgeous - what took you so long?
Is that the final resting place? Isn't the bench in the way of the lower left door? Or perhaps you still have plans for a moveable bench?

Andy
 
Fabulous Chris,
Looking forward to seeing the inside now.......have you got any surprises hidden inside :wink:

must get into the loft and look for these airpress bags for you...i havent forgoton...just need to psyc myself up to go up into the loft


looking forward to part 2......

Ian
 
Mmmmmmmmmmmm mmmm mmmmmm, i'm dribbling at your lovely cabinet. Fantastic.

Wanting to make something similar myself when i finish my bench. Won't be half as good as yours, but you have spured me on.

Matt.
 
Makes my own efforts very humble, still perhaps one day I might reach your standard. Bench seems to be in the top range as well.
 
Adam,

I wish! However, I am making some progress albeit slowly. Currently fitting out the doors in the upper cabinet. The cross bars that hold the chisels are held in sliding dovetails and can be removed when I change my mind and need a different configuration, although things like the tee square and saws will need to be fixed by something that is likely to be more permanent.
DSC_3465.jpg

DSC_3464.jpg
 
Oh Yes,
Taking shape....Chris I also put supports behind the chisel blades just deep enough that it held them flat then ran a piece of magnetic strip to secure. I was worried that when i opened the door they would fall...I also took the time to caliper the ferruls on the handles for the different sizes to ensure that the right chisel was in order and i cut the slot to the correct size. I didnt go as far as sliding dovetails as i find they can be difficult to remove but I've never had to move anything since i finished so good choice.......its really shaping up.
I also used a lot of rare earth magnets sunk into flush.....they hold tools very well particulary planes but not enough to require excess force to remove....just a thought....i know i puzzled over how best to hold tools without having to damage the actual cabinet.. I also used a few tool clips from screwfix to hold the more awkward tools but mounted them onto sub-boards if that makes sense.
remember though to fit your crossmembers behind your tools or you'll never slide out the long tools. :roll: :lol:


question.......I picked up a 17 foot length 200mm x 75mm of Lignum vitae yesterday what a weight.......how good would this be do you reckon for plane handles and knobs....its actually very dark brown almost a light rosewood but i've never worked it before and i belive its very hard but the metalworking lathe and cnc mill should cope with it I think....any thoughts
PS its been sitting in a guys garage for the last 42years he said....he couldnt cut it....probing it was about 8% but i think my probe only scratched the surface

like the little gents saw :lol: puzzle ewhats the fairy liquid for.....nothing kinky i hope :lol: :lol:

Ian
 
I suddenly see a real drawback to such a purty tool cabinet. You need to have purty tools to put in it. #-o Half my old stuff'd look very sorry in such surroundings. So Chris, when you send it along for re-homing, better include the contents eh? :wink: I'm also suddenly suffering from tool cabinet-itis; usually a symptom of reading The Toolbox Book. As I have neither the time nor timber to do anything about it, the mental agony is acute. I may sue... :(

Cheers, Alf
 
Alf.......I'm sure youll get round tuit :lol: :lol:


Chris,....I struggled with trying to explain what i did so i've posted a pic hope you dont mind.....this picture was taken before i added the magnetic stip....the only chisels unsuported are the little butts but they are small enough not to require it.

Picture123.jpg


Ian
 
Alf":3irc65uc said:
As I have neither the time nor timber to do anything about it, the mental agony is acute.

Alf, I shall definitely remember you in my will - but I feel fine at the moment. As for timber, I suggest you speak nicely to Ian.

Ian, do you mean you picked it up as in you lifted it? If so, remind me never to pick an argument with you! Thanks for the ideas and the picture. In fact the holes/slots I made for the chisels were individually sized as you did but I also made my slots tapered to match the tapers on the socketed chisels, so that the chisel are well well restrained and don't flop about even when giving the door a sharp tug. Good idea about the magnets - I shall see how they may help.

Re your wood, from talking with Konrad, I think the main thing to look for is a wood that expands/contracts very little with changes in humidity. I guess Lignum Vitae may be one such but I slo understand it can be a pipper to glue which may militate against it.

BTW the Fairy liquid bottle contains my barrier cream - need it for working some woods esp Iroko.
 
waterhead37":1b32hvlv said:
but I feel fine at the moment.
That can soon be fixe.... er, um, who said that? 8-[ Just kidding, Chris. :wink:

Ian, have you had any trouble with the tools getting magnetised?

Cheers, Alf
 
Alf,
Havent noticed the tools being magnified......the magnetic strip i used was sticky back 3mm thick and very minimal magnetisation but theres enough to hold the tools........I do have a demagnetiser but i've never had to use it....it also doesnt mark the tools as when i used the earth magnets i recessed them underflush by mistake by about 1 mm so they dont actually touch the tools.....The magnetic strips are used in commercial kitchens for knives etc and any loose metal particls seems to stck to the magnet rather than the knifes......i looked at this before i started.

Ian
 
Progress - of a sort. I got the RH door finished and have made a set of cubbies for some planes on the LHS of the upper cabinet. I was going to put these along the bottom as Andy Rae did but as I cannot open the LH door fully without shifting the cabinet - it is on castors but still a bit of a hassle as other stuff has to be moved - I decided on sticking the smaller planes on the left. This allows me to put in the bank of drawers (still to be built) and open them even though the LH door is not fully open. When all the building is done, I am going to have to schedule a week or two for final finishing to match all the colours!

As you can see on the bench, I have been a bit distracted by carving of late.

DSC_3472_001.jpg
 
Splendid Chris!
It looks so lovely-glad you got the contents to match :wink:
Particularly like the rasp department
Philly :D
 
Back
Top