Tissue boxes 2011

UKworkshop.co.uk

Help Support UKworkshop.co.uk:

This site may earn a commission from merchant affiliate links, including eBay, Amazon, and others.

devonwoody

Established Member
Joined
11 Apr 2004
Messages
13,493
Reaction score
25
Location
Paignton Devon
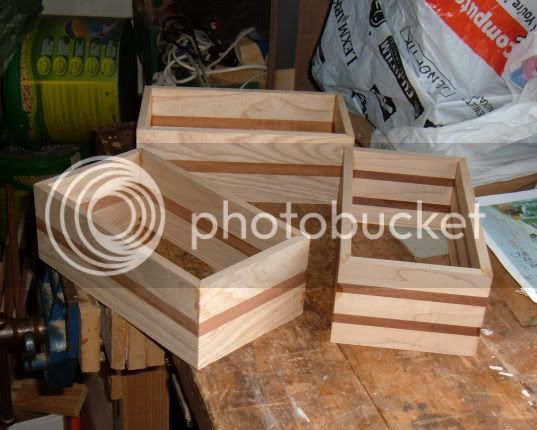
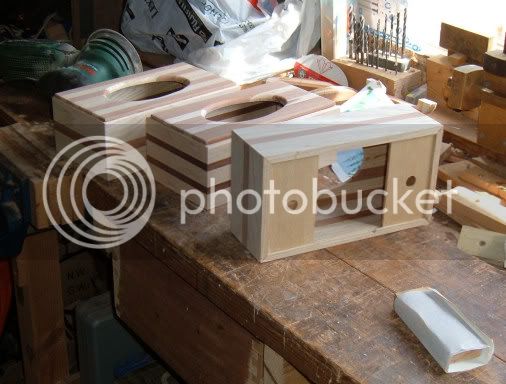
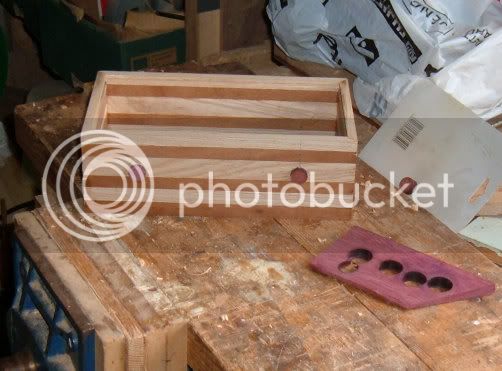
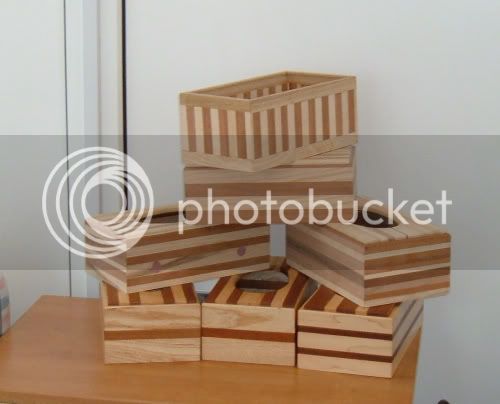
My wife took the last tissue box round to the corner shop for the lady on the till who we have known the past 41 years since living in Paignton.

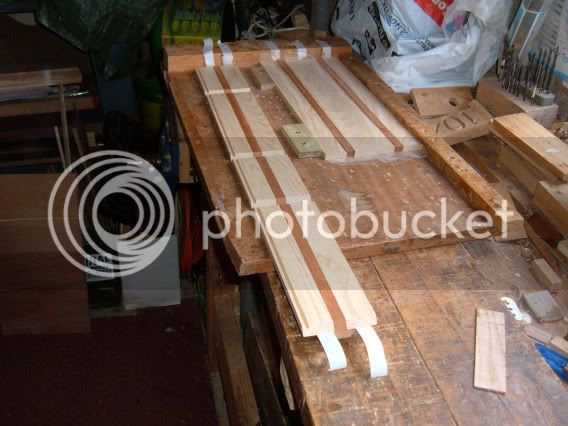
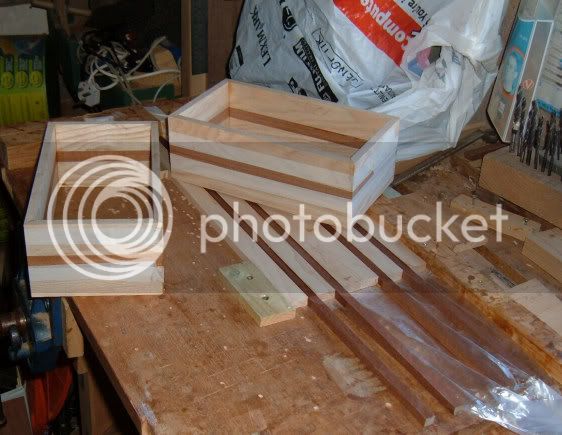
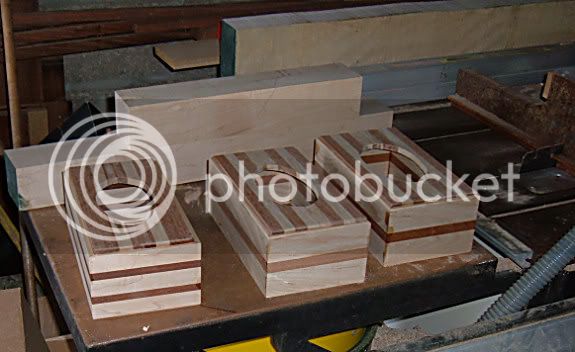
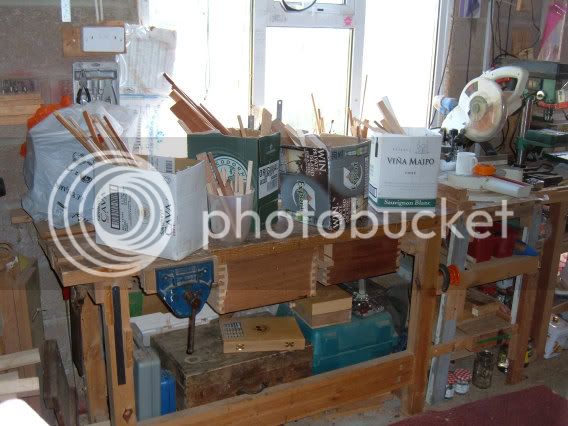
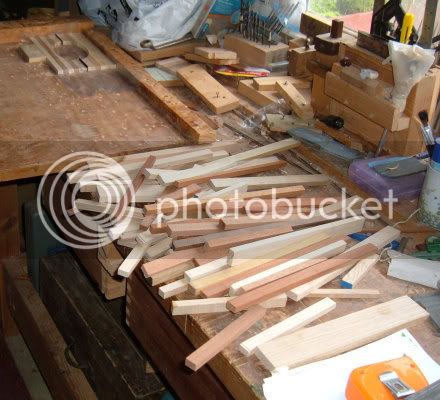
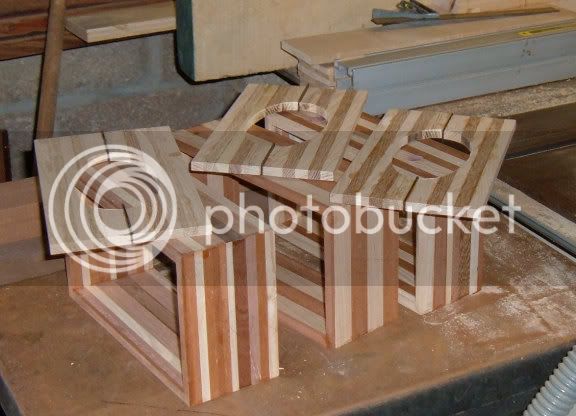
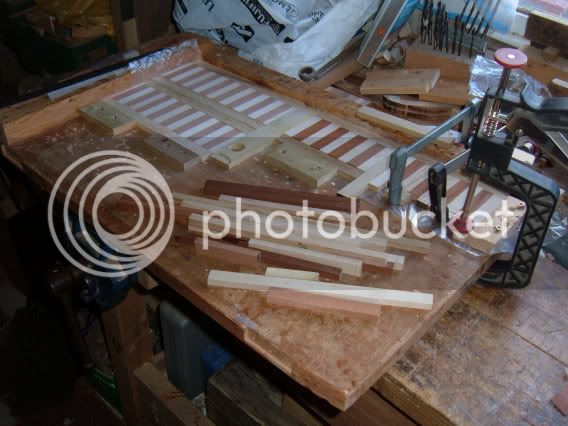
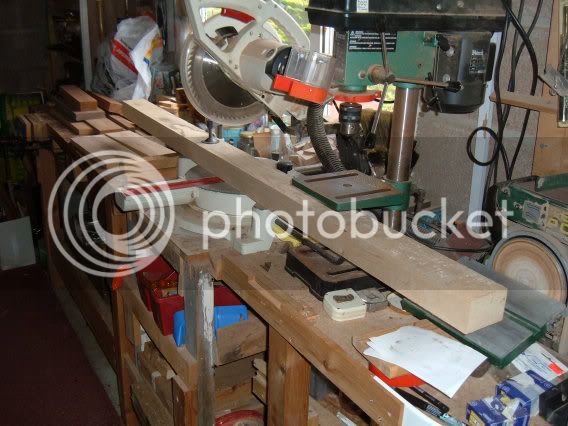
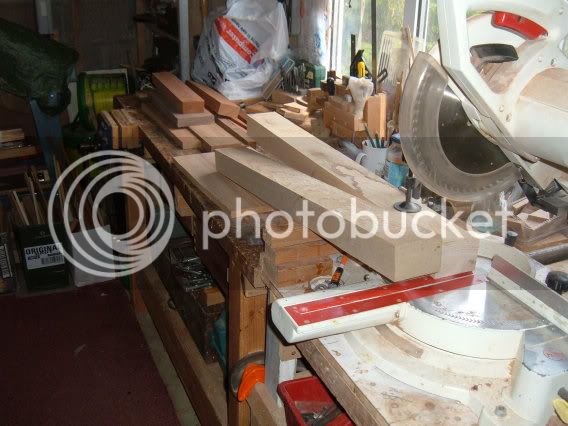
So I am now preparing to start a new season of boxes and located these pieces of timber to start the next collection.

American Ash, Sapele , Maple, Black walnut, wenge, Sycamore (which is awful) I need some more Syc. preferably with some of that staining, so if anyone can point me to a small supply I would be grateful.


tissueboxprepw1.jpg


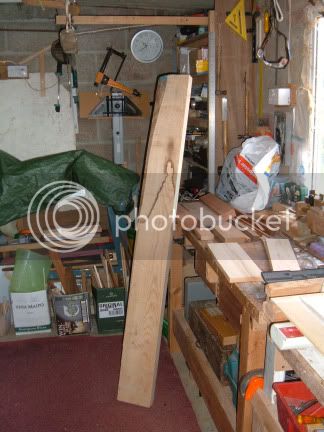
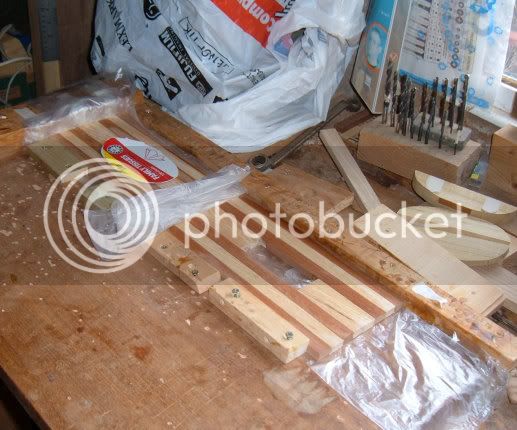
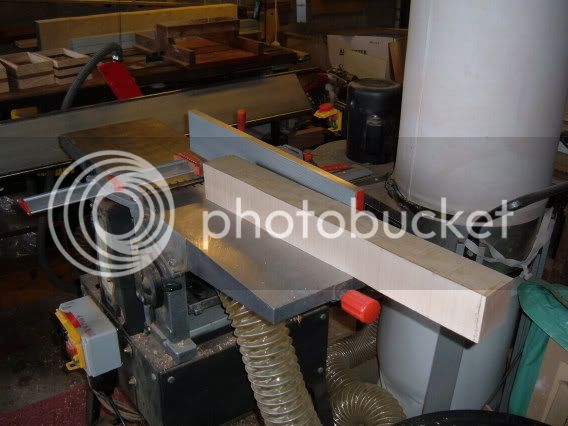
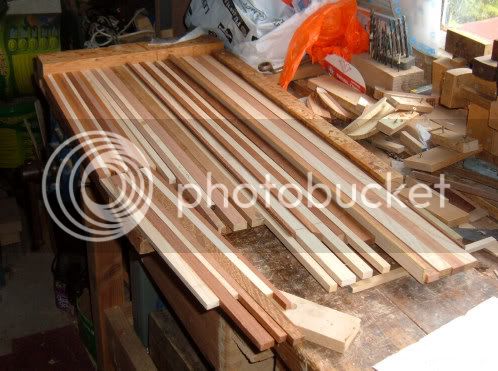
I had to change the table saw blade.

tissueboxprep2w.jpg


Put on a rip blade and sliced down that ash.

tissueboxprep3w.jpg


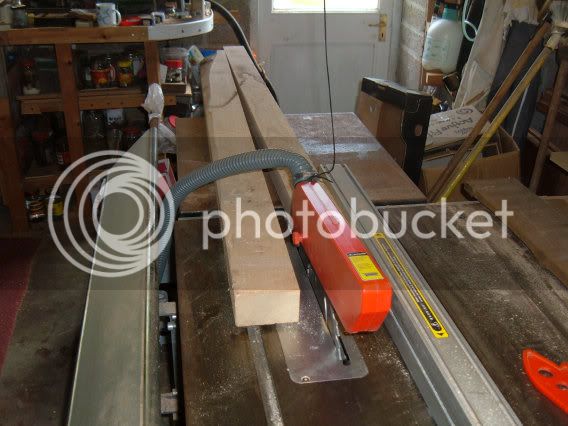
Chopped it to 850mm lengths.

tissueboxprep4w.jpg


tissueboxprep5w.jpg


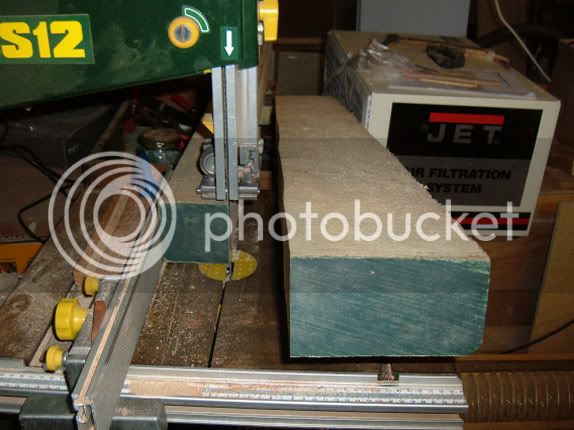
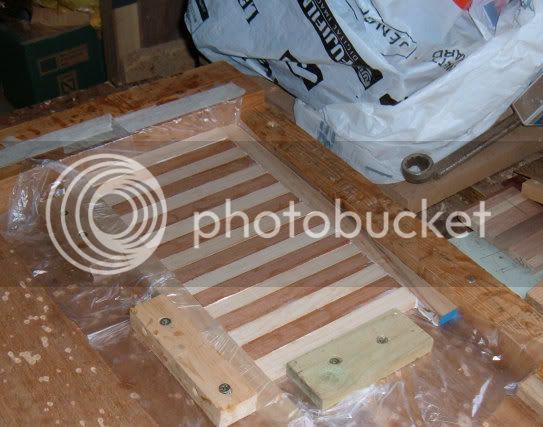
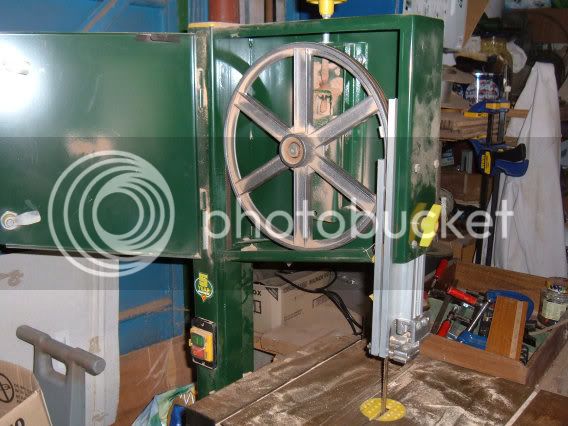
Then had to change over the bandsaw blade to resaw ash down to 13mm thickness boards.

tissueboxprep6w.jpg


Got a busy time ahead!
 
Those that have not seen my method of making tissue boxes I am repeating the operation I use.

This is the jig I made to cut the mitres at box corners.

Clamp 1 holds the timber against the fence

Clamp 2 holds down the timber to the table

Clamp 3 is the stop block so each length remains constant.

2w-21.jpg


Rear view of jig

3w-20.jpg


The sides of carcass are then glued (after cutting dado slots with a router for bottom holding sliders of tissue box).

In addition further carcass boards are being glued up prior to mitering.

No metal clamps are used, masking tape is quite adequate to hold box square and firm whilst glue sets. Carcass boards are held in position by a couple of wood blocks screwed in position on my pasting board.

4w-21.jpg


Box ready for lid and bottom sliders are the next job to do.

5w-19.jpg
 
Thank you for the WIP photos. Very interesting.

With the jig for the mitre corners - is this to provide greater accuracy?
 
Jensmith":3iqgmu19 said:
With the jig for the mitre corners - is this to provide greater accuracy?


I cannot recall the last time I had to make any adjustments to a mitred corner, I always do a trial run on a scrap piece of wood after setting the saw blade angle and then I know the corners will be OK.

The clamps on the jig are essential, wood will always move slightly if hand held in position.
 
Two carcasses and the third on the stocks which will have a double stripe because there was a rubbish spot needing cutting out on the Maple.

6w-15.jpg


New pattern came to me overnight which I think might be first!
 
i think the double stripes will work well. they look very nice indeed. thanks for showing.
 
I had to prepare some more ash to do the lids for two of the boxes (also maple will also need preparing from a sawn board as well).

Photograph below shows the ash/sapelle being glued prior to going to the bandsaw to make an oval hole.

7w-16.jpg


Around 20.45 pm., half time of that League Cup final I decided I would pop out to the workshop and put the above boards to bed so to speak and lo and behold I had a couple of intruders in my garden heading in the direction of an open bedroom window. What luck, 10 seconds later and they would have been out of my sight. I accosted them and demanded to know what the game was, the youth replied, "whats the time mate" . He got some verbals from me and I ran round my property to get the wife to telephone for the law and there were around 20 of them in our cul.de.sac.

The police moved them on it took around 30 minutes to get them dispersed from the area. They said they were on their way to a party, but there was no party and they dispersed in all directions.

So what luck for me to just walk out at the critical moment.
 
A touch of luck there! glad you caught them, we had a big spate of robberies here at the last big football event 6 or 7 sheds/garages turned over in a couple of hours while people were out watching the game.
 
No skills":1k2fjkds said:
A touch of luck there! glad you caught them, we had a big spate of robberies here at the last big football event 6 or 7 sheds/garages turned over in a couple of hours while people were out watching the game.


The number of people congregated, around 15 young couples, I am informed most probably meant that they were probably looking out for a home unoccupied to crash and have a party.

After that sleepless night I eventually got out to the W/S and cut the apertures required on the lids as per pics.below.


8w-16.jpg


9w-15.jpg


Required for these prepared carcasses.

10w-16.jpg


All does not go smoothly however, I wanted some more maple prepared and got out a lump from my storage area and put the the bandsaw. This did not cut well, it was rather heavy for me and I had difficulty controlling the timber past the blade, but I did manage to stay to the outside of the line.

1w-25.jpg


All was not lost because it did have a decent straight edge on the rough timber. And I got a reasonable piece after working on the planer and then thicknesser.

4w-22.jpg
 
Got the three lids on yesterday, but ran into a serious problem, can you spot it?
(use your zoom tool)

11w-12.jpg


Cannot wait to get out to the workshop today, I've got loads of new ideas for tissue box patterns but cannot seem to work fast enough these days!
 
The problem was the first box, I had glued the top lid on to the bottom of box where sliders should go. I spotted it three hours later and yanked it off and it came away without damage and reglued it in its correct position and its OK.

Three boxes ready for varnishing.

12w-11.jpg


Next design on the cards?

15wharequin.jpg


All to be 28 mm squares then turned to diamond position.

Then decided whilst I was looking for timber to start above I found that I had got a lot of timber lying around and taking up much room so got down and cleared up as follows.

13neww1.jpg


But dumped this lot in a neighbours wheelie bin, they are away on holiday and I am partly in charge.

14w2.jpg


Finished up with enough for two boxes and another two to follow.

15w-9.jpg
 
Went for it and arranged this lot of strips. Strippers delight!

16wthurs.jpg


I purchased a pva glue last year from one of those bazaar shops, it glues OK but the nozzle seized up over the winter so I have poured into a jar and apply with a brush, its quite economic and satisfactory for this sort of set up.

17wglue.jpg


I needed a longer workspace so I used my table saw to glue up the 900 mm lengths

18w-6.jpg


Enough timber now for 3 more boxes and I have some very short pieces of scrap which I have decided (some only 100mm lengths!) to create another box I hope.

Then its that harlequin.
 
The tissue boxes look great.
are the haluquin boxes going to be painted or stained wood or just the right coloured wood?
you never know you could always base your tissue boxes on oriental themed or shapped boxes or even base them on different countrys colours or themes or even on different shaped houses maybe like the wooden houses maybe or something else.
Never know one day you could even base them on a certain show that is on this week and send them in to get them shown on tv. or even sell them to a few fans of the show.
Sorry for going on, just there is so much potential in tissue boxes as people always need tissues.
 
Did a seven hour day and I'm shattered.

One of those boxes has a problem, a bad spot that should have gone to the inside somehow finished on the face side.

22wsun.jpg


I had to get out my old B & D drill press my standard press would not accommodate the depth with bit. Can you see the cobwebs, not used for around 4 years.

23w-4.jpg


Plugged four holes to make a pattern and used purple heart.

24w-4.jpg


Then I found I had accumulated this lot of off cuts again from above boxes.

25w-3.jpg


So found I had got enough short bits to make two faces and sides, so off we go again.

26w-3.jpg


And then made the lids for those earlier boxes.

27w-3.jpg


So the harlequin is again delayed.
 
Its now 11.23 am and I want to put that piece of timber with the vertical stripes through the thicknesser, :roll: but I am scared, so I am going to sand it level instead.
 
Well it got to 14.30pm and I still had not started, but I must have had a flash back, I recalled some previous time past. "He who dares wins" I think it was Capt. W.E. Johns. and his Biggles books of the 1940's.

So I did this I put the piece for the front and back through the thicknesser and ignored the screaming.

28w-3.jpg


Then cut it to two sections on the tablesaw.

29w-3.jpg


Glued on a border for both pieces.

30w-3.jpg


Then started the process again for the two end pieces.

31w-3.jpg


Things might get delayed for a while, the wife had a fall in the garden yesterday evening and today she has a plaster cast on her ankle. She fell off the rockery.
Anyone welcome to come and do the ironing for me.
 
Two of the above boxes pictured earlier have already found new homes, the paramedic had one and he will collect at a later date after polishing and then we had a surprise visit from an old neighbour who was down for the day from Bristol.
 
Seven tissue boxes on display in various stages nearing completion..
The top box has turned out quite well using some very small offcuts and awaits a lid and finish and the other three boxes below also required a coat of wax. So that is eight boxes made this year plus the display cabinet to be hung next week.

32w-3.jpg


Pleased to report the wife is making a good recovery from her fall, the hospital think the fracture on xray is an old injury, so she now has a hard boot and getting around reasonably with a bruised ankle.
 
Am I missing something, but it looks to me as though the top box has grain in two different directions, glued together? Wont that give a problem?

Hope your wife soon recovers.
 
Back
Top