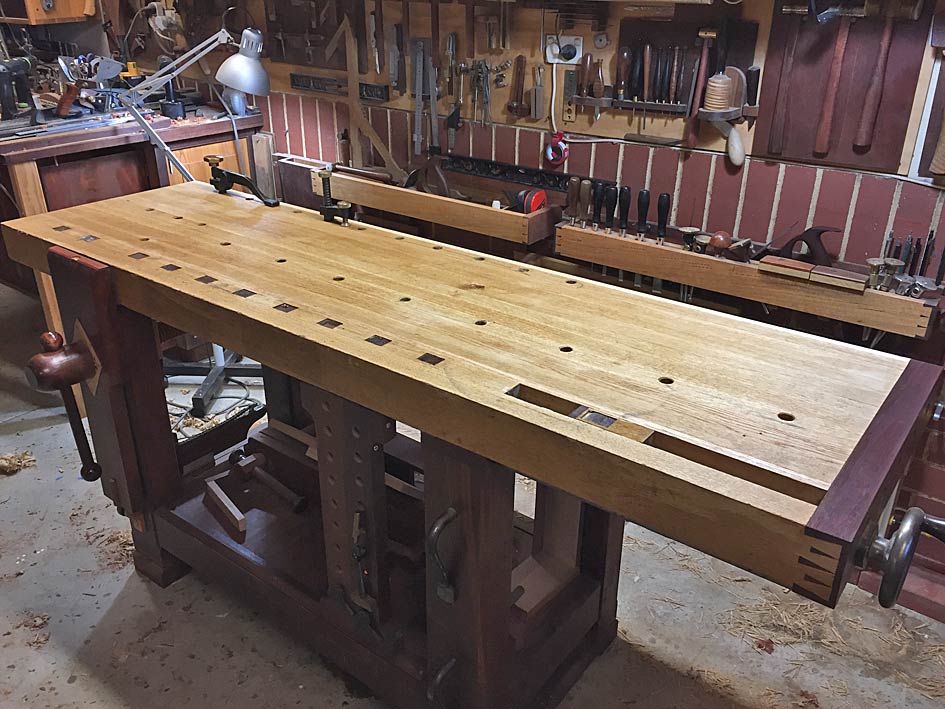
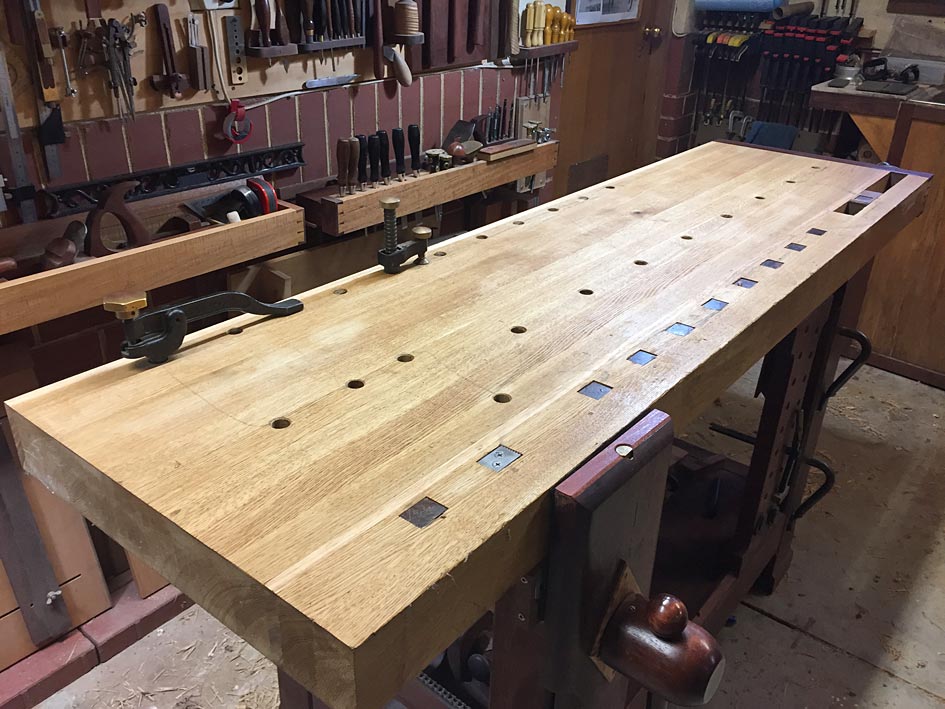
Here is my bench after the last flattening, which was about 15 months ago ...
I had built it about 6 or 7 years before that time, and this was the first flattening since the build. The European Oak top had lasted pretty well, but there was no longer a substantial area I could rely on for being perfectly flat. As David noted, flat is needed when you use it as a reference surface, and when you use it to shoot edges ...
Winding sticks are not used to “flatten” the top. They are used to check for twist.
Like Jacob, I do not use a scrub plane for tasks like this. I cannot say I use a scrub plane more than a few times a year, and then it is if I am overcome with madness. A jack plane with a 12” camber is usually more than sufficient to take off waste quickly. But note that most of my boards are prepared on machines these days.
As David also mentioned, the first step to flattening is to seek out the high spots, isolate and remove them with a short plane. A smoother or a jack plane will do nicely. I use a straight edge rubbed with chalk to find the high spots.
My preference is to work down the bench. Some may want to work across the bench. You will end up doing both anyway. But it is the high spots you need to focus on. Your aim is to remove as little as possible.
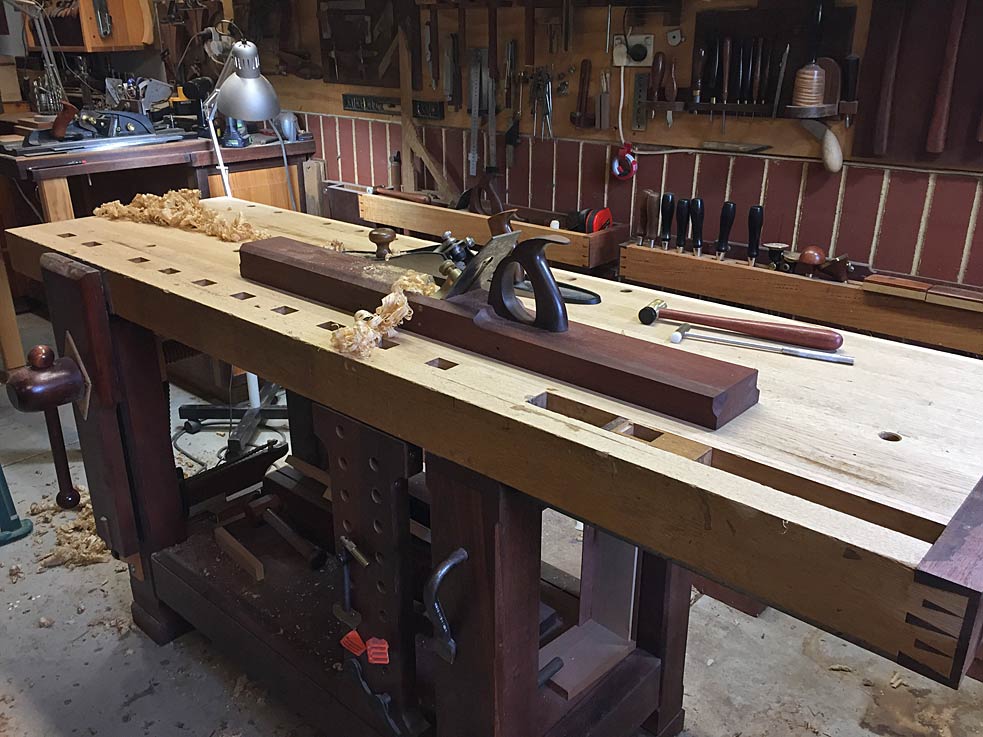
I end with planing down the bench. This is where the winding sticks come in. This is a 36” jointer I built. It is like a battleship - once it gains momentum, nothing stops it!
")
I end up planing with a toothing blade in a jack plane. This roughens the surface slightly. The last thing one wants is a slick top. I add a single coat of Danish Oil. This is simply to prevent oil and glue from penetrating too much, and aiding cleanup. The surface ends up matt.
Regards from Perth
Derek