Hello fellas,
Here are some pictures of a new project, to build a Roubo bench for the new workshop. I will take some pictures of my new workshop for another thread when it is not wet, covered in snow or fog, or so upside down it would be .
.
A new bench has been a priority for the last six months when I took delivery of a load of Ash boards, 8 x 2 (for the top) and 6 x 2 (for the legs) some posts for the long stretchers.
Here is a picture of the timber pile stacked in the corner where it has been for the last five months.
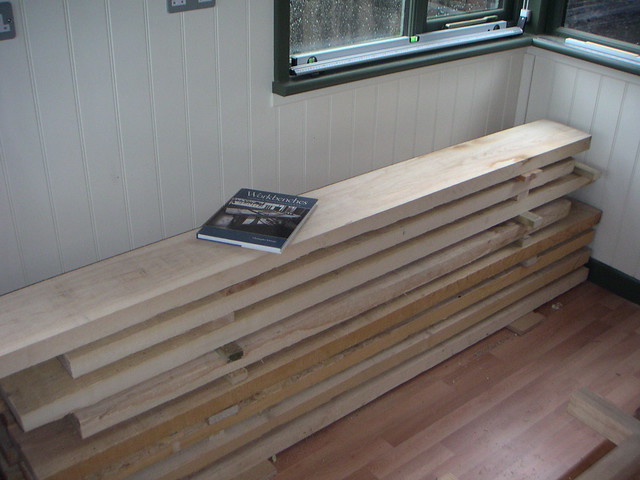
Sitting on the top of the wood stack is Chris Schwartz excellent workbench book a must read for anyone thinking of making a bench. I also would like to credit the excellent Benchcrafted website, lots of very useful guidance regarding leg and wagon vices also some design ideas.
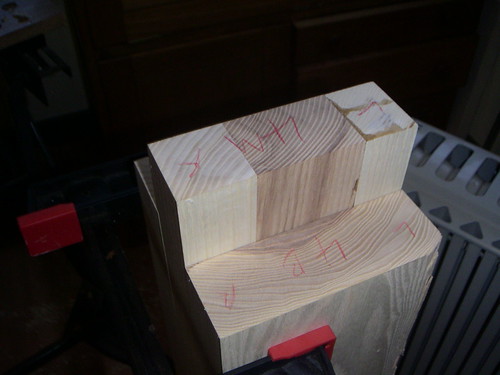
The first job was to get started on the legs. The plan to laminate three pieces and at the same time form a tenon as a means to attach the legs to the top. The legs turned out just over 5” square. I carefully selected the best pieces for the fronts and backs of the legs and made good two very knotty pieces by laminating the edges with some offcuts.
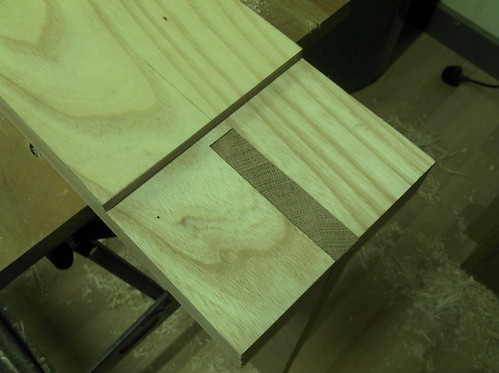
Here you can see how the grotty bit is hidden in the middle.
I then made a start on the short stretchers, using the same dimensions for the legs only two sections here, it was easy to form a tenon on the end of these pieces. The first testing job was to cut the mortises in the legs, pictures as follows;
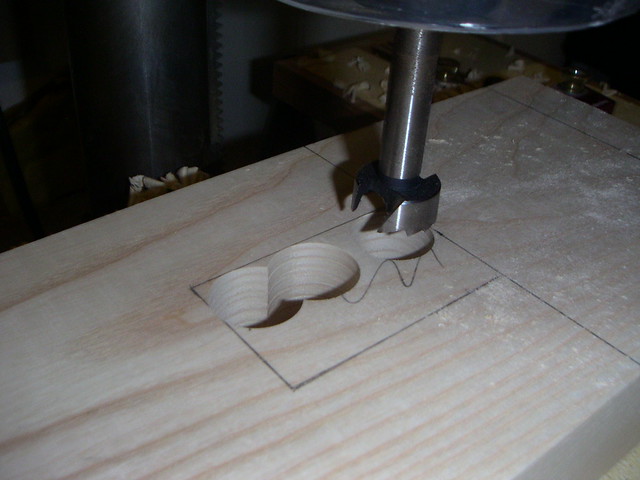
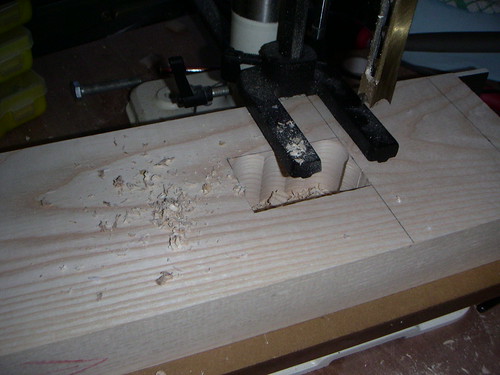
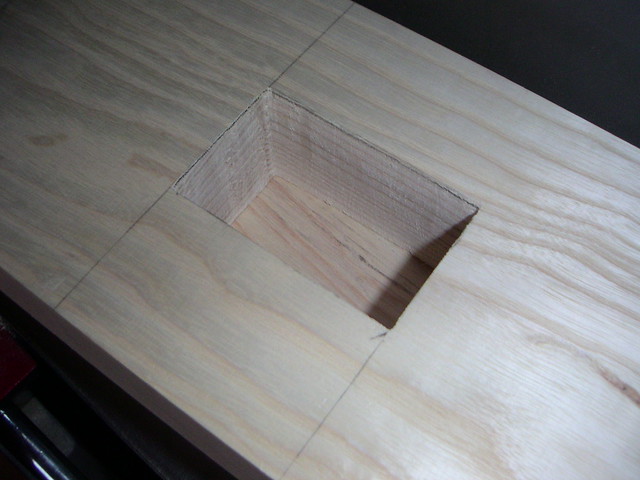
Remove most of the waste with a forstner bit and then tidy up with mortiser and chisel/file, taking care not to go over the lines!
The long stretchers presented more of a challenge. I also did not have much stock to play with. I was not working to any precise dimensions, trying to work as the material allowed. The post were only just over 4ft long and I decided to keep these as long as possible and ended up with a 50” length.
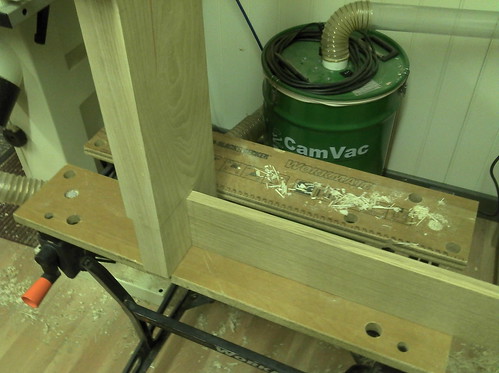
I came up with the idea of adding a tenon to the end using my domino machine pictures as follows;
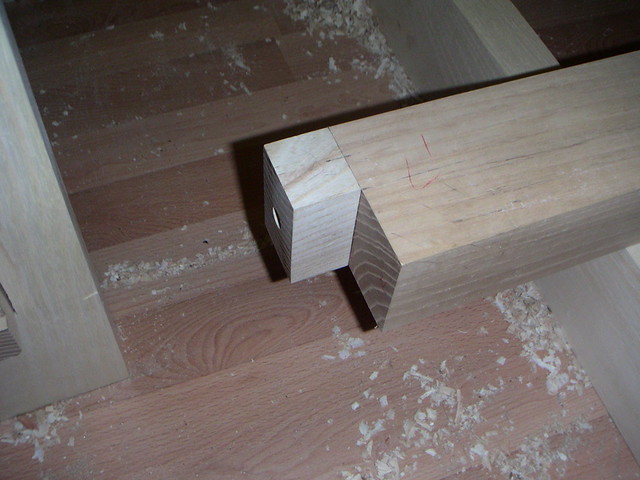
The advantage of this approach became apparent when I set about drilling a long hole through the leg for the bolt used to hold the stretcher to the leg. This design feature would mean that the bench could be knocked down if needed to be moved. Gawd knows how heavy it will be. Can't lift two legs on my own!
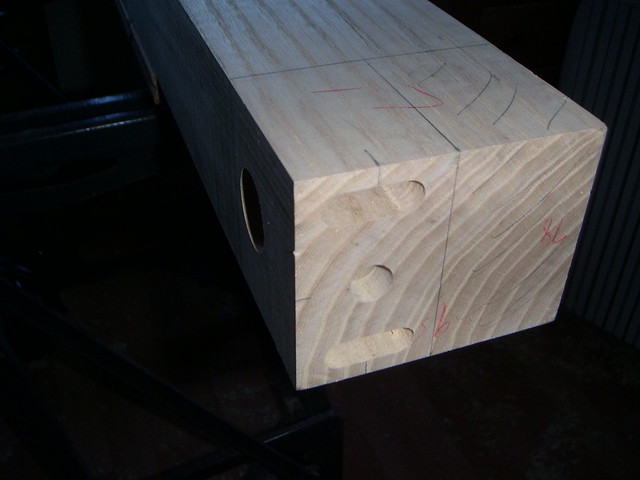
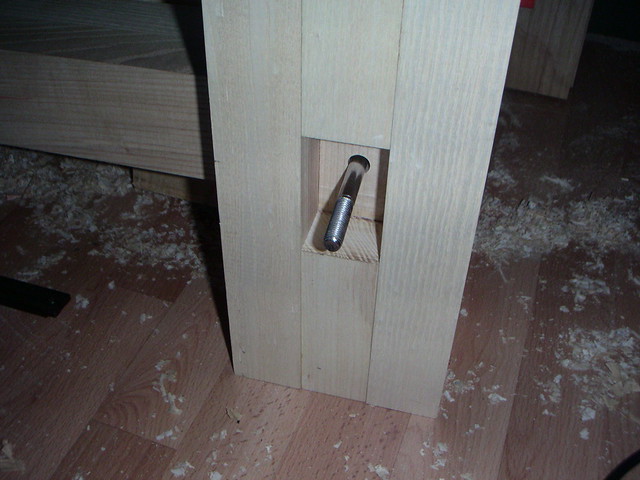
I could now drill the hole in small stages using my pillar drill for the leg section from both sides, the tenon and my hand drill for the stretcher. A hole in the side would provide access to attach a nut.
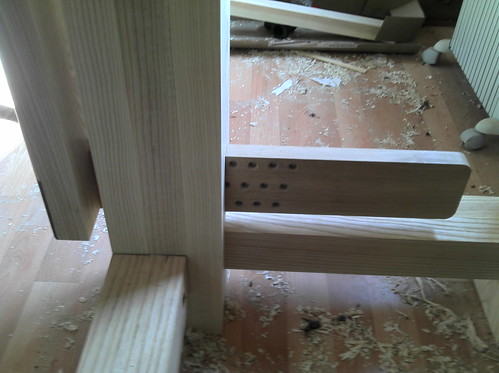
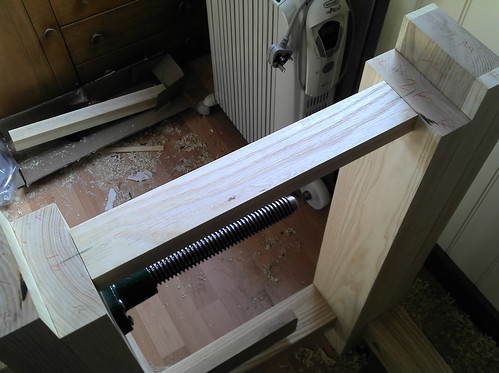
Here is a picture of the bolt appearing through the mortise.
Next job is to glue up the legs, I have some work to do on the leg which will hold a leg vice as this needs another mortise for a parallel guide. I also need to drill a hole for the vice screw.
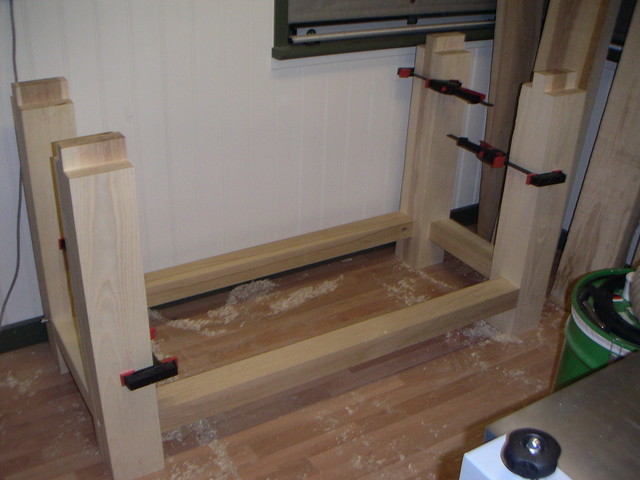
Once glued up I can tidy up the faces, reduce the dimensions a little and re fit the stretchers. These should finish flush with the legs when complete.
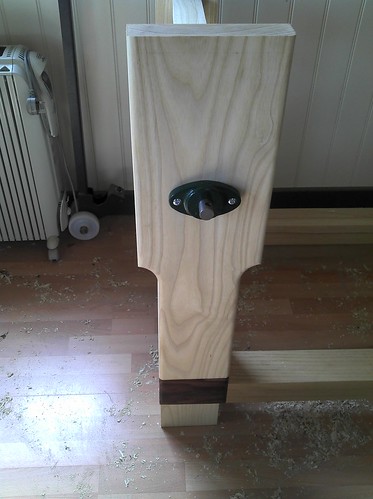
Here is how she sits just now;
This has been an enjoyable project so far, look out for another update as work proceeds.
Cheers, Tony.
Here are some pictures of a new project, to build a Roubo bench for the new workshop. I will take some pictures of my new workshop for another thread when it is not wet, covered in snow or fog, or so upside down it would be
.A new bench has been a priority for the last six months when I took delivery of a load of Ash boards, 8 x 2 (for the top) and 6 x 2 (for the legs) some posts for the long stretchers.
Here is a picture of the timber pile stacked in the corner where it has been for the last five months.
Sitting on the top of the wood stack is Chris Schwartz excellent workbench book a must read for anyone thinking of making a bench. I also would like to credit the excellent Benchcrafted website, lots of very useful guidance regarding leg and wagon vices also some design ideas.
The first job was to get started on the legs. The plan to laminate three pieces and at the same time form a tenon as a means to attach the legs to the top. The legs turned out just over 5” square. I carefully selected the best pieces for the fronts and backs of the legs and made good two very knotty pieces by laminating the edges with some offcuts.
Here you can see how the grotty bit is hidden in the middle.
I then made a start on the short stretchers, using the same dimensions for the legs only two sections here, it was easy to form a tenon on the end of these pieces. The first testing job was to cut the mortises in the legs, pictures as follows;
Remove most of the waste with a forstner bit and then tidy up with mortiser and chisel/file, taking care not to go over the lines!
The long stretchers presented more of a challenge. I also did not have much stock to play with. I was not working to any precise dimensions, trying to work as the material allowed. The post were only just over 4ft long and I decided to keep these as long as possible and ended up with a 50” length.
I came up with the idea of adding a tenon to the end using my domino machine pictures as follows;
The advantage of this approach became apparent when I set about drilling a long hole through the leg for the bolt used to hold the stretcher to the leg. This design feature would mean that the bench could be knocked down if needed to be moved. Gawd knows how heavy it will be. Can't lift two legs on my own!
I could now drill the hole in small stages using my pillar drill for the leg section from both sides, the tenon and my hand drill for the stretcher. A hole in the side would provide access to attach a nut.
Here is a picture of the bolt appearing through the mortise.
Next job is to glue up the legs, I have some work to do on the leg which will hold a leg vice as this needs another mortise for a parallel guide. I also need to drill a hole for the vice screw.
Once glued up I can tidy up the faces, reduce the dimensions a little and re fit the stretchers. These should finish flush with the legs when complete.
Here is how she sits just now;
This has been an enjoyable project so far, look out for another update as work proceeds.
Cheers, Tony.