OPJ
Established Member
It's fair to say that the Blanket Chest I made for big soft moose earlier this year went down very well, despite the fact that it took me the best part of three-months from start to finish...  I've since been 'commissioned' by Pete to build a Chest of Drawers in the same style (you may have seen the Design thread a few months ago). Due to various reasons (one being the workbench build, others being personal), I haven't been able to get started until now.
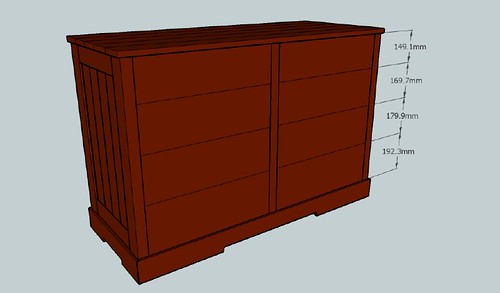
This is the design we agreed on for an eight-drawer chest with graduated heights on the drawer fronts. Overall, it's 1200mm long x 800mm tall x 500mm deep.
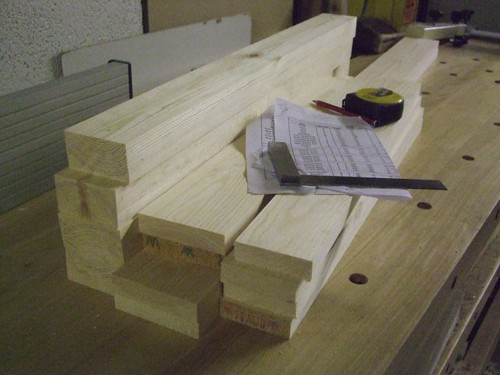
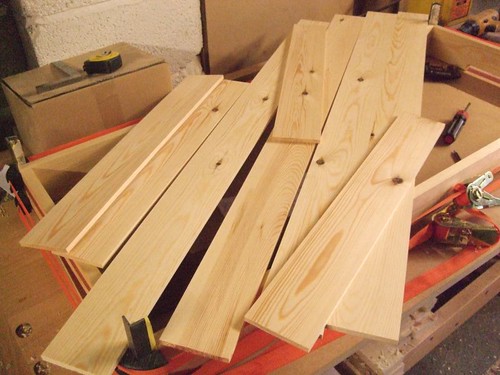
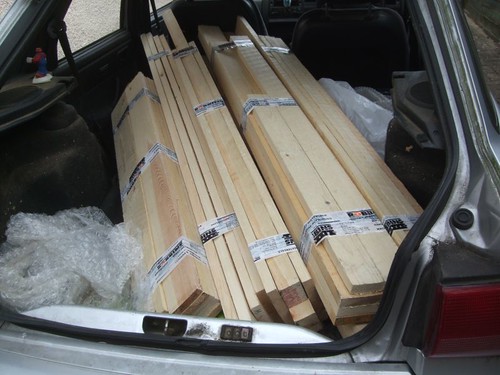
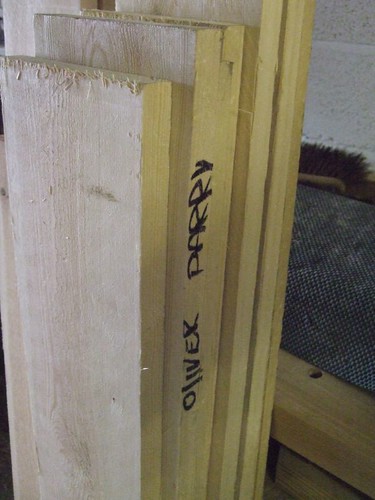
This morning, I managed to collect my first ever order with Robbins Timber, near Ashton Gate. All cut to length and nicely taped together, ready for me to throw in the back of my "van"...
It seems that, even when you e-mail through an order, people have trouble with double-barrel surnames... :roll:
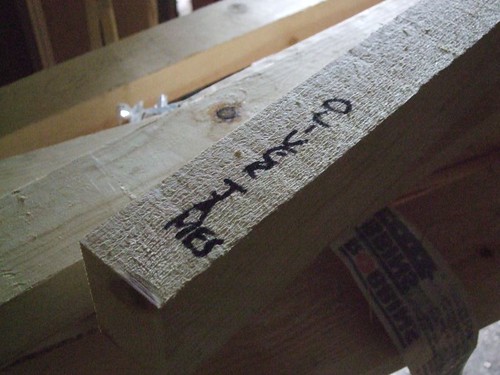
Almost got it right the second time!
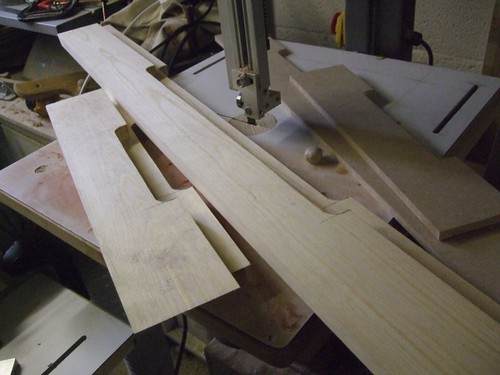
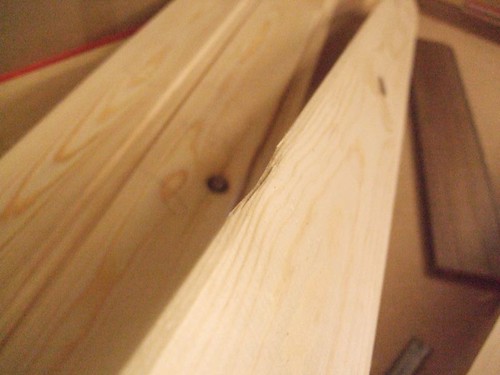
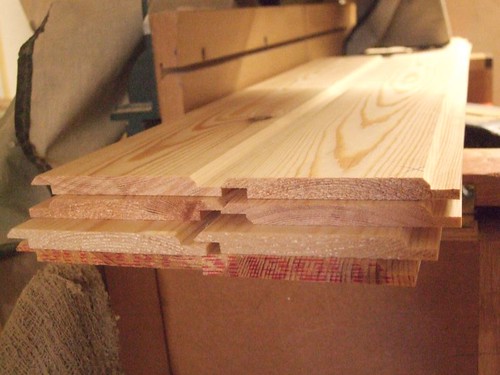
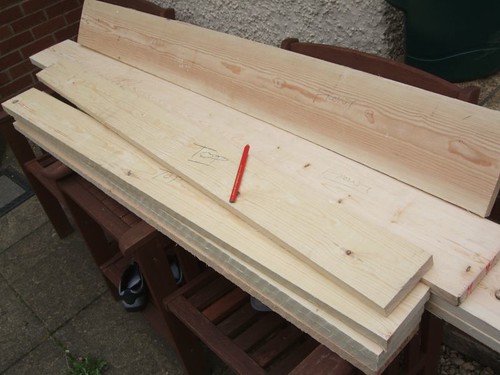
I won't begin the proper build until Monday, once this wood as had a few days of brief acclimatisation. I do want to show off the quality of these boards - even the wide ones are (currently) split free and I haven't seen an inch of pith anywhere! 8) This is what 'unsorted' redwood should be like; unlike some of the 'fifths' I probably had at Bristol City Timber last time.
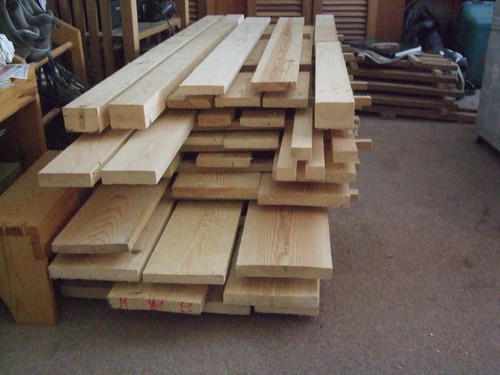
This next shot usually provokes a reaction from Mike Garnham, telling me I've bought too much wood... Don't forget the small pile of brown oak in the background, Mike! :wink: I've stacked this lot methodically, so I can pick straight from the top in line with my scheme of work - 'frame, top, drawers', for example.
Because my cutting list was produced from much longer stock, I have a few leftovers, just in case. The whole lot cost just over £100 including VAT, which I'm quite pleased with.
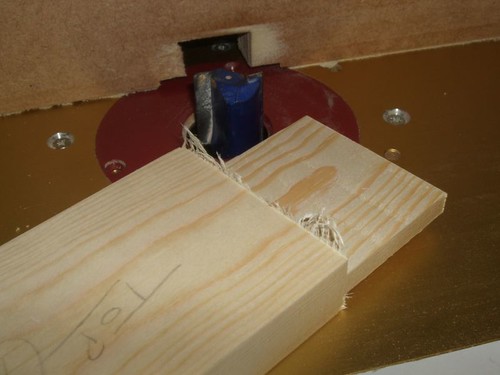
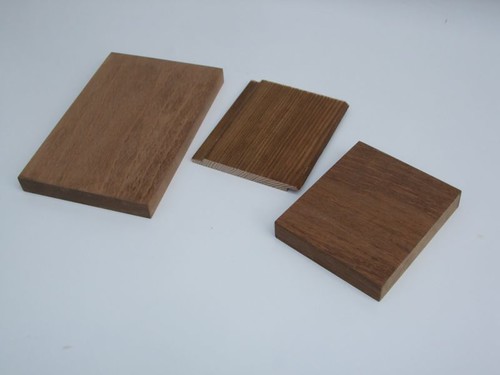
Yes, I am using brown oak for the runners, muntins, slips and front drawer rails. I wouldn't normally 'give' this sort of timber away but, it will make for a better job and I've got too much of it in my workshop. It's also cheaper than buying more redwood, which I can barely afford right now. I did some test staining on a couple of scraps (the other was a piece of beech) and, although this photo isn't perfect, the stained brown oak should be a reasonably close match for stained pine.
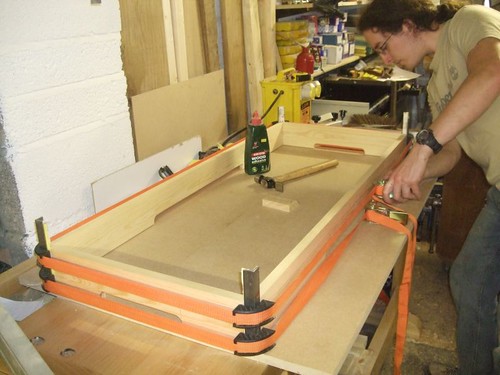
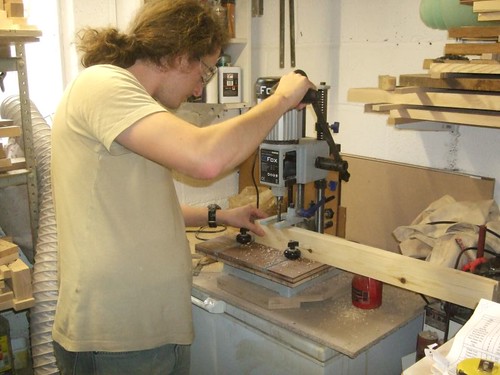
With my new 'bench built and the workshop generally in a better shape that it has been for the last four-years [though, there's still much work to be done!], I'm feel confident that I can get this job finished by the end of the month. Building the carcase shouldn't really take too long, it's only hand-cutting the drawer dovetails that I'm not looking forward to. :? My Earlex spray gun should help to apply the stain and lacquer so, that's less of a worry this time around.
I will need to buy a sheet of 6mm plywood. The scraps I have are in two different colours, which won't do for the drawer bases. Funnily enough, at Robbins earlier, I noticed they now do sheets of 6mm ply with V-grooves running down the length... I'm not paying £80-£90 a sheet though when I can do it with a router for much less!! :shock: :wink:
I've since been 'commissioned' by Pete to build a Chest of Drawers in the same style (you may have seen the Design thread a few months ago). Due to various reasons (one being the workbench build, others being personal), I haven't been able to get started until now.This is the design we agreed on for an eight-drawer chest with graduated heights on the drawer fronts. Overall, it's 1200mm long x 800mm tall x 500mm deep.
This morning, I managed to collect my first ever order with Robbins Timber, near Ashton Gate. All cut to length and nicely taped together, ready for me to throw in the back of my "van"...
It seems that, even when you e-mail through an order, people have trouble with double-barrel surnames... :roll:
Almost got it right the second time!
I won't begin the proper build until Monday, once this wood as had a few days of brief acclimatisation. I do want to show off the quality of these boards - even the wide ones are (currently) split free and I haven't seen an inch of pith anywhere! 8) This is what 'unsorted' redwood should be like; unlike some of the 'fifths' I probably had at Bristol City Timber last time.
This next shot usually provokes a reaction from Mike Garnham, telling me I've bought too much wood... Don't forget the small pile of brown oak in the background, Mike!
:wink: I've stacked this lot methodically, so I can pick straight from the top in line with my scheme of work - 'frame, top, drawers', for example.
Because my cutting list was produced from much longer stock, I have a few leftovers, just in case.
The whole lot cost just over £100 including VAT, which I'm quite pleased with.
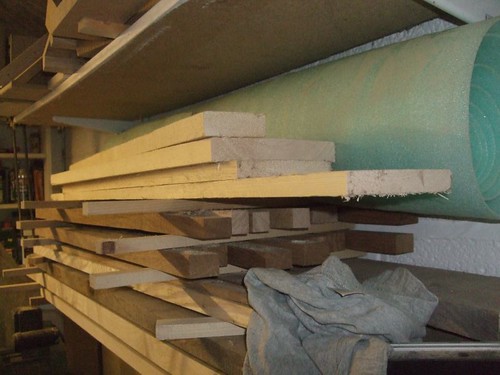
Yes, I am using brown oak for the runners, muntins, slips and front drawer rails. I wouldn't normally 'give' this sort of timber away but, it will make for a better job and I've got too much of it in my workshop. It's also cheaper than buying more redwood, which I can barely afford right now. I did some test staining on a couple of scraps (the other was a piece of beech) and, although this photo isn't perfect, the stained brown oak should be a reasonably close match for stained pine.
With my new 'bench built and the workshop generally in a better shape that it has been for the last four-years [though, there's still much work to be done!], I'm feel confident that I can get this job finished by the end of the month. Building the carcase shouldn't really take too long, it's only hand-cutting the drawer dovetails that I'm not looking forward to. :? My Earlex spray gun should help to apply the stain and lacquer so, that's less of a worry this time around.
I will need to buy a sheet of 6mm plywood. The scraps I have are in two different colours, which won't do for the drawer bases. Funnily enough, at Robbins earlier, I noticed they now do sheets of 6mm ply with V-grooves running down the length... I'm not paying £80-£90 a sheet though when I can do it with a router for much less!! :shock: :wink: