My workshop (garage) and some more TS mods.

UKworkshop.co.uk

Help Support UKworkshop.co.uk:

This site may earn a commission from merchant affiliate links, including eBay, Amazon, and others.

Ateallthepies

Established Member
Joined
22 Nov 2010
Messages
204
Reaction score
0
Location
Rickmansworth
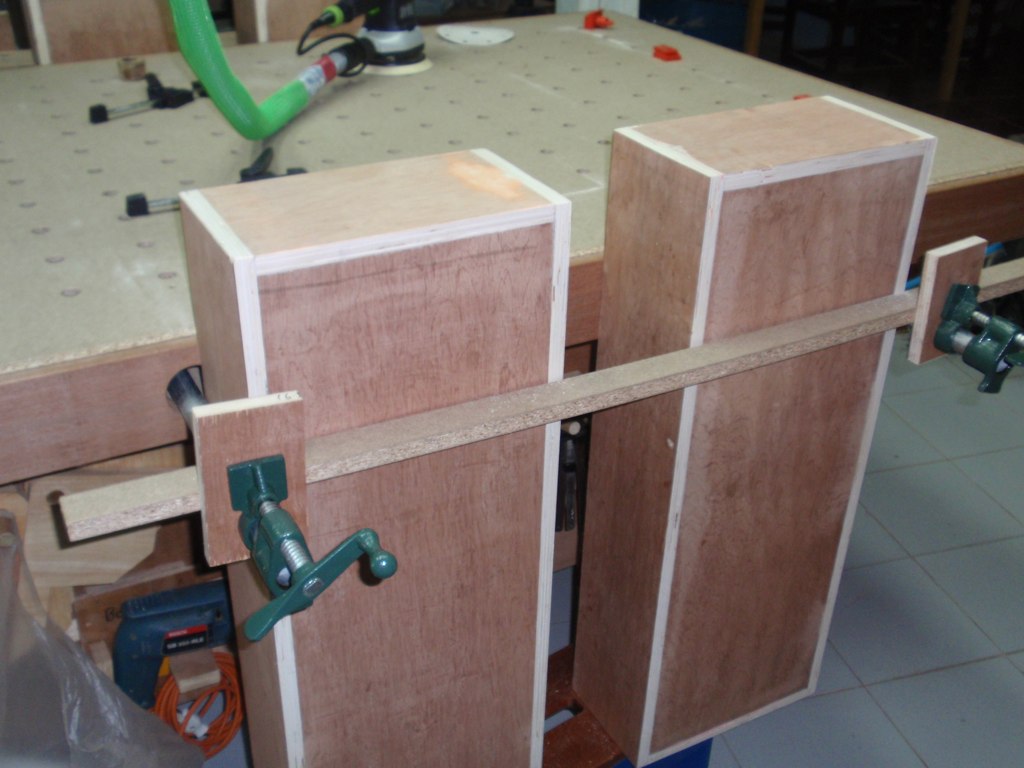
Thought it was about time I posted some pics of my workshop. It is a bit cosy and will be even more so as soon as I get the funds to buy a decent floor standing jointer.

001-5.jpg


002-6.jpg


003-4.jpg


Now here are a couple more mods to my TS-200. I made up an out-feed table out of some 12mm ply and used a couple of door hinges to attach it to the saw.
Also I dug out my Triton router and table that has been hidden away unused since I bought it 3-4 years ago. I used some angle iron to attach it to the left hand side of the saw so I can use it as left hand side table when the fence is removed.

006-4.jpg


007.jpg


008-2.jpg


I haven't quite figured out how to keep the out-feed table in the raised position without using a separate roller stand as in the pics but I'm sure it will involve a bit of angle iron bolted on somehow?

When using the saw I realized that turning it off was a fiddle and my attention is taken away from the moving saw to switch it off. After thinking about it and seeing somebodies video on the same subject, I made a hinged swing arm that is operated by my knee. It was made from some scrap wood, a hinge and a foam drill sanding thingamyjig! Works very well and keeps my attention on the moving saw.

004-2.jpg


005-2.jpg


One question I would like to ask about the router table, how much table is needed in front of the bit? In my pics you can see a bit of MDF in a frame that is in front of the bit. I would like to saw off this frame to save some space but this will only leave about 5" of table. How much table is needed for a hobbiest like me?

Thanks and hope you like,

Steve.
 
Yes, that is another passion of mine, traditional archery. Those are some of the bows I have made and kept and range from English longbow, american flat bow, horn/wood/sinew asiatic style bow and other types.


Steve.
 
Excellent. A bow is on my list of things to make before i die. Me and a mate are starting a cross bow project shortly. We both collect weapons and have an interest in them. I you wouldn't mind could i pick you brains and gather some tips from you on how best to make the bows?
 
Thank you, ill start another thread at some point, wouldn't want to divert attention from your shop.

Your router table only need to be big enough for you to safely push the material through and connect a feather board if required. If your going to start using raised panel bits then you will need a far larger table. If your only used say 1/2 round overs and pushing no more then 4" stock through then your 5" should be enough if you don't require a feather board or a slot to run a mitre or sled in.
 
Ah didn't think about using a feather-board. Cutting the table would not leave much room for one if using stock more that a couple of inches wide.

Although making raised panels is something I don't plan on doing any time soon, I think I will leave the table as is. Plus I just figured out what that bit of MDF is for, It must be the sliding carriage for routing small end cuts?

Ta,

Steve.
 
Ateallthepies":51tgljvv said:
One question I would like to ask about the router table, how much table is needed in front of the bit? In my pics you can see a bit of MDF in a frame that is in front of the bit. I would like to saw off this frame to save some space but this will only leave about 5" of table. How much table is needed for a hobbiest like me?

Thanks and hope you like,

Steve.

Your question as you have phrased it is impossible to answer.

4625797427_fdfee5ed4c_z.jpg

4626412572_650e813748_z.jpg


This size of table could be big enough.
5009771151_25e8173371_b.jpg


But as I am building boxes this size with piano hinges that are about 75cm long both the in-feed and out-feed were too short.

So the answer to "How much table is needed" is that it depends on the size of items you want to use on it. So only you can answer your own question.
 
Cheers Jerome,

Yes I see your point, and bigger if possible is always better as we just don't know the size of the pieces we may need to route?

I am very new to routing and to table routing at that. I have only ever made up some architraves and skirting with a round over bit before for a client to match some existing old stuff.

I reckon my table will be used for this sort of thing and for routing small widths but you never know what I may need to route so will keep the table full width for now?

Ta,

Steve.
 
Looks like a nice workshop where you can move around and use things with some freedom. Where do you hide your planer? I can see the thicknesser.

On my router table (top is 450mm deep), I offset the plate from its central position slightly closer to the front. This was so that I could push the fence slightly further back in case I need to cut any parallel grooves on a wide board or something (... I haven't yet! :-D). The overall depth of your fence may also help you to make a decision.

If you're table is to be of a similar size though (600x560mm) then, I reckon you want about 200mm/8in from the front edge to the centre of the plate. Certainly no less than 150mm/6in. Most of the stuff I work with is fairly narrow, for furniture making (3in or less). When I need to cut a groove in the face of a wider board, it's easier to use a slot cutter and to run the board on edge, with the face against the fence.
 
Just showed my girlfriend the pictures of that garage and told her thats what our garage will look like when we get a house! She said a garage is for a car! Don't know where she gets that idea from! Anyways, looks like I'll be stationed down the back of the garden!
 
Cheers Olly for the router info. I have a small bench-top Rexon jointer and at the moment it is on the floor down by the thicknesser!

Would be a squeeze getting my van in the garage or a car for that matter. Much better to fill with important stuff like tools :)


Steve.
 
Had some more time in the garage today so did some more things to the TS-200.

First I wanted to make the dust extraction a little more efficient. What I came up with was to add some MDF to the below table saw guard/cover. First I stuck some 18mm MDF to the side with double sided tape in line with the top rim. Then some 6mm MDF was cut around the blade and riving knife and placed on top and screwed to the 18mm side panel.
This has made quite a difference and my Henry vacuum is able to draw much more dust in now the large gap to the side of the blade is gone.

001-Copy.jpg


002-Copy.jpg


While I have the insert out you can see the strip of wood to the left of the blade which gives the insert something to rest on.

The table top was pretty sturdy to begin with but I added some angle iron to stiffen it completely. Also I did the same with the side router table. Solid as a rock!!

004-Copy.jpg


003-Copy.jpg


After completing these mods I decided to make a couple of cross-cut sleds. The first was made to take the smaller 600mm wide boards the sheds sell. The base is 6mm ply and the runners are 3mm plastic that Axminster sells. The rails are some pine that I planed flat.

005-Copy.jpg


006-Copy.jpg


007-Copy.jpg


And a smaller version out of 6mm MDF and 18mm MDF with the same plastic runners.

008-Copy.jpg


009-2.jpg


I also realized that I needed to cut some slots in the out-feed table but I don't have any straight cutting router bits yet so I just knifed the lines and chiselled out the middle. Only took about 40 minutes.

Oh and the stop paddle was a joy to use and was so easy to turn the TS off with either my knee or hand without having to fumble around for the tiny original stop button.

Quite a productive day for me but now the garage looks like a tornado as passed through :shock:

Any comments welcome and hope you enjoy the pics,

Steve.
 
Hi Steve
Just one point on the cross-cut sled. It would be a good idea to fix an MDF box to the outside rear area, so that when the cut is complete, the blade is not exposed. You will be operating the sled with your thumbs in that vicinity and even though the blade is bright red, it's only 3mm wide from your point of view. It's the easiest thing in the world to nip your thumb as you push forward. The box would ensure that the blade is covered when it exits.
Cheers
Steve
 
Ateallthepies":3iq2yxeg said:
Good point on the guarding. Steve you said put a box on the rear but did you mean the front bit that faces me?

Steve.
Yes. I see it as the rear as it is the back end as you push forwards.
S
 
Back
Top