Multico Tenoner Restoration

UKworkshop.co.uk

Help Support UKworkshop.co.uk:

This site may earn a commission from merchant affiliate links, including eBay, Amazon, and others.
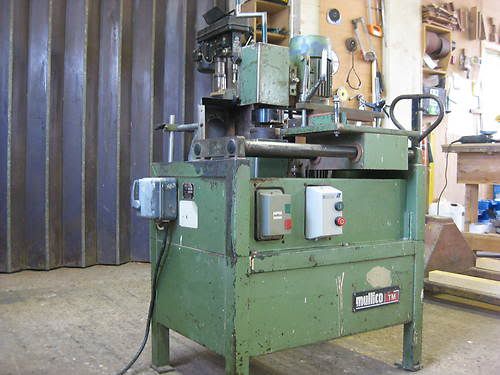
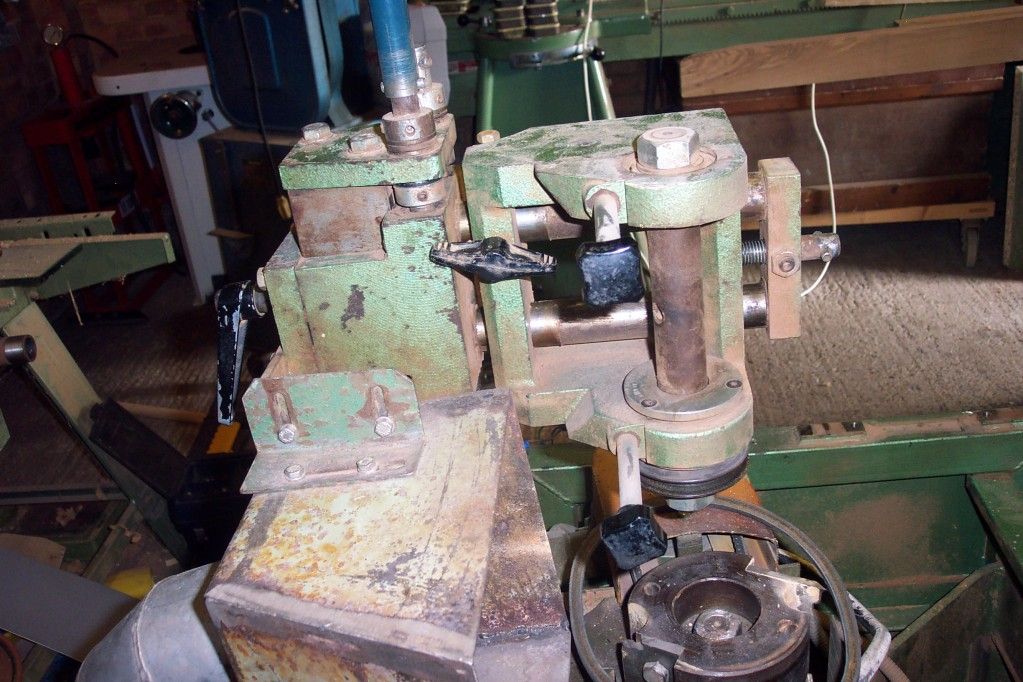
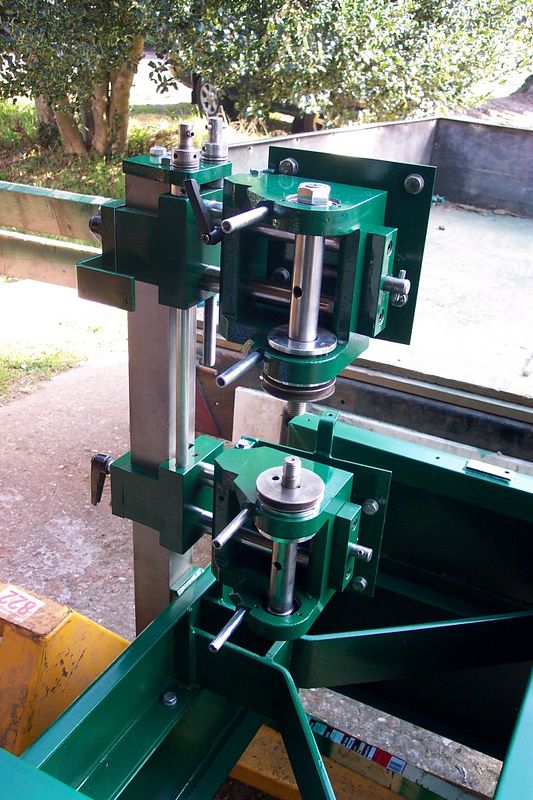
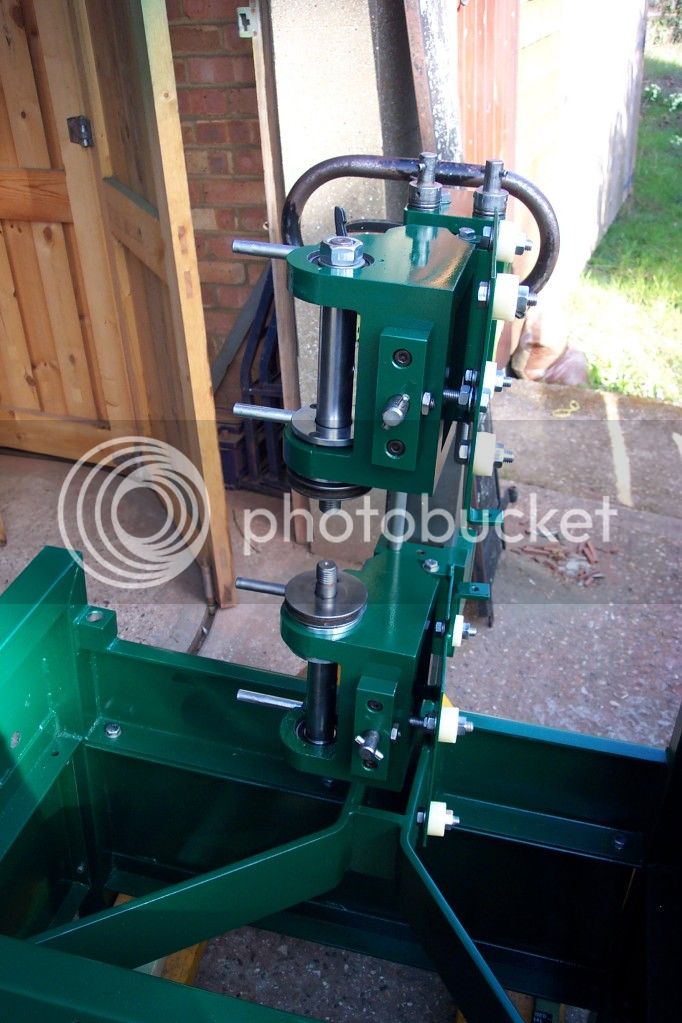
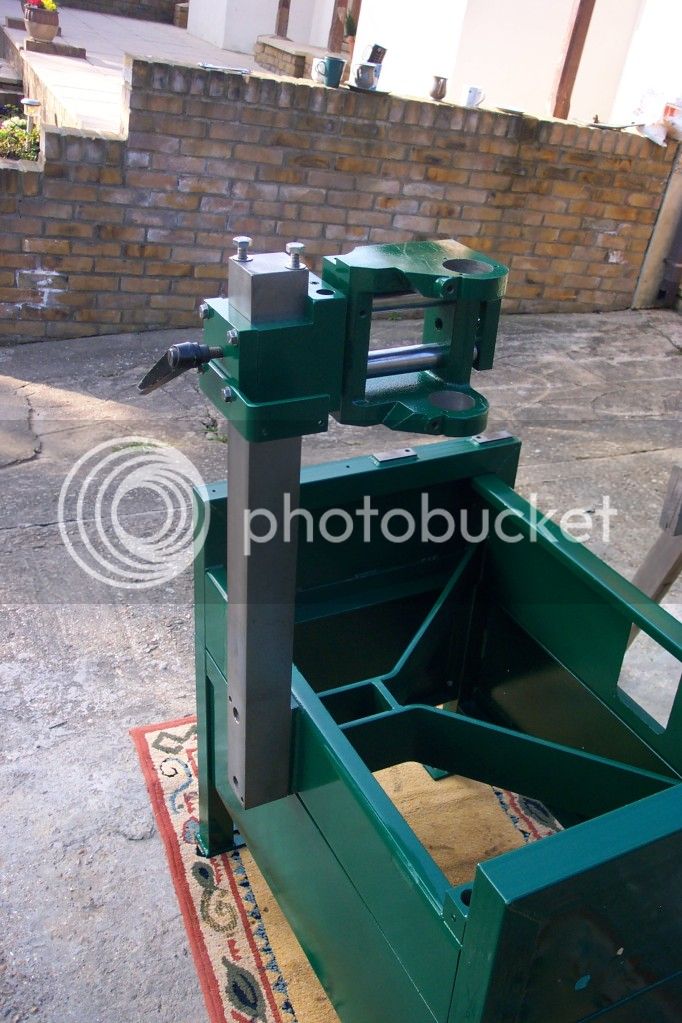
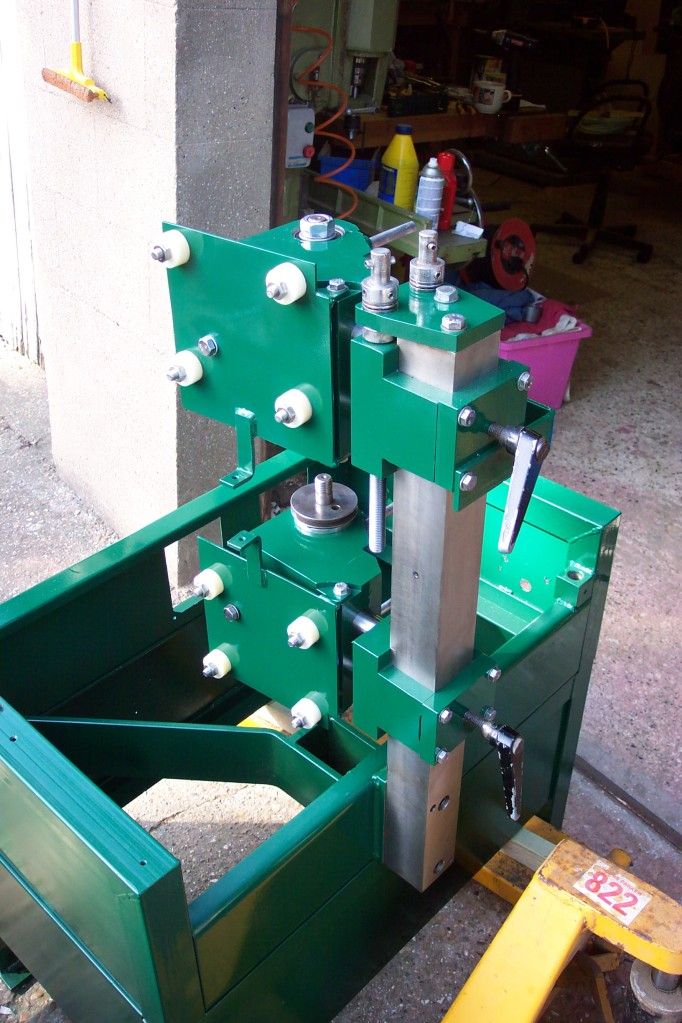
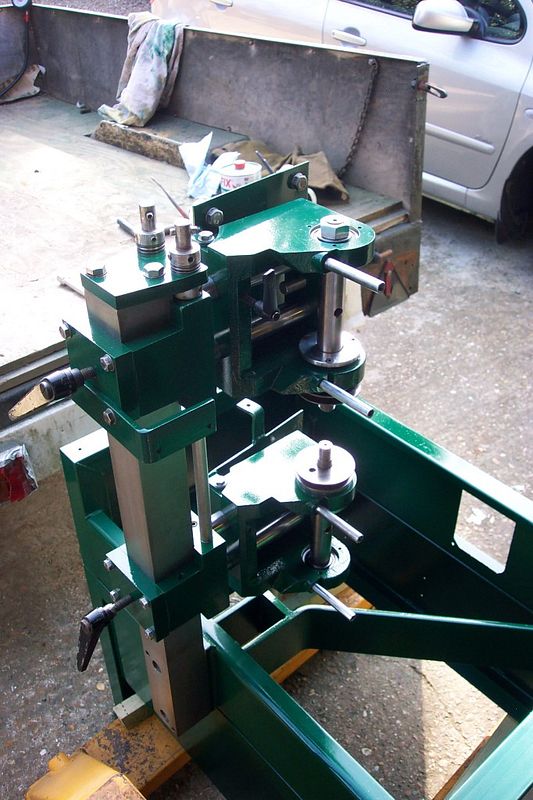
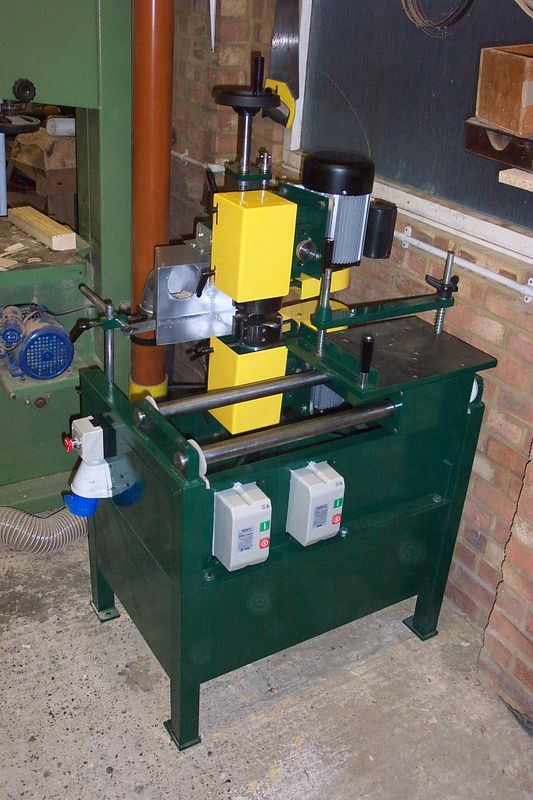
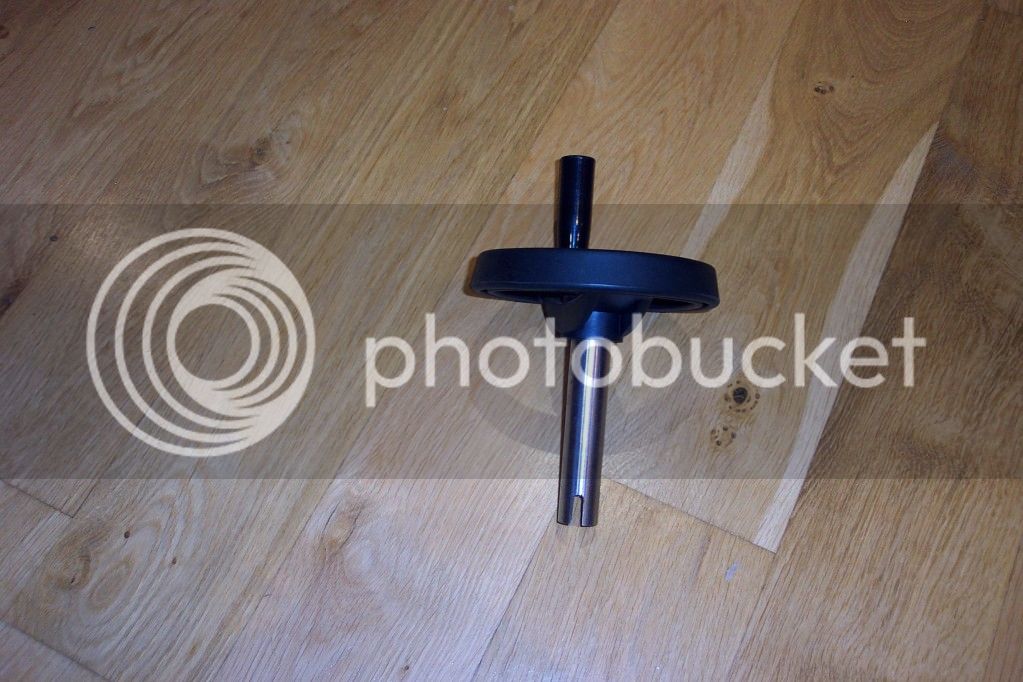
Yes, they were designated "TM1" or "TM3" depending on whether they had single-phase or three-phase motors. There were a couple of other very obscure models like the "STM" which could be used as a spindle moulder with the sliding carriage removed and a regular table put in its place, and there was the "DTM" which was a double-ended machine for doing a tenon on both ends of the workpiece at the same time, but they were so fiddly that it took more time than just flipping the workpiece around and re-running it, I've never seen a complete machine but I have seen them separated.

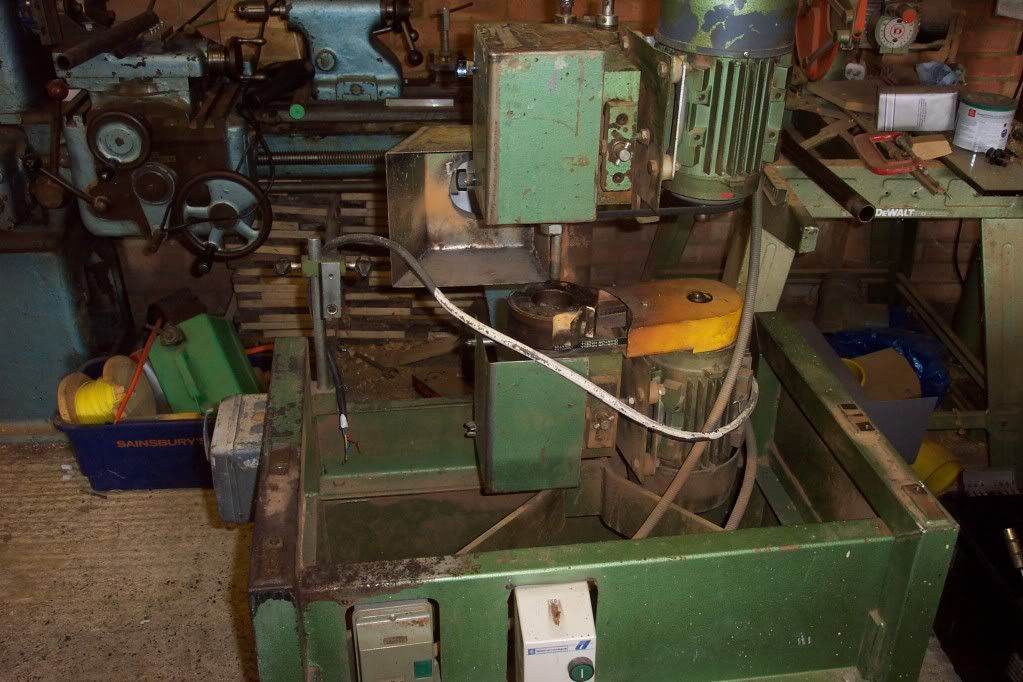
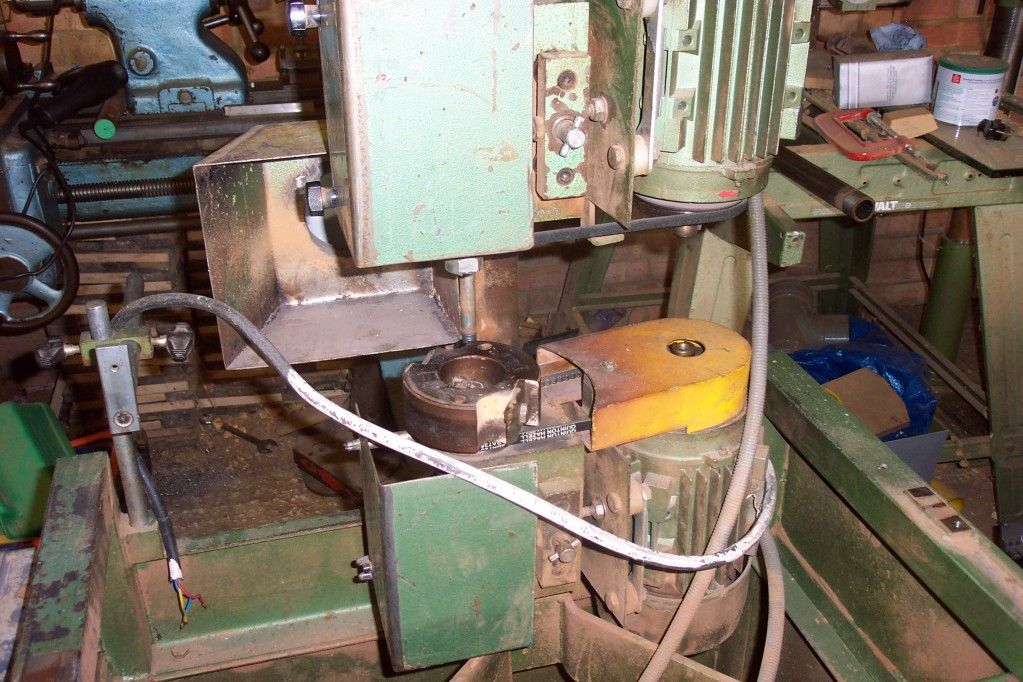
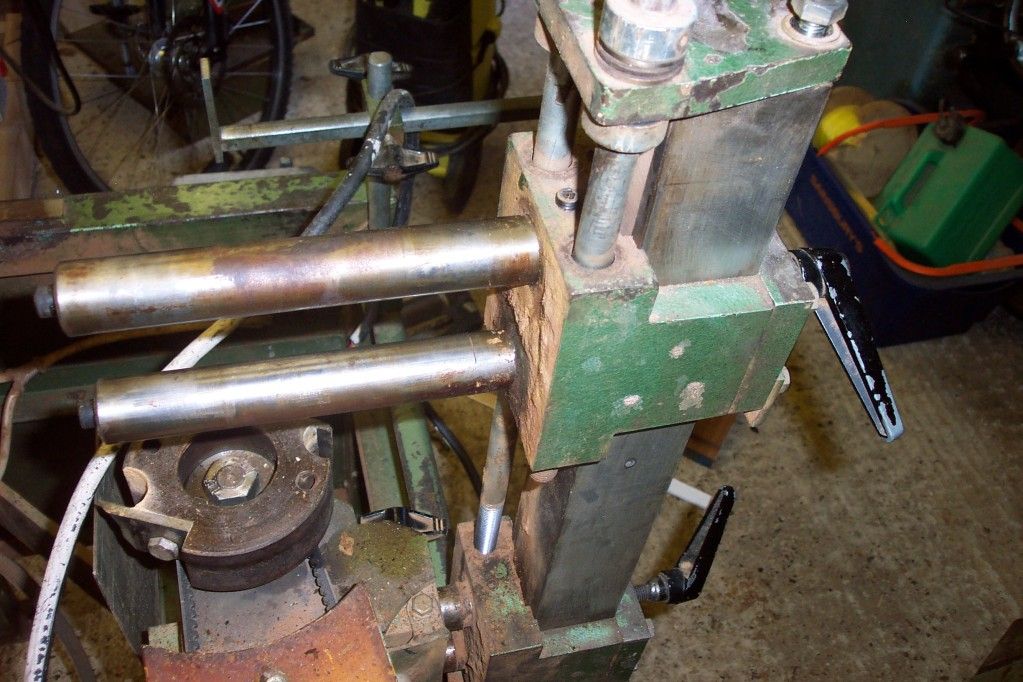
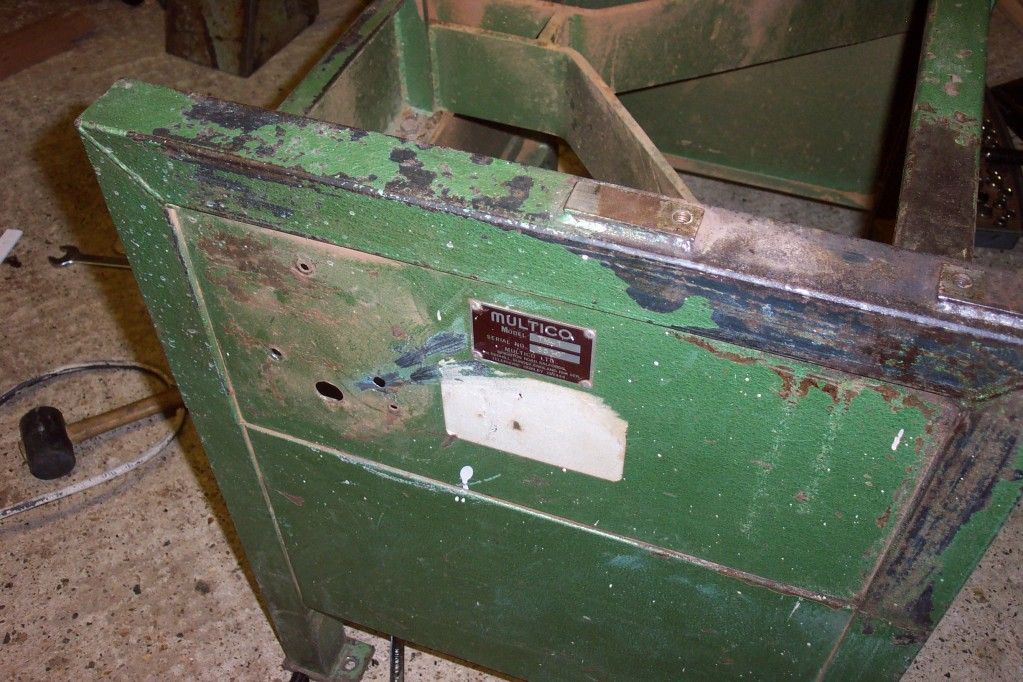
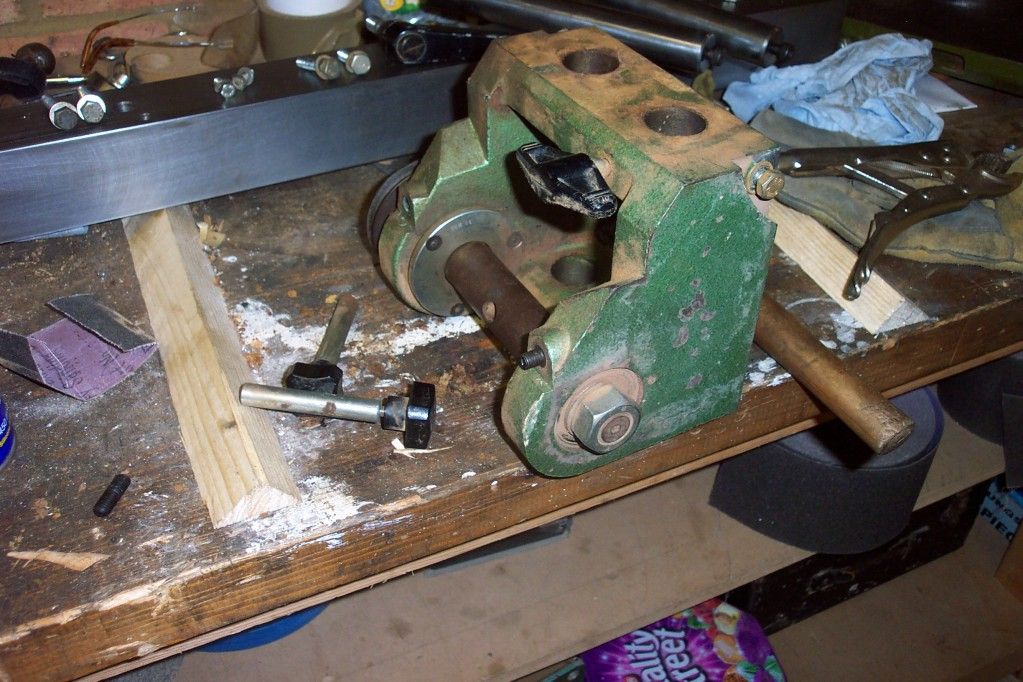
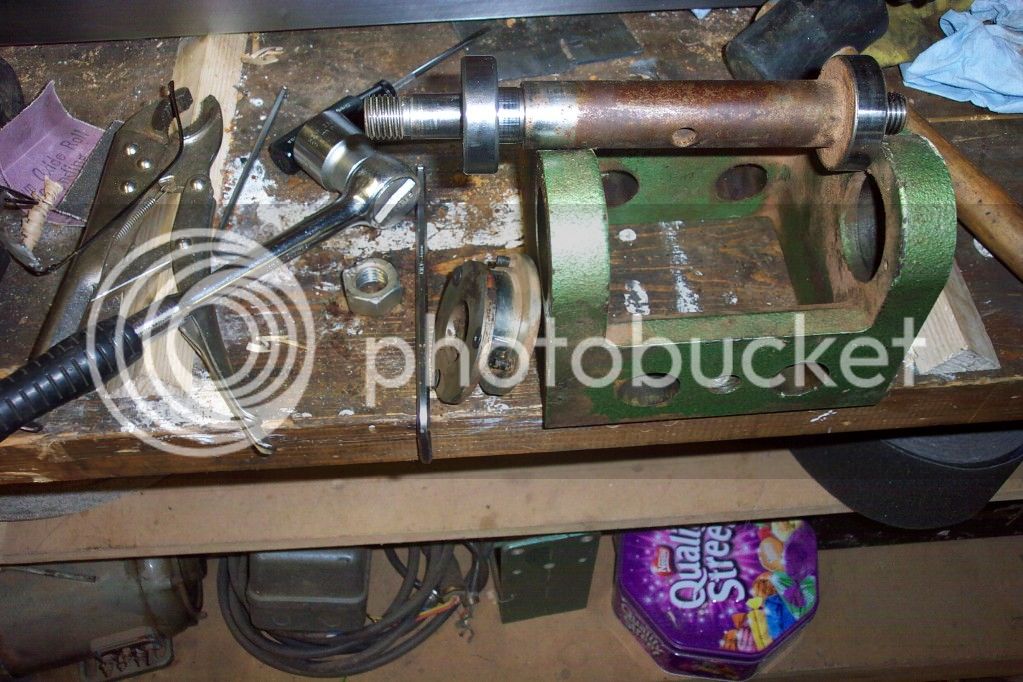
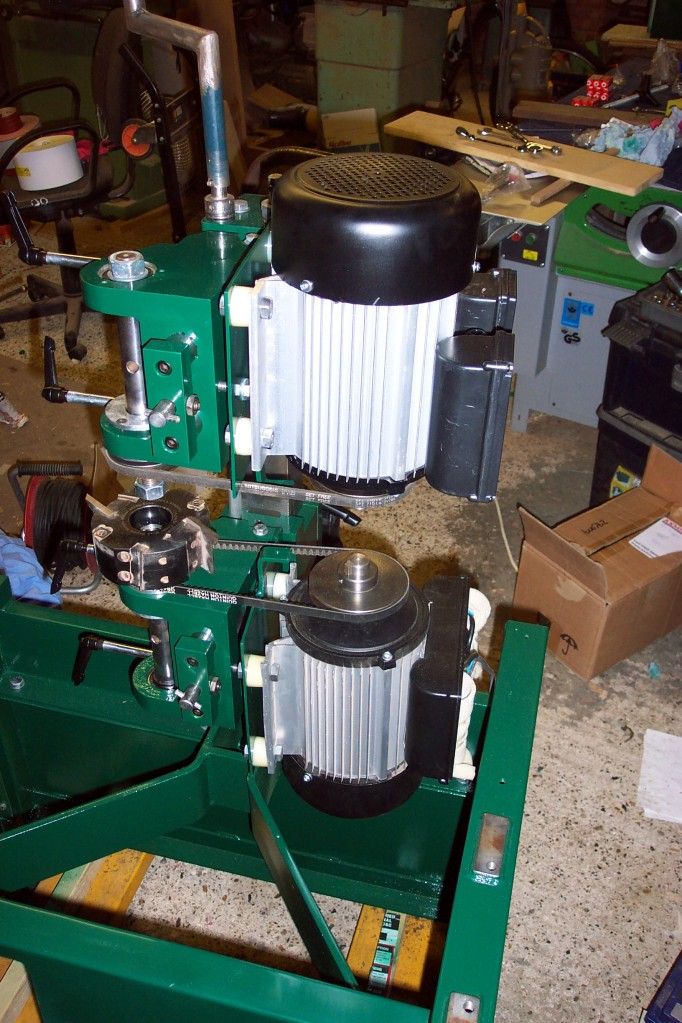
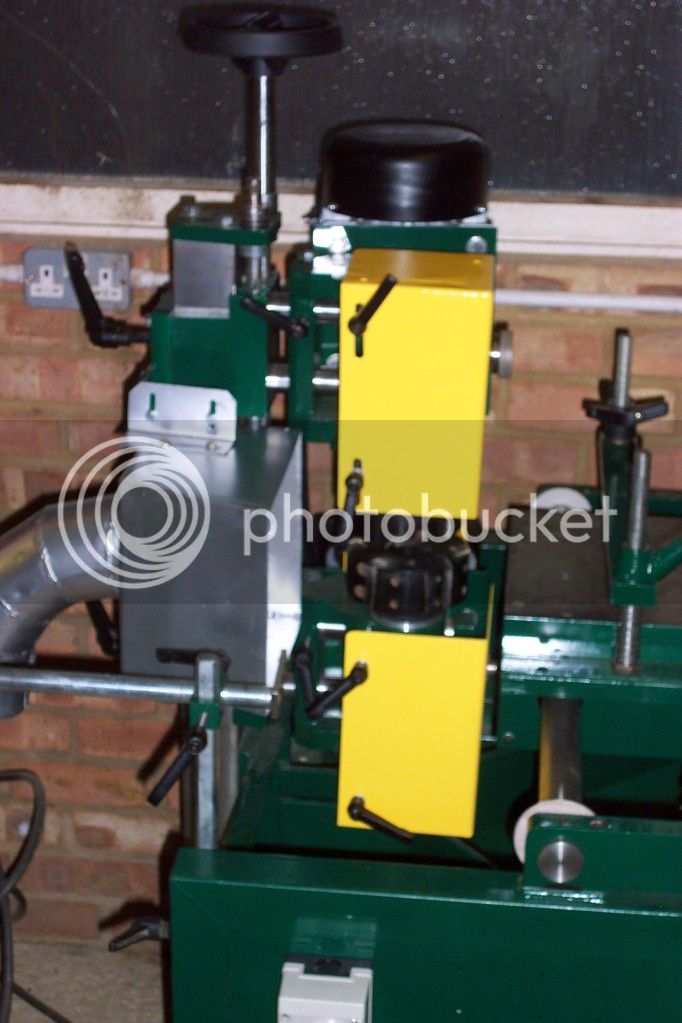
I haven't got a clue what the bearing numbers are but I would assume they're a standard metric size, unless someone chimes in and can confirm the numbers I would suspect you'll have to tear down the machine to find out which would be the best course of action anyway so you can have a solid confirmation on the bearing size. My Multico Thicknesser, for example, is a pretty early model that uses imperial NLJ-1 self-aligning bearings on the cutter head and to source new ones are about £50 a pop, the later models used a more standard metric bearing which were far cheaper. I'd probably wager that the TM tenoners all have the same bearings though, but you can never be certain.

I almost always use SimplyBearings for my bearing needs because they're usually cheapest for SKF bearings, and they're still open.
 
Glenhyrst said:
Thanks for the response. My sliding table is different in construction from yours.
The table and sides are a single casting.
On the cutterblocks side are 2 pulley rollers on the top side of the round bar and one bearing on an eccentric shaft on the underside.
On the near side are a top and bottom eccentric-shafted bearings.
All are through bolted to the sides of the slider.
The problem I have is that there is not enough eccentricity in the shafts to allow enough adjustment. It appears that I would need to adjust the positions of the 2 pulleys.
I am loath to try moving the pulleys. It is not clear to me how to satisfactorily achieve this. Are they in fixed positions or are they too on eccentric shafts. I suspect the former. The drawings available from Scott and Sargeant are not at all helpful, even where legible, and the table structure depicted is dissimilar to mine.
At the moment, the easiest thing to do is to shim the blocks supporting the round bars.
If I had more time and skill I guess I could machine bolts with greater eccentricity or buy bearings fractionally bigger.


The sliding table needs to be parallel with the bars not the cutter head in the X direction, I.e. the direction the table slides. If it isn’t, the tenons across their width will be angled. The table needs to be parallel to the cutter heads in the Y direction, or the direction you push the wood onto the table. If it isn’t, the tenons will be angled along their length.

I’ve rebuilt 5 of these great machines at last count, all were different under the table! I had one that sounds to have been identical to yours where I also had the same issue where I could not get the table coplanner with the bars. I had to detach all of the roller mounts (which were castings that are simply bolted to the table) and having carefully labelled them, started to rebuild the table using every permutation of where they could be located. One of the combinations allowed me to adjust the table properly. I concluded someone had had a go at it and not assembled it back with the rollers in the right place.
 
Hi Mr Gaza
They are standard metric bearings. The five machines I’ve restored have all had 6205 bearings with rubber shields.
 
Thank you Trevanion for putting me straight. I must have used at least 5 Multicos' in various workshops over the years and obviously never properly understood the nomenclature, I don't recall ever seeing a manual! I think that makes rather a nonsense of my claim to owning a single phase TM2?! Interesting to hear about the variants too.. Thanks again.

Deema you are a Star, thank you for the bearing size. Those will be 2rs suffix for 2 rubber seals. I will order today. I checked out bearings on ebay last night and there still seems to be a good supply.

I managed to do the remaining tenons last night accompanied by some wailing and moaning, at least I couldn't hear the bearing above that! First time I have had a scribing cutter in my new Whitehill blocks too, so all went well.
The plan was to knock the bearing out today, but I might just press on with the woodwork and wait till the bearings come.
Next job is a huge batch of shutters for an entire row of Victorian shops in London, hence why I don't want a machine down in the middle of that!

Thanks again for your help chaps.. I'll be back. :D
 
Well I got the woodwork as far as I could and decided that I just had to have a go at getting to the bearings. The dismantling was all fairly intuitive, I'll talk you through it if anyone feels the need. The hardest part was undoing the nuts on the cutter heads. Using an old Norton Roadholder stanchion as a breaker bar over my socket bar did the trick. No washers under the cutter head nuts though, is this right?

So the bottom bearings where the noise was very loose and worn at the top and quite crunchy and lumpy at the bottom. The top shaft was okay as it goes, but these will be changed too.
The reason for the problem is most definitely that the previous person who interfered used 6205Z bearings, that's metal shields not rubber seals.. No good where there is dust and debris!
So I'm hoping that the new bearings will arrive on or before the weekend and I'll be back in business.
 
For those that may be interested I have just brought a Multico tenoner back from the brink

Here is a pictorial diary of the project

As bought

KGrHqZHJC4E8y0NYZBPU8pPIp7Q60_12.jpg


The stripdown

DCP_2407.jpg


DCP_2414.jpg


DCP_2408.jpg


DCP_2413.jpg


DCP_2409.jpg


DCP_2415-1.jpg


DCP_2416-1.jpg


DCP_2422.jpg


DCP_2423-1.jpg


DCP_2424-1.jpg


DCP_2426-1.jpg


And following new bearings, solid steel bed bars, Bristol levers and paint the rebuild

DCP_2427.jpg


DCP_2428.jpg


DCP_2430.jpg


DCP_2431.jpg


DCP_2432.jpg


DCP_2434.jpg


DCP_2435.jpg


DCP_2430-1.jpg


DCP_2436.jpg


DCP_2437.jpg


Two new single phase motors

DCP_2438.jpg


DCP_2441-1.jpg


DCP_2443-1.jpg


DCP_2444-1.jpg


And the finished machine

DCP_2514.jpg


DCP_2515.jpg


with new switchgear plus an emergency stop button

DCP_2516.jpg


DCP_2517.jpg


DCP_2525.jpg


In addition these are a couple of parts I made for the machine which includes a new height adjuster

DCP_2519.jpg


plus it would appear that the step shoulder adjustment is also adjusted with this same tool which especially for the bottom block was extremely hard to fit in around the sliding bed so I made this which works far better

DCP_2521.jpg


DCP_2522.jpg


DCP_2524.jpg


DCP_2520.jpg


The next item I intend to fabricate is a new extraction hood as the one fitted is not very efficient

Finally a big thanks to Bob (9fingers) who greatly assisted with a wiring diagram to wire the machine safely.
Hi there I'm reasonably new to this forum just in the process of restoring a tm3 myself. My only problem is remembering which bearing went where on the underside of the table I can't seem to keep it from sliding off square have you got any pics of the underside of yours? Tidy job by the way.
 
Back
Top