Looking god 8)
And nice to see "my" design in another colour :wink:
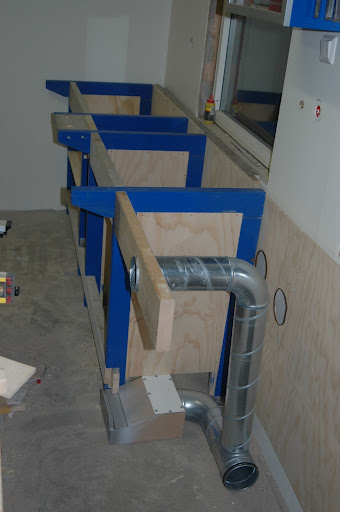
How did you attach the front and back top rails, it's difficult to see in the pictures.
And how's the vise mounted ?
Are you planning drawers under the vise and cupboard doors on the rest (like mine") ) ?
) ?
Mark
And nice to see "my" design in another colour :wink:
How did you attach the front and back top rails, it's difficult to see in the pictures.
And how's the vise mounted ?
Are you planning drawers under the vise and cupboard doors on the rest (like mine
) ?Mark