Paul Chapman
Established Member
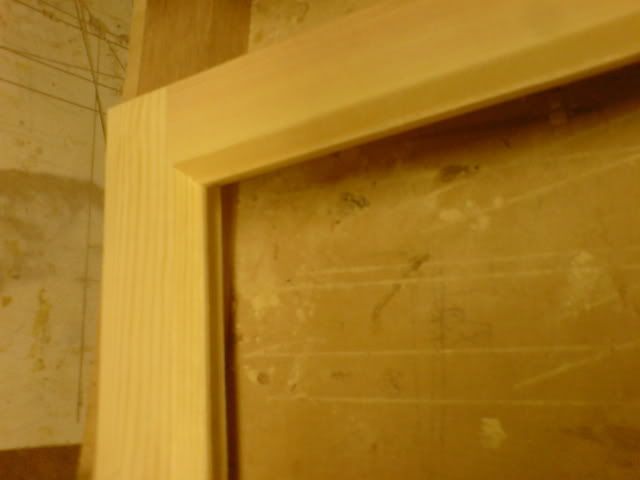
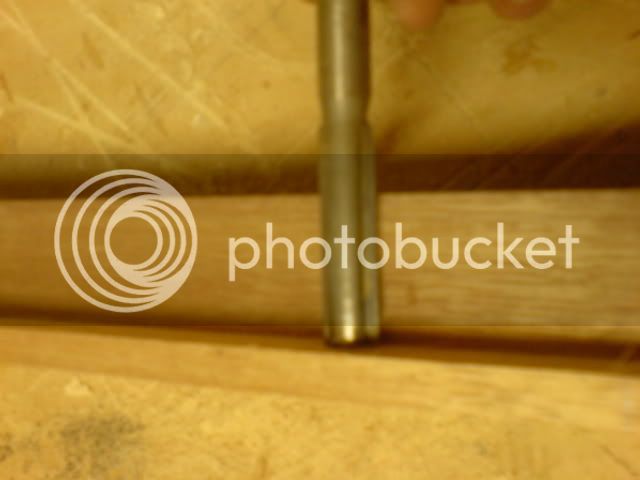
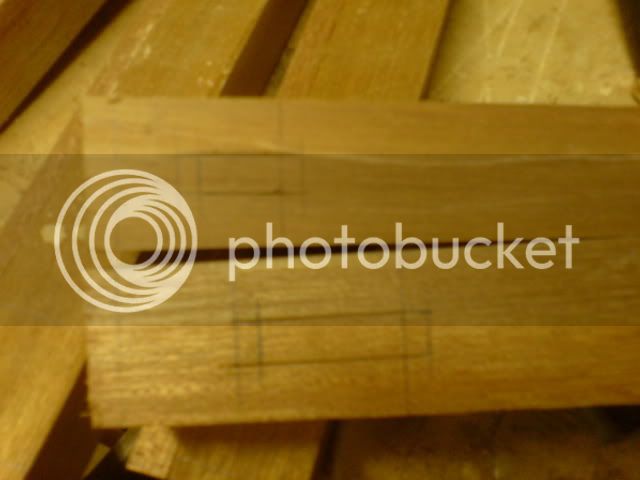
Scrit":2mjjytor said:Do you add a cold stop groove around your frames? Also what about a drip groove?
Scrit, I know what a drip groove is, but what's a cold stop groove?
Cheers :wink:
Paul


Scrit":2mjjytor said:Do you add a cold stop groove around your frames? Also what about a drip groove?

JFC":2ob4ce5f said:I did have a tidy up after the fire and promised myself to keep it that way as it was a pleasure to work that way ........but i'm so busy it's mayhem again
:shock:Joinery grade redwood is available you just have to find the right timber merchant. There will be one near you.Benchwayze":3gvnv5l6 said:Joinery Grade Redwood! Where?
Scene:
My local timber merchant. It went something like this.
Me. "Do you have any joinery grade softwood?' I said softwood, 'cos I guessed the assistant might think redwood was well... really, really, red!
He waved his arm towards the timber that was piled on end. "We only stock the best mate. Take your pick."
I saw plenty of shakes, bowed planks, twisted planks, knots, and all of it sticky with resin. But no nice, dry JGS!
Me. "Okay then. Have you got any builders' planks?"
"Most of the lads just use what's there."
I thought. "Yeah I bet they do!"
I left, and went to Henry Venables for some hardwood instead!
Can't get the staff y'know.
John
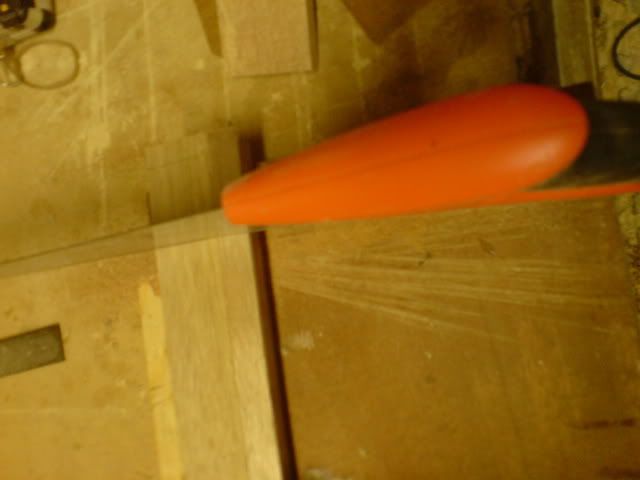
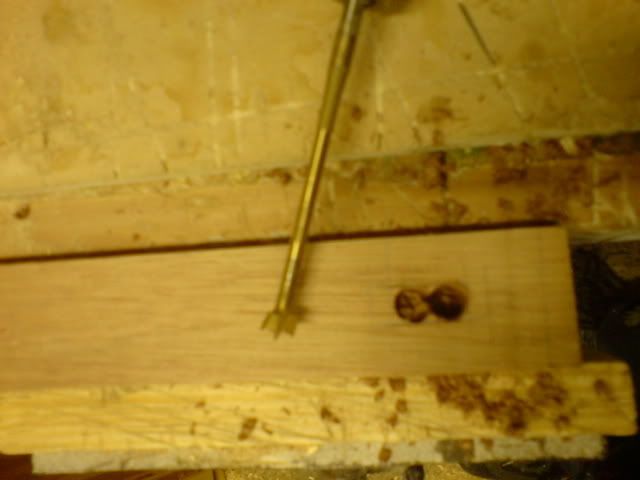
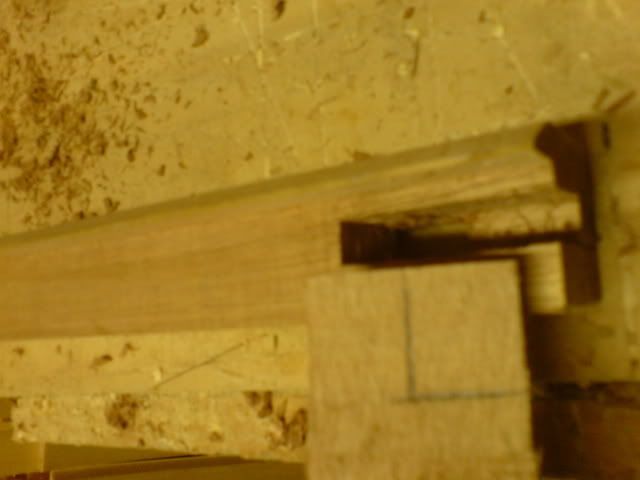
Dunno can't account for modern practices. It would be a benefit in forming an air gap I guess, but it's not something I've ever found in old joinery. Also it'd break the continuity from front to back and so prevent water being blown across.Scrit":3vsoxsn2 said:A cold stop groove is often found on modern factory produced windows. It is a groove which runs around the outside of the frame. Having talked to Jason we've sort of come to the conclusion that it is a method of keying in the frame to the masonry when expanding foam is used to seal in the frame. Perhaps Mr G would be able to shed some more light on the subject
Scrit
JFC":127zsaju said:
"Redwood" is a softwood and the most common joinery timber. It's the UK name for timber from just one species; Scots Pine. Nothing to do with the redwood tree. Can also be called red deal, yellow deal, red pine and other names often related to where it came from such as "Archangel pine".engineer one":3nob4krq said:snip
interesting comments about softwood, i think the important thing is it is no longer sold as a particular species so it is a generic wood, and until you know what you are looking for it is difficult to understand what wood can be used for what purpose.
snip
)


Enter your email address to join: