DomValente
Established Member
JFC":16394ldc said:Ta mate , it's harder work posting this than it is to make the window . :lol:
How true
")
Dom


JFC":16394ldc said:Ta mate , it's harder work posting this than it is to make the window . :lol:
OPJ":33pipm0t said:...snip... I've heard some paints can actually increase the chances of timber rotting outdoors.
I agree. I think I would be tempted to have a go now, whereas before it was all a bit of a mystery.engineer one":1bxi3edy said:nice pictures and very good work mate, well done, nice explanation too.
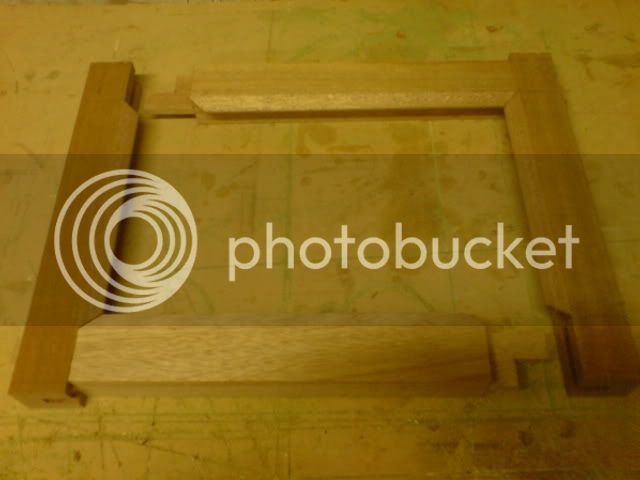
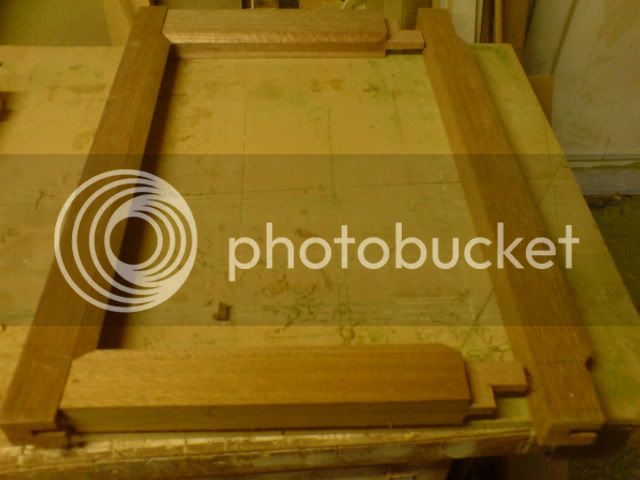

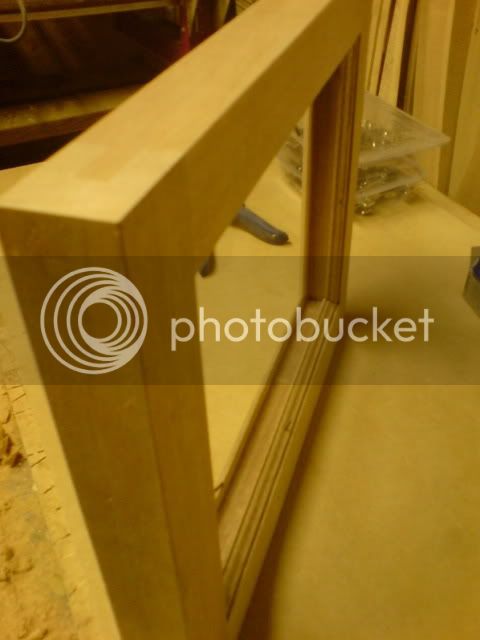
And the most basic of mistakes was made , for some reason i didn't mark out the side stiles for the bottom window back to back . The result is to stiles the same way round .
:shock: :shock: :shock: :lol: :lol: :lol: :twisted: :twisted: :twisted:
Enter your email address to join: