Jay Bates Inspired Mitre Station

UKworkshop.co.uk

Help Support UKworkshop.co.uk:

This site may earn a commission from merchant affiliate links, including eBay, Amazon, and others.
This really is great work! I think the T track is a great feature and makes it look like a professional build.

It's a great solution if you have the space but I think my garage/workshop is a bit too small and I couldn't dedicate that area to just one activity.

What was it about the drawers that was so difficult / frustrating?
 
mcbook":21gv1krg said:
This really is great work! I think the T track is a great feature and makes it look like a professional build.

It's a great solution if you have the space but I think my garage/workshop is a bit too small and I couldn't dedicate that area to just one activity.

What was it about the drawers that was so difficult / frustrating?

When I started out making the drawers, I had no proper tools. No clamps, no set squares, no pocket hole jig, no bench to work on and a lot of what I was trying to do was repetitive so I was facing the same problems over and over each time. As time went on and I became more and more frustrated I gave in and bought clamps. And a pocket hole jig. And cleared space on the back bench. I guessed roughly each drawer took me about 1 hour to make. I had 13 drawers in total.
 
Small update

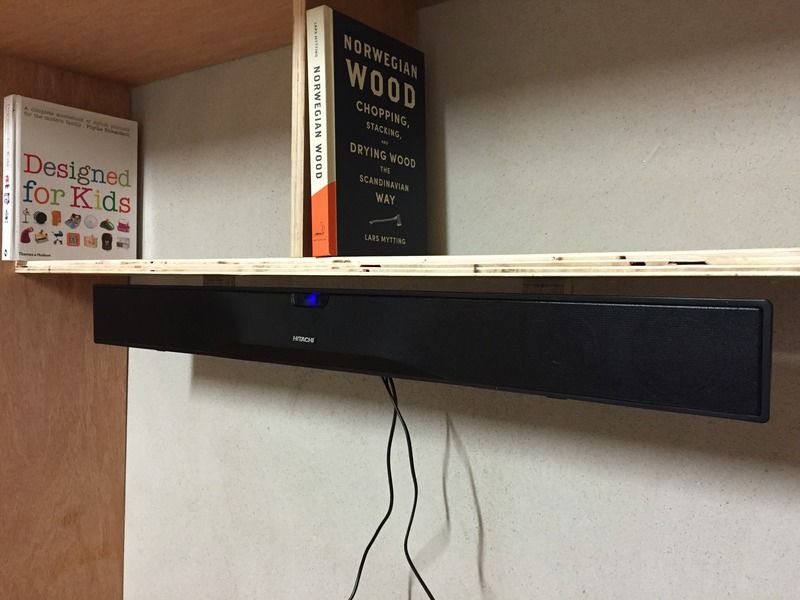
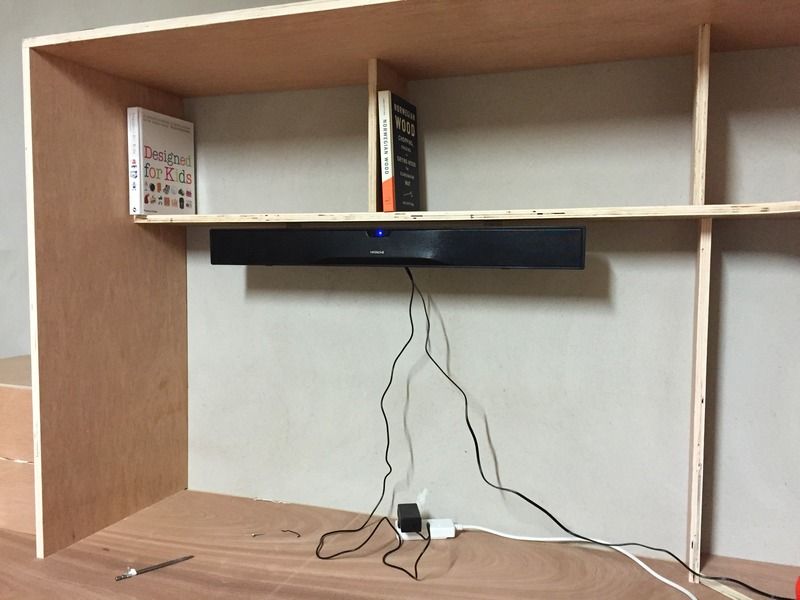
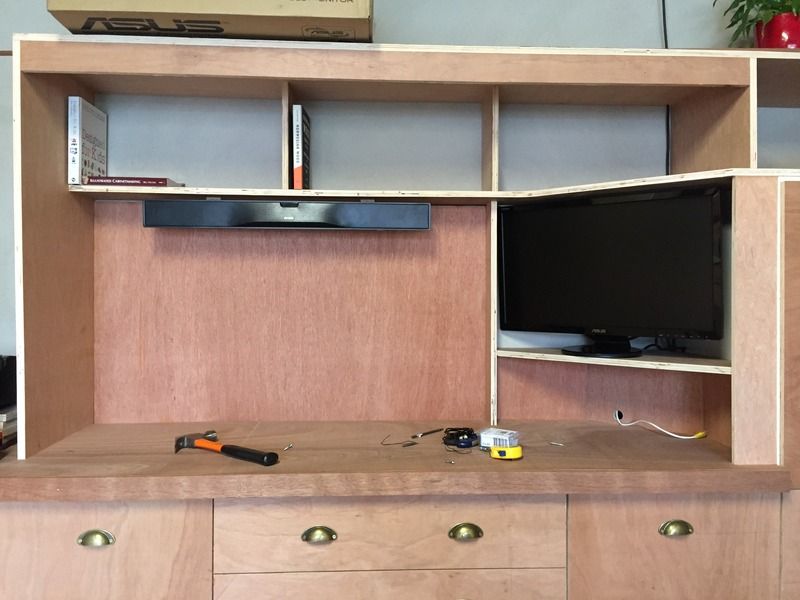
Since most of my woodworking knowledge comes from google and YouTube, I wanted to have a space in the workshop where I could search for an article online or view a video without having to go back into the house. I managed to get a soundbar cheap online so thought it would work well on the underside of the shelf to provide music and tutorial audio as I am working.

D57CCFC0-72C3-481D-BC6B-421122AD9A5D_zpsclicj0mz.jpg


I tried wiring it up to make sure it all worked. So far so good. I also made small brackets to hold it in place

EAF5EE62-8E9F-4FD6-9F4E-2C635880647D_zpszkmq8apt.jpg


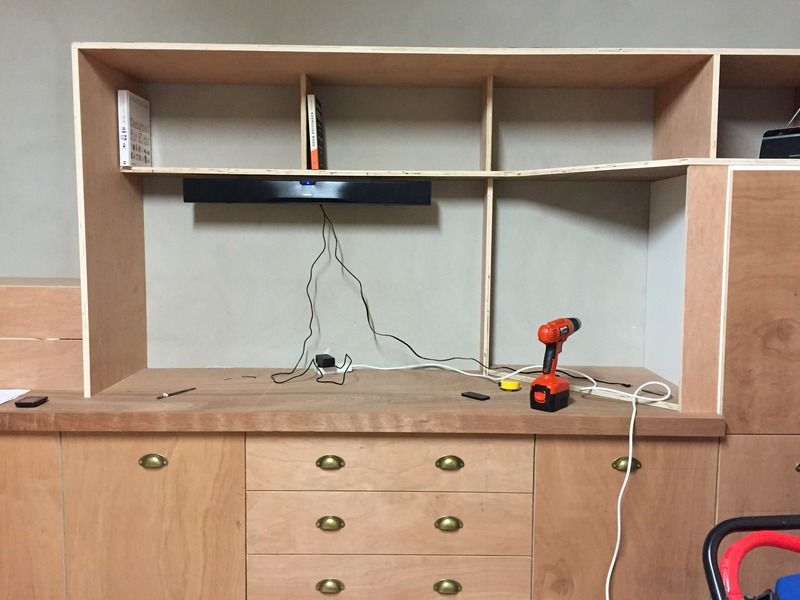
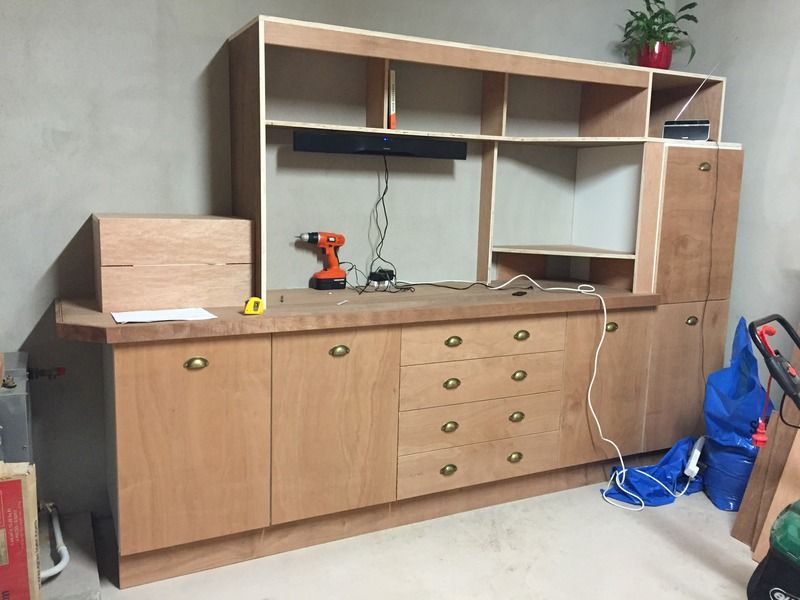
The space to the right will house the computer screen. This will be raised up to eye level and have the PC placed underneath, at bench level.

C4680529-0A72-416D-85BB-BA97AC8693B2_zpsifhojvhx.jpg


I cut spacers to work out what height would work best.

4E733A65-8E1C-451A-87D8-14B06528DA35_zpsx1sjbd2h.jpg


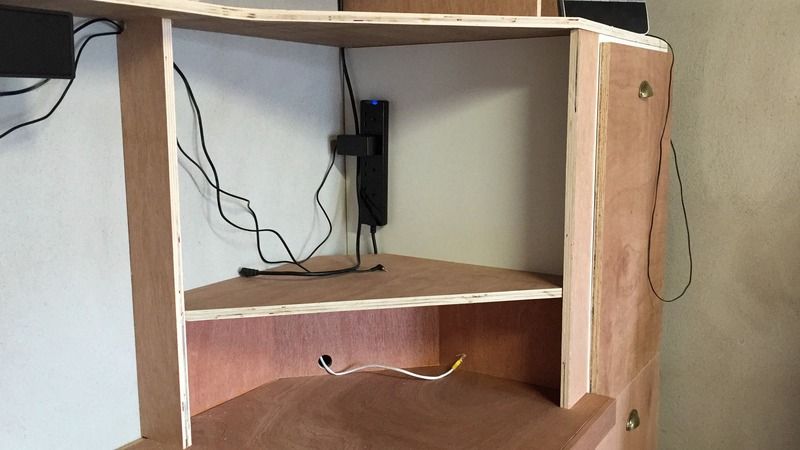
I brought power up from behind the cabinets and placed a 4 gang extension to plug in all the equipment. I will use this to plug in the 1. Computer 2. Speaker 3. Screen 4. Chromecast

FDE4F28F-0665-4B6B-B7E1-56CBAE6E98AF_zps3jzx3v9q.jpg


I decided at this point too to add a section to the underside of the top shelf as I had noticed that it was sagging slightly in the middle. Hopefully this will add some support and reduce the sag.

1FB5021A-8928-4830-80C6-335E72DFBADE_zpsox1aorcm.jpg


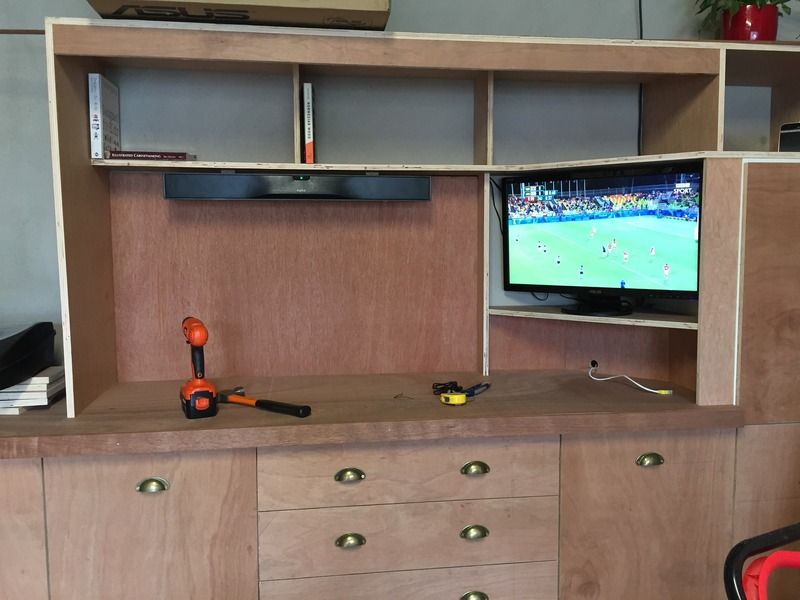
The screen is set into position and a panel is set into the back wall section. This will be used to hold tools further down the line. For now it just looks well!

8BD4F2F1-056B-46AE-B755-50A5EA54DD82_zpsxf6sa64g.jpg


Using Chromecast and streaming from my phone, I put on the Olympics to check everything was working. For now this is as far as I have got. Next I hope to populate the back wall with hand tools.

EF09A52D-E981-4A41-86CB-58E6FA900D25_zpsai0jxnp4.jpg
 
There's some nice touches with this. I like the power sockets in the drawer and the screw storage. Has this evolved with the storage above the base units? I only ask because you've got no work tops now and originally you had 2x18mm tops plus a 4mm sacrificial top.


Sent from my iPhone using Tapatalk
 

Latest posts

Back
Top