Iroko Doors and Panel WIP for shed cupboard thing.

UKworkshop.co.uk

Help Support UKworkshop.co.uk:

This site may earn a commission from merchant affiliate links, including eBay, Amazon, and others.

DOOGYREV

Established Member
Joined
11 May 2011
Messages
210
Reaction score
0
Location
Surrey
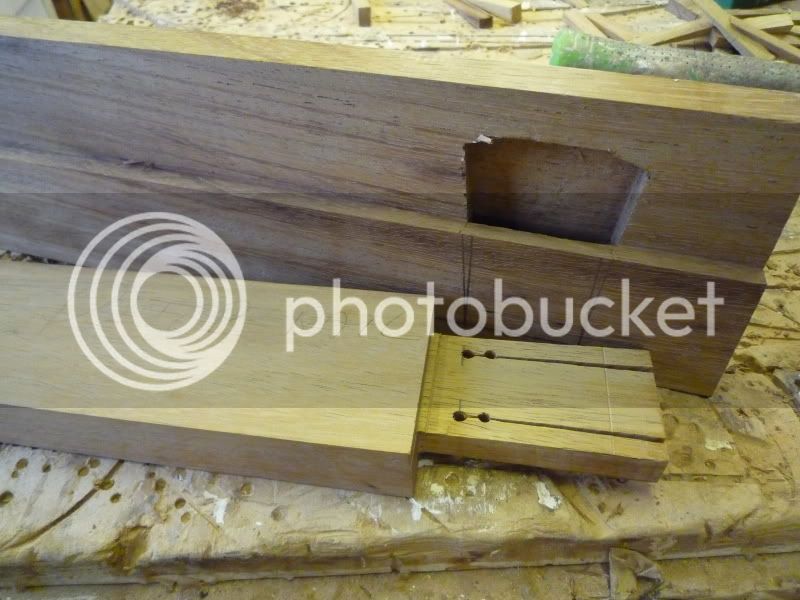
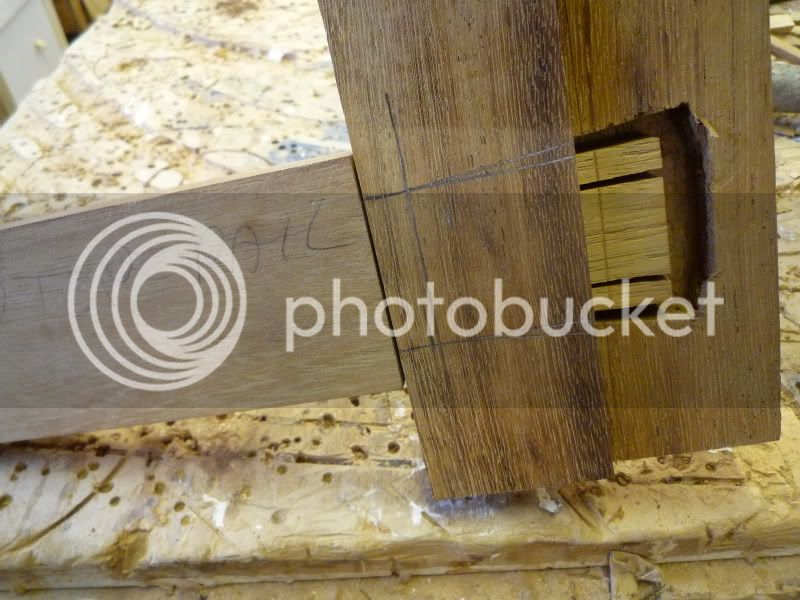
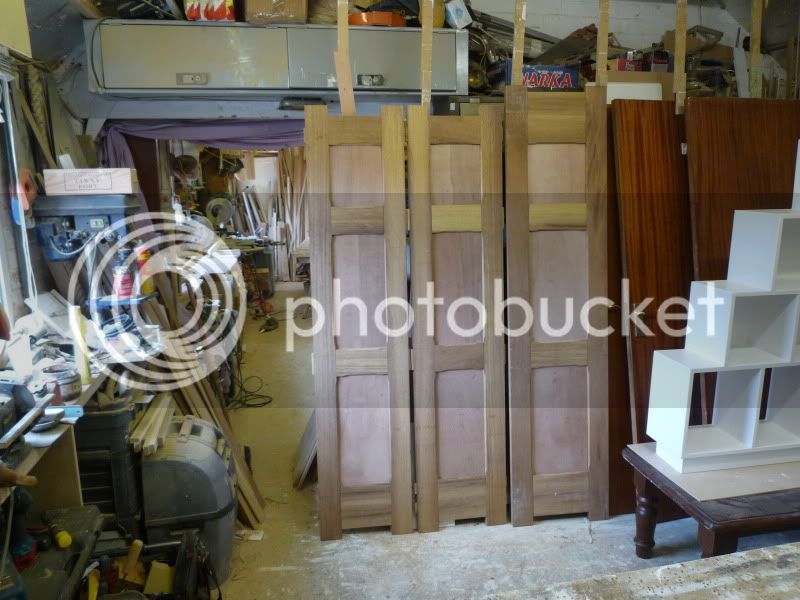
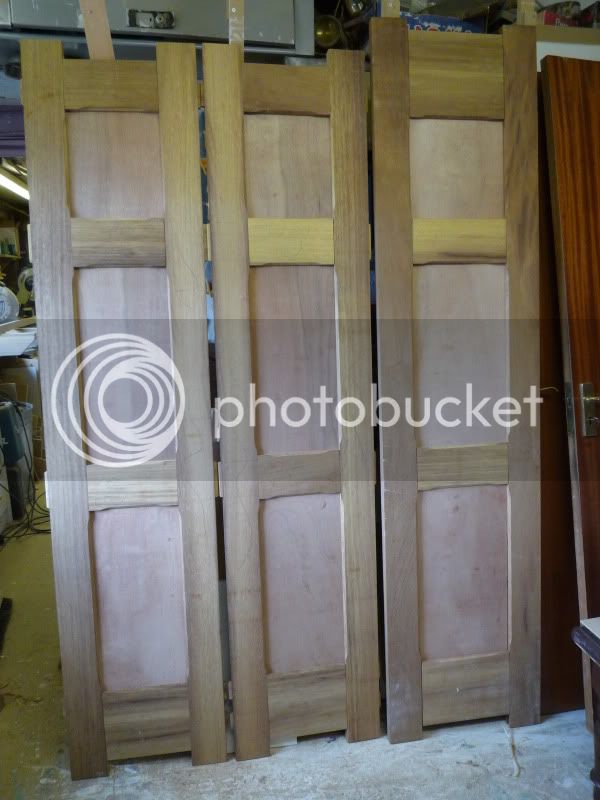
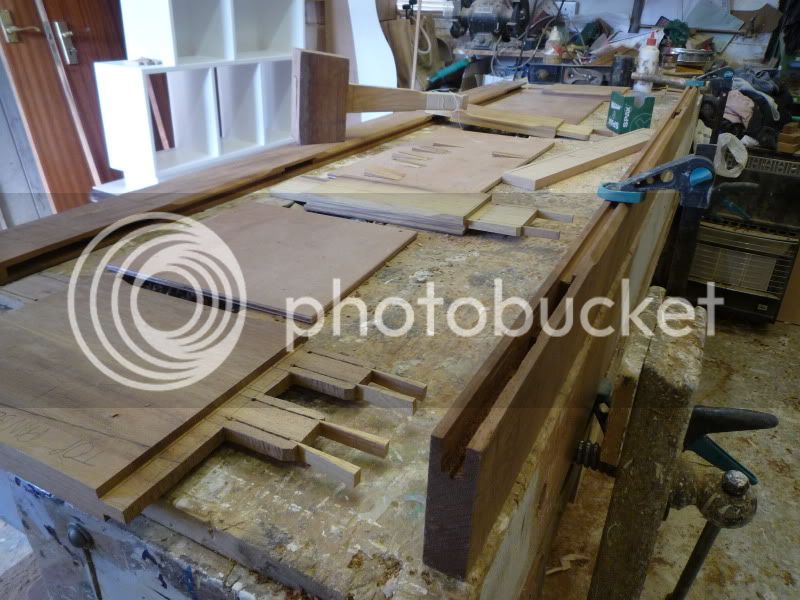
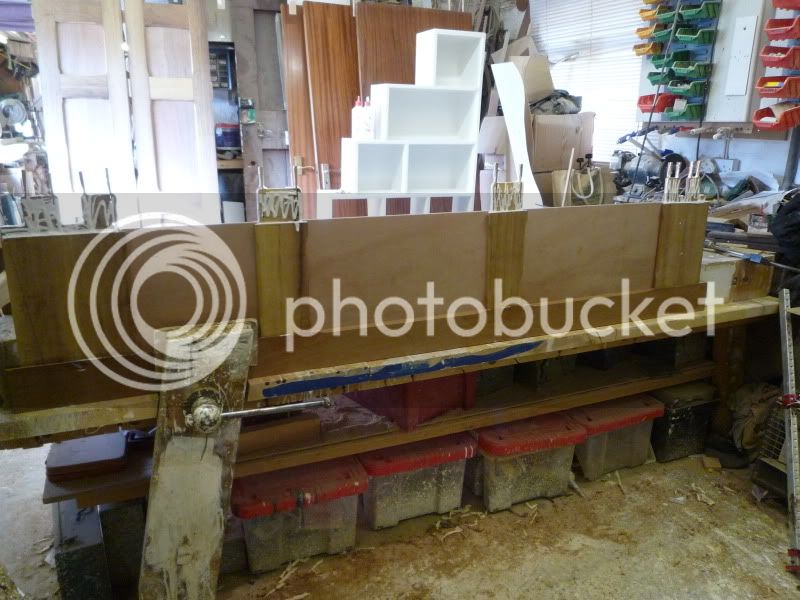
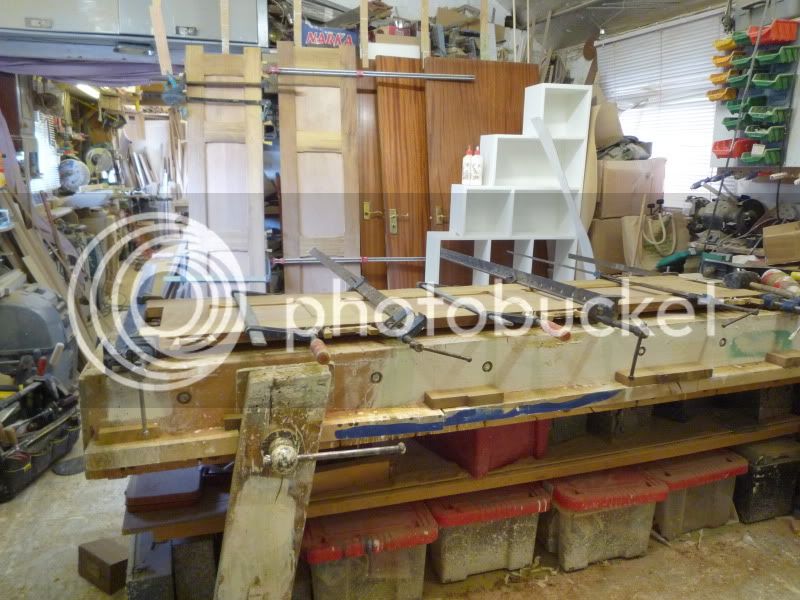
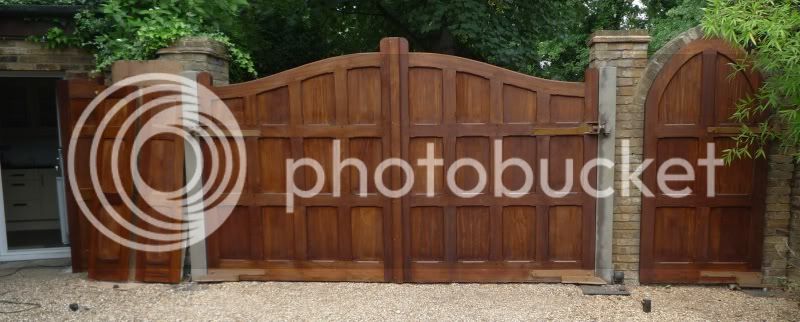
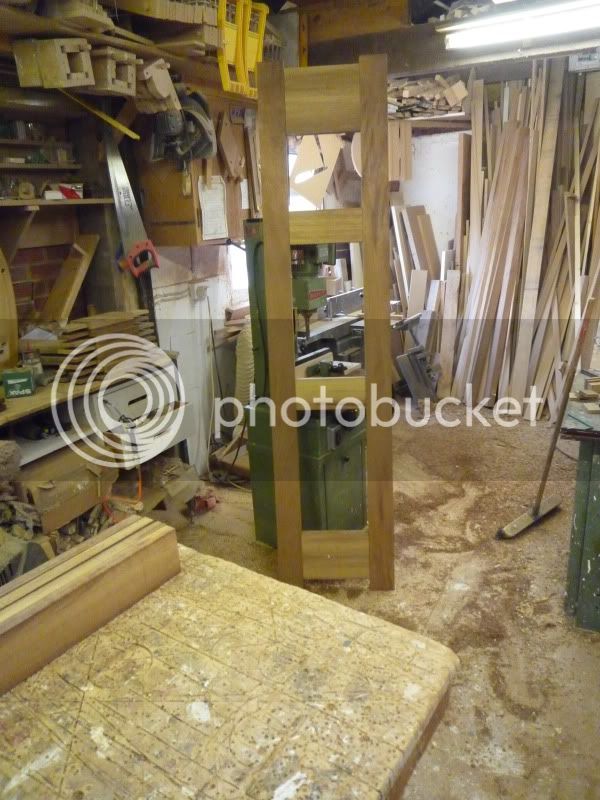
Some WIP Pics for a shed cupboard unit, don’t know if there is a specific name for it.
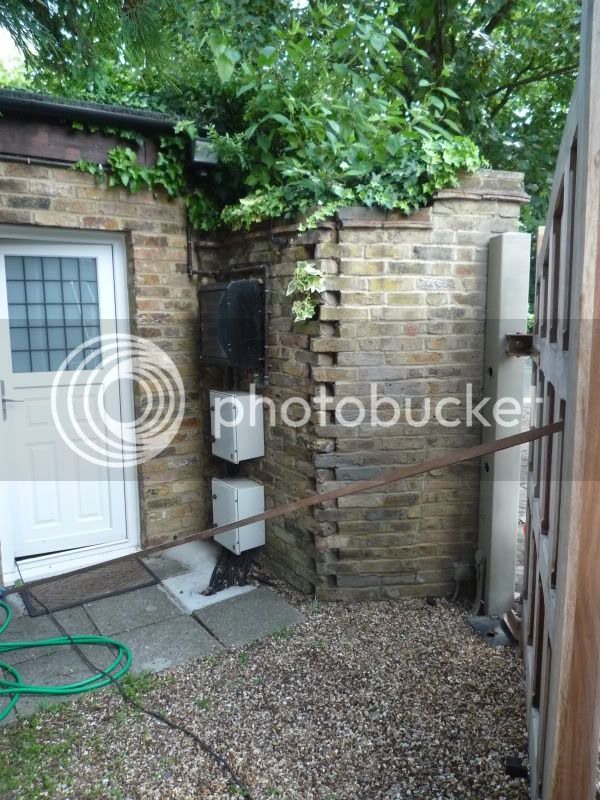
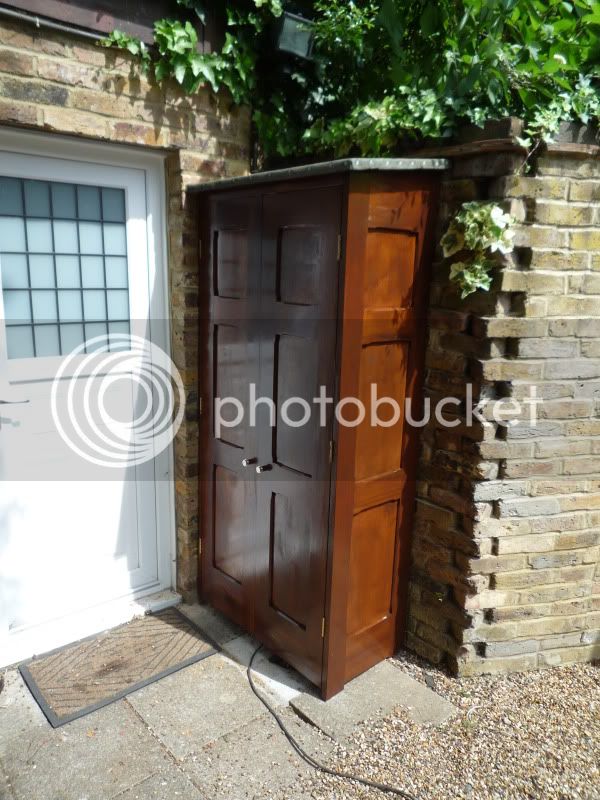
Essentially will be 2 M&T doors and a matching panel, to be fitted in a corner, to house some automatic gate electrical boxes, and allow limited storage for a broom, a rake etc...
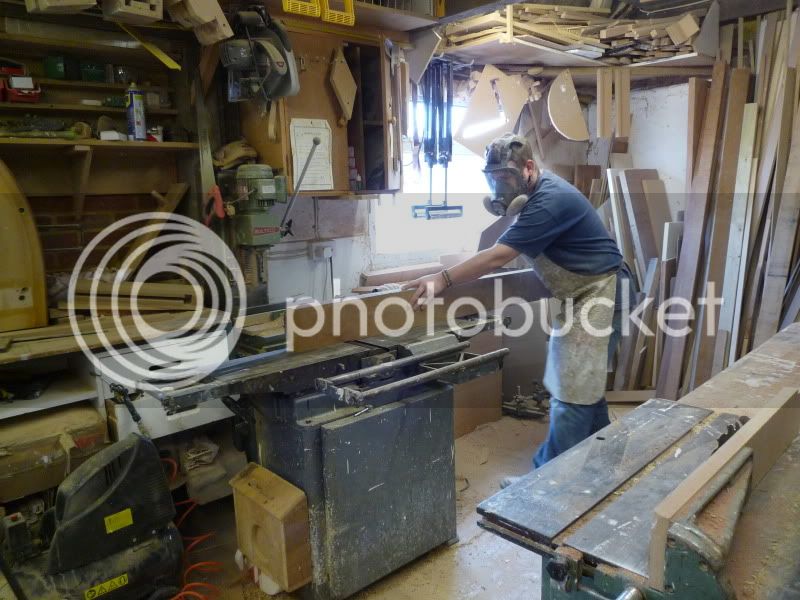
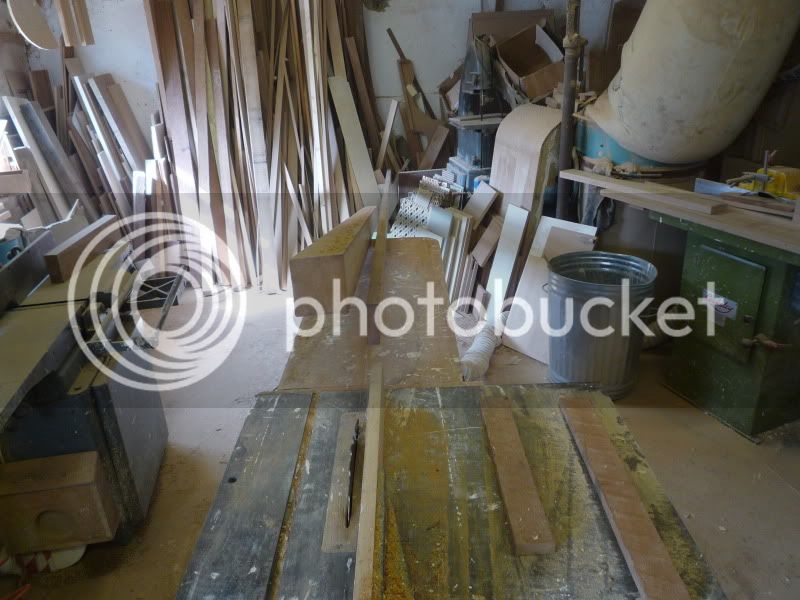
Well I started this afternoon, as my lungs and Iroko don’t get on to say the least, and I managed to find just enough stock for what I needed.
MassimoIroko1.jpg

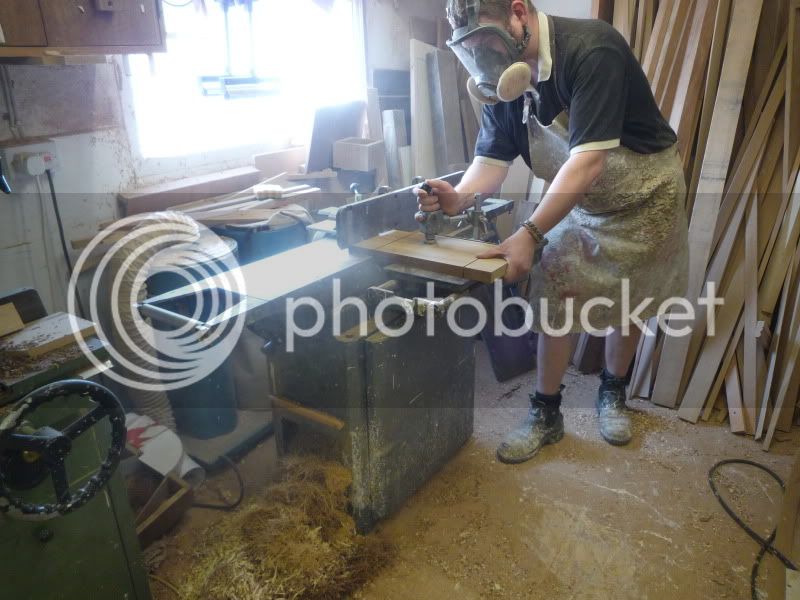
So I prepared to prepare the Iroko, Vaseline in nostrils, Extractors on Full Power, Full Face Respirator Fully Tightened.
MassimoIroko2.jpg

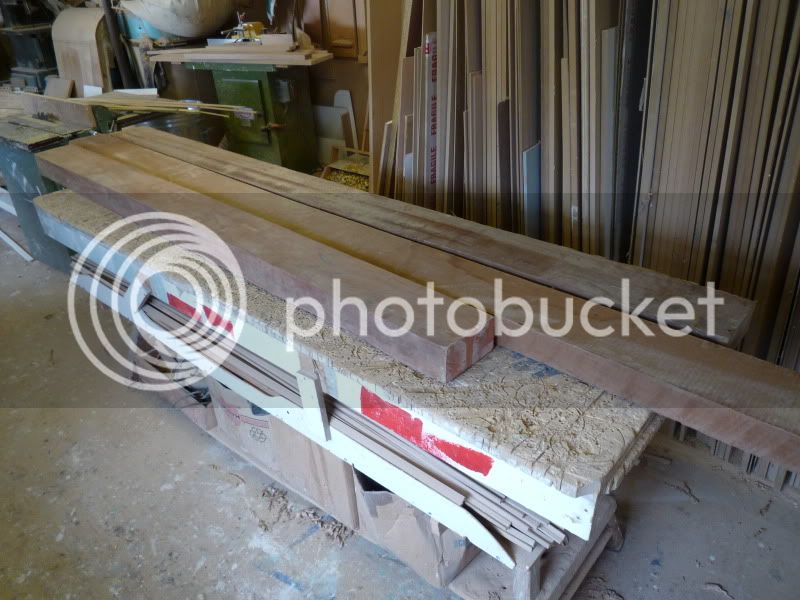
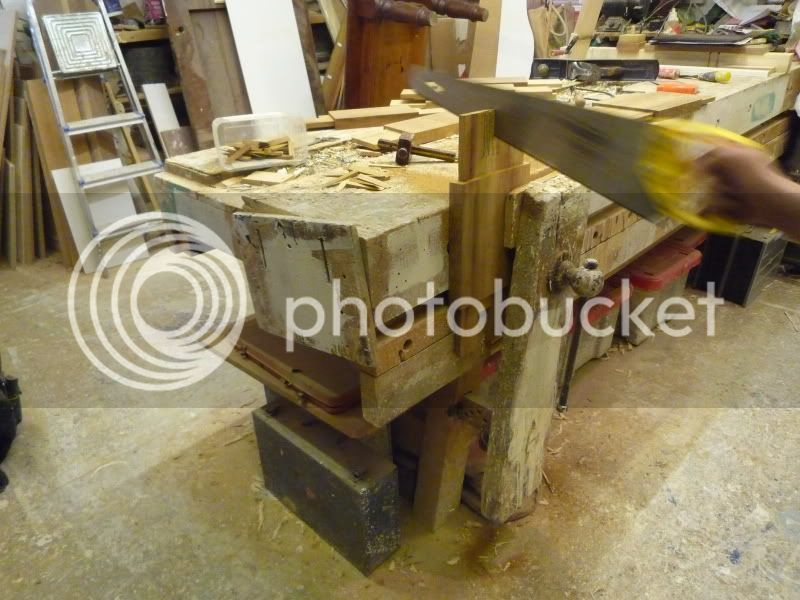
All the lengths ripped nice and straight, except the last one, which was so springy and bowed once cut it couldn’t be used for anything but short rails. I searched the workshop for some more Iroko
MassimoIroko4.jpg

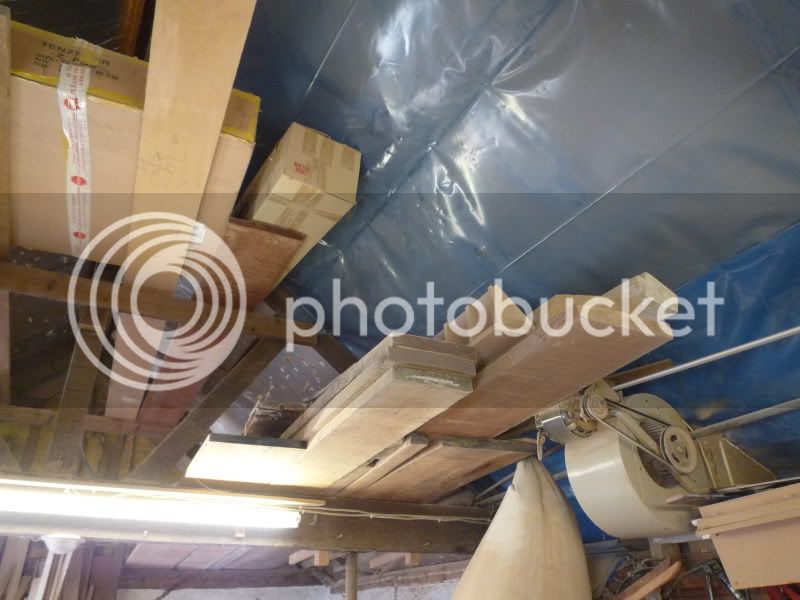
A 30 year old slab of teak that I am saving for I don’t know what!
MassimoIroko4.jpg

A nice lump of BC Pine
MassimoIroko5.jpg

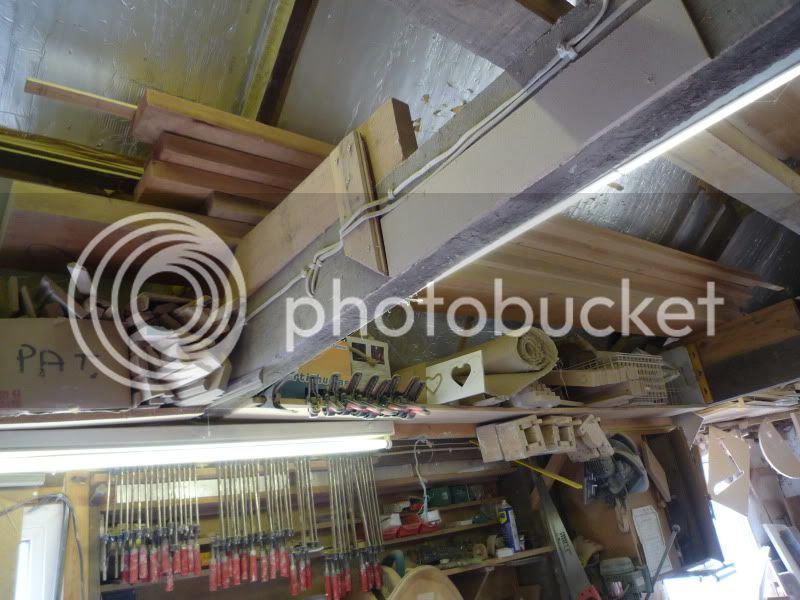
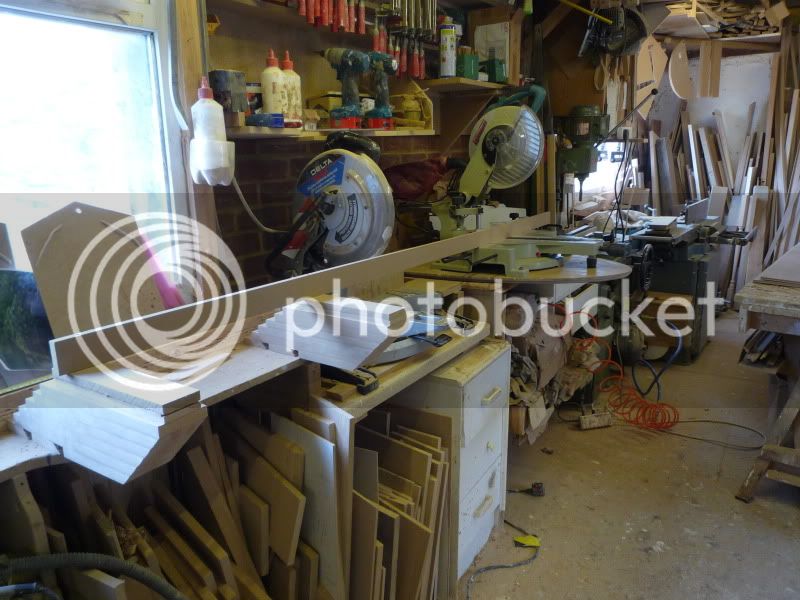
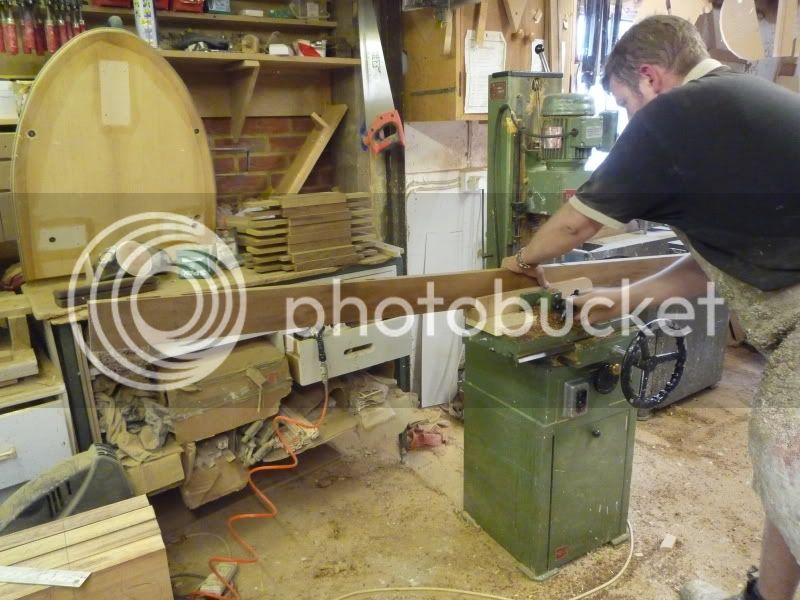
And the smallest piece of Iroko I had was this lovely 3.6m length of 7”x9”
MassimoIroko6.jpg

What a shame what a waste
MassimoIroko7.jpg

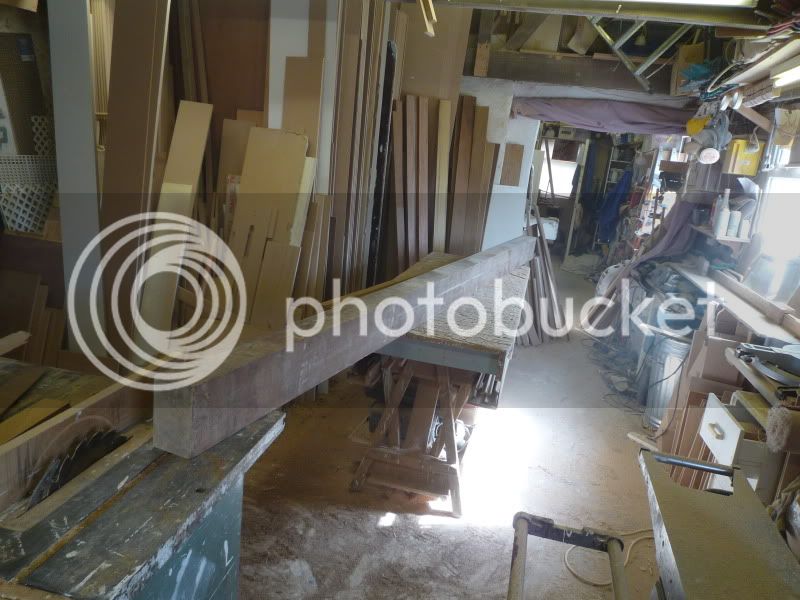
Straight as you like though
MassimoIroko8.jpg

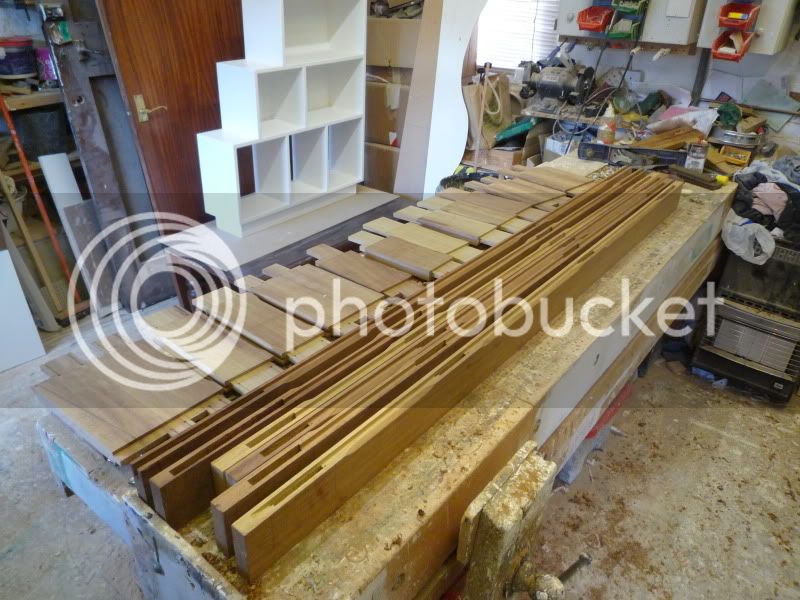
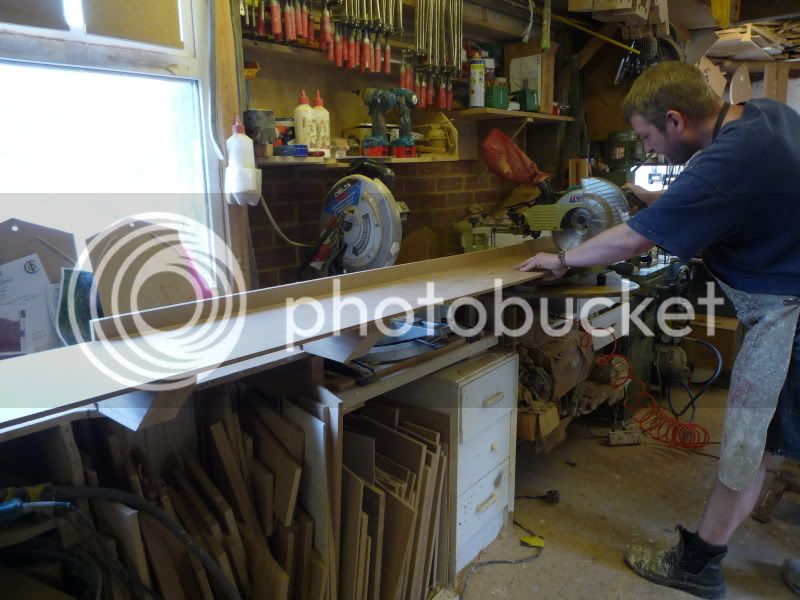
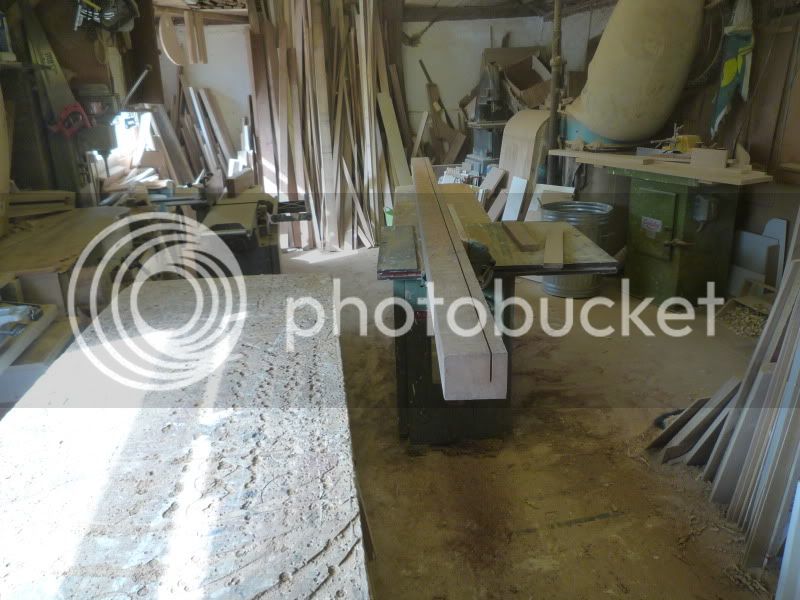
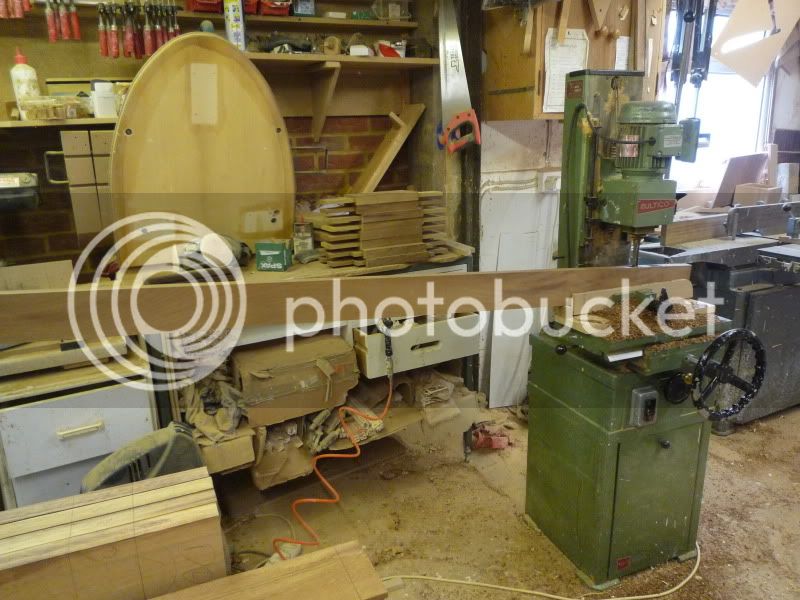
Got what I needed in the end
MassimoIroko10.jpg

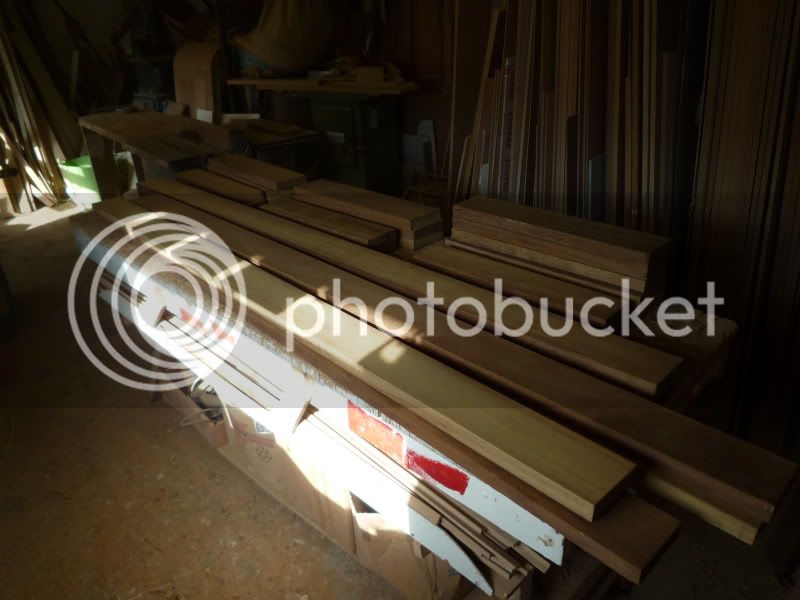
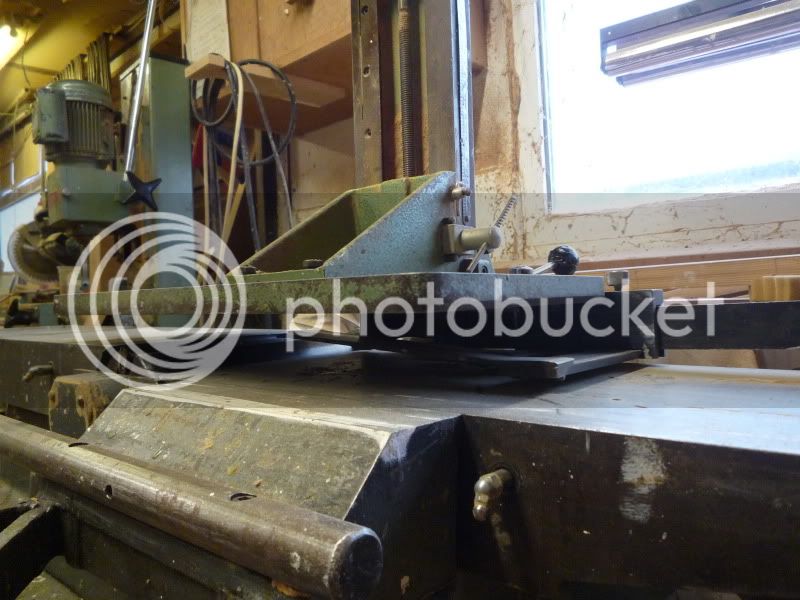
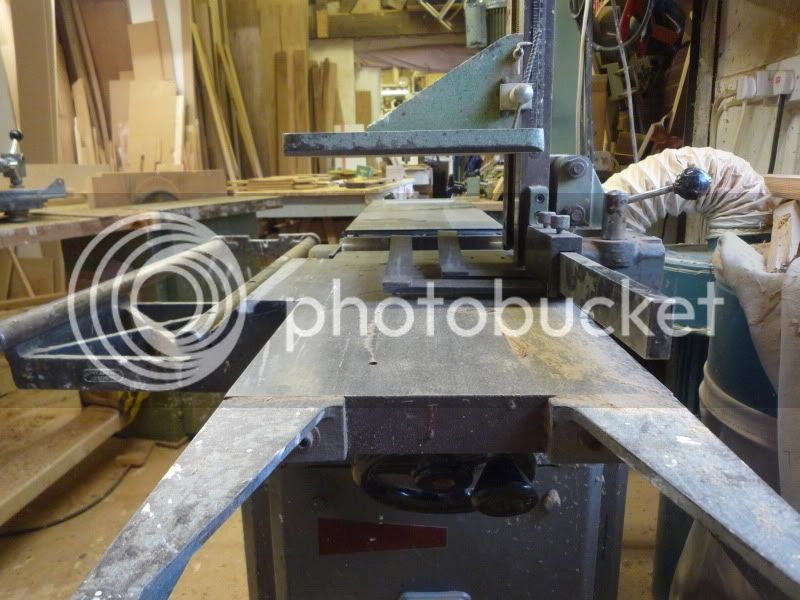
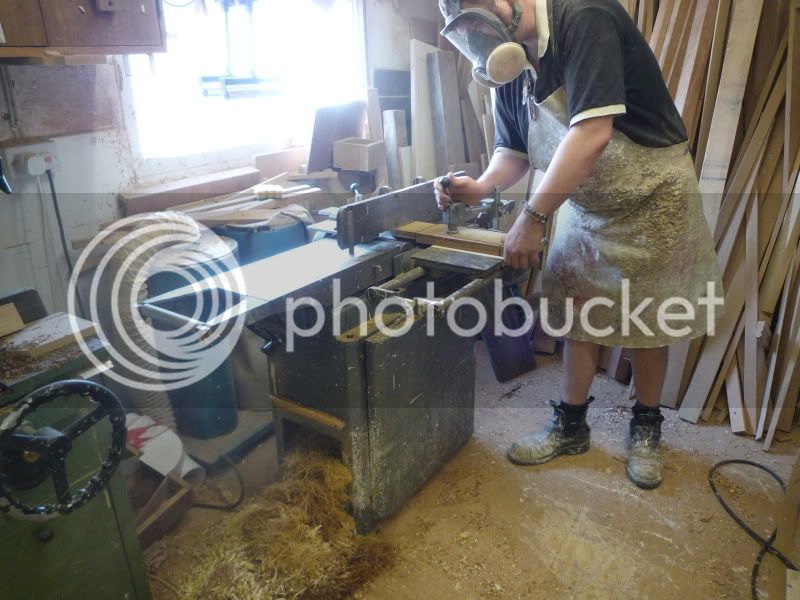
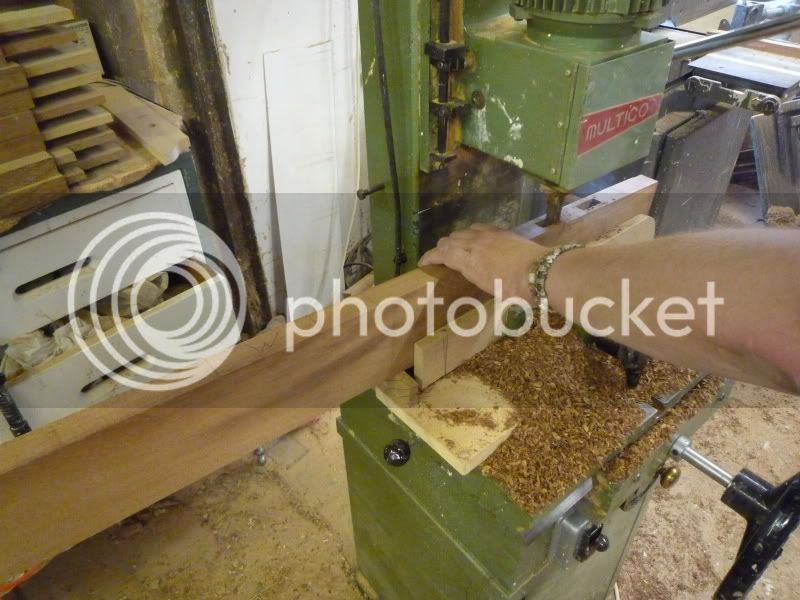
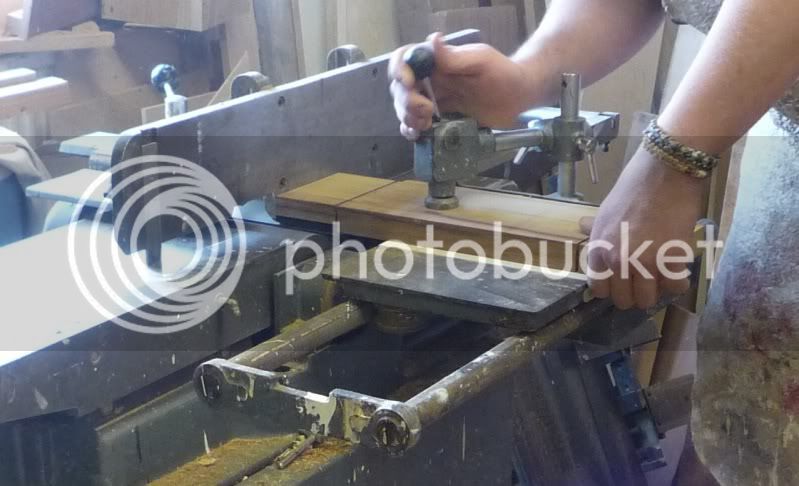
So I ran them through the thicknesser
MassimoIroko9.jpg

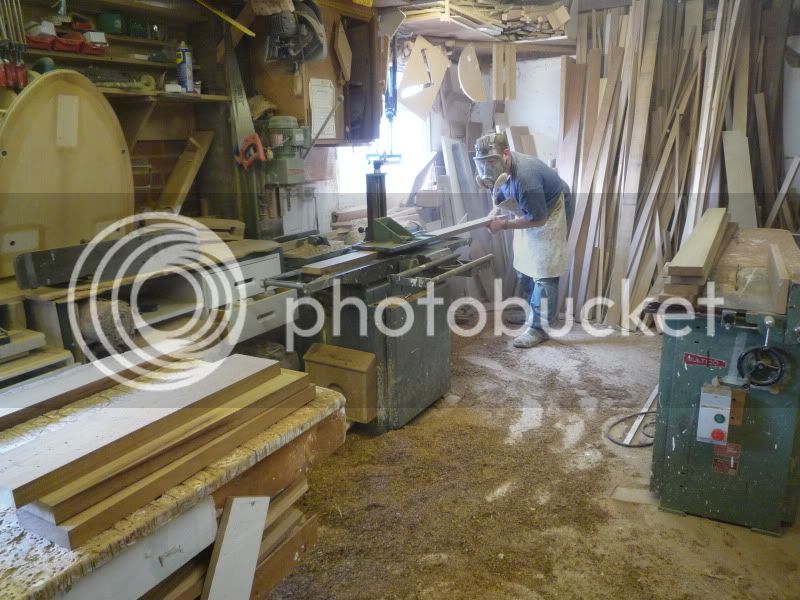
went home, and left the dust to settle for another day.
 
Got stuck in again this afternoon.
Cut the Tenons

MassimoIroko11.jpg

MassimoIroko12.jpg


Cut The wedges and Haunch’s
MassimoIroko13.jpg


Did the Mortising
MassimoIroko14.jpg

MassimoIroko15.jpg

MassimoIroko16.jpg


Put them together dry, fitted like a tight glove, happy days.
MassimoIroko17.jpg

I had wanted to run the chamfers and grooves for the panels before I went home today, so the dust would settle but unfortunately there wasn’t enough time, so will have to do it tomorrow.
 
Nice work Doogy. Looks like you get a fair bit of work out of that Multico planer - how accurate is it when used in thicknessing mode? And how do you make sure that the surfaced face runs against the inverted thicknessing "table" ?

Cheers

Karl
 
Cheers Karl,

Yes She's a good bit of kit, and still very accurate when thicknessing, There are 2 'leaf type' springs about 1" wide that are adjustabe across the 9 inch width, but you still need to have a 'feel for the wood' and not push down while pushing it through, (or up when feeding it in) that being said (touch wood) I have never had a kick back from it.

The only thing that needs abit of adjustment now and then is the rolling table, it used to be a nightmare to fine tune, untill I discovered my masking tape method.

CuttingTenonsCloseup.jpg


As you can see in this close up I have added several layers of masking tape to level out the front to back cut, and am just about to level out the left to right cut, (its cutting more on the left then the right) Now its easy to fine tune

I will take a couple of pics of the springs on the thicknessing table tomorrow.
 
Please excuse my ignorance ... you look to be very carefully morticing at an angle - and the frame is square when assembled, why are the mortices angled?
 
goldeneyedmonkey":cz6626zx said:
pjm699":cz6626zx said:
Please excuse my ignorance ... you look to be very carefully morticing at an angle - and the frame is square when assembled, why are the mortices angled?

- I wondered that too. :)

Yes as Karl rightly said, I am undercutting the mortice and using Fox Wedge Tenons (cunning) I will take some pics of this joint, for those that are interested, and hopefully post them this evening.
 
Here are some pics of an early sample I used to determain the wedge length, and dimentions of the cuts for the Fox Wedge Tenons.

MassimoIroko18.jpg


MassimoIroko19.jpg


MassimoIroko20.jpg


MassimoIroko21.jpg


Nice and Tight doesnt even need any glue.

The battery in my camera ran out so no more pics till tomorrow.
 
Thanks for the pictures, I had assumed wedges but could not figure how - I like the look of them - might give them a go - one day a project will arise that requires them! Cheers, Phil
 
I chose to run the chamfer on the Spindle moulder, as well as the groove, I don’t have a wobble saw or a fancy Dado Cutter, just a box of blades which I have made myself, from old planer knives.

MassimoIroko22.jpg


Got everything ready for cleaning

MassimoIroko23.jpg


Used my Fold away Sliding Chop Saw to cut the panels

MassimoIroko24.jpg

MassimoIroko25.jpg


Assembled them dry
MassimoIroko26.jpg

MassimoIroko27.jpg


Ready to glue this afternoon.
 
Just about to glue the easy side

MassimoIroko28.jpg


Now for the tricky side

MassimoIroko29-1.jpg

Just one of the wedges caught on the mortise, quick panic as I had to quickly sort that out, then realign the wedges, second time went together nicely

MassimoIroko30-1.jpg


All glued up. That’s enough for today.
 
Thanks for the photo's Doogy - I like the blind wedged tenon shots. Isn't it a "one strike and your out" joint though - how do you undo it if it doesn't fit together right? The wedges push the tenon tight into the mortice sides - but say something doesn't line up right on the shoulder? How do you undo it?

Or do you just not make mistakes :lol:

Cheers

Karl

ps -
DOOGYREV":2j5rk9m1 said:
I don’t have a wobble saw or a fancy Dado Cutter, just a box of blades which I have made myself, from old planer knives.
That spindle block scares me! Get yourself a euro block with limiters.
 
Yes your right Karl, you only get one go at it and if it’s not right then you’ve just got to live with it, or make a new one.

Oh and I make mistakes but am good at fixing them too.

Not with this type of joint though, and it’s not my usual choice, a stub tennon would have been more than enough, but this customer of mine appreciates traditional methods, and I do enjoy a challenge in between all the bread and butter work, and really love the simple complexity of this joint and the fact that its never going to come out again even without glue. I will give my client the cut away sample piece and he will be over the moon.


Yes it scares me too!
Does a euro block allow you to put any blades in at any angle?
 
You can't tilt the blades on a euro block - the cutters/limiters are located in a pair of 6mm pins.

Cheers

Karl
 
bit off topic I know, but where did you get the full face mask ?
 

Latest posts

Back
Top