Bodgers
Established Member
They are about 40mm over size. That's so I can just cut off any snipe from the thicknesser later. I'd rather do a fraction more planning if I can trim the ends.Jacob":1hh46vmk said:They look like long legs! Are you making the common beginners mistake of planing timber before cutting it to length? Difficult and wasteful.Bodgers":1hh46vmk said:So I stole an hour last night to try and get the four legs prepped.
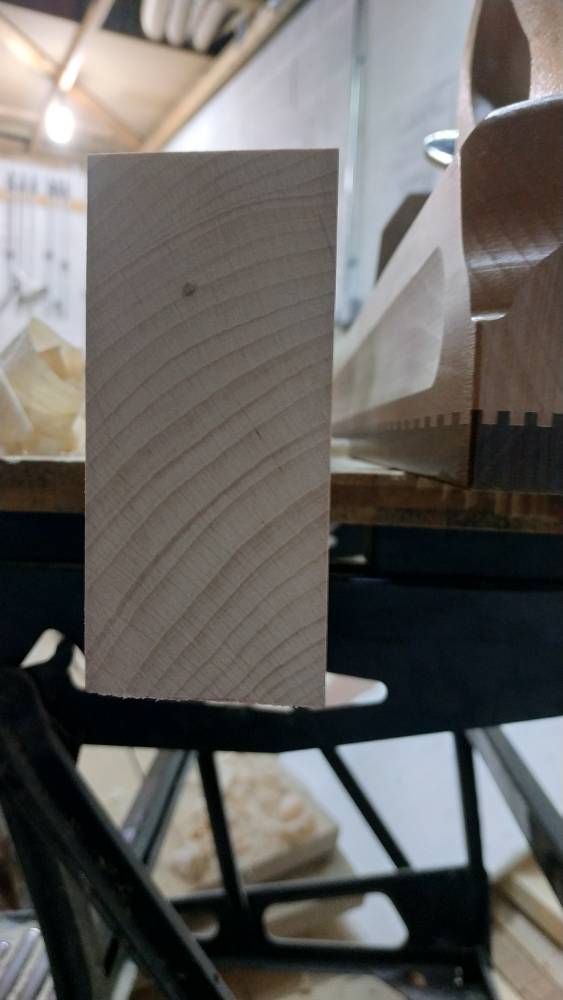
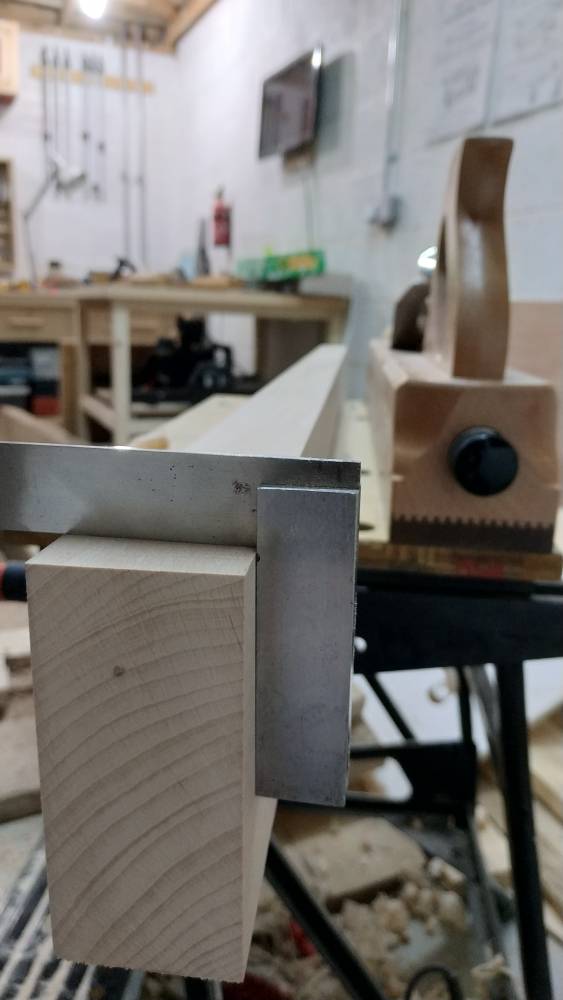
The original drawings, in imperial measures, call for a leg 3"X2". By the time I have planed down this stock to something straight, with parallel sides, I'm down to 44mm (1.7") thicknesses. So basically I am down to laminations to get the thickness.
As I am going to the effort of resawing lengths to do this, I am going to bump the thickness to around 60mm (about 2.5"), with the width at 85mm (about 3.5").
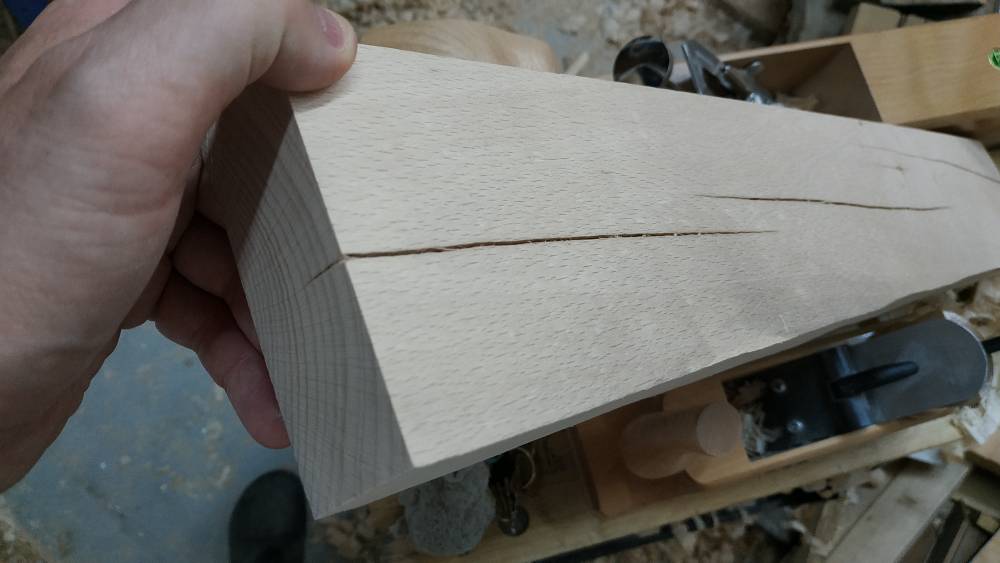
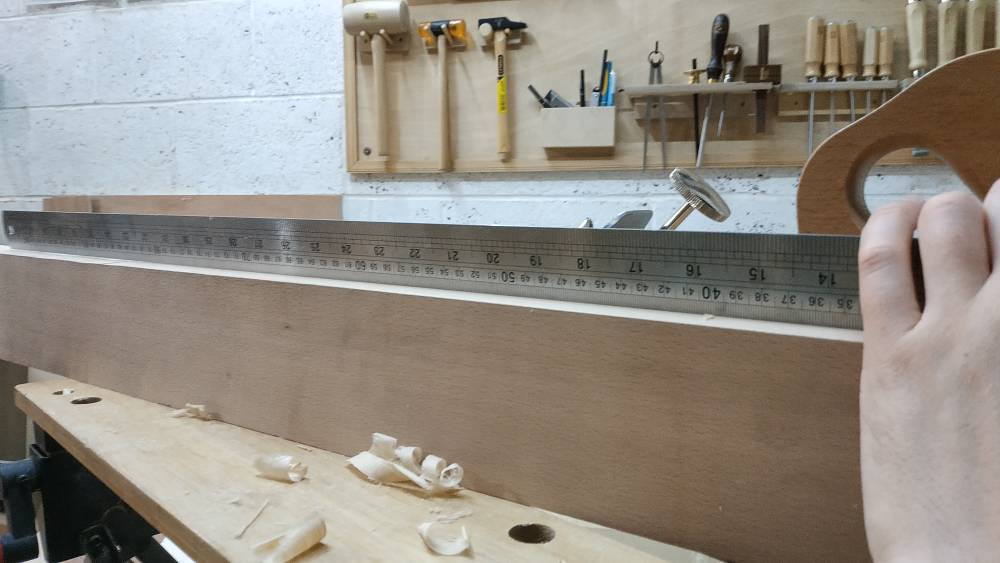
After resawing the thinner strips and planning down, I am facing that typical realisation of just how much timber bites the dust in the stock preparation. Kind of sad really.
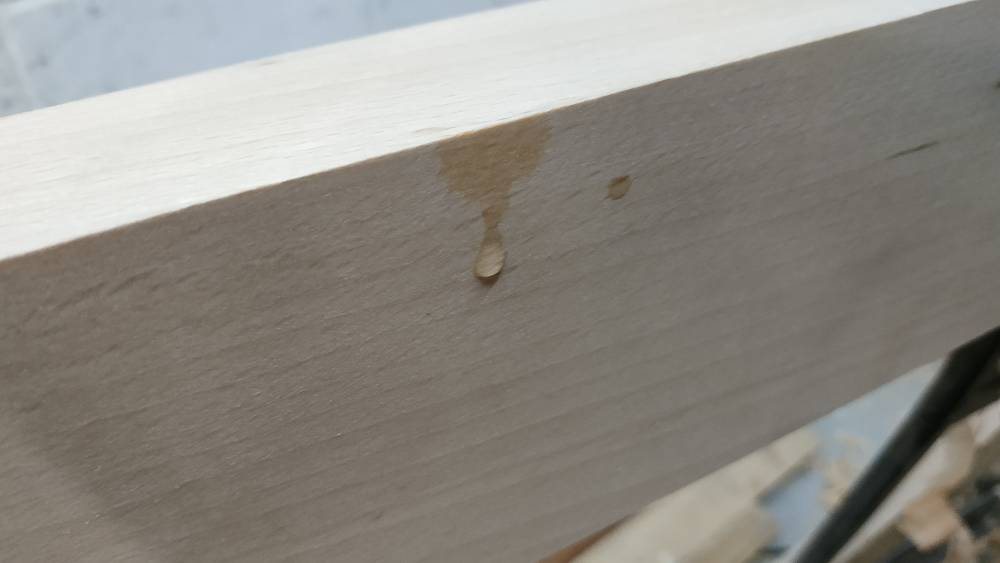
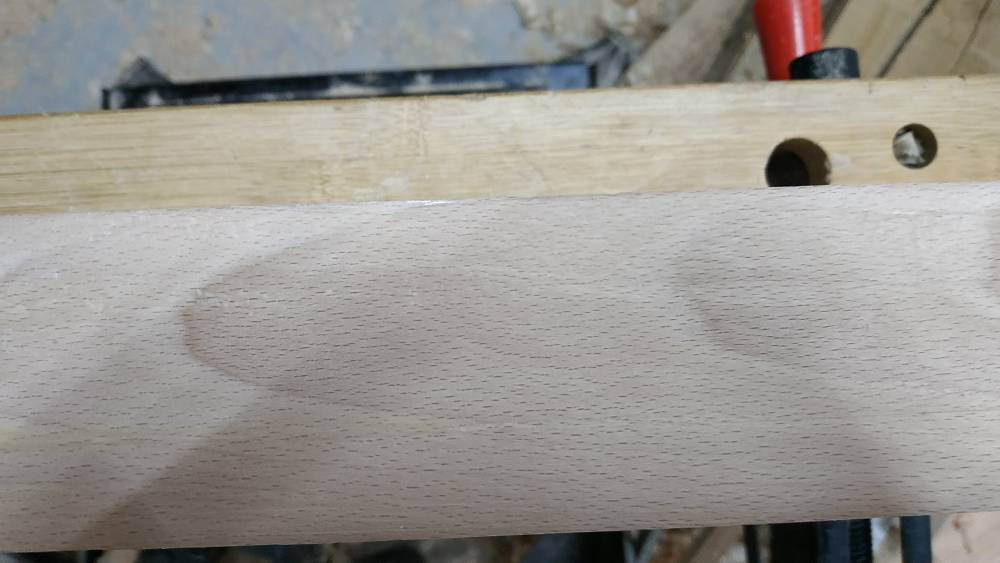
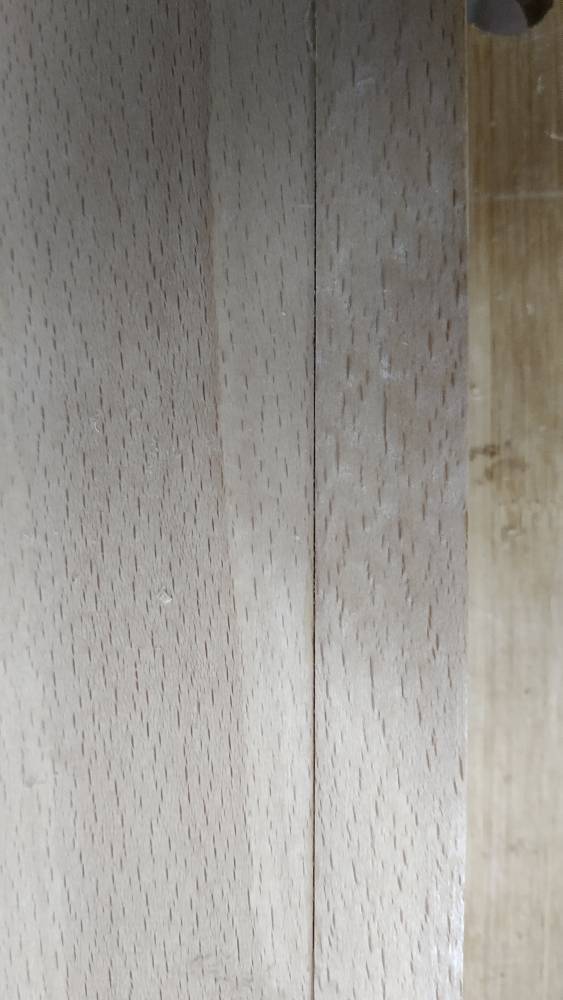
Another realisation is how much beech moves; of the stuff I prepped a few days ago I am already seeing some movement in some of the pieces.

Sent from my Redmi Note 5 using Tapatalk
Sent from my Redmi Note 5 using Tapatalk
")