German Style Smoothing Plane.

UKworkshop.co.uk

Help Support UKworkshop.co.uk:

This site may earn a commission from merchant affiliate links, including eBay, Amazon, and others.
Yep, not giving up too soon. Thanks for the ideas, I'll give them a try this weekend. I would be a pitty to throw it out.
 
Mine is also vertical. But it has a sliding block in the sole, so it can be closed if neccessary. Here is an old picture I still had on photobucket.

DSC01392.jpg
 
Corneel - your plane was probably wider when it was new, and either never worked properly or just had enough room to adjust out the lateral issue (which presumably exists with the cap iron if your blade matches the cap iron). You may wish to adjust the cap slightly.

If the cap iron moves when adjusting the plane, you want to decrease the friction on the cap and increase the friction at the cap screw and across the soft part of the blade. Coarse sandpaper on the mating surface of each (the underside of the cap iron further up away from the edge as well as the soft part of the iron if it's laminated), scratches parallel to the edge, of course. Or you can scuff the back side of the blade and sand the underside of the cap screw.

You probably know all of those things. Certainly don't throw out the plane!

I've got three planes of that style, but all are wedged. I've set one up as a jack, the second has a buck branded old double iron (that is soft, but takes a fine edge) and the third is a mujingfang rosewood plane. They are all light like a coffin smoother (I'm not in love with coffin smoothers for harder wood), but with the two handed grip, you can crank on them in penultimate dimensioning work and they have the same influence that a heavy plane would. Plus, they work push or pull easily without being awkward.
 
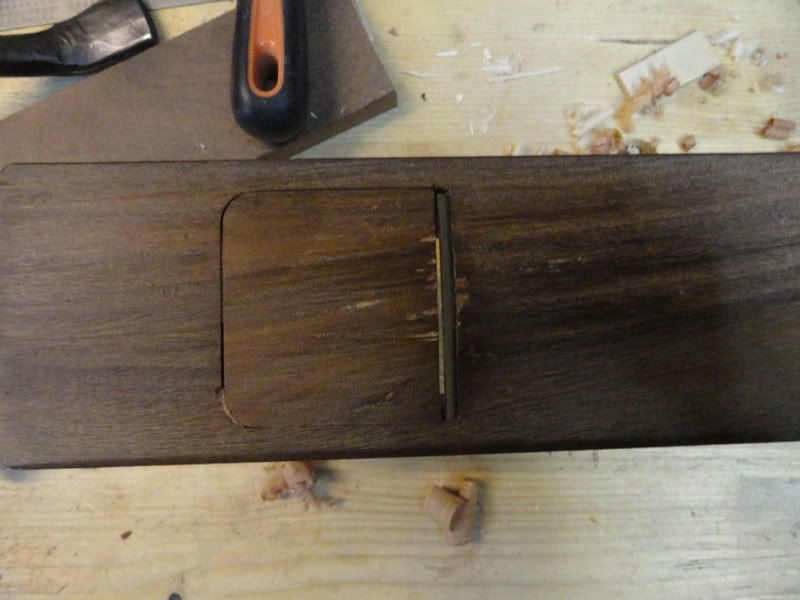
Don't worry, it's not in the bin (yet). The silly thing did work when I got it and set it up the first time. But I got some troubles with it, tried to plane the sole flat, tore huge chunks out of the lignum vitae because the grain in the mouth block ran the other way as the grain of the rest of the sole. I tried to repair the damage, and somehow it got worse and worse. It must have been in the drawer for at least 6 years now! There were allready some rust spots on the face of the blade. I've learned a bit about planes since then, so maybe I stand a beter chance now, but I was indeed quite a bit dissapointed yesterday.
 
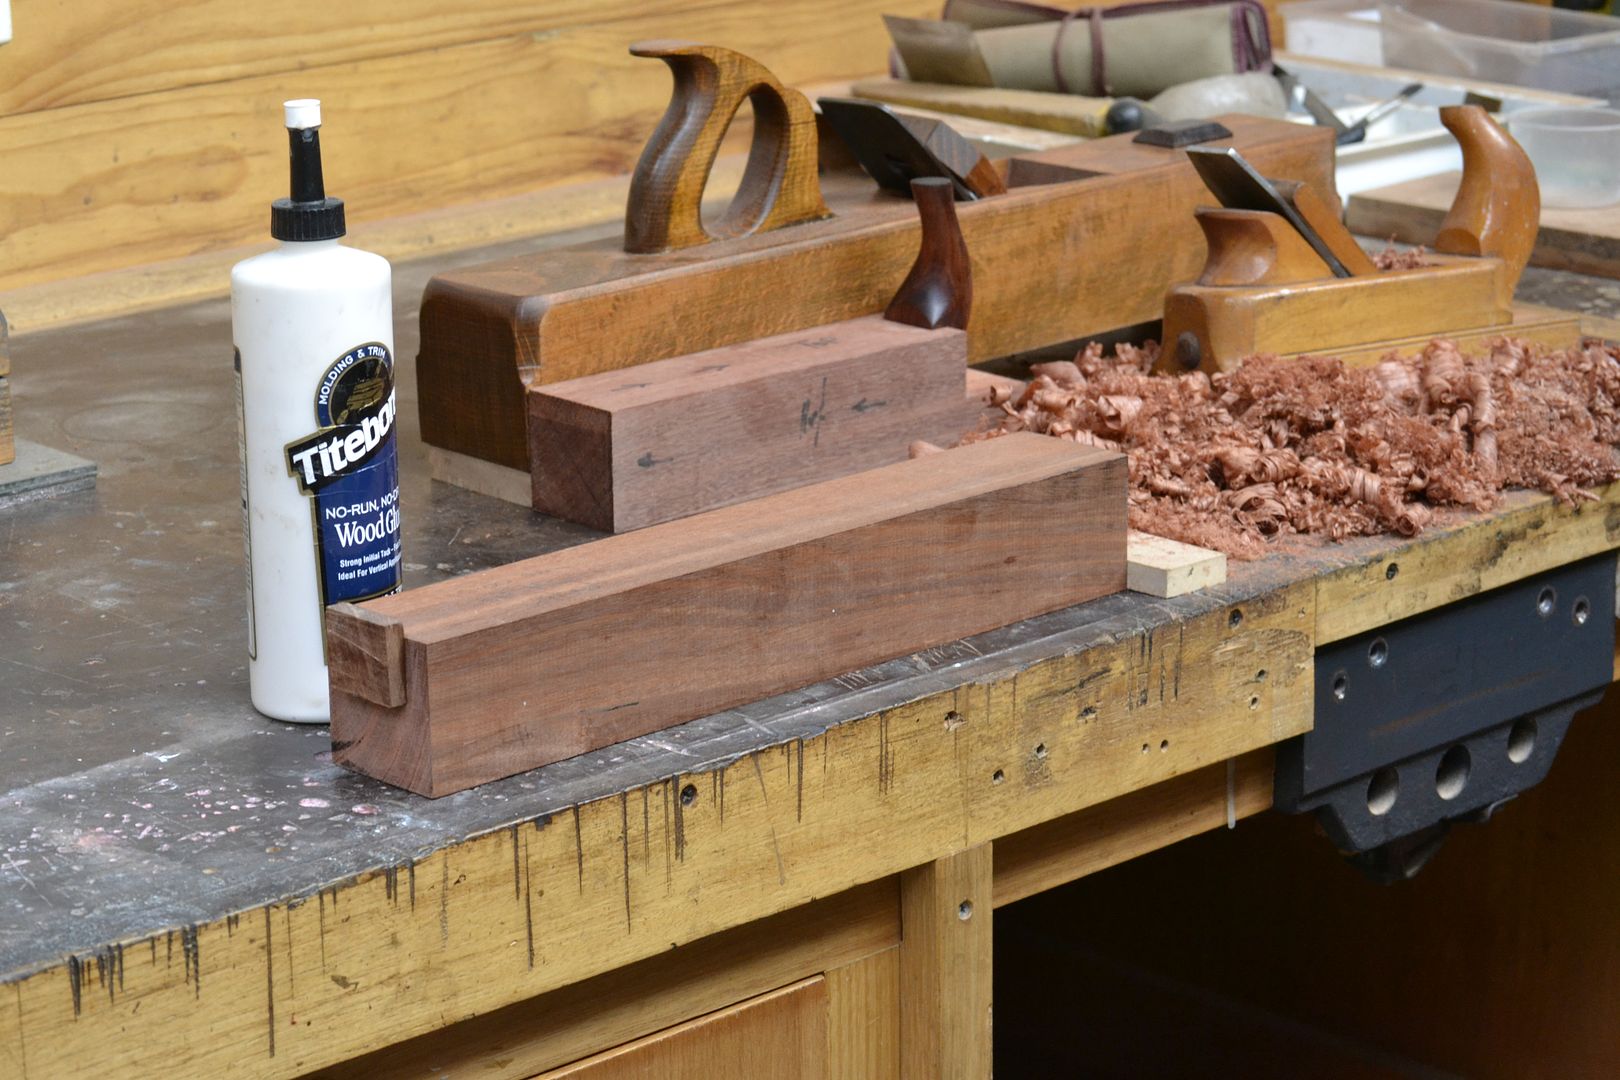
The end grain to long grain Titebond Glue test proved reasonably strong, but doubts remained whether the joint would fail over the long term with seasonal movement.


The decision was made to mortise in a Jarrah dovetail keyway with outside facing long gain. That will achieve a later long grain to long grain glue joint when the front horn is permanently glued in position with Hide Glue. I went ahead and ordered a 1 5/8" double iron from LN. There was just way too much hassle trying to purchase a double iron of that width from ECE in Germany. I will hold off any further progress until the new double iron arrives in the post.

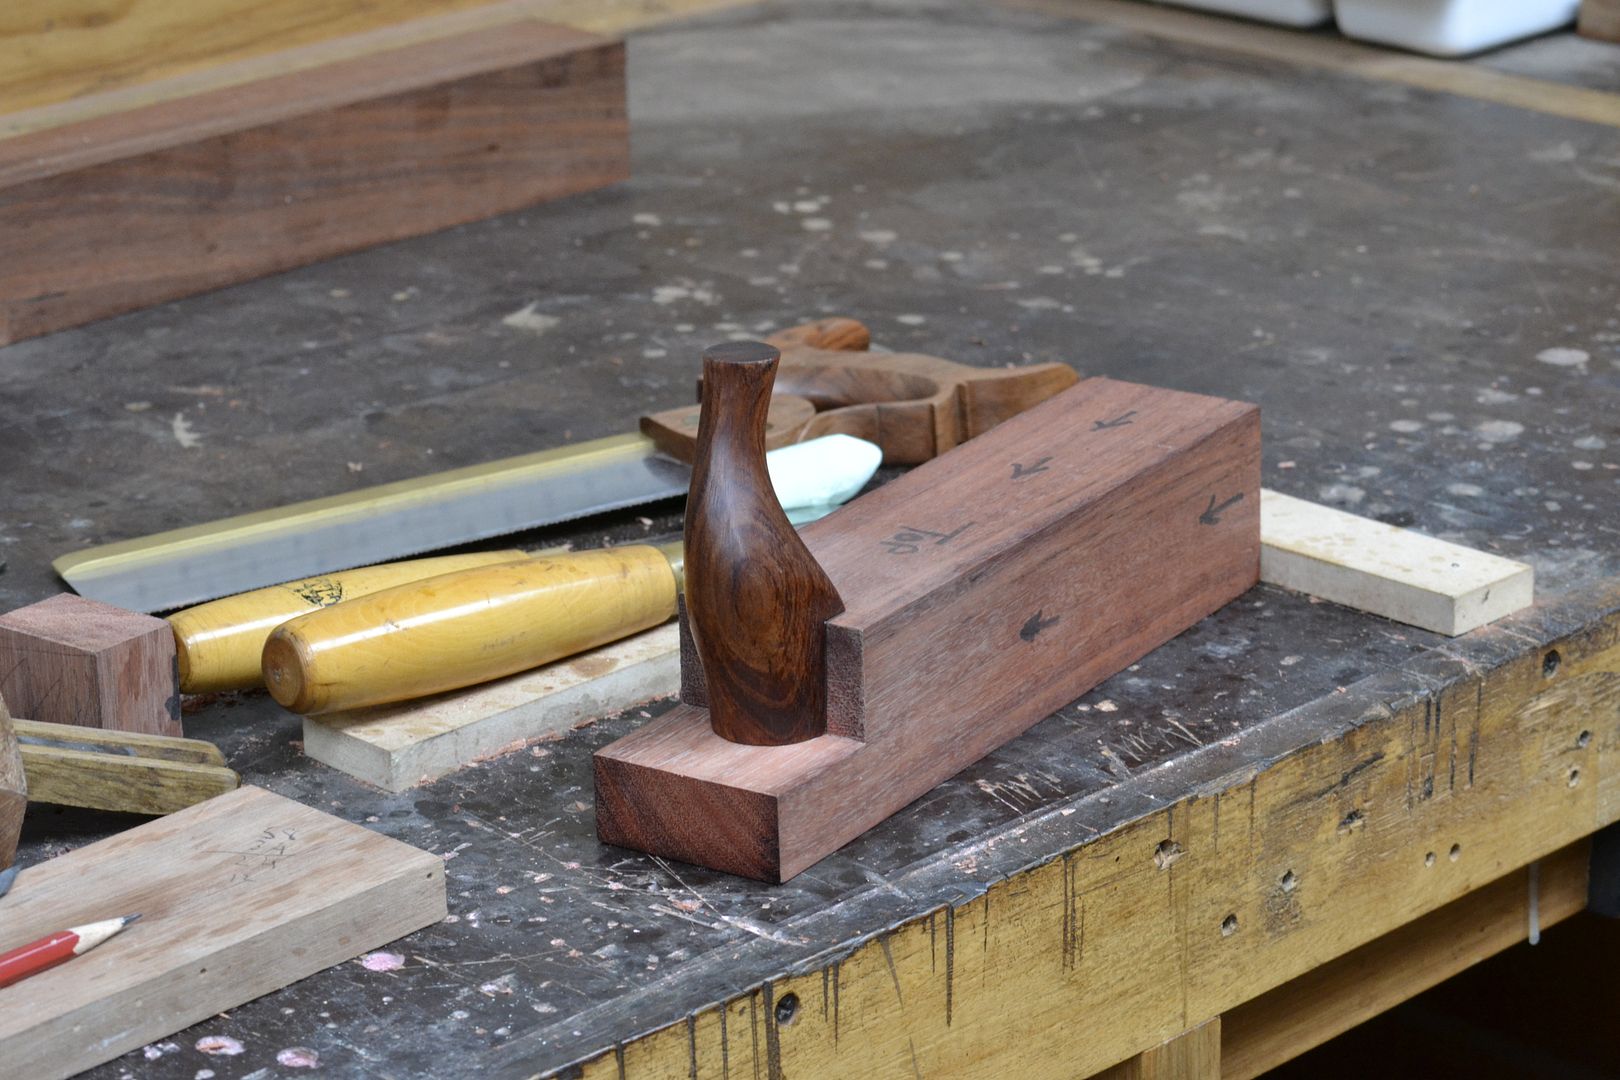
Dovetail key after being glued into position.


Test fit with the front horn.
 
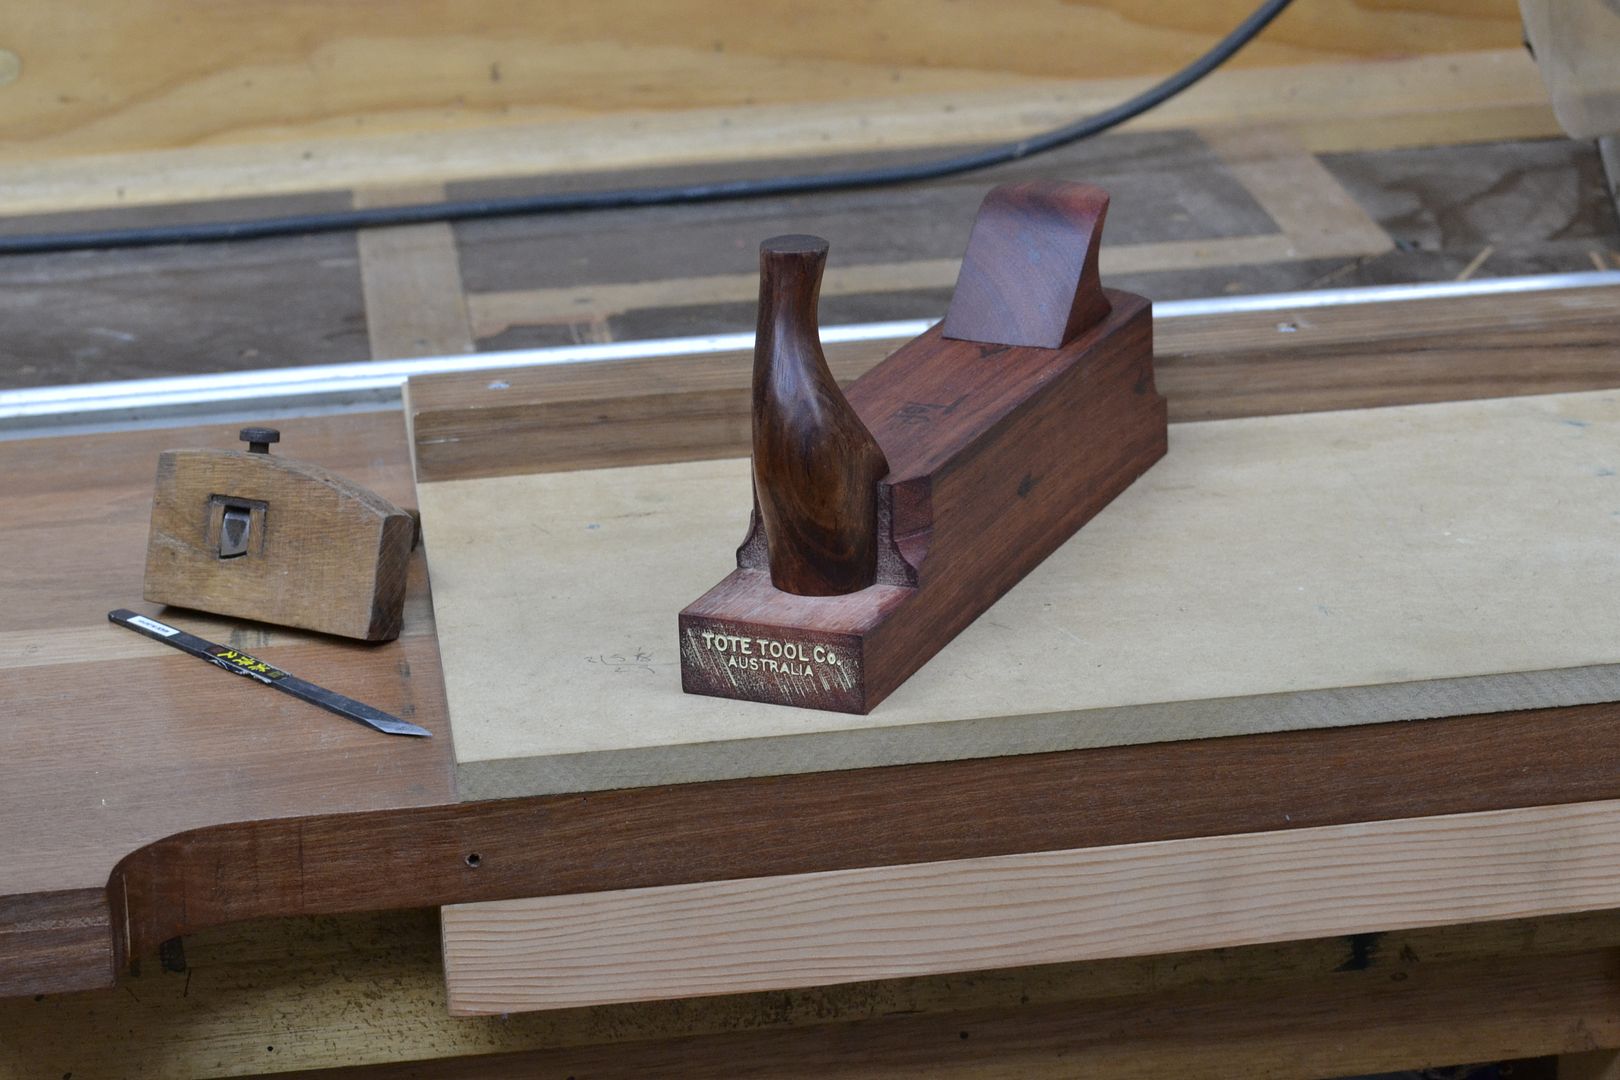
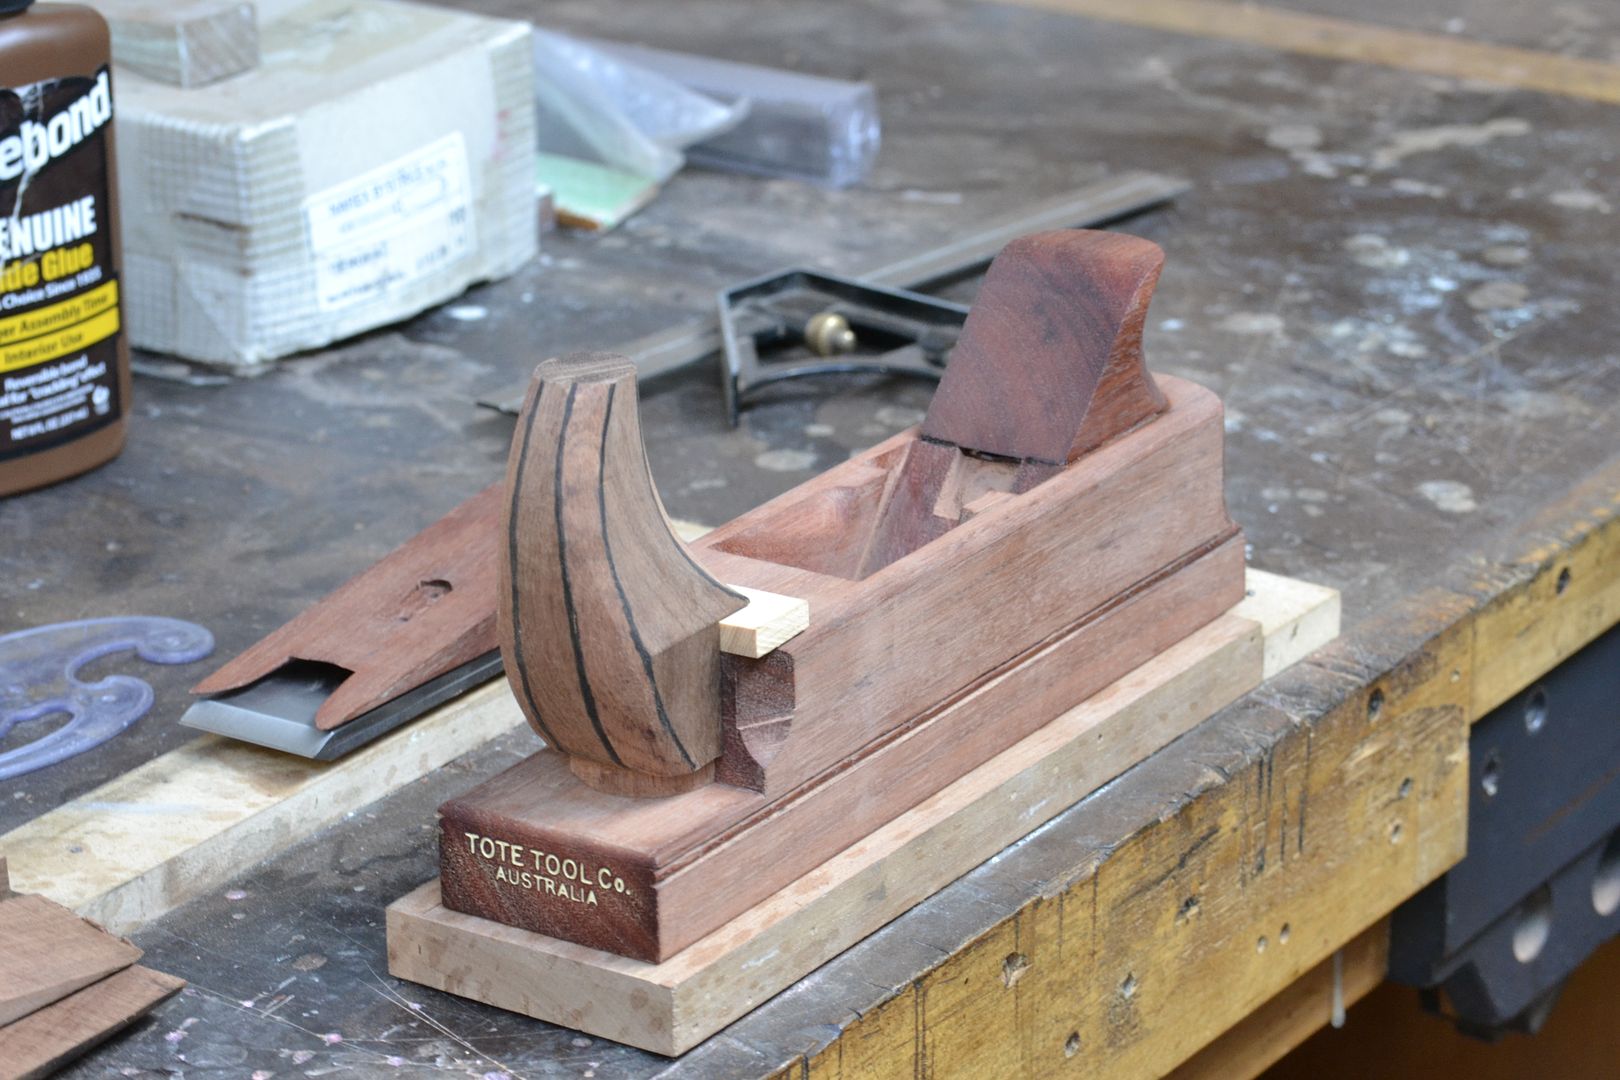
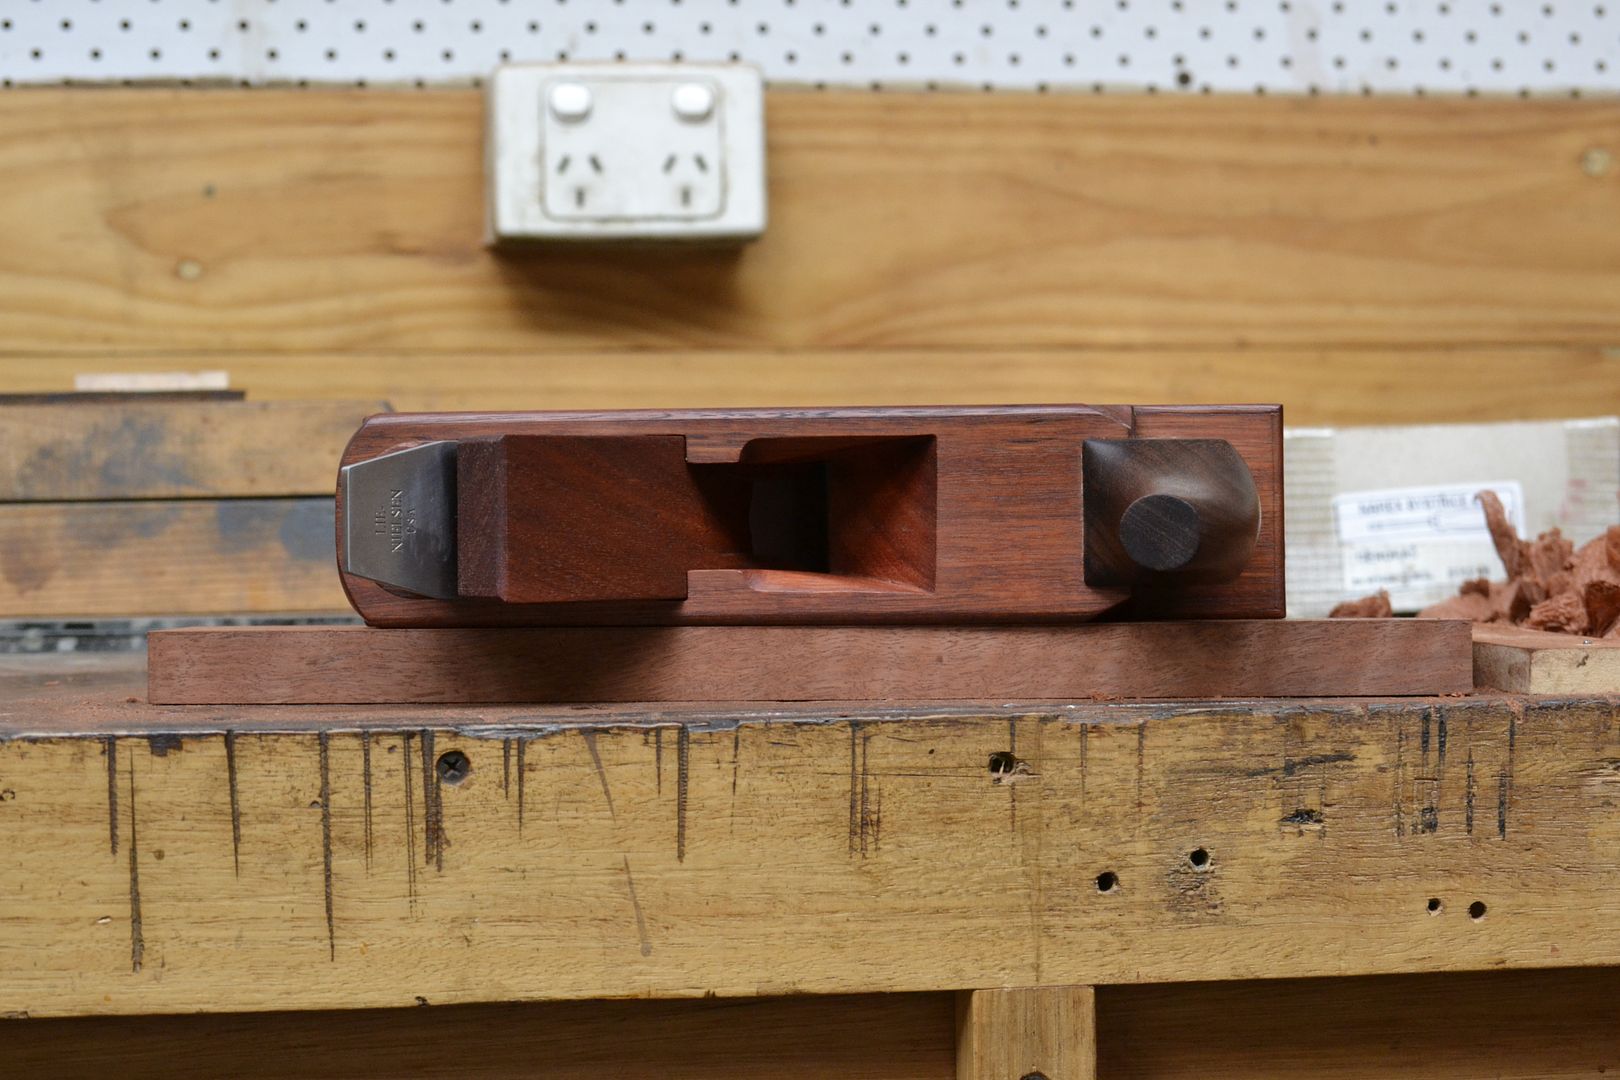
Still waiting for the new double irons to arrive. I completed the rear bun and shaped the back end of the plane stock. I also added the front end bevels and the makers stamp. 1.5 tonnes of hydraulic pressure was needed to achieve a good imprint on Australian Jarrah end grain. I still need to remove the excess paint fill with a card scraper. I will do the wooden wedge and abutment block tomorrow. The sole length of this smoothing plane is 10 inches.


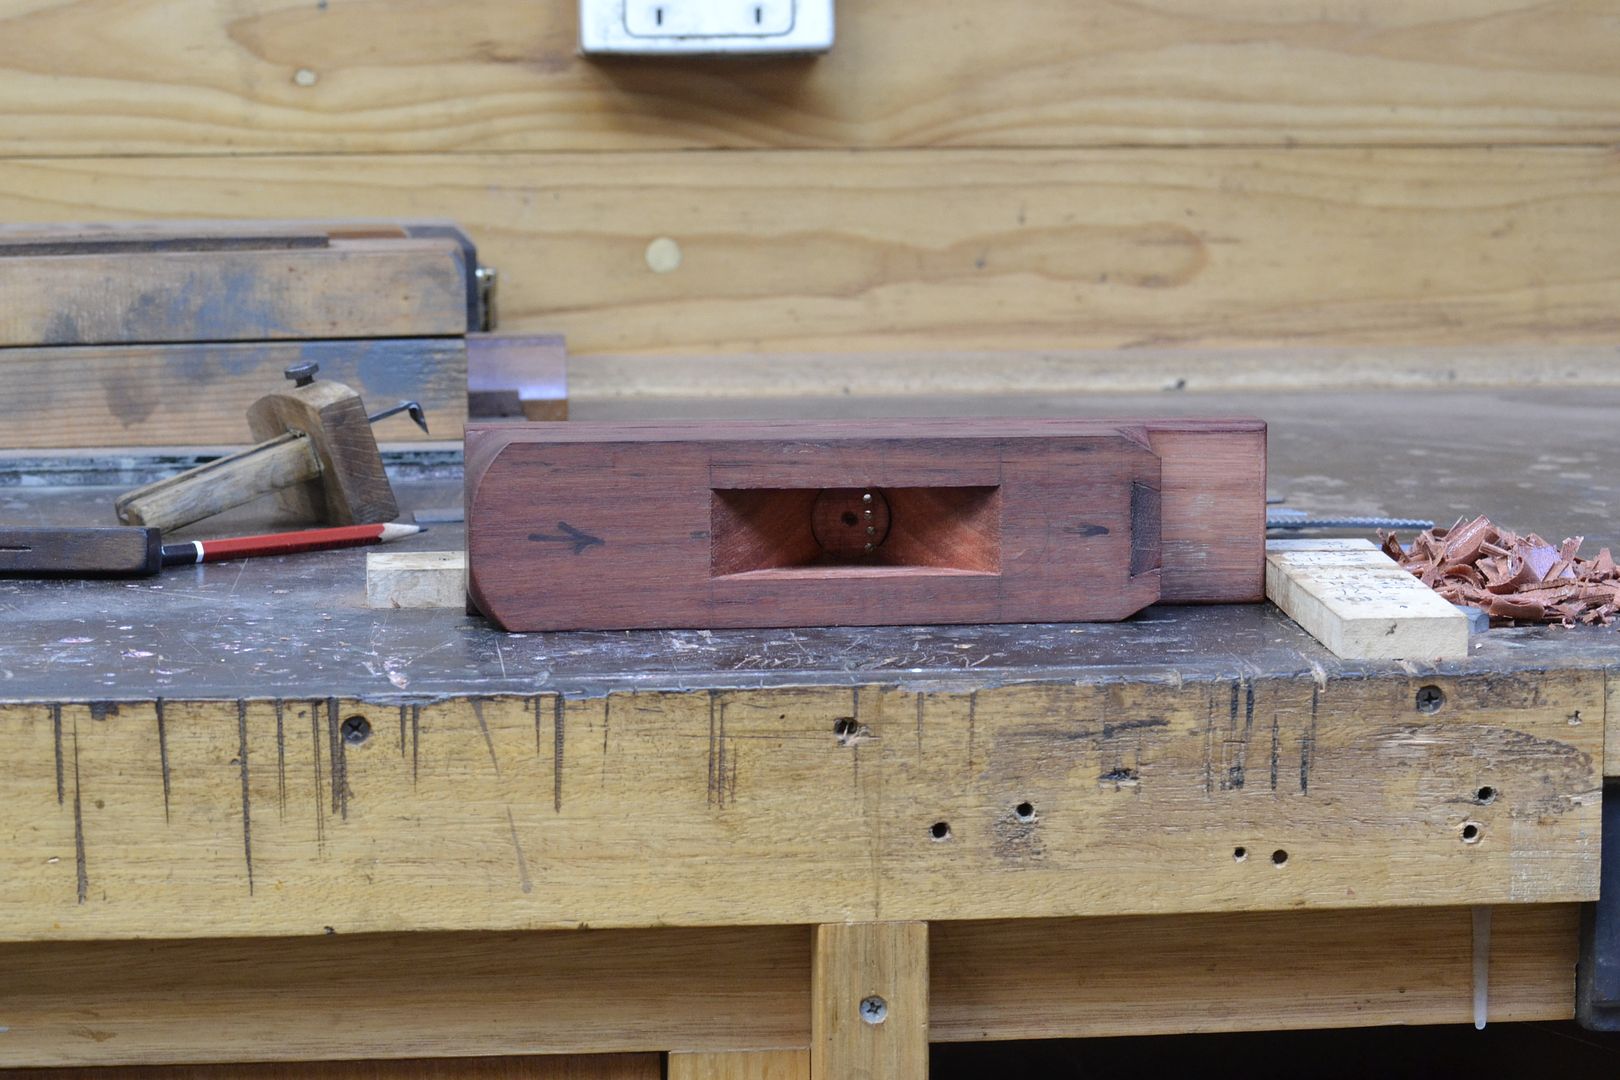
Completed the 1st stage of mortising out. (Outside the wedge abutment line and to a depth above the top line of the wear angle.) This cautious approach on initial depth reduces the likelihood of breaching the 2 targeted bevel angles. The pilot holes through the mouth were done on a pedestal drill with the tool rest locked in at a 95 degree angle. The double irons arrived in the post.


The 2nd stage of mortising out has been completed. A Dremel fitted with a spiral cutter was used to break through the mouth opening. The wear height was set at 3/4".


The 3rd stage of mortising out has the wedge abutments been formed. The double irons + wooden wedge have also been fettled in. The last photo shows the rear bun sitting in position behind the bed.


Near completion. The side cheeks have been flared out and the eyes shaped in. All 4 sides of the plane stock flat sanded to 220 grit. The rear bun has been Hide Glued into position. The decision was made to make up a new front horn with some design changes. Those changes include a 180 degree dowel fit- stopped mortise and tenon joint on the heel. At this stage the new front horn has been roughly shaped ready for fine tuning work with finely stitched Logier Rasps. That will be completed tomorrow ready for gluing in. The 3rd photo shows my earlier attempt at shaping a German shaped front horn. (tote)


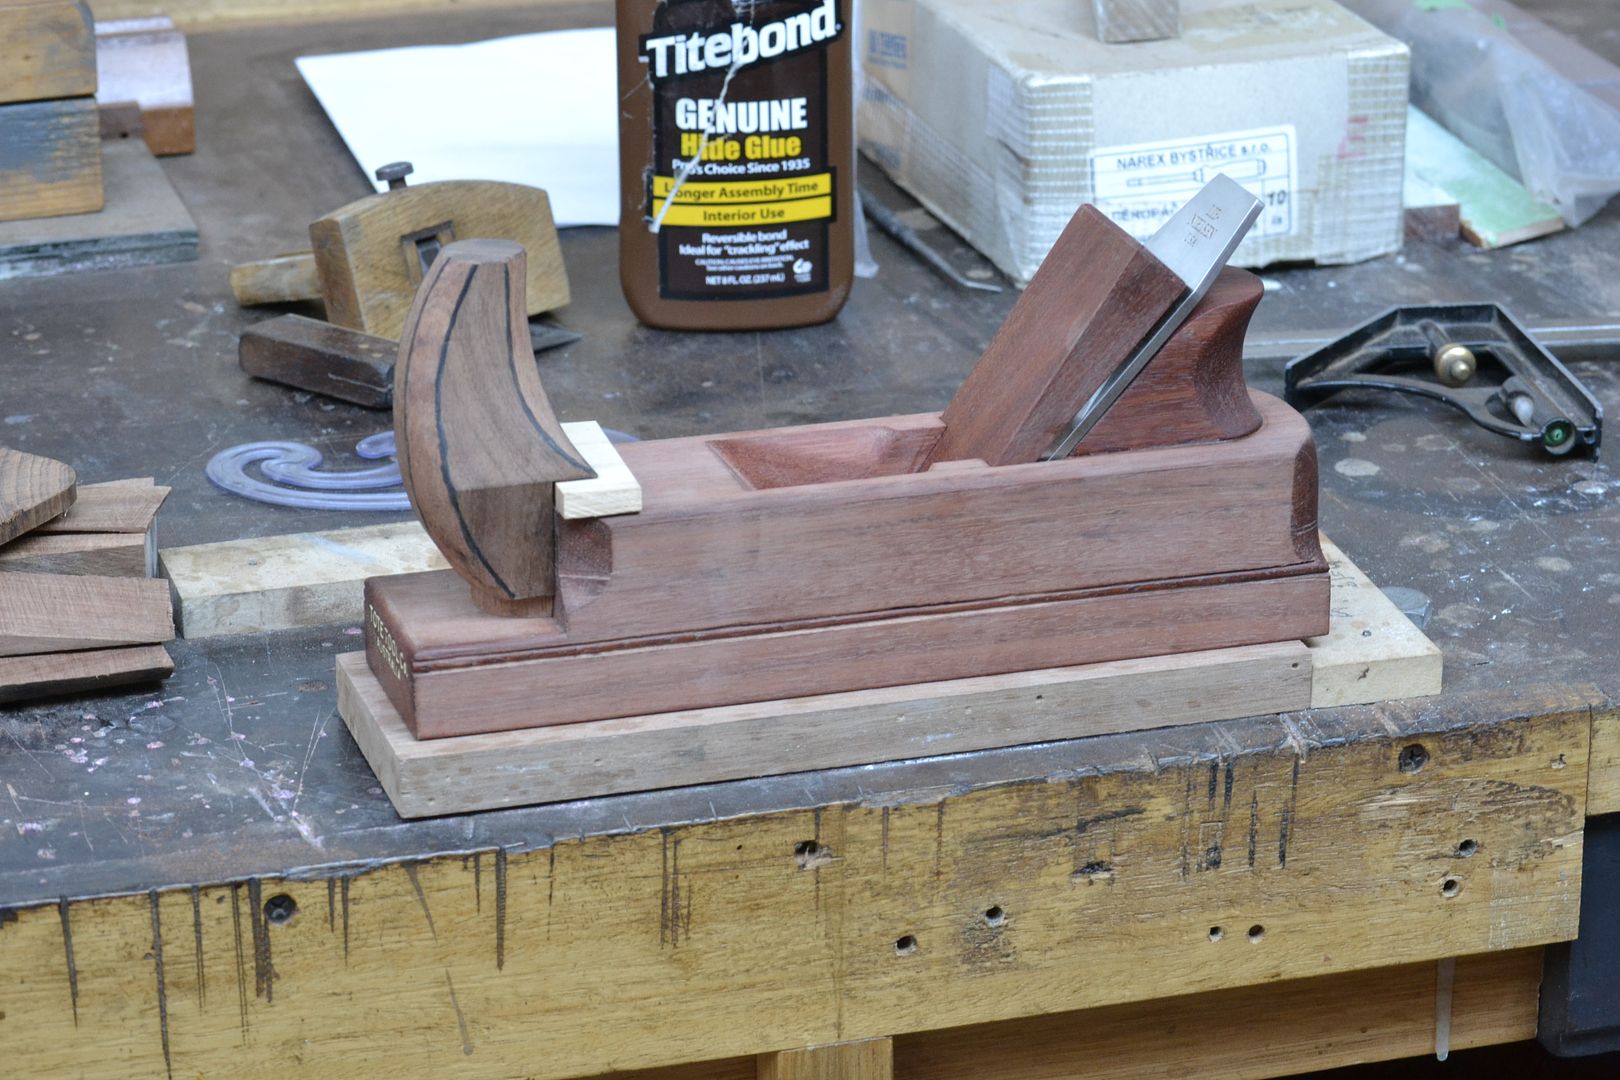
The front horn is finally hide glued into position. I will allow the glue harden for 48hrs before I apply the 1st of 3 coats of Danish Oil.

 
Corneel":3kjyim0d said:
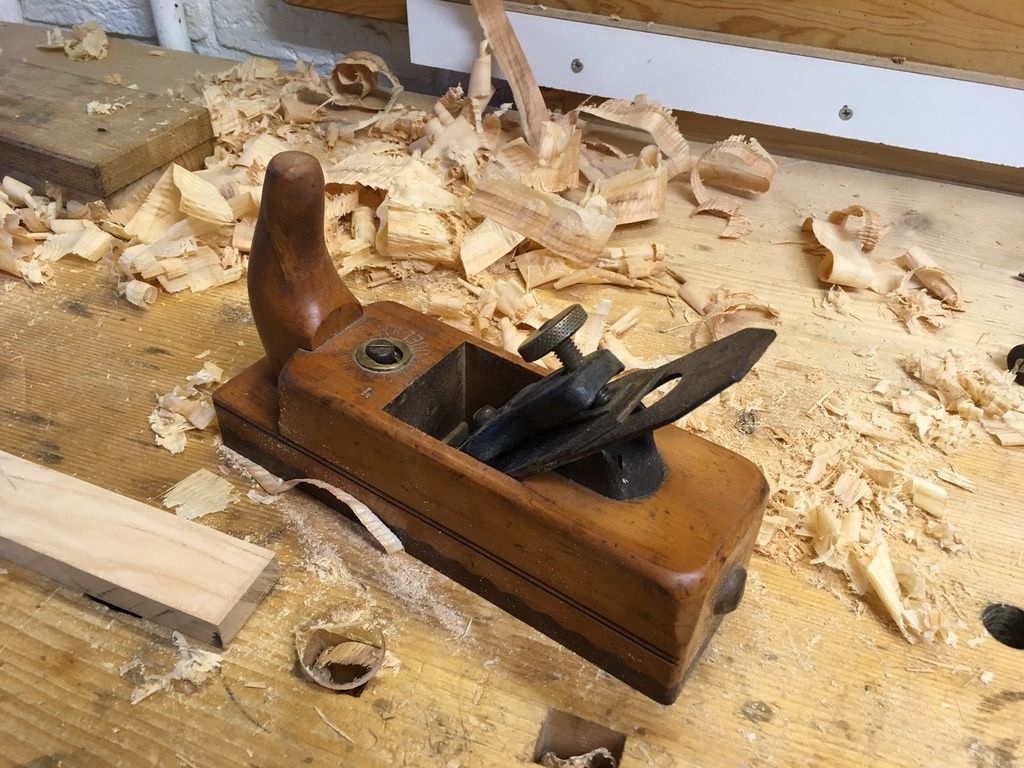
Here is my Ulmia smoother.
IMG_3866_zpsy0at1usf.jpg

I have got the same plane, found in a local street market for 10€ :wink:
Mine, fortunately, had not the issues you described.

Stewie, thath Australian wood you used for your smoother is superior, the plane is really well done, as usual.

This is a scrub plane I made some months ago, although in this case isn't a one piece plane but laminated. Beech and selvatic olive for the sole.
The handle was glued and inserted as Corneel showed, sliding dovetail and a round tenon in the bottom. More, I secured it with a couple of dowels.

28j9q8p.jpg

nz12eq.jpg

dpy9f9.jpg
 
Giuliano; I am a little surprised you chose to make a laminated body for your scrub plane. You have the skills and knowledge to have chosen the more traditional 1 piece construction. Appreciate the feedback.

regards Stewie;
 
swagman":10hrahum said:
Giuliano; I am a little surprised you chose to make a laminated body for your scrub plane. You have the skills and knowledge to have chosen the more traditional 1 piece construction. Appreciate the feedback.

regards Stewie;


Thanks Stewie,
In this case I just wanted to test my new old bandsaw from '60s :mrgreen:

riccj7.jpg
 
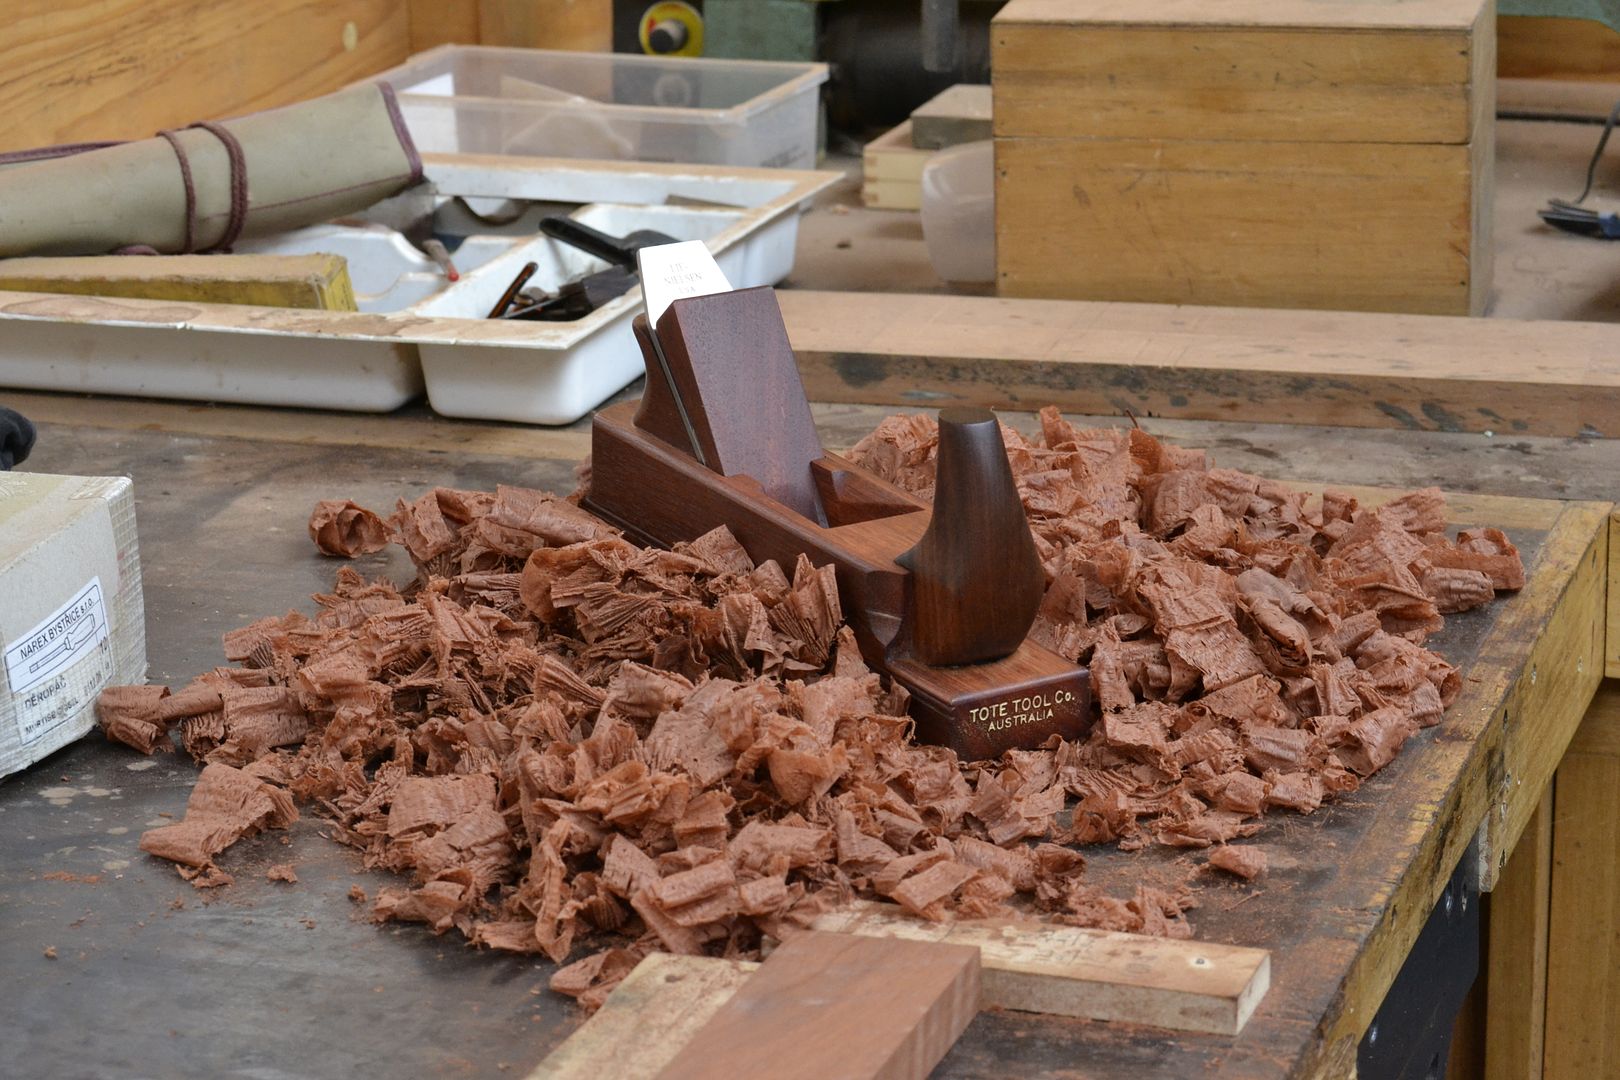
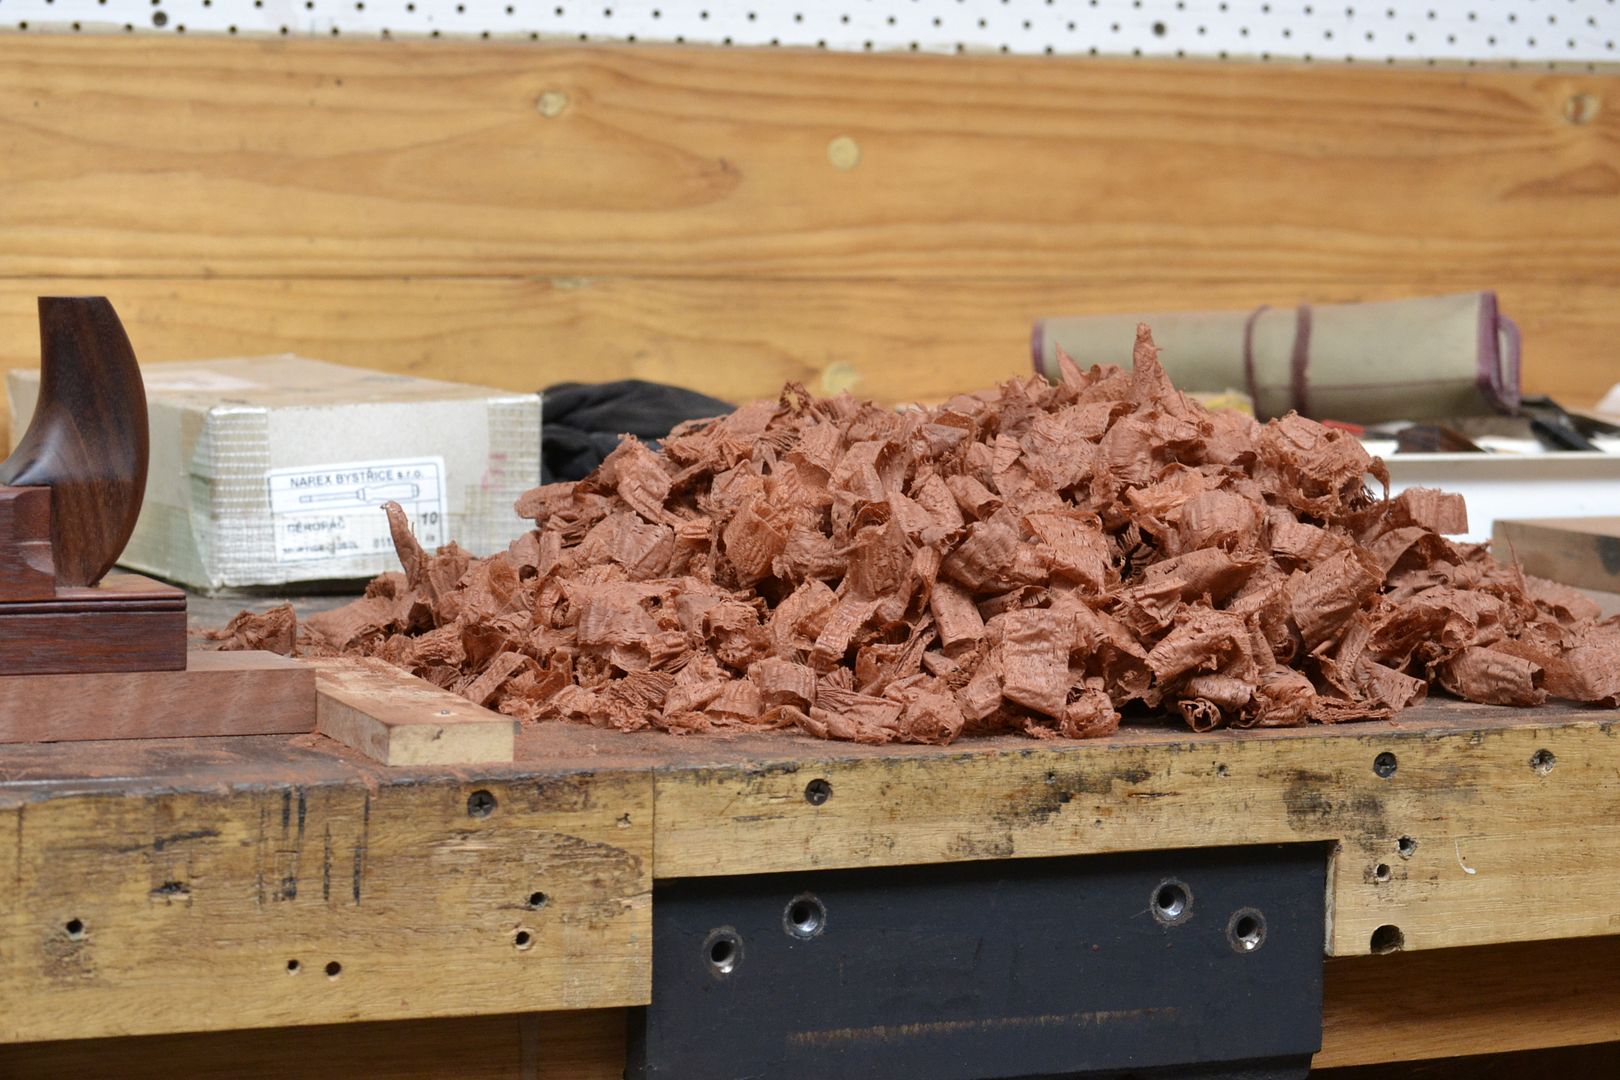
3 coats of Danish Oil was applied over a 24hr period. Both the cap iron and cutting iron were then honed to a steeper secondary bevel. A light camber was worked to the cutting edge. A fine grit Norton Carborundum Oilstone 1st, followed by a finer grit Arkansas Oilstone. The Smoothing Plane was then rigorously tested on Australian Jarrah taking both thick to lighter shavings. The plane performed exceptionally well with both types of shaving. The shaping of the planes front horn and rear bun mould very nicely within the hands during use . Job done.

Stewie;


Excellent. Would like to use some Jarrah, the stuff here seems to be railway sleeper quality.
 
Back
Top