First WIP post - New workshed

UKworkshop.co.uk

Help Support UKworkshop.co.uk:

This site may earn a commission from merchant affiliate links, including eBay, Amazon, and others.

Out int shed

Established Member
Joined
18 Dec 2008
Messages
79
Reaction score
0
Location
Hull
Hello Chaps,

Found this site just over a month ago. I have enjoyed reading the informative and funny posts - I think its now time for me to contribute.

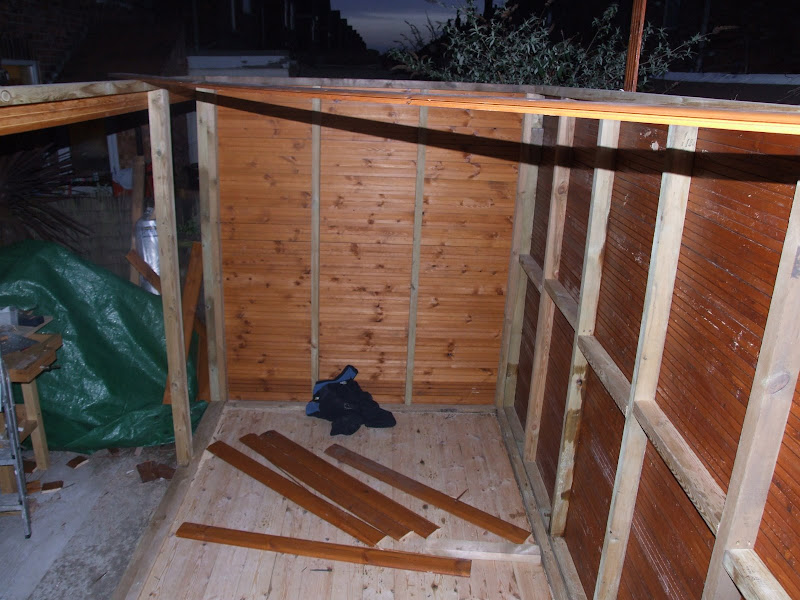
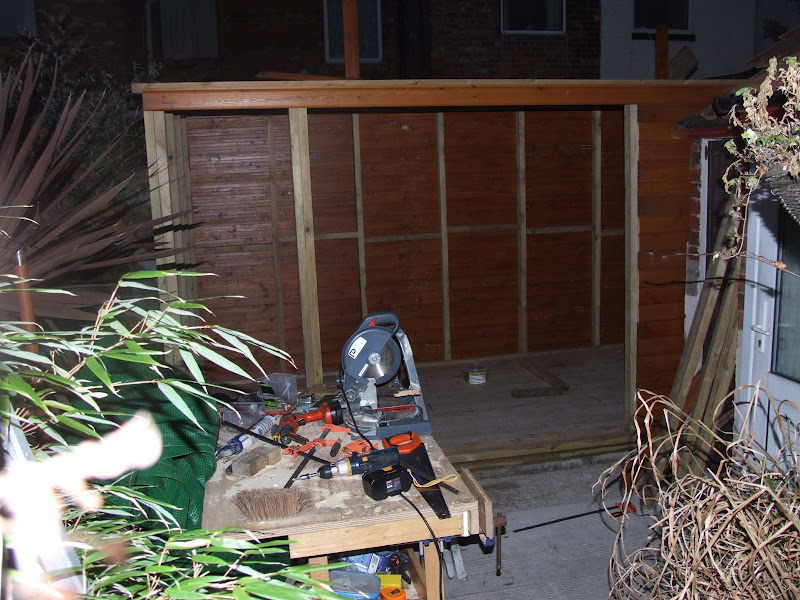
Here's my first post, and I think it only right that it should be a WIP of my new workshed.

So far, I have spent 1 weekend pulling down the old shed and outbuildings:

DSCF3827.JPG


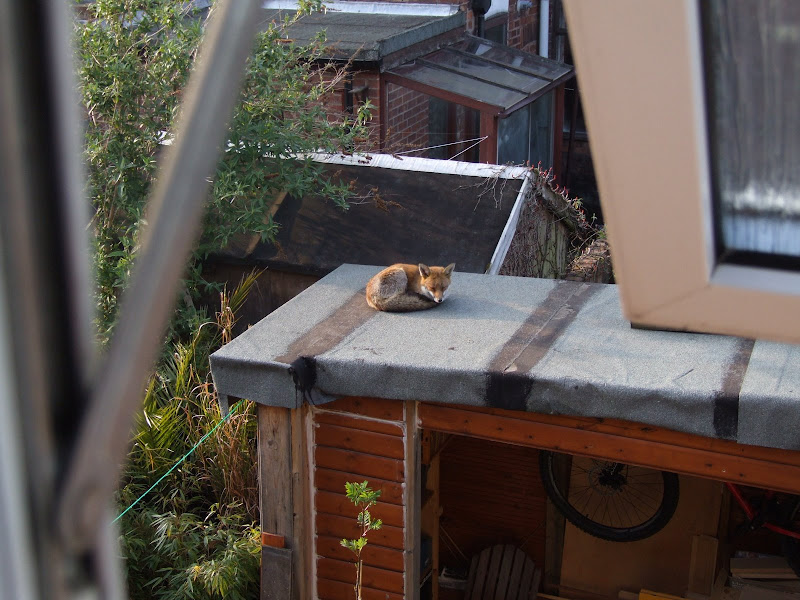
Yes, that is a fox on the roof.

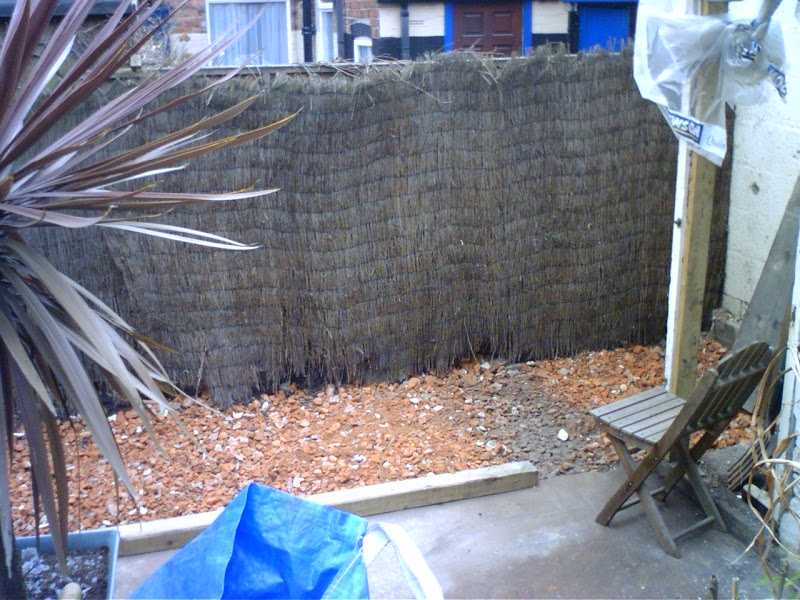
After the old shed, there was an outside poo loo to come down. This pick shows the brick out house after it met my sledge hammer for a day. You can just see the remains of the door lining of the out house on the right.

note to self; must remember to turn of the water supply to the toilet before pulling the walls down!

HPIM0029.jpg


After another day of bashing, the hardcore is ready for sand then concrete.

HPIM0030.jpg


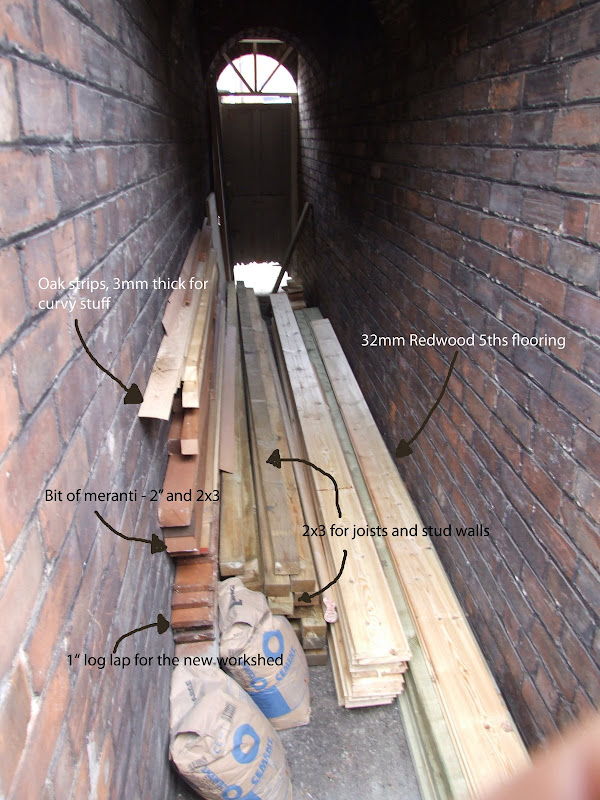
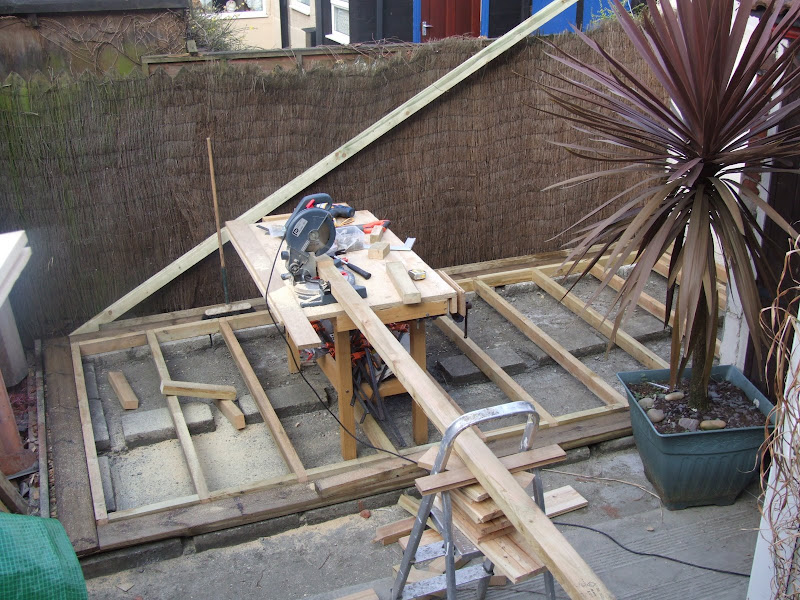
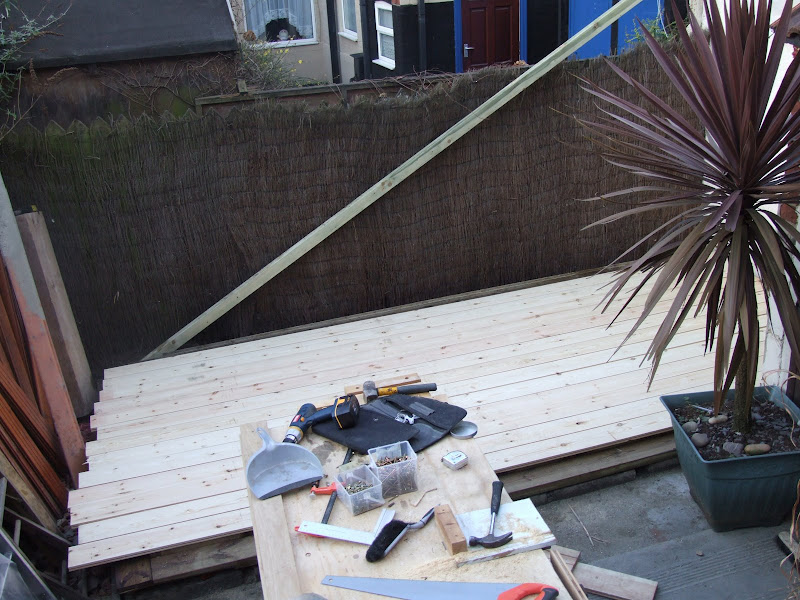
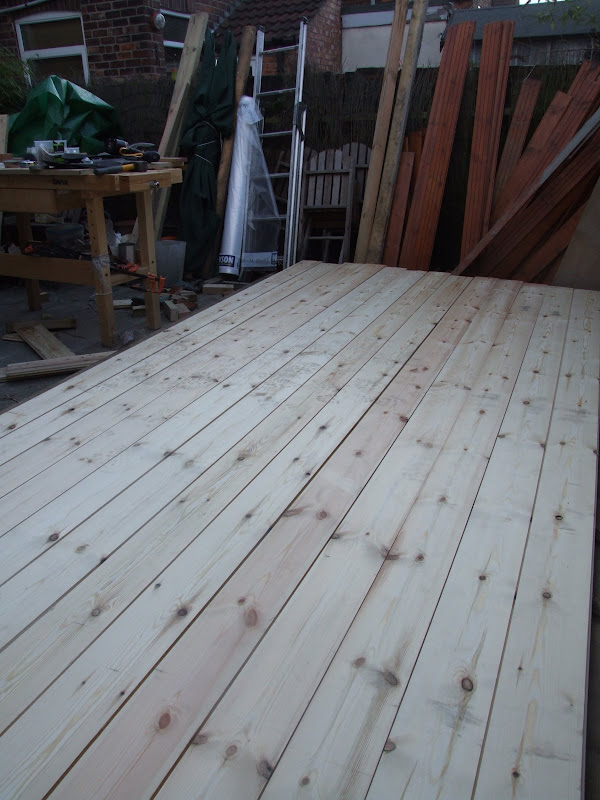
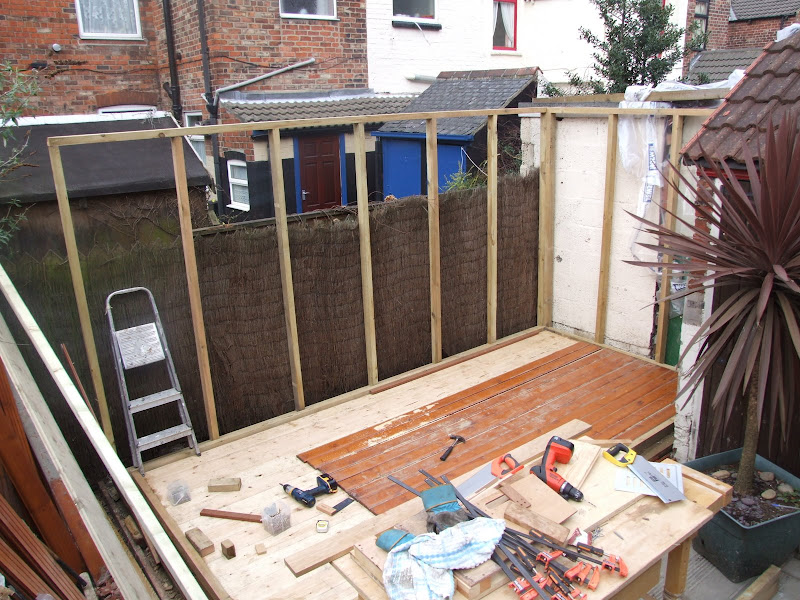
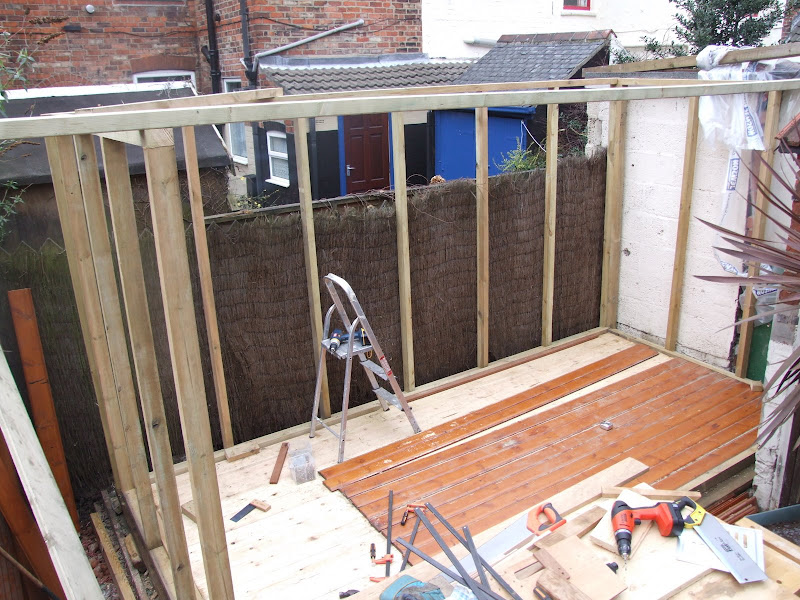
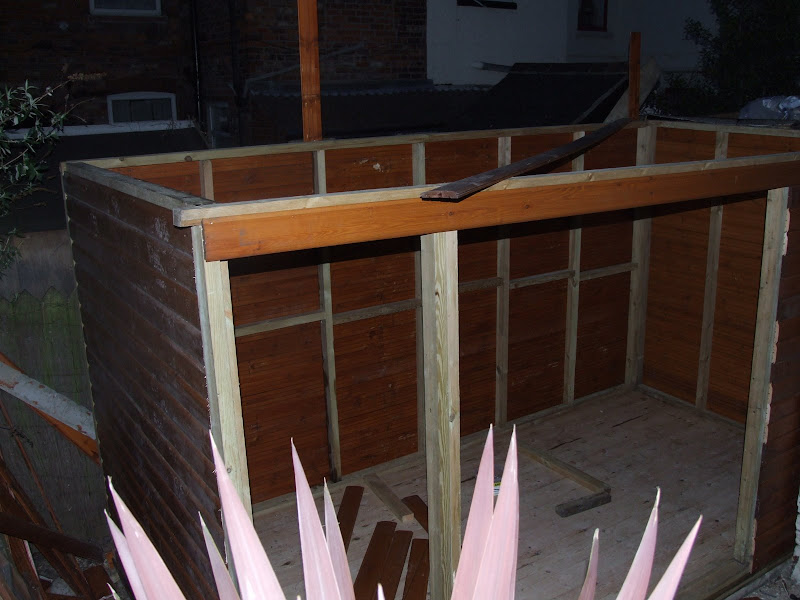
Once a new slab is laid I can crack on with the floor joists. 3x2 should do, 400 centres spanning 2.3 meters. I have some 32mm T&G to go on top of the joists.

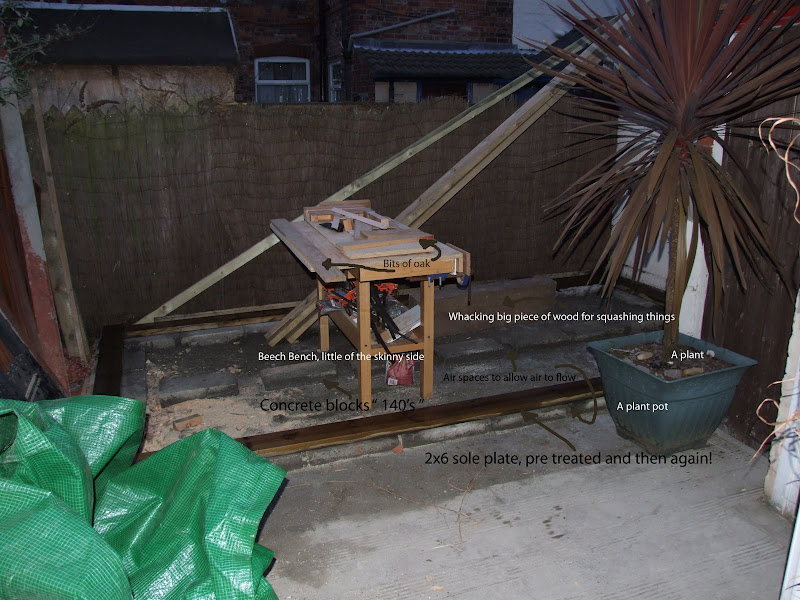
Total shed floor will be 2.3X4.2m or there abouts. Im thinking of putting breeze blocks down onto the concrete slab and laying the joists onto those. Is it a good idea to lay the blocks into the wet concrete to set them in?

p.s - how do i make the pictures bigger - they have a native resolution of 1280X1024 so cant understand why they are so small, unless google picture hosting shrinks the picture size??
 
Out int shed, ( how Yorkshire) Welcome to the forum.
Your pics, Host them on photobucket. You should be able to resize them.


John. B
 
Out int shed":37acw0r0 said:
p.s - how do i make the pictures bigger - they have a native resolution of 1280X1024 so cant understand why they are so small, unless google picture hosting shrinks the picture size??

You need to select the size you want from the drop down box on the right. You can also manually reszie them by changing the value after the s (currently s144). Here is one changed to s640 :).

DSCF3827.JPG


Cheers

Gidon
 
Day 2 - although its weekend number 2

Got most of the timbers for the shed home. Thank goodness for merc sprinter vans!

This lot will have to be moved tomorrow. Otherwise it will be a task to get the bins out for Monday!

WIP%20Shed%20Day2%201.jpg


Sole plates cut to length (4.25x2.3), half lap joints pre treated and then treated again after cutting.

WIP%20Shed%20Day2%202.jpg
 
Day 3,

First to go down was the 2x3 floor joists, step ladders are a poor replacement for a long bench!

WIP%20Shed%20Day3%202.JPG


I made sure the joists and the bordering 2x6 were square and level then started to layout the 32mm floor boards

WIP%20Shed%20Day3%204.JPG


WIP%20Shed%20Day3%205.JPG


The floor is now covered with tarp, please be kind weather. Unfortunately I wont have next weekend free!!
 
No dpc trousers,

I thought about it for quite a while but in the end decided to do without.

The frame of the floor sits almost a foot off the concrete slab, which is itself about 4" off ground level. All the treated timbers are sat directly onto concrete blocks, and then in between each block there is a 2" air gap to allow circulation to minimise any damp.

Although the flooring is currently untreated, the underside of the boards will be thoroughly treated before the boards are fixed.

All the frame work is 2x's treated plus a third treatment on top on the cut faces and ends.

The whole building will be wrapped up in a log lap skin which has been given a four coat treatment, its almost impenetrable.

I've had an existing shed built to the same principle and that lasted 5 years until I out grew it! When I took the shed down there was no damp damage to the timbers at all.
 
Day 4

Weather held (just) today so I cracked on with the stud work, didn't get the noggins done but that's an easy one for the next weekend.

WIP%20Shed%20Day4%201.JPG


WIP%20Shed%20Day4%202.JPG
 
It looks like its coming on very nicely now! :wink: I've been watched this topic for a while, and its time I posted to it. I have to admit, I'm jealous you can re-build and expand your shed. Unfortunatley, for me time & money is very much a problem, also it's my mum n dads house, so I won't be here forever to warrant expansion. Good luck with yours though! :wink:
 
Your right Dean, it is pretty close to the thatch. That side of the building (and all sides) will be clad in loglap which has been given a 4 coat treatment - I didn't ask for the treatment, a customer returned it as rejects so I got it cheap! The loglap wont need maintaining for a long long time.

The thatch will be removed before the cladding goes up.
 
ARRRRR!!!

bloody crazy wind and rain last night battered the tarp cover i had laid down, i nearly lost a 10' x 5' plastic sheet to the elements.

The result of this was an early start today moping up the mess damn it.

and its due to chuck it down in the afternoon boo hoo
 
Welcome to the forum.

I had a great laugh looking at your improvised 'outrigger' for your chop-saw.
Thanks for that. I needed cheering up. :)

Bester luck with t'shed, and make something for the neighbours! :lol:
 
Out int shed":3hhqe5tf said:
ARRRRR!!!

bloody crazy wind and rain last night battered the tarp cover i had laid down, i nearly lost a 10' x 5' plastic sheet to the elements.

The result of this was an early start today moping up the mess damn it.

and its due to chuck it down in the afternoon boo hoo

I remmember when I built mine I built the sides on the ground then lifted it all up and while away one weekend I left a huge tarp across, but there was no roof only a step ladder in the middle and a few 4x2 's to support it. When I came home on the sunday the tarp had filled up so much with rain that the ladder just tore thru the tarp and flooded the workshop GRRR.
 
Benchwayze":3teo248k said:
I had a great laugh looking at your improvised 'outrigger' for your chop-saw.
Thanks for that. I needed cheering up. :)

I've used the exact same method, and using the same make of steps by the looks of it, on more than one occasion. Its amazing what you can do when you have to.

I've now got myself a couple of those roller stand thingies.

Cheers

Mav
 
Its like a game of chance with tarps, you never know when mr wind will decide to take your plastic for a ride!

Had a good day today with the build. Had a slightly later start than planned but non the less I got all the walls up and cladded although there is a wee bit left to do to the left of the door opening:

WIP%20Shed%20Day%205%201.JPG


sorry 'bout the light, I ran out of day!:

WIP%20Shed%20Day%205%202.JPG


Another view:

WIP%20Shed%20Day%205%203.JPG


Tomorrow, weather permitting, I shall mostly be cladding, and making trusses.
 
Looking good so far!!

You do need to make a space for your fox though.....keep wild life alive...put out bin bags with food scraps in so you can scrape them up in the morning!! Seriously.... I love to see wildlife thrive and encourage it, foxes are beautiful creatures trying to survive just like the rest of us... don't hate them like some people do...hate the world we live in....its only what we make it!!!
 
Looking good so far. :wink: I see you have the same cheapo mitre saw as me. I got mine when they had them on offer at B&Poo, been happy with it for cutting small mouldings and the like. Much easier than humping the De Walt around. :wink:
 
Back
Top