Dixie Biggs inspired hollow form

UKworkshop.co.uk

Help Support UKworkshop.co.uk:

This site may earn a commission from merchant affiliate links, including eBay, Amazon, and others.

SVB

Established Member
Joined
2 Jul 2005
Messages
2,041
Reaction score
238
Location
Nailsworth, Glos
So, next project..........

While the 'big twig' is drying out, I'm using some holiday time to progress a much delayed ambition to get into some carving on turned forms.

I watched Dixie a while ago on YT here: https://youtu.be/ucge2PtkrK4 and really wanted to give it a go. So, vessel turned and about to get carving.

Anyone done this before and can offer tips to a newbie?

Simon
 

Attachments

  • IMG_1338.JPG
    IMG_1338.JPG
    110.4 KB
  • IMG_1337.JPG
    IMG_1337.JPG
    121.4 KB
Dixie Biggs is a superb exponent of the rotary tools, and makes the process look easy. On my limited number of carved turnings I have used hand carving chisels and also reciprocating power carvers to remove bulk areas and then moved onto micro motor rotary tools. Although my experience is limited, on almost every occasion I wished that I had left the wall thickness a bit meatier as you soon run out of wood when you start carving your masterpiece. I am a great fan of Dixie Biggs work. She is truly inspirational.
 
I've left this one at about 9mm for that reason but time will tell whether that is enough (or how even my hollowing skills are!)

S
 
Simon

That looks to be a large chunk of work for a first time.
I'd do a trial leaf on waste to start with
And then start around the HF opening; if it gets too much you can quit and have the rest of the bowl smooth.
If its going well then progress down the bowl with the leaves.

Just my 2p

Brian
 
finneyb":2qxh6dg1 said:
Simon

That looks to be a large chunk of work for a first time.
I'd do a trial leaf on waste to start with
And then start around the HF opening; if it gets too much you can quit and have the rest of the bowl smooth.
If its going well then progress down the bowl with the leaves.

Just my 2p

Brian

Probably very wise counsel, unfortunately, too late - we're in mastermind territory now, I've started so I'll (have to) finish!

S :?
 

Attachments

  • IMG_1369.JPG
    IMG_1369.JPG
    123.1 KB
As an aside, why is it first time through a new project nothing is easy and just takes time. Amazing how many things need to be done just to get things done.

So far:
1) new tighter clearance throat plate for scroll saw to cut rubber templates;
2) foam / rubber soft pillow to support HF during carving;
3) carving dusty so built new mini bench top extractor / filter;
4) back aching so needed foot stool for sitting at bench.

Still, all good fun in the workshop!

Simon
 

Attachments

  • IMG_1370.JPG
    IMG_1370.JPG
    93.4 KB
  • IMG_1371.JPG
    IMG_1371.JPG
    103.7 KB
  • IMG_1369.JPG
    IMG_1369.JPG
    123.1 KB
  • IMG_1368.JPG
    IMG_1368.JPG
    109.5 KB
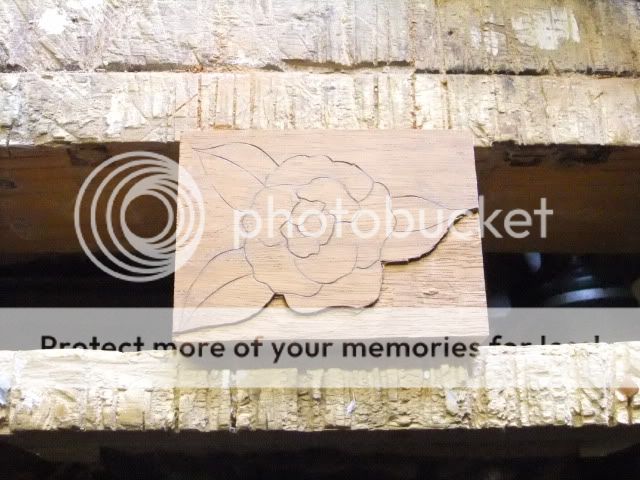
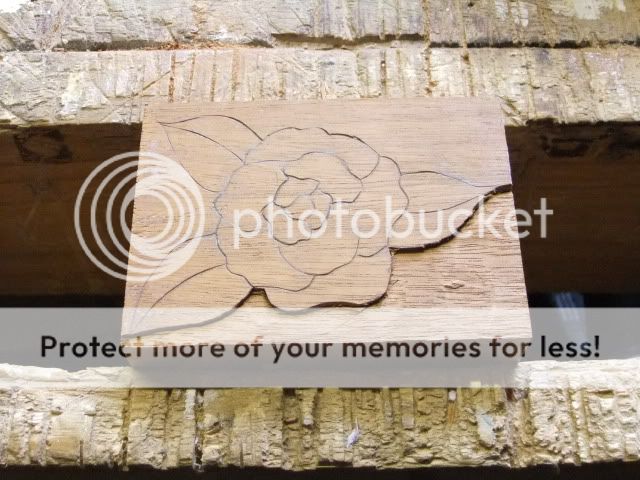
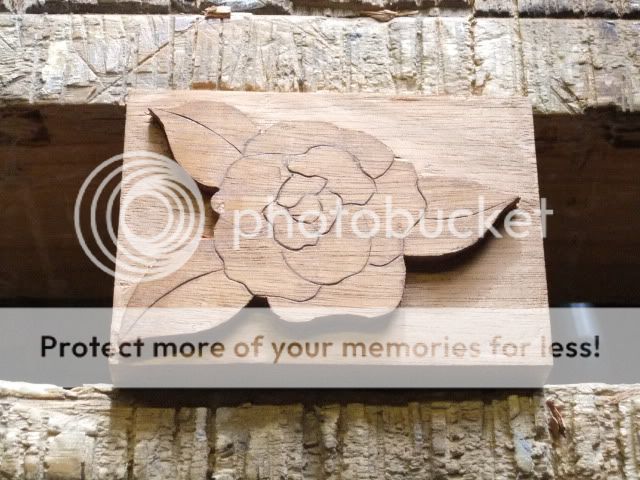
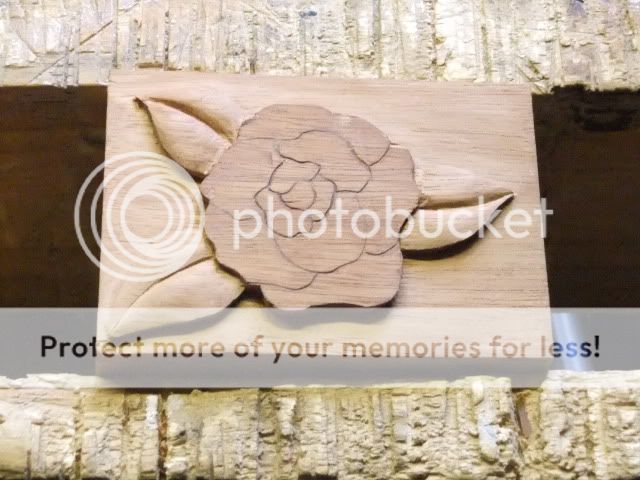
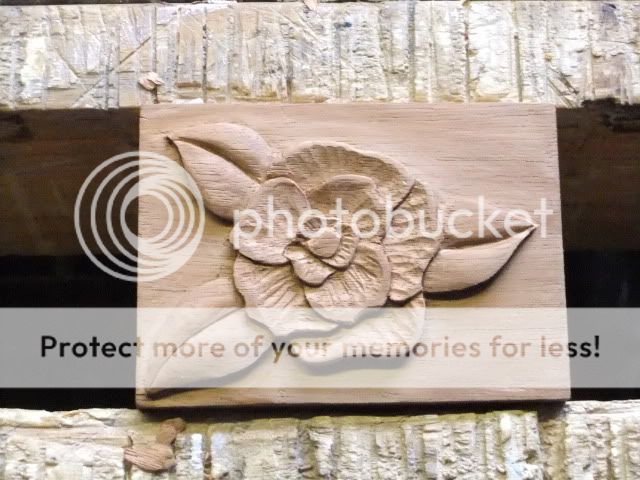
Looks like you are off to a flying start. Yes a seat is a must and if sat comfortable will allow for longer period to work on the form, having said that take regular breaks as it can also be a strain on the eyes as well as back. Once the outline is complete I would start on the ground(The lower sections between the leaves) and complete that before moving onto the leaf detail then complete each leaf before moving onto the next one. Something worth doing is to undercut the leaves only by a small amount this will give a shadow line which will define each leaf and make it stand out.
This is only a single flower but gives the idea as it progressed
DSCF1021.jpg

DSCF1022.jpg

DSCF1023.jpg

DSCF1025.jpg

DSCF1027.jpg

DSCF1028.jpg
 
Thanks for your post Derek, a lovely piece of carving and WIP shots very useful

Thanks

Simon
 
Had day off today. In parallel with other jobs and visitors, managed to make some good progress:

'stop cut' lines all carved:

IMG_1376.JPG


.... and made a start on removing intermediate waste together with defining leaves and background depth:

IMG_1375.JPG


These are the cutters / burrs I have found most effective and been using to date:

IMG_1377.JPG


'Til next time,

Simon
 

Attachments

  • IMG_1376.JPG
    IMG_1376.JPG
    135.1 KB
  • IMG_1375.JPG
    IMG_1375.JPG
    139.2 KB
  • IMG_1377.JPG
    IMG_1377.JPG
    116.9 KB
So, dusted this project off to finish. Leaves carved, colour applied, now the long job of pyro stippling starts. 930447BB-F085-45D2-B6F0-EE009E01049A.jpeg1D3EFFC5-1770-4821-80AA-E8A3C25CFEE4.jpeg930447BB-F085-45D2-B6F0-EE009E01049A.jpeg1D3EFFC5-1770-4821-80AA-E8A3C25CFEE4.jpegFC6A7B9B-F999-4A0F-A090-8B6A7B6C5F9A.jpeg
 
Blimey 3 1/2 year later :eek: at least you did it in the end:cool:
Yes, better late than never. However, with all I have had to learn to do this project, all be it off and on (but mainly off!), it will probably go down as one of the favourite things I have turned.
 
All done. Really pleased with how it’s turned out, esp first time for several of the techniques.
 

Attachments

  • 1D1E1D91-D494-4CBB-9990-7BC227232235.jpeg
    1D1E1D91-D494-4CBB-9990-7BC227232235.jpeg
    2.2 MB
  • 706C6538-31A7-4607-A91F-995258C1CA8D.jpeg
    706C6538-31A7-4607-A91F-995258C1CA8D.jpeg
    2 MB
  • 4696F8CF-B146-41FF-B477-34DE68F37942.jpeg
    4696F8CF-B146-41FF-B477-34DE68F37942.jpeg
    2.3 MB
Back
Top