Sheptonphil
Scrumpy junkie
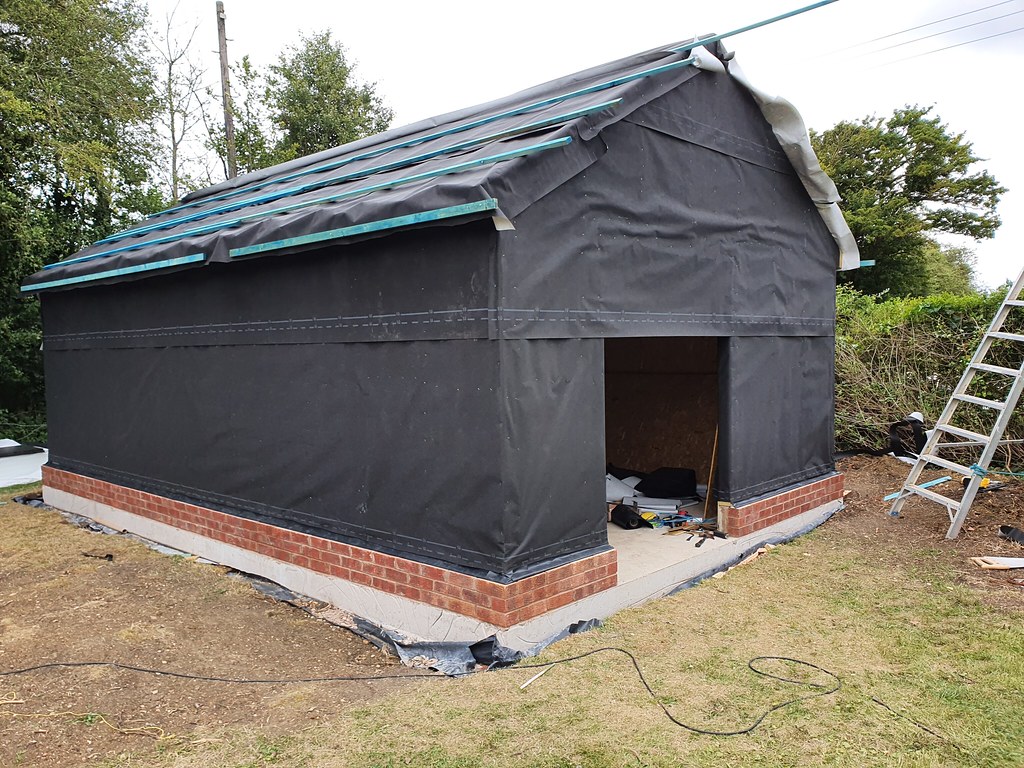
Now, to qualify that, I did say with mine I had the ceiling joists to work off. I was standing between the rafters on boards on the ceiling joists, It was really easy. Now, if I’d had the rafters closed off with OSB and insulation, I would have worked from the bottom and laid battens to work off. :?DBT85":3ir2zire said:The lesson here is don't listen to Phil. :lol: Start at the bottom and work up using battens. Oddly, exactly as you're supposed to do it.
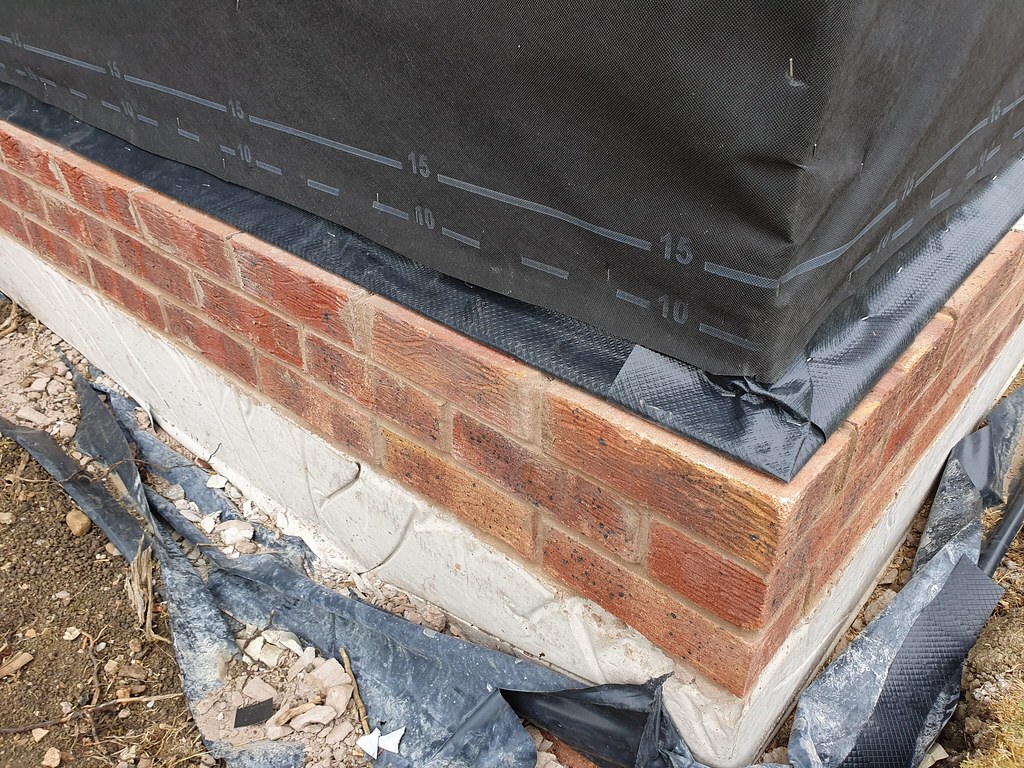
As for carrying the tiles at the eaves, mine sit directly on ventilation stripsattached on top the fascia boards. This gives me ventilation between membrane and tile from eaves to ridge and ridge to other side eaves, as cembrit is considered a close fitting roof covering. As mike said, it’s a case of two pieces of batten and a slate to see where the finished height line point is for the fascia.
The bottom courses for fibre tiles are recommended as a tile cut 245 and 355 to give a double bottom row, then covered with the first full tile, all lined up at the gutter overhang. So at the eaves there is actually three layers of tile for 255mm.
Using a tile sideways doesn’t give any where to put the copper rivets to secure the uppermost tile at the eaves, and the space taken up by a two tiles is 610mm with the gapping, and a tile sideways is 600. They will go out of centre line without nudging them across a bit each time.