MikeG.
Established Member
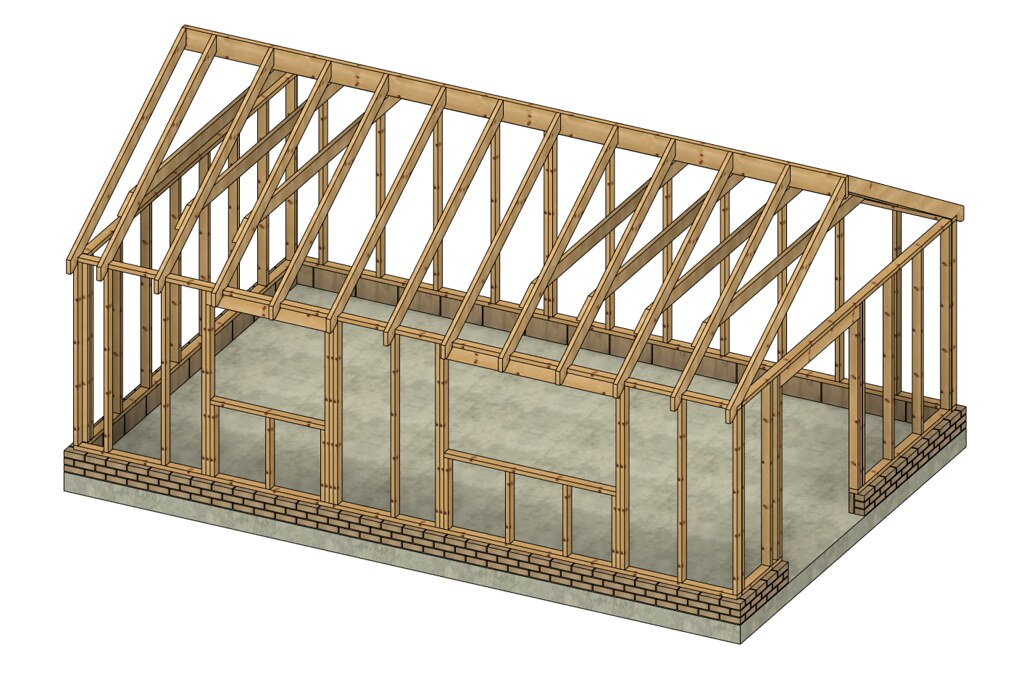
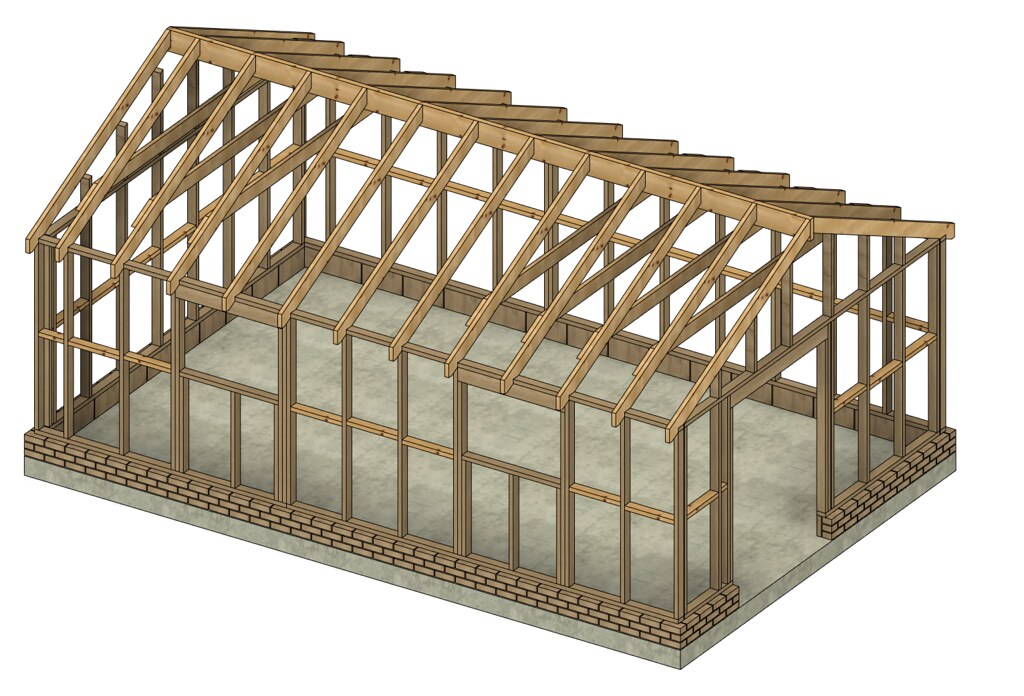
DBT85":1p2hs483 said:I've drawn it up with the 2 large windows that are kicking around here. 960x1750 and 960x 1140. May be too large for that 4x6 lintel??.........
Looks great, I have to say. However, you are losing a lot of valuable wall space, and I'd want to be certain of having at least 1m below the cill, 1100 preferably. That bigger window is on the limit for a 145 x 95 lintel.
 good old Richard. =D>