DBT85s Workshop - Moved in and now time to fit it out

UKworkshop.co.uk

Help Support UKworkshop.co.uk:

This site may earn a commission from merchant affiliate links, including eBay, Amazon, and others.
MikeG announced in another thread yesterday that he was leaving this forum and can be found on another British forum. You'll have to hunt him down if you want an answer.

Now watch he will show up and make a liar out of me.

Pete
 
The Kity looks in very good order. Either it has had little use and well maintained over the years or the table top has been restored; they are anodised cast aluminium but it does wear off over time and scratches appear. I have had one for years and it is a very good saw but mine is in a sorry state now after 12 years stood in my damp garage :(
The listing says its been serviced but it's interesting you say that it's cast aluminium and not iron. The listing says iron and the only other one I've seen (well actually, on YouTube it was John McGraths 1619) seemed to be iron for the main and sliding table. He was comentign on the weight of the sliding table while repairing it. I wonder if they changed at some point, possibly after being bought out by schleppach(sp).

MikeG announced in another thread yesterday that he was leaving this forum and can be found on another British forum. You'll have to hunt him down if you want an answer. Now watch he will show up and make a liar out of me. Pete
oh bloody hell not again. well at least most of the work is done.
 
The listing says its been serviced but it's interesting you say that it's cast aluminium and not iron. The listing says iron and the only other one I've seen (well actually, on YouTube it was John McGraths 1619) seemed to be iron for the main and sliding table. He was comentign on the weight of the sliding table while repairing it. I wonder if they changed at some point, possibly after being bought out by schleppach(sp).

oh bloody hell not again. well at least most of the work is done.
I'd ask him to put a magnet on it if he's not 100% sure. I'm not aware of a cast iron version but it does look more recent than most and I do recall that when they went bust some machines were modified.

MikeG is still posting here TheWoodHaven2 • View forum - Workshop Builds
 
I'd ask him to put a magnet on it if he's not 100% sure. I'm not aware of a cast iron version but it does look more recent than most and I do recall that when they went bust some machines were modified.

MikeG is still posting here TheWoodHaven2 • View forum - Workshop Builds
Ahh OK. It's gone beyond the point I'm willing to go anyway for now so I'll let this one pass me by.

I knew exactly where he'd gone, this isn't the first time! A shame for the forum to be honest. The amount of questions he's answered for me alone must be in the hundreds already and he's so willing to help so many and share his knowledge.
 
For reasons known only to Mystic Meg, I can no longer edit my OP and Title to reflect progress.

Never mind.

Despite the horrendous non stop rain, the barge boards are done. I basically now need to do the guttering and paint the door (which in itself actually involves a few extra steps).

50417089413_f5fe2ff911_b.jpg


Despite that weather, the only moisture in the workshop was just under the door where it doesn;t have a drip edge yet. Once that's added and the rest of the frame is finished inside it'll be perfect.

I spent what little time I've managed over the last 3 days sorting out the inside and tidying up ready to get the floor down on top of some insulation. That begins next week as I have 2 weeks off from Friday. Maybe I can finally move in soon!

A wide angle shop can play havoc with an internal space. The board on the right at the end is the same as the ones on the right at the front, but one lot looks 3 times longer!

50417947622_73158d825f_b.jpg
 
Is there a reason you didn't put a small roof above the doors?
I'd have thought it would have had outstanding benefits in inclement weather.
Cheers Andy
 
you might wany to get some lights in there to stop you falling over things:cool:
Ha. Its actually perfect despite looking overkill. If anything I'll actually add 2 more at either end!
Is there a reason you didn't put a small roof above the doors?
I'd have thought it would have had outstanding benefits in inclement weather.
Cheers Andy
No reason other than not really needed and it didn't come up in the planning stages. Mike and others have rarely bothered when they built theirs.
 
My little helper arrived just in time to help fit the last 3 floor boards. A rare internet appearance for her.

50472275061_74543e034a_b.jpg


Also managed to get the doors painted and the door jamb fitted.

50472431242_68ac98888d_b.jpg


Locks and guttering will be next, then some kind of skirting round the edge of the floor to close off the gap and then its moving day.
 
Productive day. We have 2 mortice locks fitted, half the guttering up and the monkey tail bolt hole has been drilled into the concrete so that it will sink a good 40mm in. The locks are not keyed alike. I like to think its for security, but its because I thought I'd ticked the box but I hadn't. No real bother.

Guttering on the window side is done thought I might add the 3 extra brackets just so it looks even.

I need to order something to seal between the doors. Not sure what to do there.

50480628213_8c3b4e6bf0_b.jpg
 
My little helper arrived just in time to help fit the last 3 floor boards. A rare internet appearance for her.

Enjoy those moments - before you realise it they are teenagers!

Great workshop build and makes me wish I’d got my act together to start mine in the summer. Brick delivery next week hopefully!

Thanks for making the effort to do such a good series of posts.
 
Enjoy those moments - before you realise it they are teenagers!

Great workshop build and makes me wish I’d got my act together to start mine in the summer. Brick delivery next week hopefully!

Thanks for making the effort to do such a good series of posts.
Oh she's 3 now and demonstrating some of that teenage angst already! No surprise piercings or all black clothes yet at least 🤣

As I tihnk I said before, I really do not envy you trying to do it at this time of year but I wish you all the very best. Either start a thread for your build (always popular) or just ask away in here if you want to know how I did anything in particular.
 
Great job. Lovely picture of your daughter helping too.

We need a snap now of the workshop set up with machines and benches, and of course a tea station and 5 minutes relaxing chair.
 
Loved the shot of your little helper, I managed to get my two, children size boiler suits when they were about six and eight so we all matched, things you do haha.
This is a shot of the rear doors to my workshop the black lines are neoprene pipe insulation, acts as a draft strip – probably complete overkill. Behind the white surface is 4 inches of insulation.

66E1A8F1-654A-4D1F-A47B-B68142C98943.jpeg
 
Well the main guttering is complete and fitted with leaf guard things, joints to sort the down pipes arrive tomorrow though for the immediate future it's not actually going anywhere. A man should be coming to trench across the field soon to help with that.

I also cut 11 70mm strips of 18mm mrmdf to use as skirting. Did it in workshop 1 as frankly moving those sheets around is difficult enough without trying to get it to workshop 2. Skirting fitted and then a bit of a garden tidy room finally deal with all the scraps and offcuts.

Tomorrow I can tidy the workshop a bit and...start moving in😁

Great job. Lovely picture of your daughter helping too.

We need a snap now of the workshop set up with machines and benches, and of course a tea station and 5 minutes relaxing chair.
I'm going to upset a lot of people but I drink neither tea nor coffee! Unless it's a tiramisu I don't really like either.

Loved the shot of your little helper, I managed to get my two, children size boiler suits when they were about six and eight so we all matched, things you do haha.
This is a shot of the rear doorsgoing to my workshop the black lines are neoprene pipe insulation, acts as a draft strip – probably complete overkill. Behind the white surface is 4 inches of insulation.

View attachment 94266
ahh that's a neat idea for the gap. I think I've sorted an option but well see. I have plenty of insulation here so I might do the doors too. I want to see how they cope first.
 
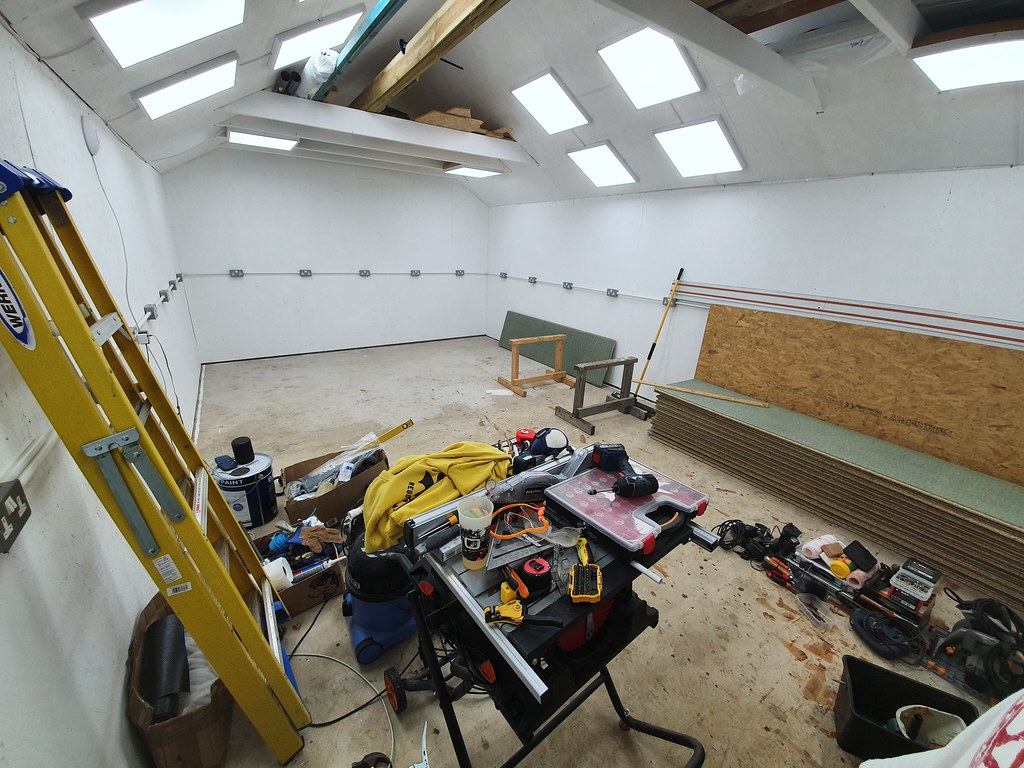
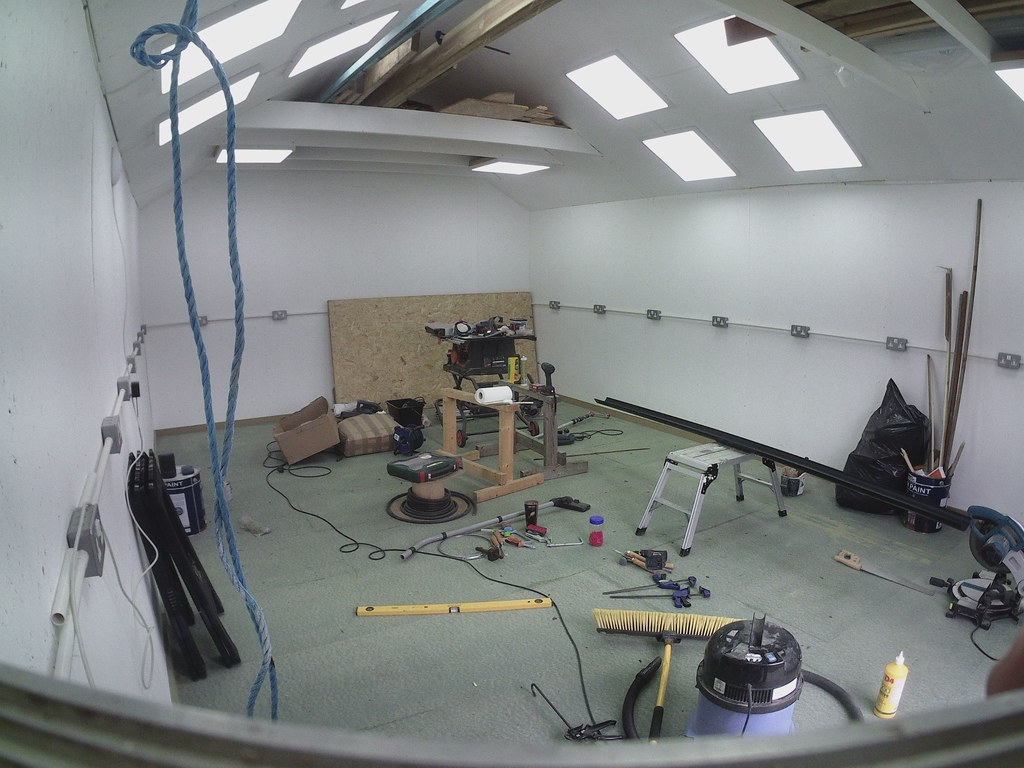
Well I managed to get mostly moved in, though like a house move I'll be living in boxes and sorting things out for ages yet. The space looks empty!

The day started out by clearing up the mess left from all the work so far. I have almost no actual storage in my existing in house workshop so this is something that needs to be remedied soon.
50494347103_c0c4a9b0bc_b.jpg


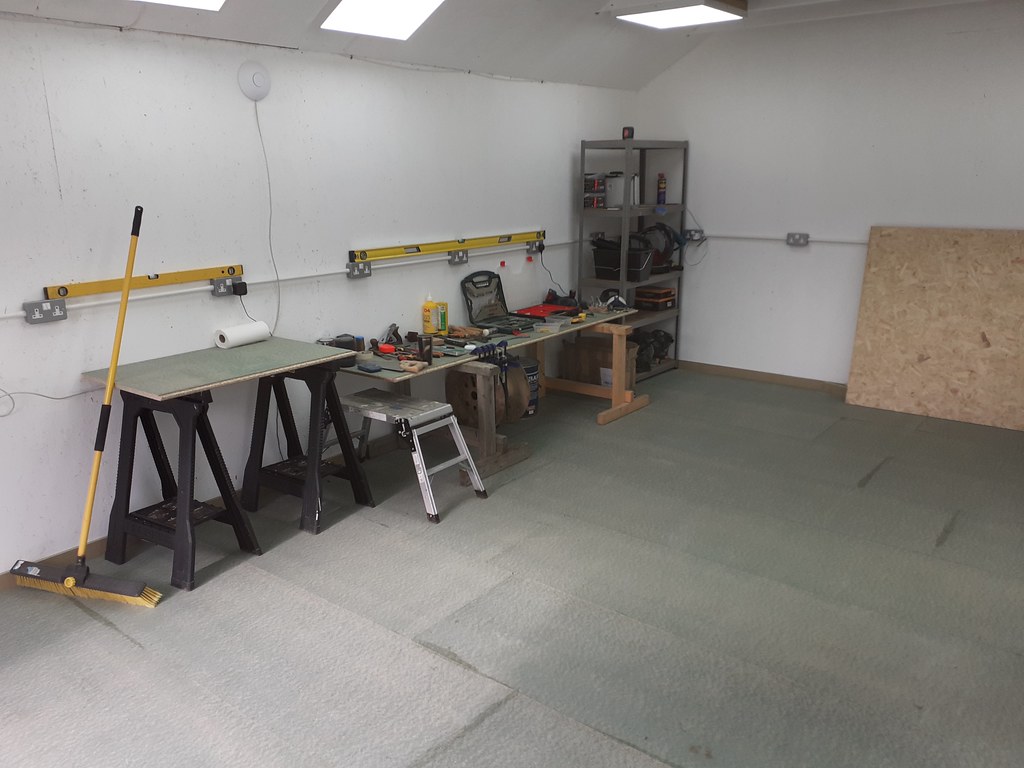
I grabbed one of the metal shelving units from the dining room (temporarily put up 3 years ago and since home to the printer, board games, playdoh, lego etc). Just one unit gets so much stuff up off the floor. I do have 3 more in my office if I need them, but it only means brining all that rubbish with me so for now it can stay in there. The workshop is a workshop, not a storage unit.

50495074841_70344a5e10_b.jpg


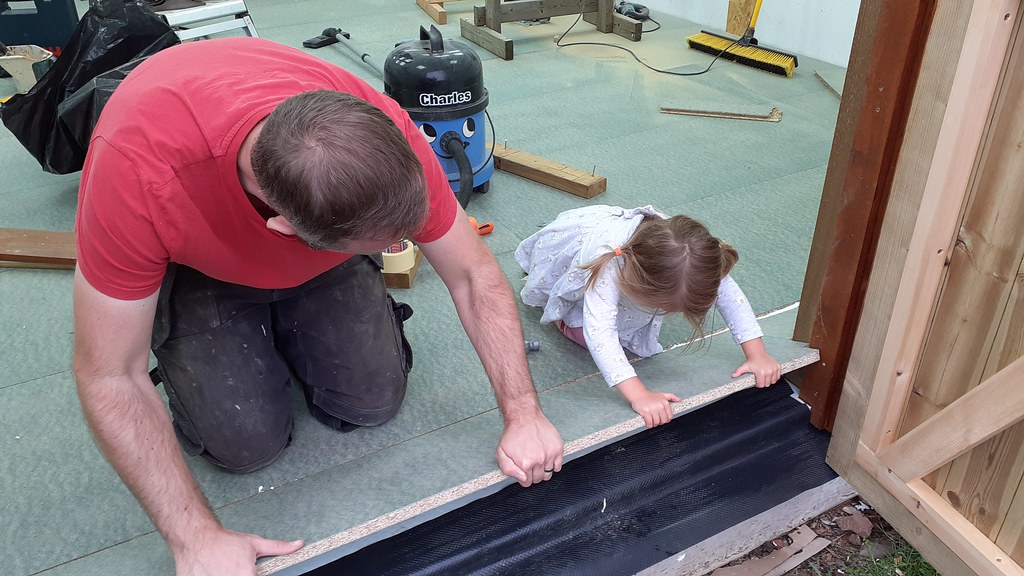
With that in place and 4 horses used to lift some chipboard flooring off the floor, I now have extra space to lay things out while I work out where its all going to go. Since my first workshop came into existence my benches have been covered in tools meaning a 10 minute job always becomes at least 40 minutes as I need to find the bench first. I'd like to avoid that state now that I have room to move.

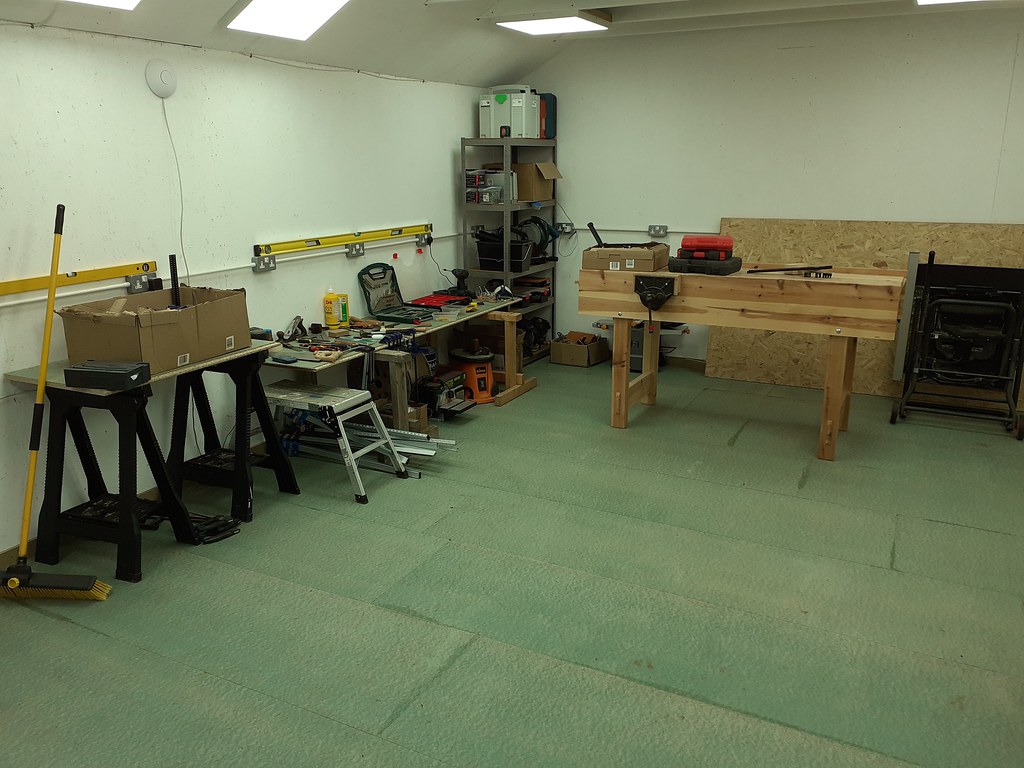
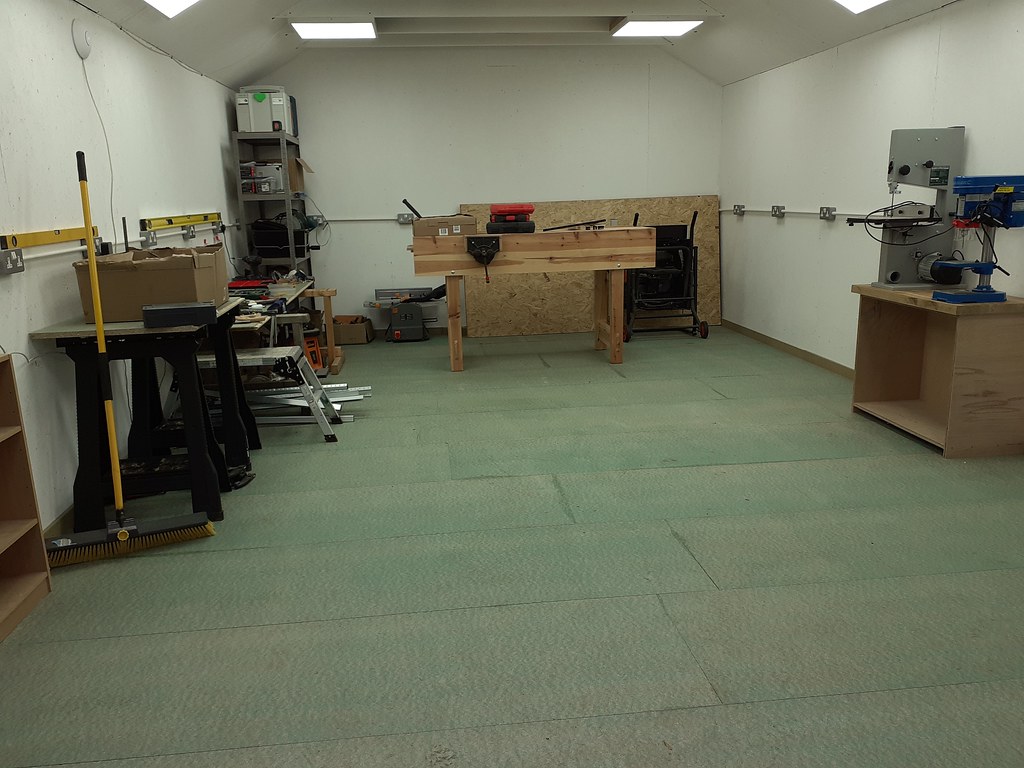
Next I had to wade into Workshop 1.0 and pack it up ready for transport. Naturally the 47 tons of cardboard boxes we've had in the house in the last 6 months have all upped and vanished so I could onyl scrounge up a couple to move everything in. Some time later I ended up with this. My tiny bandsaw and bench drill look lost. As you can see, that cabinet has no drawers or even doors, so that will be one priority just to add storage options. The workbench too needs to use up all that space under it.

50495207927_c89e963b43_b.jpg

50494346588_4ffe1f3254_b.jpg

50494346363_2ec6d98e2e_b.jpg


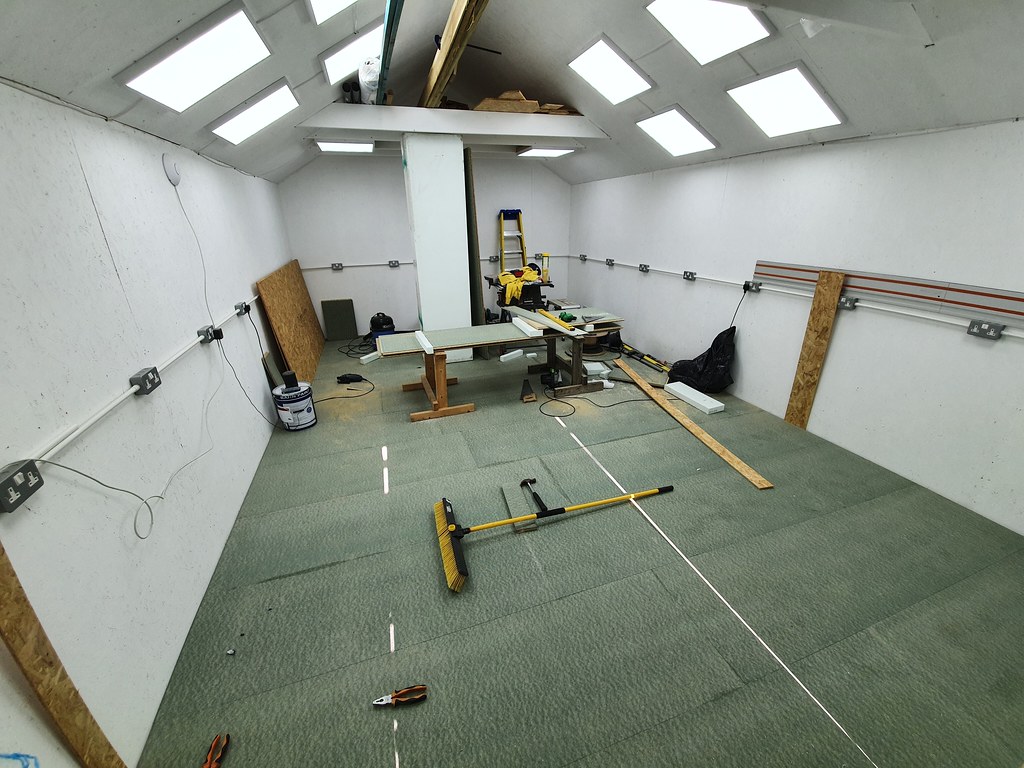
Still to move is my MFT assembly table and all the wood stored within it, a couple of sheets of ply and various other offcuts. But apart from that, this is it. I have lots of room to play with and build what I need when I need it. Naturally things are not in their final positions yet. The wall with the bandsaw and drill on will likely be the wall where most tools/machines live as that's where the DX will be so it makes sense to keep it on one side where possible.

I love how a 8x4 sheet is kind of just "over there in the corner", rather than "oh balls how do I maneuver around this to maneuver this around?".

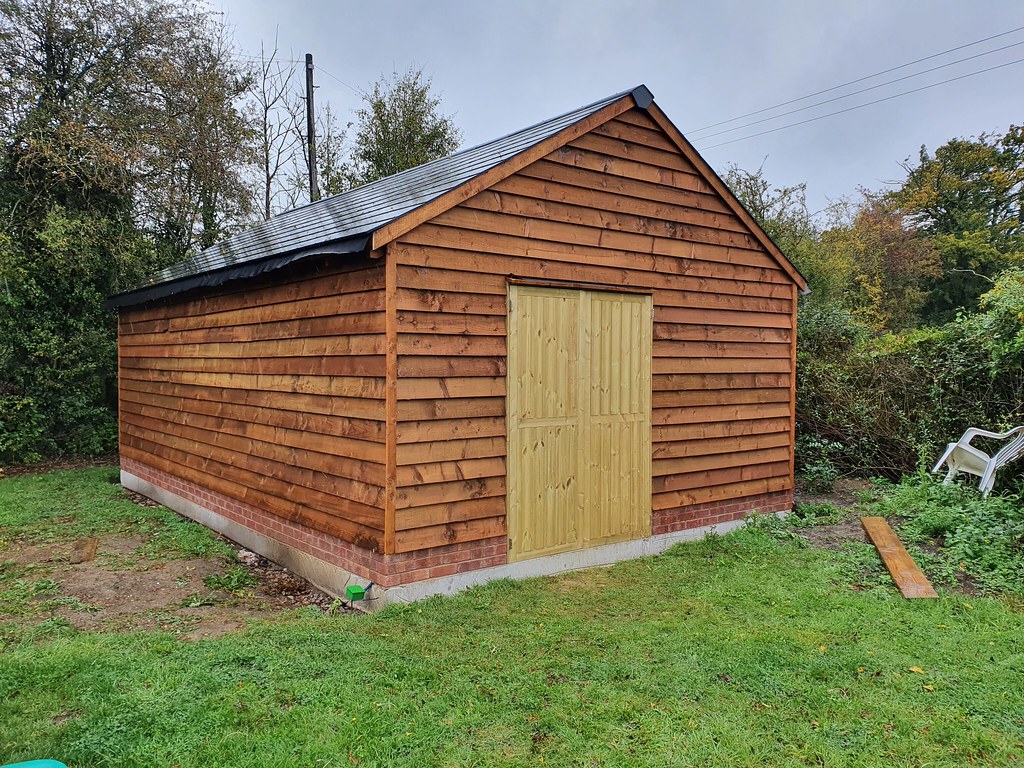
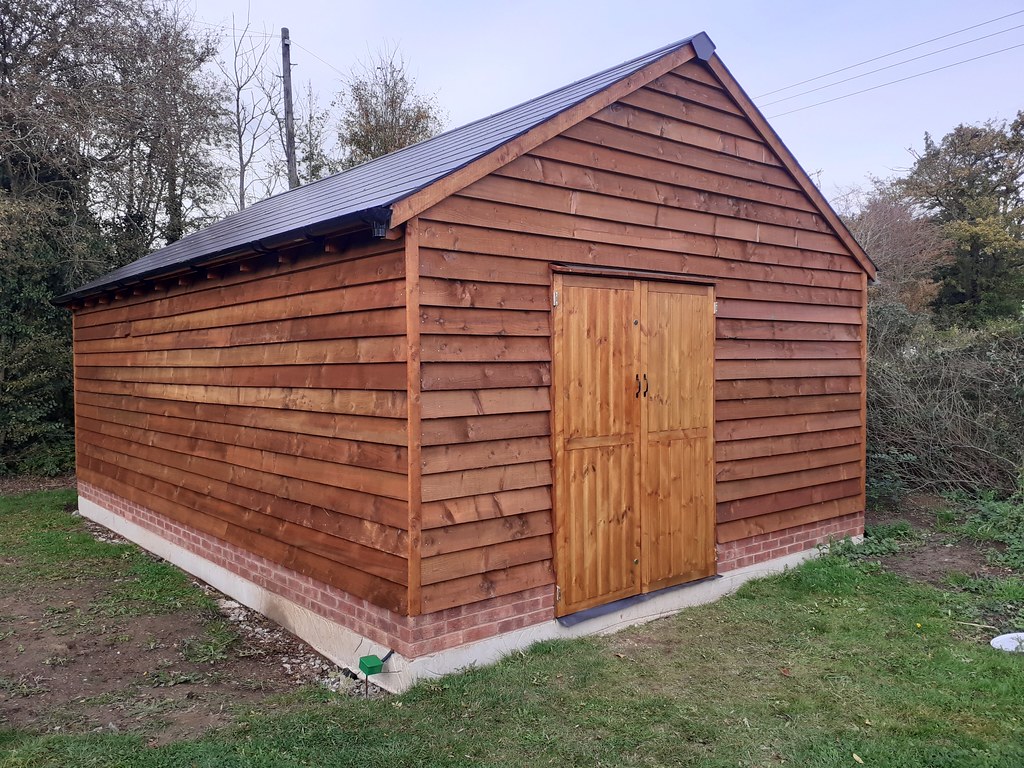
I even got a video going again for the move. I've not recorded any since I finished the front cladding as frankly I was running short on time.

Thanks to all for the support and tips along the way Especially @MikeG. of course. I'll keep updating the thread as I add workshop based entertainment and sort the windows out one I'm happy I can actually make the damned things.
 
Back
Top