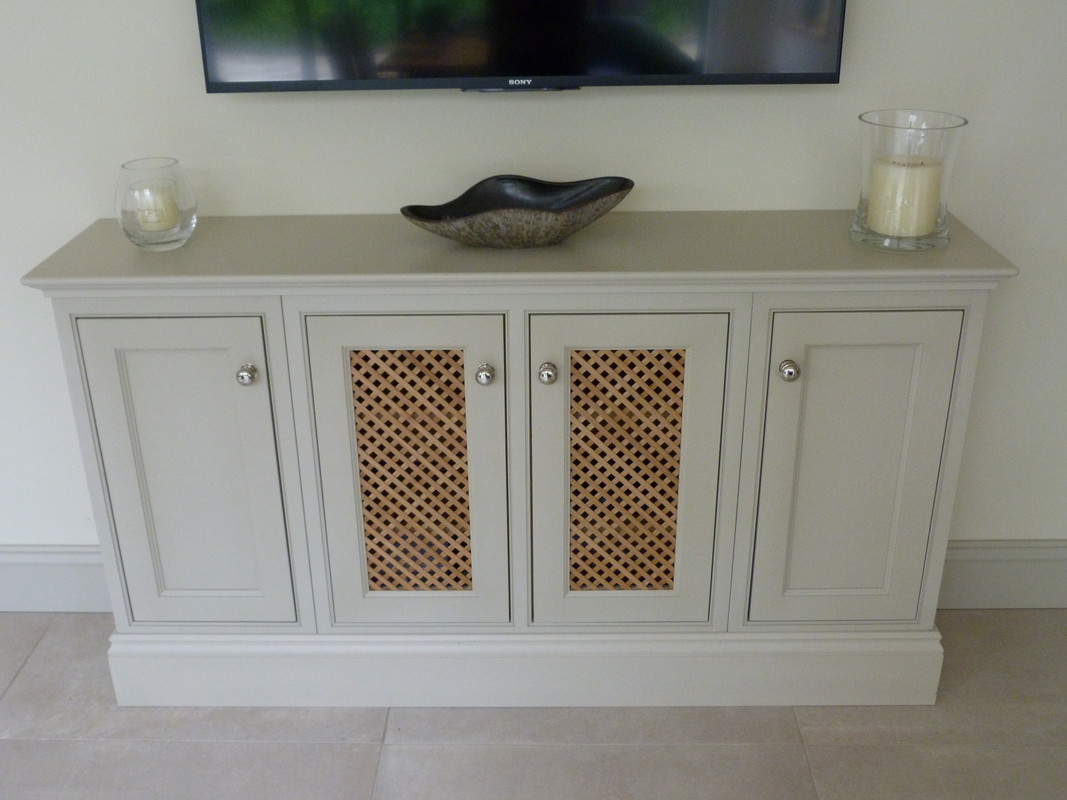
Beaded face frames, question?

UKworkshop.co.uk

Help Support UKworkshop.co.uk:

This site may earn a commission from merchant affiliate links, including eBay, Amazon, and others.

ChrisWiduWood

Established Member
Joined
24 Apr 2022
Messages
146
Reaction score
157
Location
Bucks/Oxon
Ive entered into the world of beaded face frames for mdf/mfc cabinets, be it kitchen, bedroom or office units.

So far i have tried the following (the packer is not relevant but just happens to be what I've done)

18mm carcasses with 20mm packer and 56mm FF flush - when doing a run of units its hard to keep the accuracy up, just half a mm can start to stuff things up.

18mm carcasses with 18 packer and 60mm FF with 3mm overlay in each unit. - the 3 mm almost seems like its a mistake.

18 mm carcasses butted together with a 48mm FF and 6mm overlay in each unit- not actually tried this yet but my next trial.

So my Question is:

What is your normal procedure for a run of cabinets with a continues FF, and how much overlay is the norm? ie one piece fitted onsite after the cabinets are fitted.

Im aware of major bespoke Kitchen manufacturers fitting FF to each unit and then just butting them up to each other , but for the time being i want to fit mine in 1 piece.

Thanks in advance.
Chris
 

Attachments

  • IMG_0821.jpg
    IMG_0821.jpg
    1.7 MB · Views: 0
I have the frame overhanging the carcass by 1mm on the inside, and have the carcasses touching- ie if I'm using 18mm carcasses the frame stiles would be 38mm. This usually works. However, I got into a bit of trouble with the last kitchen as I was using oak veneered blockboard which wasn't very consistent in thickness.
 
When I have done them I do it similar to @peter-harrison above.
Thickness of 2 carcasses plus a bit for discrepancies.
I agree with you that a single face frame over all cabinets looks best. However, many people wouldn't notice the difference ( we do because its our job to make stuff and notice details ).

It depends on what setup or style you are going for.
If using the blum hinges with the big extension offset plates you overlay by quite a lot and make the doors smaller.
Normal offset hinges would let you get away with 3mm or maybe 6mm. There are several different backplate options.
I always consult the blum catalogue to check.

Ollie
 
If using the blum hinges with the big extension offset plates you overlay by quite a lot and make the doors smaller.
Normal offset hinges would let you get away with 3mm or maybe 6mm. There are several different backplate options.
I always consult the blum catalogue to check.
Thanks Ollie, I haven't made my mind up wether to go traditional butts or Blums, so far been using blums so you get the soft close and yeah was aware of the thicker backplates, so that pretty much answers my question to stick with 2/3 mm and use thicker plates.
Watching cabinet makers in the states on youtube they often have 3/4 inch overhang internally, but they use funny drawer runners that screw to the back of the carcass and butt hinges .
Looking at Morso notchers on ebay and new.... new toy incoming :ROFLMAO:
 
I have the frame overhanging the carcass by 1mm on the inside, and have the carcasses touching- ie if I'm using 18mm carcasses the frame stiles would be 38mm. This usually works. However, I got into a bit of trouble with the last kitchen as I was using oak veneered blockboard which wasn't very consistent in thickness.
Ive used oak veneer for aprons on stairs for year's and yeah they are a bit varied , they are supposedly 19mm but do vary alot, cheers
 
With uppers, I do 3mm and no packing with 12mm plywood (with a 2" face frame width.) Lowers usually get the same 3mm on one side with 18mm ply and only one partition so 3mm on one side and 30mm on the other, or centered at 16mm if needed.
 
I haven't made my mind up wether to go traditional butts or Blums,

Use both, Blum for adjustability/soft close. Dummy butt for look, fully rebated into the door.

Frames all 36mm wide, flush to outside of carcase - biscuit joint. Micro bevel where frames/units meet.
End of runs 18mm overhang, to cover 18mm. bead and butt end panel, flush internal.
 
Last edited:
Use both, Blum for adjustability/soft close. Dummy butt for look, fully rebated into the door.

Frames all 36mm wide, flush to outside of carcase - biscuit joint. Micro bevel where frames/units meet.
End of runs 18mm overhang, to cover 18mm. bead and butt end panel, flush internal.
I do like this idea so every unit can bet Framed in the shop and also filled and painted, although my partner is adamant to stick with continuous frames. here is one other idea I've discovered on the intawebs
 

Attachments

  • ff2.jpg
    ff2.jpg
    744.9 KB · Views: 0
I do like this idea so every unit can bet Framed in the shop and also filled and painted, although my partner is adamant to stick with continuous frames. here is one other idea I've discovered on the intawebs
I saw that on woodweb years ago but it never made sense to me. You would end up with a visible seam at every rail. Maybe not so noticeable on stained cabinets but it would stick out (imho) on painted cabinets.
20230125_171556.jpg


if you need to join seperare face frames without a depth change I prefer a field joint at the rail.
20230125_171607.jpg
 
I do like this idea so every unit can bet Framed in the shop and also filled and painted,

Spray prime the frames with 2K primer, colour matched, before fitting. Then just top coat the frame and door fronts after fitting - simple.

You only need to top coat the fronts without messing about removing the doors and masking off the frame/carcass.

Took me years to perfect this cost effective system.
Then use the same Ovolo skirting board for the plinth.

Note the micro bevel between frames, flush butted they never match, especially when using real wood.

P1000667.jpg
 
with butt's I guess it doesn't really matter what the overlap is. but with blum it's normally 18mm or potentially nothing( flush) or 3mm as that's the cruciform options. flush is important on the bottom( no dust trap) I dread to think of top coating in situ tbh spraying is such a large undertaking(for me anyways)

I much prefer rebated meeting doors its funny how preferences develop.
if its a kitchen then how you address common fittings appliances is equally important. say a belfast sink or dishwasher oven etc.
morsos are great things and make ff a cinch.
 
looking at your pics reminds me of another important thing make sure your wood is bone dry otherwise gaps will appear on the mitres especially next to hot ovens/ rads.
 
I've done that in the past but now use a say 450 door (on the dishwasher with a 36mm frame around it wastes 18mm either side but works well( pack to the seals) so the gap needed is 530 for a 450 dishwasher.
 
I "rabbeted" some of the doors together with a nice bead down the middle on my kitchen, I think it looks great but probably wouldn't bother again as it's a pain having to sometimes open 2 doors instead of just one.
 
the size(and position) of the bead helps to make the stiles an even width. I use blum hinges with a single stop on the left door. saves unlatching etc. it's just something that makes it hand done.
 
Back
Top