Antikythera mechanism

UKworkshop.co.uk

Help Support UKworkshop.co.uk:

This site may earn a commission from merchant affiliate links, including eBay, Amazon, and others.
It's getting bigger - not quite running - but almost! (and yes, I do know that it looks a little like a 1950's space rocket - just a happy coincidence - honest!).
20150607_081248_zpsty3yjeun.jpg
 
I too am gobsmacked by the precision of your cutting on this project.

Can I just ask, have you rigged up some sort of dividing engine to rotate each gear the right small amount, cut it and move on? Or are you really sticking on a paper pattern and just cutting along the line, freehand? It looks as if it's the latter, which makes it all even more impressive!
 
I too have exactly the same question as Andy T - even when I enlarge your gear pix (23rd April) they still look absolutely immaculate! PLEEZ say you used some sort of "mechanical contrivance" to cut them, otherwise bozos like me stand nil chance of ever being able to cut gears "manually" and may as well give up now!

Krgds
AES
 
Thanks chaps... er... um... yes - they are all cut free hand - honest. And yes, it is simply a case of sticking the piece of pre-printed paper onto the wood and then, well, cutting them out!
I do have a method though which seems to work for me. This is how I tackle the problem which works pretty much every time.

1) Pre print your gear pattern - just type 'gear generator' into Google to find a great free to use one. This will let you set the tooth spacing in mm, number of teeth etc. Print the pattern with all the extra printed bits turned off apart from the gear itself, spokes if you want them, and the gears center. Don't print the measuring grid, line of tooth contact and all the other bits - turn 'em off!

2) Pre-drill your gears center hole to the correct diameter for your shaft - drilling a hole in a piece of blank wood is easy - drilling a hole dead center of a gear that just took you an hour to cut is really, really hard... I use 6mm birch ply by the way - perfect for nice, stable, gear cutting.

3) Rough cut out your disc of wood a little bigger than the diameter of the gear pattern - obviously with your pre-drilled hole at it's approximate center.

4) A clever bit - use a glue stick to stick the pattern to the wood, but hold the wood and patten up to a spot lamp so that you can see that the center cross of the pattern is exactly at the center of the hole in the wood. I always mount my blank at this stage onto a spindle and give it spin - it should spin perfectly, but if the pattern isn't centered properly it will wobble, so adjust it until it's near perfect. Trying to get non centered gears to mesh is no fun...

5) Cut round the patten, just touching the tips of the teeth as you go so you end up with a perfectly sized disc with a hole at it's center.

6) Cut down the right side of each tooth. I try and remove most of the line whilst doing this and stop just as you are cutting into the bottom line between the teeth. You should get into a bit of a rythm with this - cut - rotate - cut - rotate - etc, etc...

7) Almost there. Next cut down the left hand side of each tooth - again removing most of the pattern line - but this time when you get to the bottom do a sharp turn and link this new cut to the one on the other side and so remove the waste between the teeth. Easy! Use a relatively fine blade and it's not too difficult. Again, you should get into a bit of a rythm as you go.

8) Sit back and admire your gear! All you have do now is make it a friend...

Machine position is important too. I have the cutting table at mid chest level so that I can lean in very close to what I'm cutting, my eyes can't be more than 6 or 8 inches from the blade - you can't be accurate if you can't see what you're cutting. I also use a pair of really magnifying glasses for the small gears, although I'm not normally a glasses wearer at all. If what you are cutting looks really big and clear you stand a much better chance of getting it right. Oh, and don't rush! I have the speed on my machine turned down to about 1/3 maximum. I can cut a 64 tooth gear in about 20 minutes I guess, so it's not too time consuming really. All you really need is the desire to do it and a bit of patience. Blade choice? No idea what I use - but they are about 26 - 28 tpi I think and come in bundles of 50 from eBay, and I use a sub £100 Rexon scroll saw - so no excuses along the lines of 'My machine isn't good enough for that!'. I was cutting larger gears successfully on a £30 Clarke single speed machine not long ago (who needs a Hegner anyway...).

Anyhow, give it a go - you might be surprised at how easy it is...

(P.S. the smallest I've cut by necessity for this machine so far has a 1.5mm tooth spacing as I remember - that's a bit of a challenge, so I'd recommend 4 or 5 mm to start - have fun! )
 
Well you've definately got the skill, you're plaque proves that - so have a crack at a clock maybe. How hard could it possibly be...?
Have a look at Clayton Boyers designs - they are brilliant. And like everything we make here, it's just one cut at a time.
;-)
 
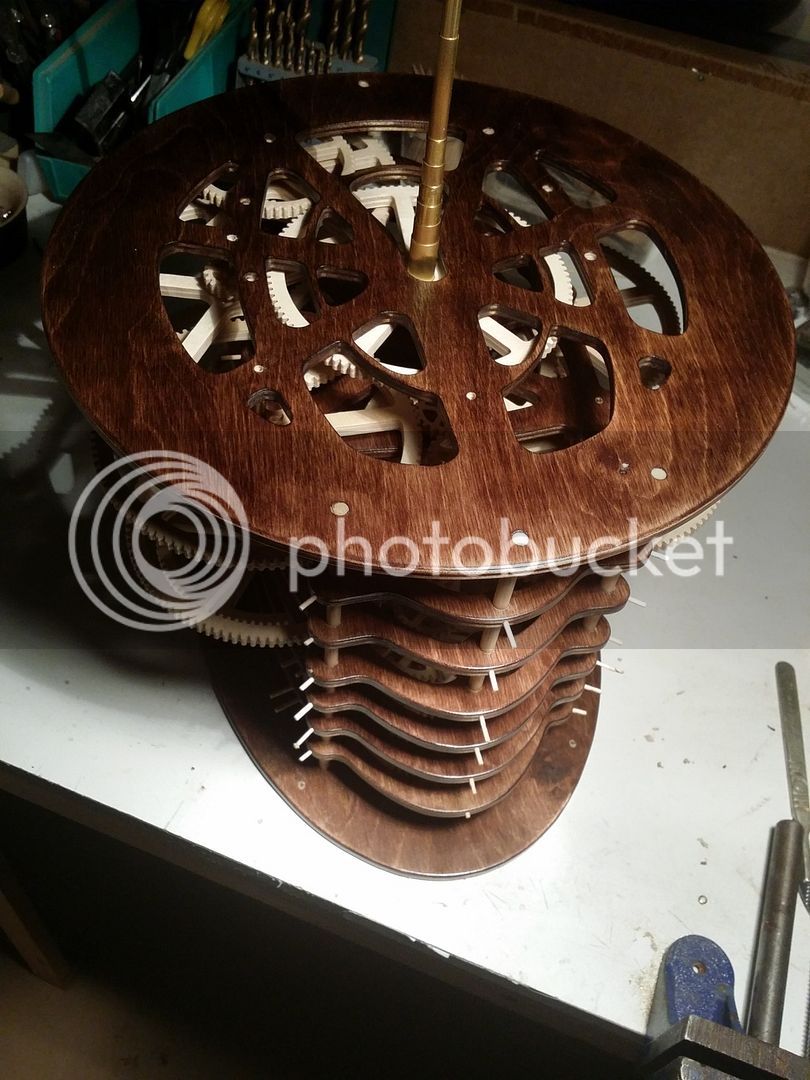
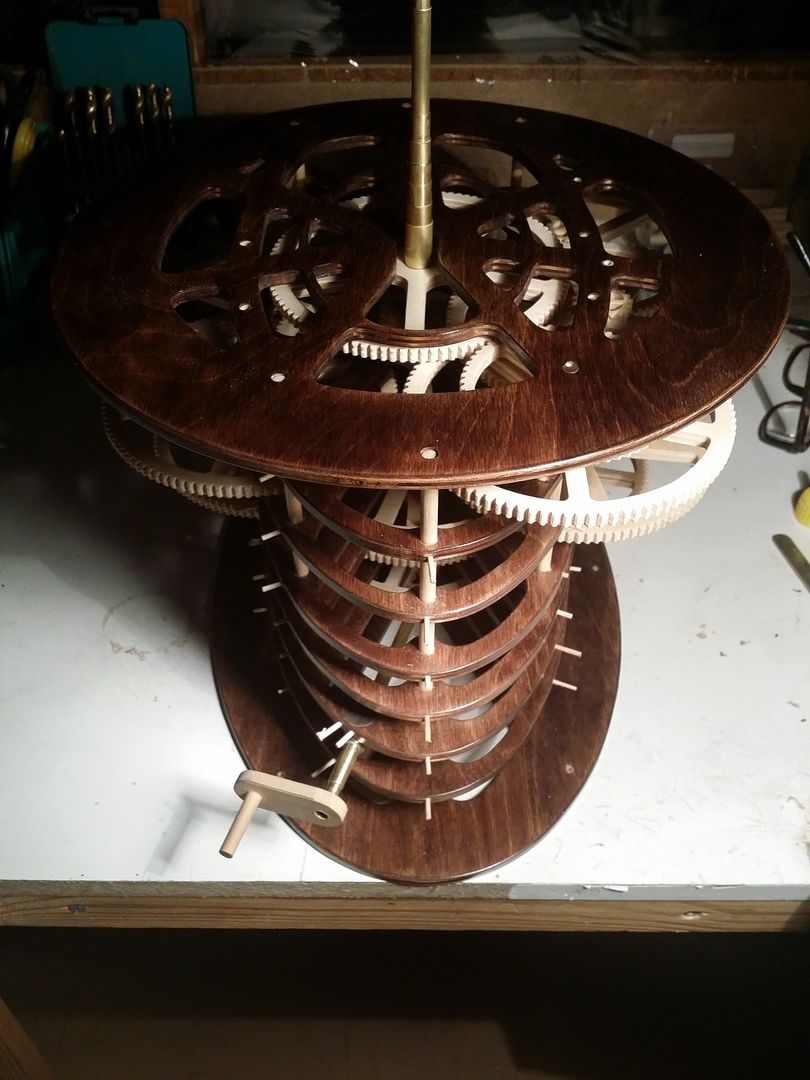
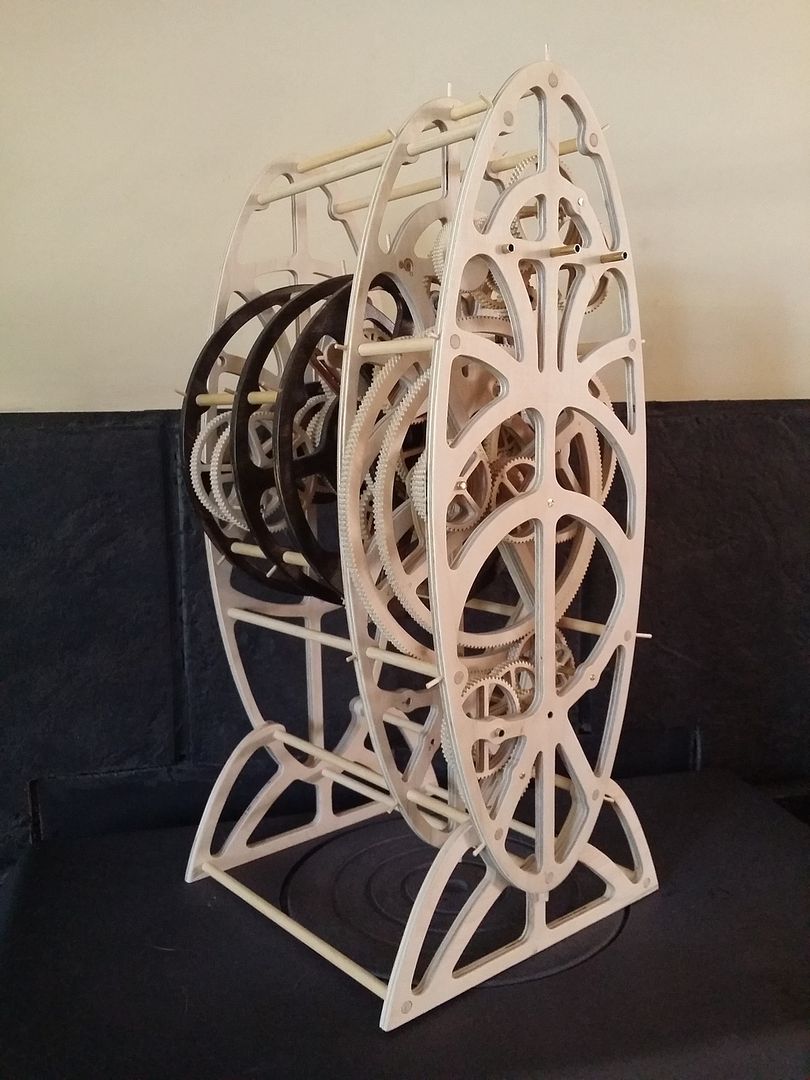
Mechanism Man":3pscywxy said:
1) Pre print your gear pattern - just type 'gear generator' into Google to find a great free to use one. This will let you set the tooth spacing in mm, number of teeth etc. Print the pattern with all the extra printed bits turned off apart from the gear itself, spokes if you want them, and the gears center. Don't print the measuring grid, line of tooth contact and all the other bits - turn 'em off!

I'm assuming you mean this one:

http://woodgears.ca/gear_cutting/template.html

Coming from a DTP/Print background I have a couple of comments, not on his gears, but printing 'em accurately.

His measuring check marks are the full 210mm width of the page. Since many printers won't quite print to the edge, this is not universally good.
Further, he only provides width marks, not depth marks, and whilst printers may be pretty darn accurate, it is common for the width:depth ratio to be a little off (so printed circles become printed ellipses).

He does suggest checking the printed gears carefully :" Its best to check that the diameter is consistent along the vertical, horizontal, and diagonal to be sure there is no distortion. "

But doesn't have any suggestions should these checks fail.

I think an answer is to print the gears to a PDF "printer"; these are readily available for download, and instead of the data going to a physical printer, you get a PDF file on your computer.

This means you have an editable (via e.g. Inkscape) vector representation of the gears. If you add known width and depth lines (but not right to the edge) you can make a test print.

Use measurement from the test print to scale (again, Inkscape of similar) the drawing, separately in width and depth if needed, so that the final print should be perfect (as long as the errors on your printer are consistent).

This complexity is probably not needed for large teeth on small gears, but if you're pushing the limits, it might be rather helpfui.

BugBear
 
Thanks Mechanism Man for a very clear description. I'll be trying it out soon (ish). Interesting tip about drilling the centre hole BEFORE applying the pattern - so far I've drilled the hole (on simple wheels for toys) after applying the pattern, but that drilling op can tear the pattern a bit at the centre.

Thanks also to bugbear for the very useful notes about printing. I haven't yet tried any gears but have noticed some printer distortions when using Steve Good's oval key ring software - I set my printer to 600 dpi and "print at 100%" but, for example, an oval showing an overall length of 2.5 inches on the screen actually prints at just about 2 inches long on the paper. Not a big problem when you know about it, and easy to fix with an oval, but could be mighty embarrassing on a gear wheel.

Krgds
AES
 
Hi Bugbear,
Yes, you are absolutely right, if the X and Y calibration of your printer is a little off then you can run into problems. My home printer is fine up to a point, but the large gear on this machine has 223 teeth and is only about 18cm in diameter - so the teeth are small and the error on my printer was enough to make me get this one and some of the other larger gears printed on my big Xerox printer at work which has perfect calibration. However, as you say, unless your gear has teeth of less than around 4mm between the tips then most modern home printers should be fine, but do some test prints first to check. The print to PDF trick sounds great, I wouldn't have thought of that, and I work in a print shop!
Also the link you posted is for the gear generator I use. You can set the page size to less than 210mm (the short side width of an A4 sheet) to take into account the unprinted 4 or 5 mm around the edge of the page - it's a very well thought out program.
Thanks for the pointers - it might save folk wasting lots of time. Oval gears - not much use unfortunately for most applications...
Take care all.
:)
 
Hi folks,
I'm still here, but have been momentarily diverted by a quick turnaround comission for a nine planet orrery for a chap in New York.
So the past month or so has seen me wading through cutting out 48 gears, and I'm now just starting the frames. This would normally be a four month build, but I'm having to condense it into two and have it delivered by September 25th.
What could possibly go wrong...?

20150821_132417_zpsudsiokca.jpg
 
Cor, blimey Mechanism Man, what lovely work! I think we need a separate sub-section here, entitled something like ".... and MM's work"!

AES
 
Looking at all those gears for the Orrery, is it going to end up like the Eaglemoss Orrery. I built this one about 6 or 7 years ago, though I didn't have to make the parts, or it would never have got done. :)

orrery.jpg
 

Attachments

  • orrery.jpg
    orrery.jpg
    77.6 KB · Views: 1,026
Hi Martina,
No, mine does the same thing (planets orbiting the sun etc), but the design is very different from the Eaglemoss version. They've gone for an unusually tall and skinny gear train - not really to my taste if I'm honest. However, I was suitably impressed with it when the part work magazine first came out to have a go at building my own, so I can't have disliked it that much!
The photo shows mine as it stands, with all the frames being cut and ready for sanding and staining. Still lots to do...

20150831_130854_zpsya0e8usg.jpg
 
Assembly has now started in earnest and is going really well so far. Just hope that the rest of the build goes as smoothly - the 20th September deadline is getting really close now... :-/

20150908_111950_zpscfw7wa1v.jpg
 
The gear box is finished! I finally got the lid on late last night - they're is still a lot to do, but that's a big hurdle out of the way.
Top mechanism next, and 8 days till the deadline. Gulp.

20150913_222632_zpskposh0vb.jpg


20150913_222501_zpss4pbyuzb.jpg


20150913_222425_zpsikahrzxp.jpg


20150913_222917_zpsnvvaqvrx.jpg


20150913_222845_zpscfxqekwj.jpg


20150913_223015_zpsyjl25hhh.jpg


More soon.
:)
 
Well MM, my gob is absolutely smacked! IMHO your work is on a completely different level to ordinary morals like me.

Thanks for posting, and good luck with that 20th deadline.

AES
 
Back
Top