SquareCircle
Established Member
Apologies in advance if I don't get this right and its too long or something, its my first time of tying to upload images, so i am still learning. I thought I'd do a little tour of my shed, especially since it it'll all be gone within a couple of weeks when we move house.
Story kind'a goes like this.
1998 - New house. Back garden definitely needs taming.
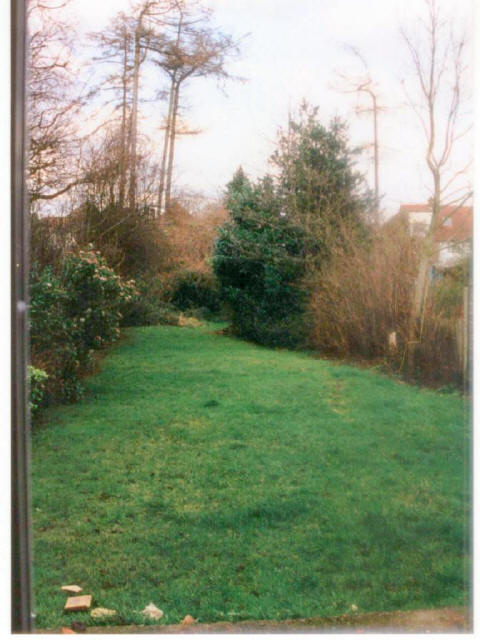
Having a shed at the end seemed like a good idea at the time.
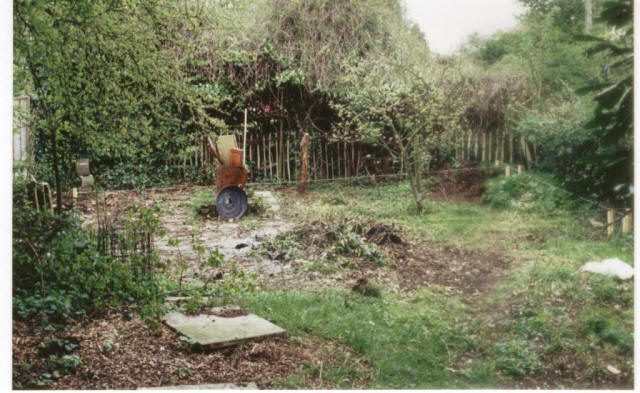
And after much back breaking work with a pick and shovel.
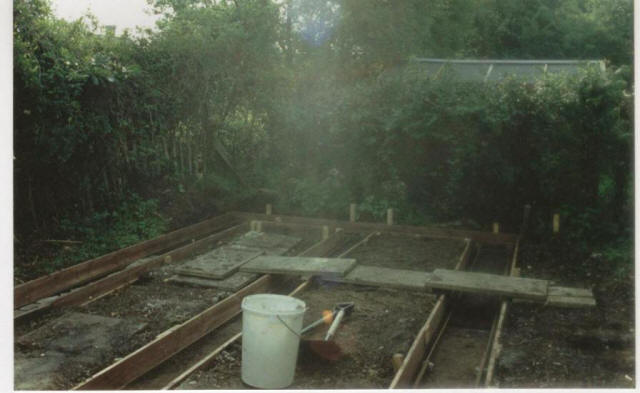
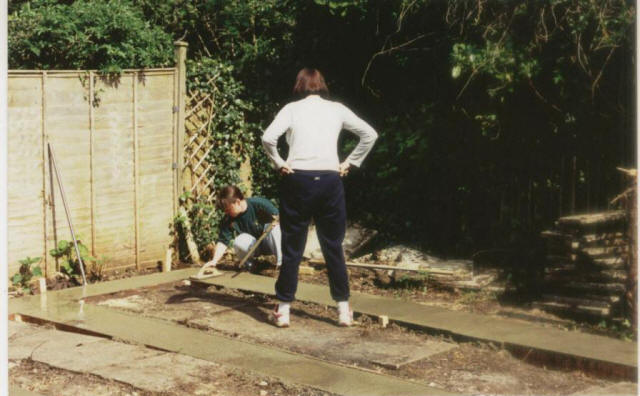
Saturday morning, enlisted the local concrete gang with the promise of a fry up after a little light work. Placed 3 cube. The concrete truck couldn't get closer than 200ft to the workface.
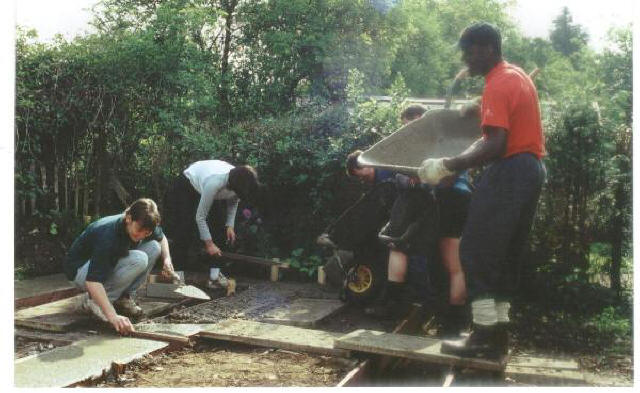
Even SWMBO learnt some new skills
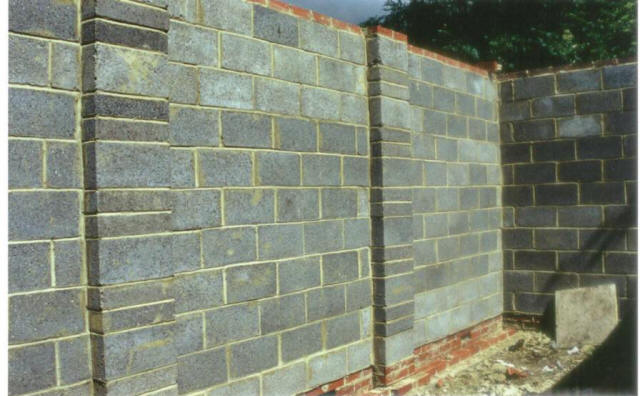
At some point, another bloke came and gave me a hand with the walls. Actually he did the fancy stuff with string lines and mortar. I just played the pack horse and had to carry all the bricks and blocks from the drop off point i.e 200ft away.
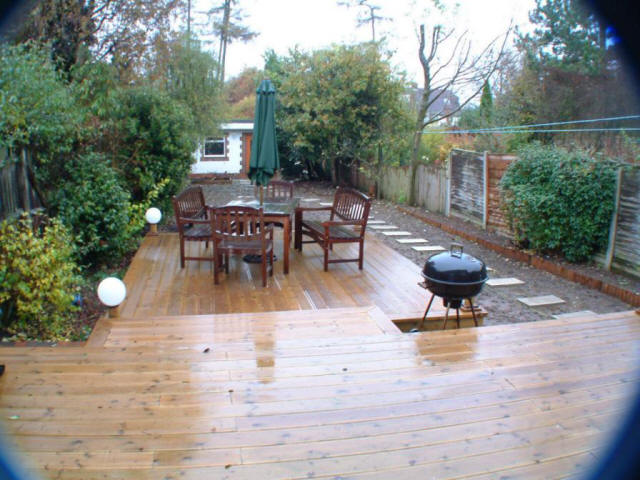
Roll forward two or so years and our first child's almost walking. Allow some major back breaking work digging up the garden, plus a wee decking project. Plus a couple of dozenlost photographs. Garden's looking a bit tamer, shed' at the bottom is looking almost finished on the outside.
And a few months later...
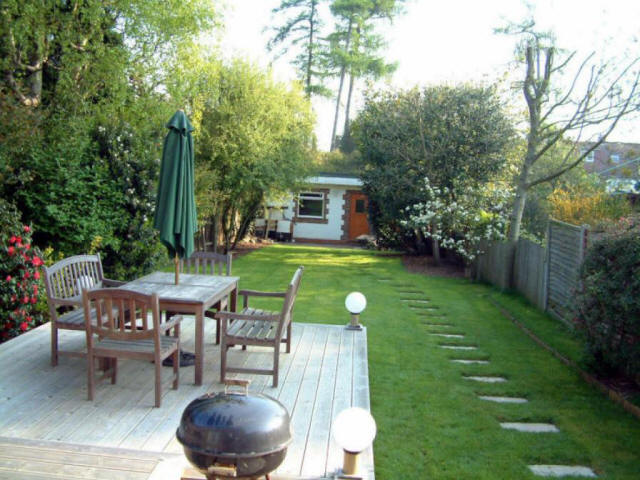
Oh yes...the shed. Sorry, I lost all the progress photo's putting together the inside. However after Child No 2 came along,and another few years of moving things around, then dry lining, insulating, painting, flooring, heating........it kinda looks like this. Now just in time to move house.
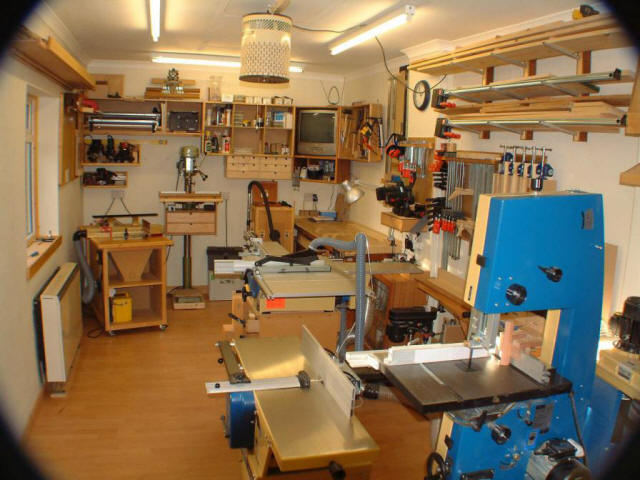
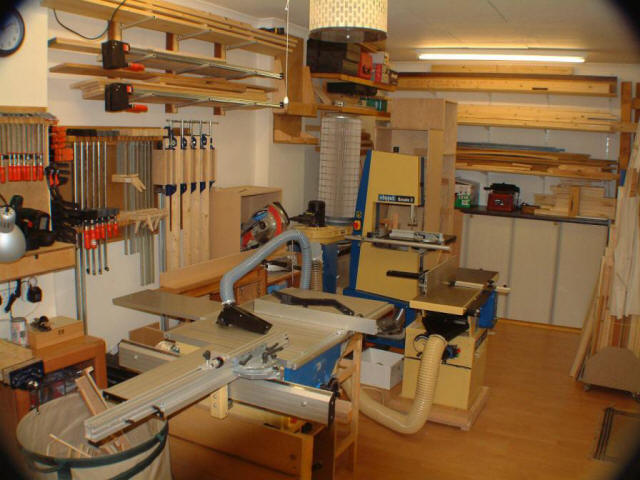
Hindsight is a wonderfull thing. When I was digging the foundations, 3.5m seemed prety wide for a shed..........that was obviously before discovering the joys of making sawdust. Look forward to the next shed project. I think I've learnt a lot from this one.
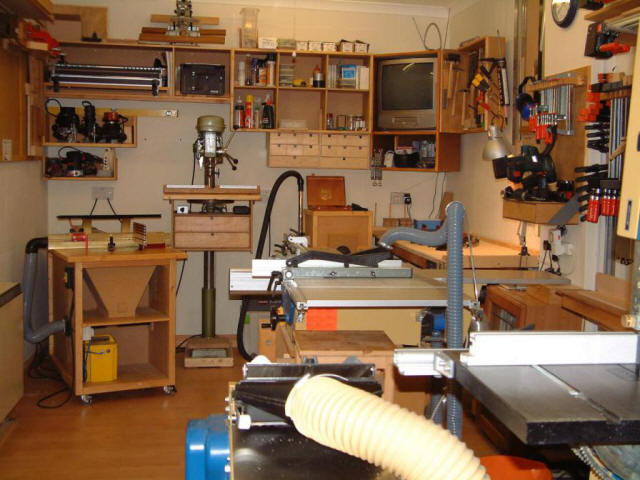
Routers and other routing bits and jigs. Leigh D4 is great. Only thing worth saying about the Trend M&T is ‘better save pennies for a long, long time, then get a Leigh FMT’. The Milwaukee fixed based router is a different prospect all together. US spec, but runs without problem on UK 110V. Excellent router; however the lack of NRV safety switch makes it an accident waiting to happen
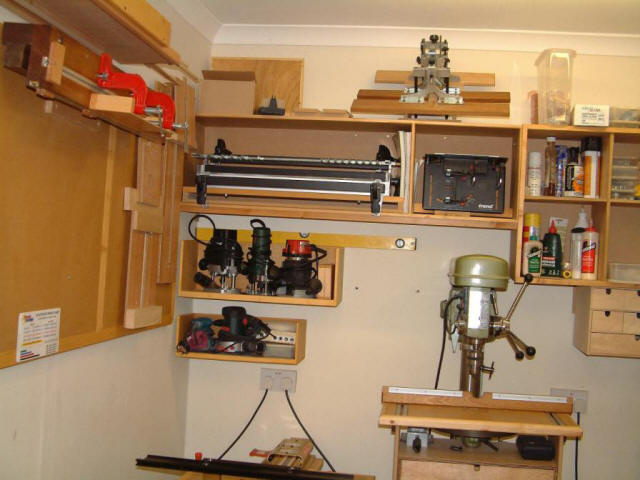
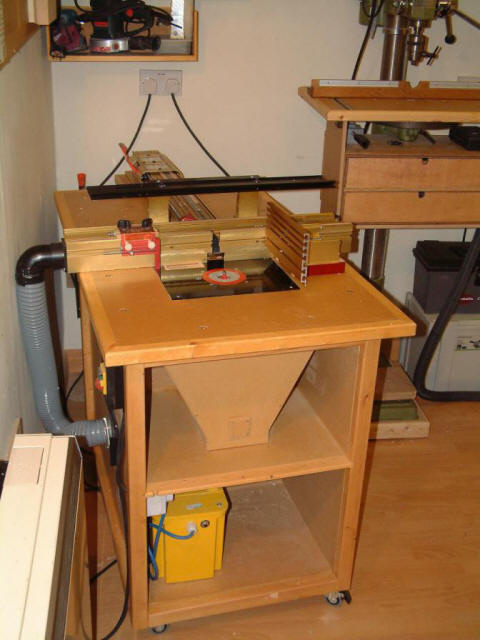
Router table is my own design. Not quite finished, Tools / cutter storage drawers pending. Table houses a Makita 3612C (8/10) with router raiser (6/10) + xtreme xtension (9/10). I like the Makita, but hope it blows up when I can afford a Triton. Incra LS25 (10/10) is impressively accurate and repeatability. Table needs a bigger workshop
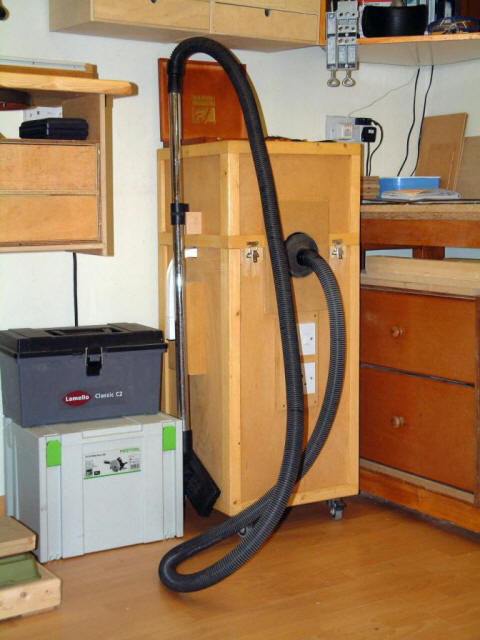
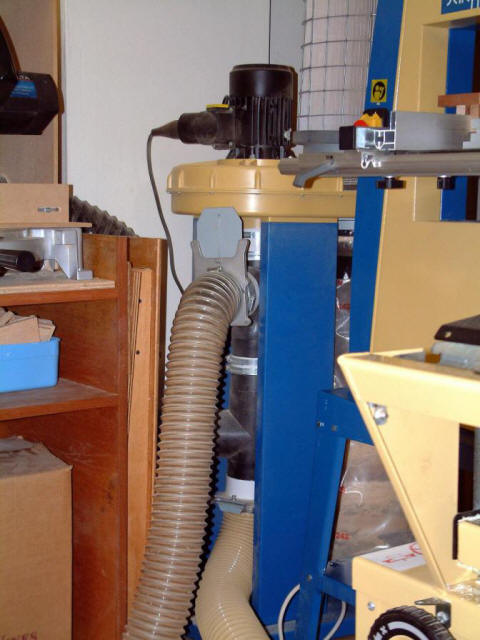
First ever dust extractor (Axminster WV100). recently boxed it and now used predominantly for power tools and cleaning up. Future development (maybe next decade) is to modify electrics for automatic switching.
Think that the Festool circular saw is amazing especially compared to the B&D entry level C Saw that it replaced. The lamello isn't too bad either.
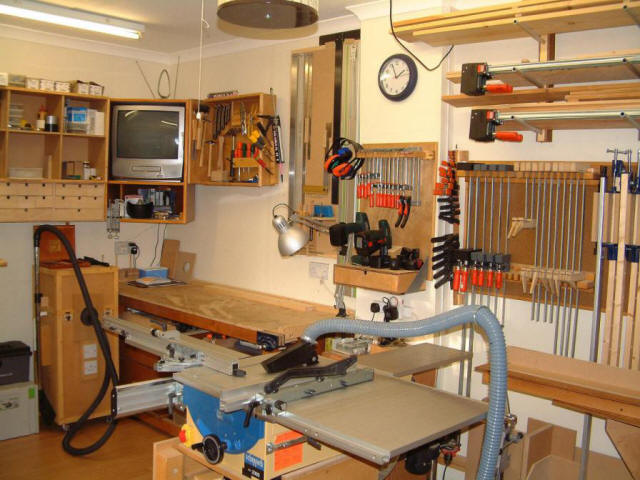
Workbench area, do dahs every where. Never seem to have enough clamps. Proper workbench is one of the first projects after building new workshop.
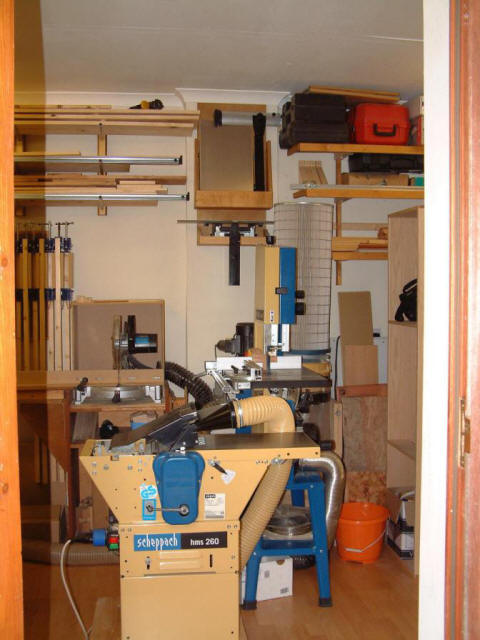
Machine area. After years of trial and error, settled on this layout which seems to work well. Machines only get moved for the largest pieces, and the switch for the dust extractor / blast gates never more than a couple of paces away. Cheap B&Q laminate floor is great for sliding machines into position
TS 2000. Good S/H buy. And great for a small space. Works even better once you get rid of the daft base and makea cabinet that can store the extensions and the slide carriage when they are off the saw. On balance, I still prefer using a home made cutting sledge for a lot of operations. Plan to upgrade to something dado capable + cast iron when budget allows and i have bit more space.
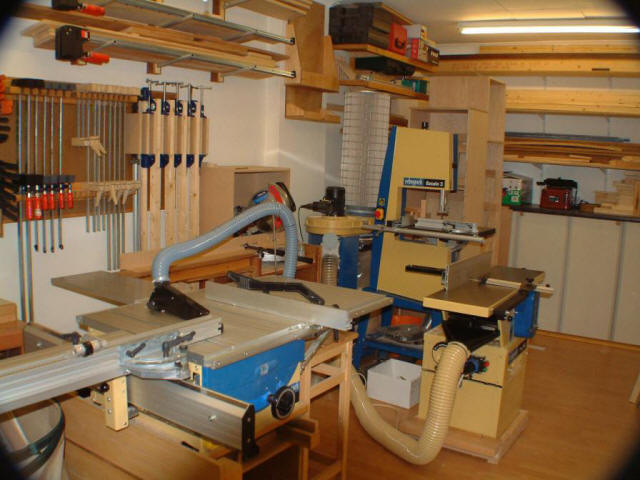
HMS 260 P/T. Ex Aragorn. Even more pleased with it once I sorted the storage for fence and table when using in thickness mode. Care is required when planing as the jointer fence is easily deflected out of square. One of Scheppach’s poorer details. Can't fault machine in thickness mode.
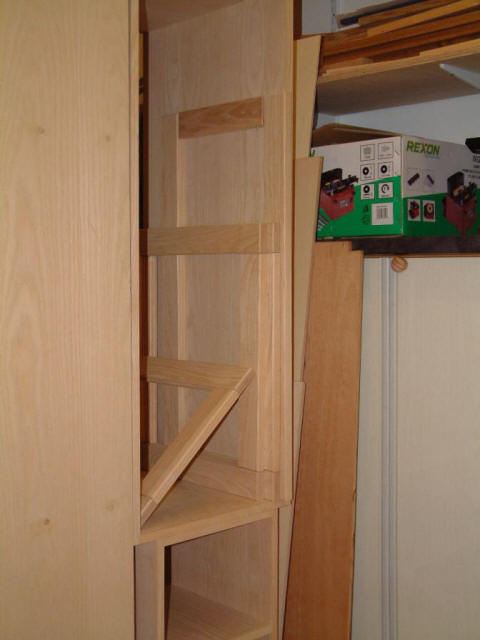
Current WIP - Ash / Ash veneer bespoke cabinets for small bedroom. Almost finished the doors when somebody came along along and bought the house. Murphy’s law says that it’ll have to be canibalised before it fits anywhere in new house. Mercifully, I hadn’t glued up the door frames.
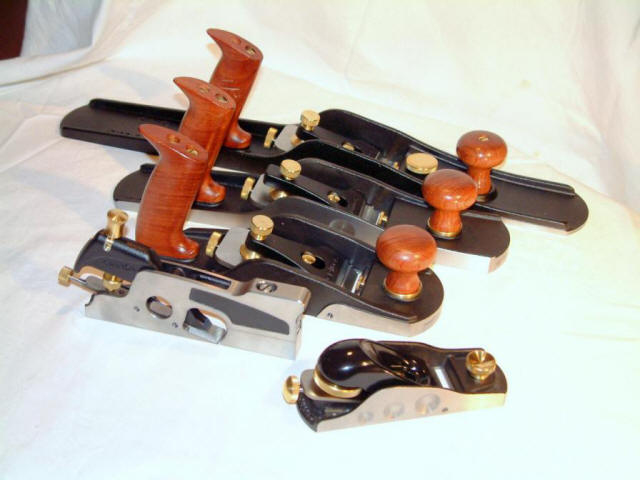
Birthday pressies; arrived just in time for Xmas.

 Unfortunately it'll be another month or two before these get used in anger. Still, sure you'll agree they're great subjects for still life.....
Story kind'a goes like this.
1998 - New house. Back garden definitely needs taming.

Having a shed at the end seemed like a good idea at the time.

And after much back breaking work with a pick and shovel.

Saturday morning, enlisted the local concrete gang with the promise of a fry up after a little light work. Placed 3 cube. The concrete truck couldn't get closer than 200ft to the workface.

Even SWMBO learnt some new skills

At some point, another bloke came and gave me a hand with the walls. Actually he did the fancy stuff with string lines and mortar. I just played the pack horse and had to carry all the bricks and blocks from the drop off point i.e 200ft away.

Roll forward two or so years and our first child's almost walking. Allow some major back breaking work digging up the garden, plus a wee decking project. Plus a couple of dozenlost photographs. Garden's looking a bit tamer, shed' at the bottom is looking almost finished on the outside.

And a few months later...

Oh yes...the shed. Sorry, I lost all the progress photo's putting together the inside. However after Child No 2 came along,and another few years of moving things around, then dry lining, insulating, painting, flooring, heating........it kinda looks like this. Now just in time to move house.


Hindsight is a wonderfull thing. When I was digging the foundations, 3.5m seemed prety wide for a shed..........that was obviously before discovering the joys of making sawdust. Look forward to the next shed project. I think I've learnt a lot from this one.

Routers and other routing bits and jigs. Leigh D4 is great. Only thing worth saying about the Trend M&T is ‘better save pennies for a long, long time, then get a Leigh FMT’. The Milwaukee fixed based router is a different prospect all together. US spec, but runs without problem on UK 110V. Excellent router; however the lack of NRV safety switch makes it an accident waiting to happen

Router table is my own design. Not quite finished, Tools / cutter storage drawers pending. Table houses a Makita 3612C (8/10) with router raiser (6/10) + xtreme xtension (9/10). I like the Makita, but hope it blows up when I can afford a Triton. Incra LS25 (10/10) is impressively accurate and repeatability. Table needs a bigger workshop

First ever dust extractor (Axminster WV100). recently boxed it and now used predominantly for power tools and cleaning up. Future development (maybe next decade) is to modify electrics for automatic switching.
Think that the Festool circular saw is amazing especially compared to the B&D entry level C Saw that it replaced. The lamello isn't too bad either.

Workbench area, do dahs every where. Never seem to have enough clamps. Proper workbench is one of the first projects after building new workshop.

Machine area. After years of trial and error, settled on this layout which seems to work well. Machines only get moved for the largest pieces, and the switch for the dust extractor / blast gates never more than a couple of paces away. Cheap B&Q laminate floor is great for sliding machines into position
TS 2000. Good S/H buy. And great for a small space. Works even better once you get rid of the daft base and makea cabinet that can store the extensions and the slide carriage when they are off the saw. On balance, I still prefer using a home made cutting sledge for a lot of operations. Plan to upgrade to something dado capable + cast iron when budget allows and i have bit more space.


HMS 260 P/T. Ex Aragorn. Even more pleased with it once I sorted the storage for fence and table when using in thickness mode. Care is required when planing as the jointer fence is easily deflected out of square. One of Scheppach’s poorer details. Can't fault machine in thickness mode.

Current WIP - Ash / Ash veneer bespoke cabinets for small bedroom. Almost finished the doors when somebody came along along and bought the house. Murphy’s law says that it’ll have to be canibalised before it fits anywhere in new house. Mercifully, I hadn’t glued up the door frames.

Birthday pressies; arrived just in time for Xmas.


