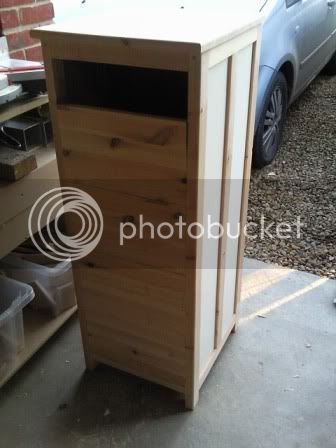
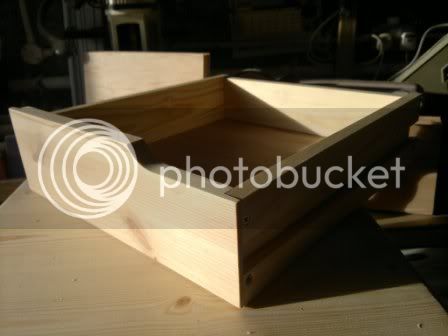
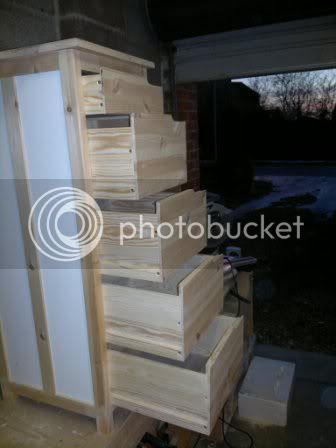
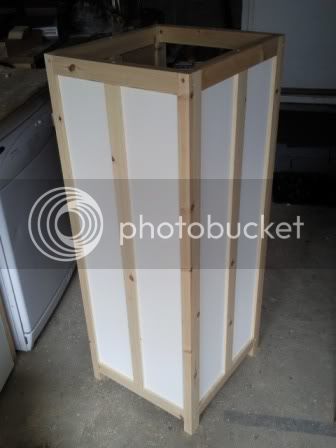
Didn't bother taking photos of me painting the MDF panels so I continue by slotting the panel into it's slot...
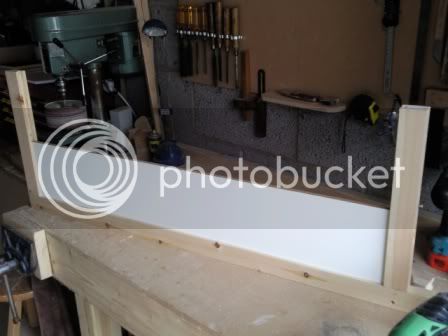
No need to glue the panels as they fit nice and snug into the slots. I fit the centre piece then dropped in the 2nd panel and fitted the end...

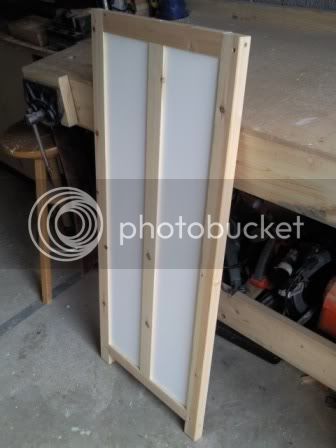
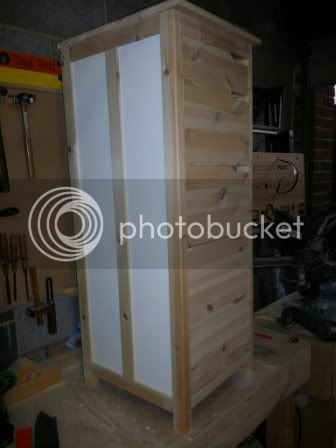
that looks twisted in that photo above but I can assure you it's not. Trick of the photo.
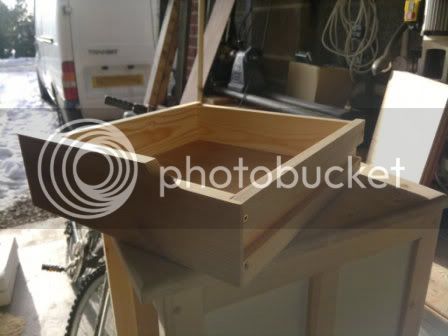
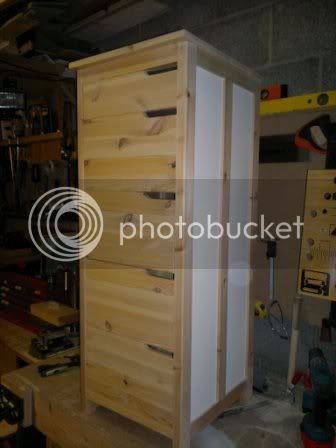
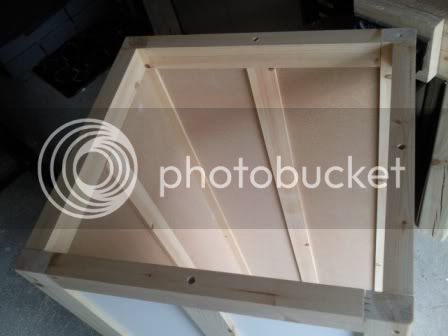
I'm enjoying this, seem to be making good progress today. I assembled the right hand side next, same as the left.
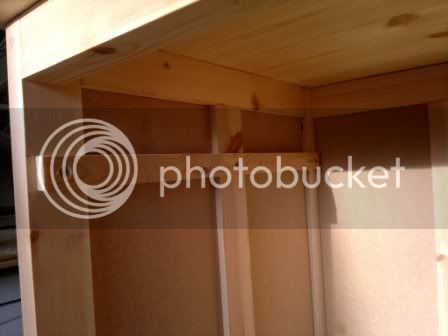
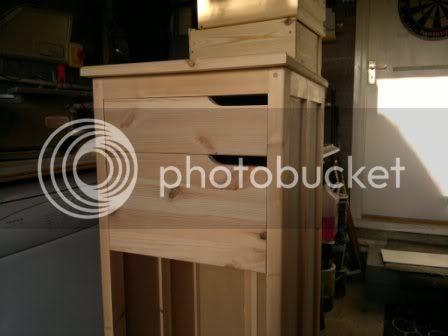
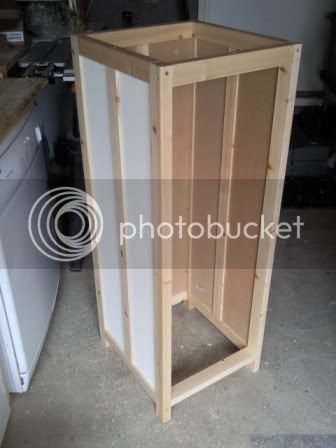
I decided at this point that I needed 3 pairs of arms. I had to put the rear together which required some cunning propping up of the side panels. I fixed the bottom rail in, then slotted the 2 rear panels in place and then from the top I inserted the centre upright. Slid it straight down. I realised it didn't fit. Much head scratching to be done for the next 10 mins while I work out what on earth I'd done. Looked like I'd not gone deep enough with the slots on the centre piece and I needed to run the router down them again taking out 2mm from each side - sorted, put the top brace on and the front braces too, stood back and admired my work... with pot of tea in hand of course.
**********************
got distracted for a while cos some people came to buy some bird boxes I'd made from pallet wood. I put them on the wall at the end of my drive and get a fiver a piece for them.
**********************
Right-o, ten quid better off I returned to my masterpiece lol
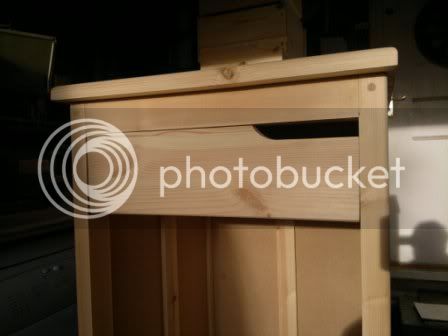
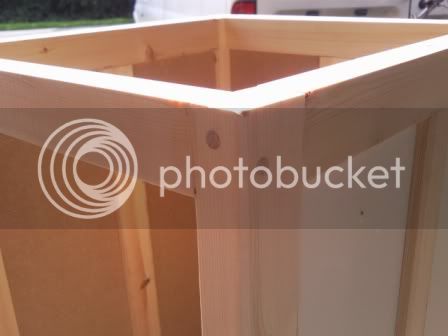
As I'd chosen to screw/glue the frame together I was left with 8mm holes in the frame. Now I'd planned this so the holes were all in the same place all around. I took an 8mm dowel and went around the whole frame glueing the dowels into the holes...
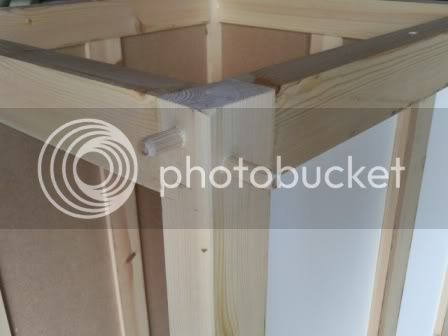
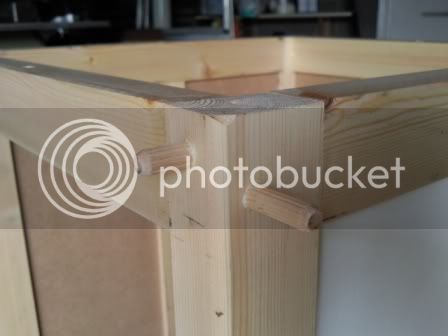
then when dried I trimmed them with my flush cut saw and gave them a light sanding down, nothing to serious though because the whole thing needs a good rub down later (oo-er)
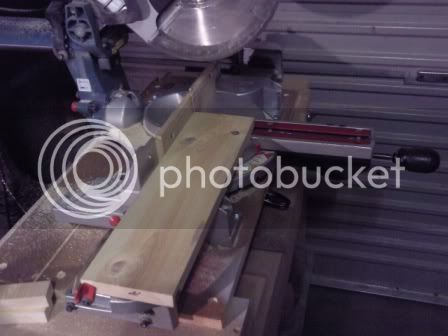
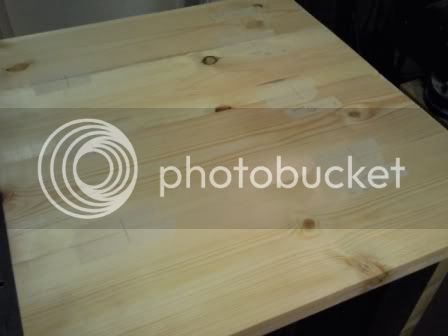
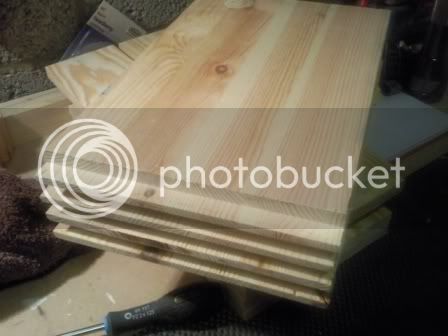
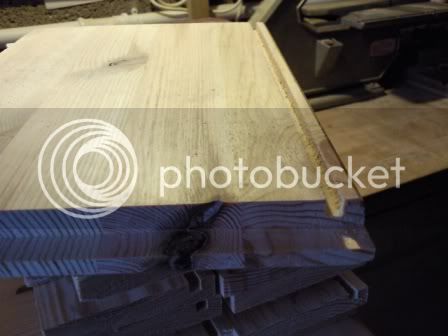
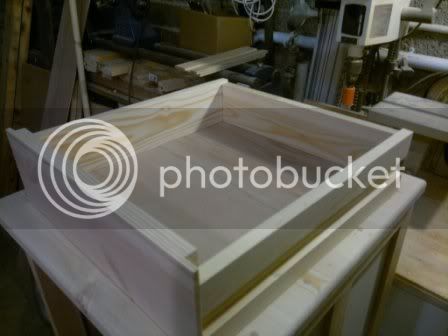
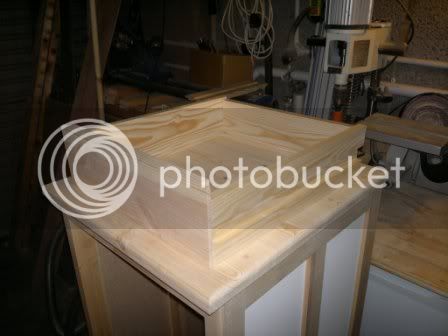
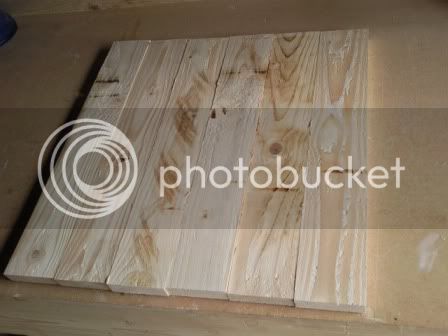
The top for this unit had me stumped for a while. Couldn't decide on what to make it out of then I spied my pile of timber I'd not allocated for a job yet. Thought I'd knock up a top from this and if it doesnt look any good at least I'd not forked out for good timber. A lot of planing up needed though, wish I'd of bought a thickneser/planer now.
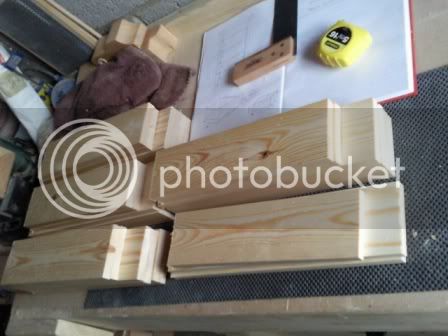
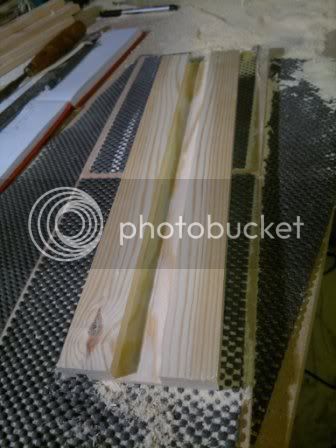
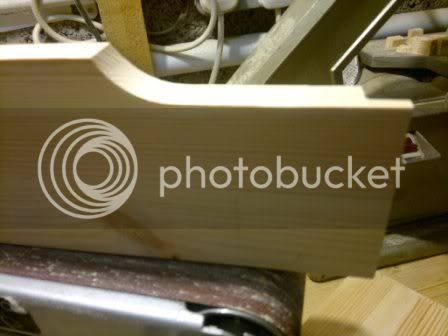
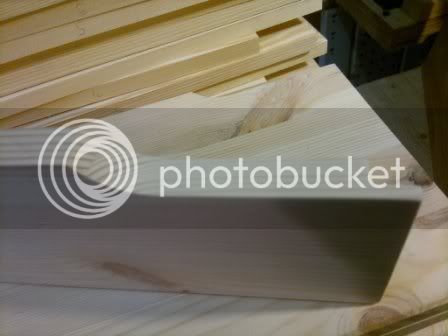
The rough cuts...
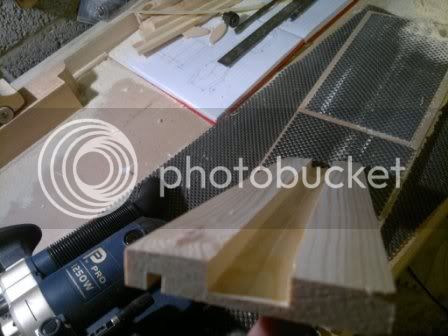
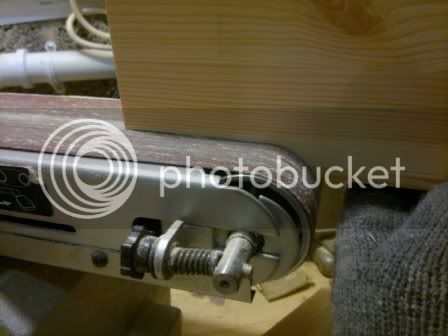
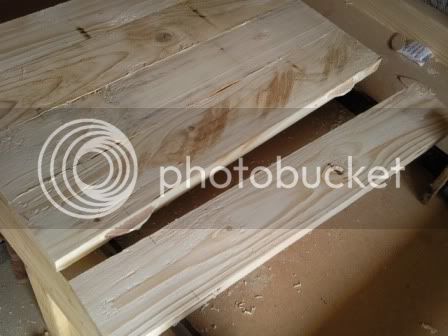
Hand planing the edges...
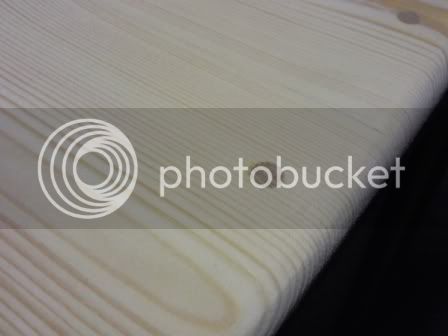
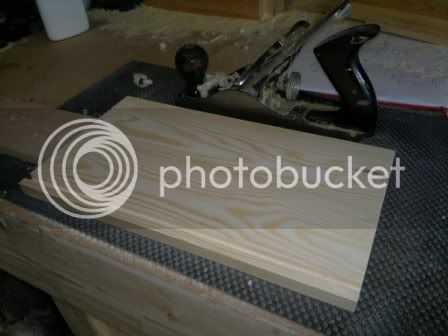
isn't this what every woodworker wants to see? nice long smooth shavings...
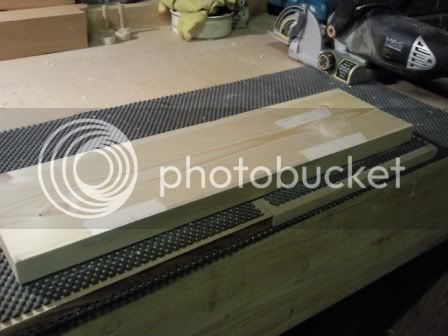
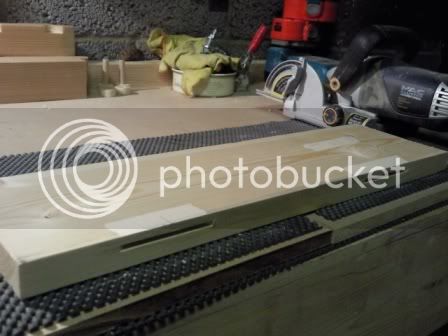
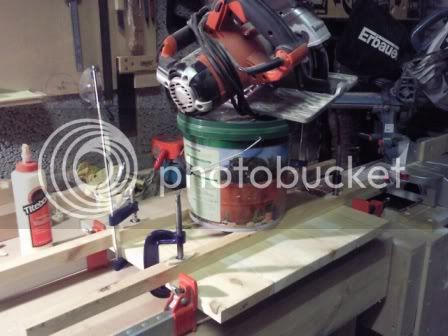
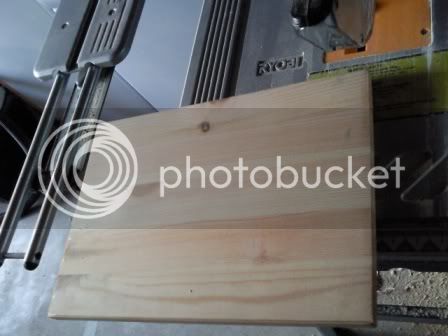
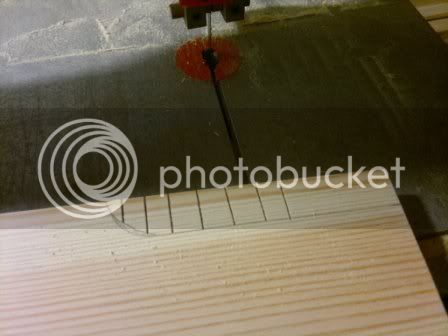
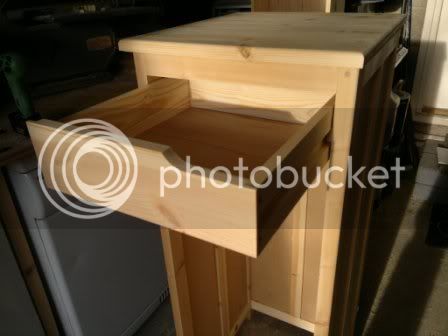
I put biscuit slots into the edges of the roughly planed timber (I'll be planing it a bit better once it's one piece)
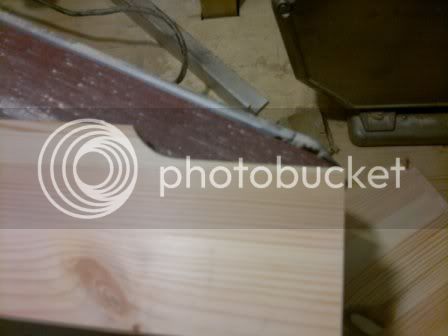
and clamped it up...
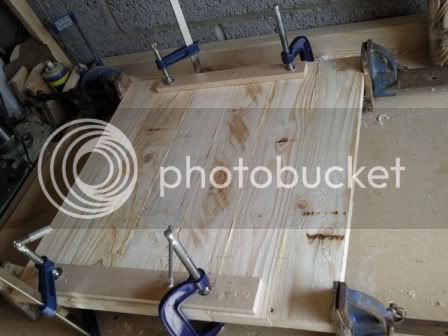
and that concludes todays events. More to follow...
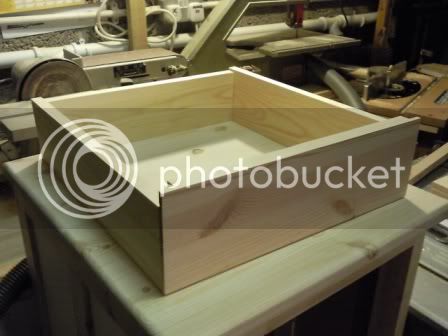
No need to glue the panels as they fit nice and snug into the slots. I fit the centre piece then dropped in the 2nd panel and fitted the end...
that looks twisted in that photo above but I can assure you it's not. Trick of the photo.
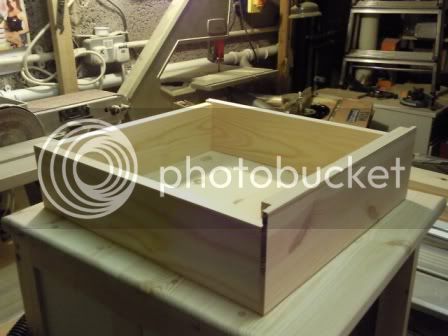
I'm enjoying this, seem to be making good progress today. I assembled the right hand side next, same as the left.
I decided at this point that I needed 3 pairs of arms. I had to put the rear together which required some cunning propping up of the side panels. I fixed the bottom rail in, then slotted the 2 rear panels in place and then from the top I inserted the centre upright. Slid it straight down. I realised it didn't fit. Much head scratching to be done for the next 10 mins while I work out what on earth I'd done. Looked like I'd not gone deep enough with the slots on the centre piece and I needed to run the router down them again taking out 2mm from each side - sorted, put the top brace on and the front braces too, stood back and admired my work... with pot of tea in hand of course.
**********************
got distracted for a while cos some people came to buy some bird boxes I'd made from pallet wood. I put them on the wall at the end of my drive and get a fiver a piece for them.
**********************
Right-o, ten quid better off I returned to my masterpiece lol
As I'd chosen to screw/glue the frame together I was left with 8mm holes in the frame. Now I'd planned this so the holes were all in the same place all around. I took an 8mm dowel and went around the whole frame glueing the dowels into the holes...
then when dried I trimmed them with my flush cut saw and gave them a light sanding down, nothing to serious though because the whole thing needs a good rub down later (oo-er)
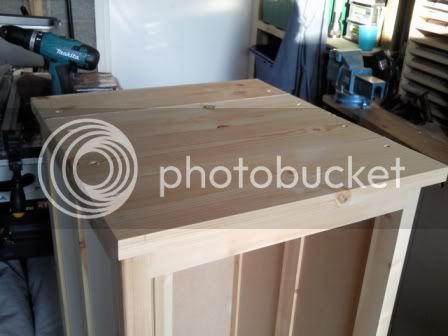
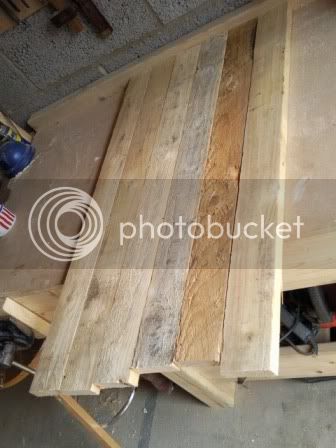
The top for this unit had me stumped for a while. Couldn't decide on what to make it out of then I spied my pile of timber I'd not allocated for a job yet. Thought I'd knock up a top from this and if it doesnt look any good at least I'd not forked out for good timber. A lot of planing up needed though, wish I'd of bought a thickneser/planer now.
The rough cuts...
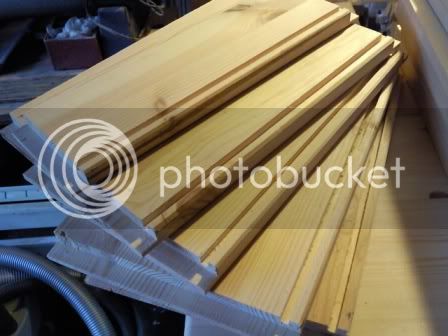
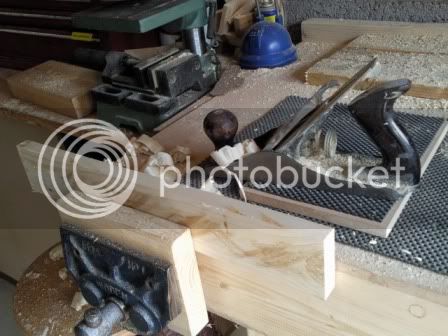
Hand planing the edges...
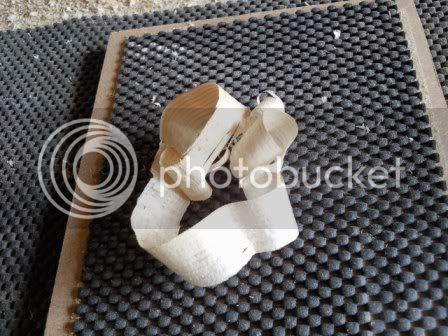
isn't this what every woodworker wants to see? nice long smooth shavings...
I put biscuit slots into the edges of the roughly planed timber (I'll be planing it a bit better once it's one piece)
and clamped it up...
and that concludes todays events. More to follow...