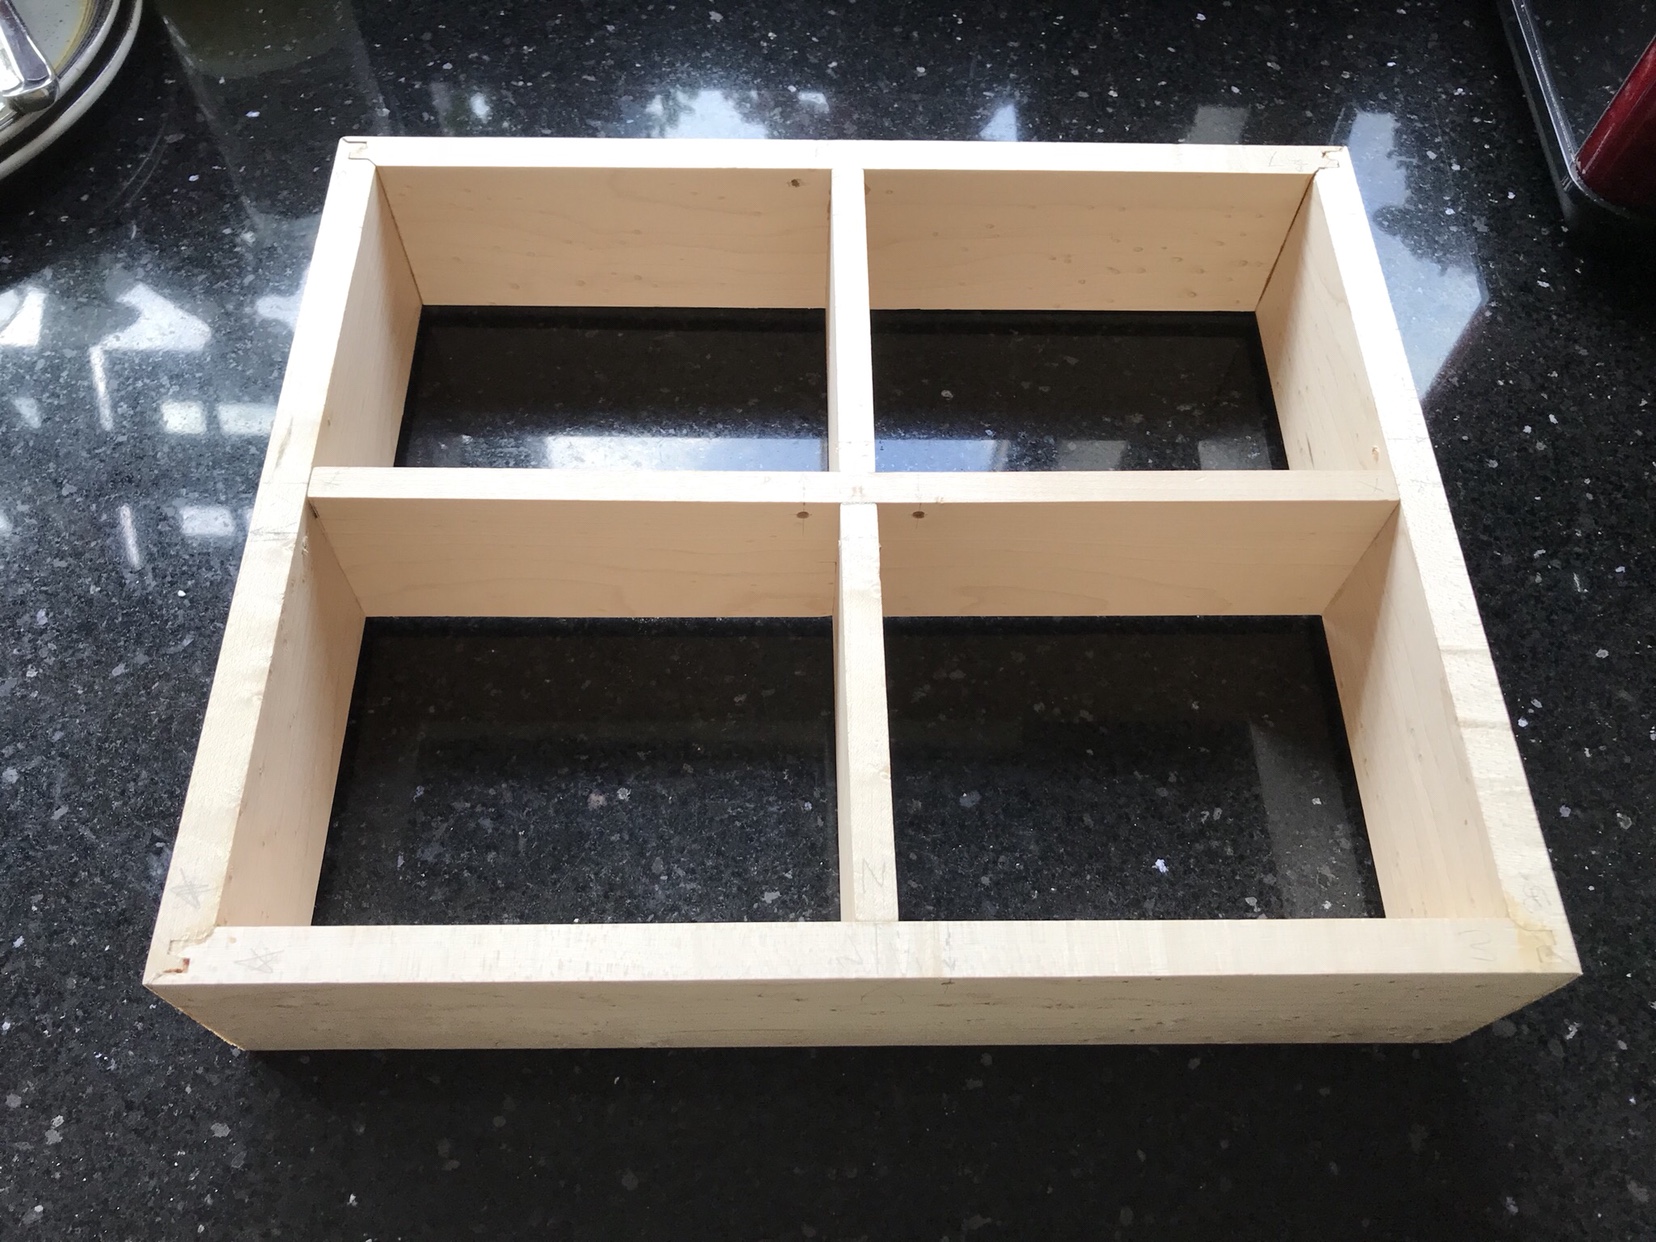
I have bought the timber to make a box similar to https://www.finewoodworking.com/2015/07 ... ctors-case
I don't like the dovetails on it though, and I don't have the skills to cut them anyway. I guess that this would be ideal for the mitred dovetails, but that is not going to happen!
The timber will be approx 15mm tigery brown oak. It is currently sawn boards, and is at nominal 1", so if that changes, so be it. it is nice timber, and I would like to let it speak for itself.
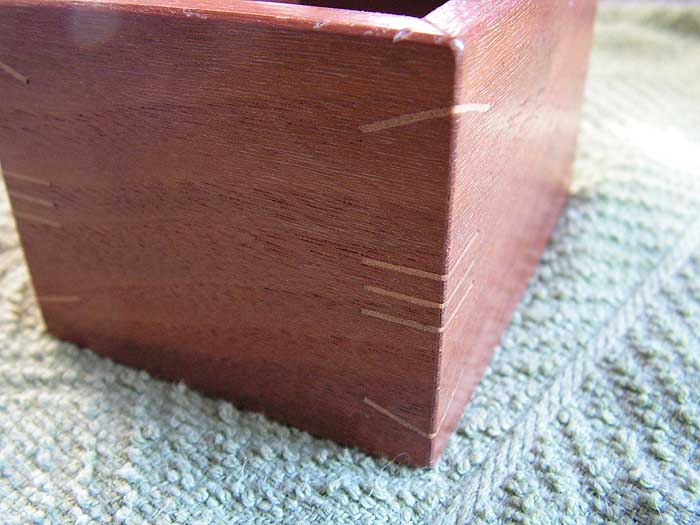
I could use a rabbeted dovetail, but to me it looks a bit American, and a bit naff. it is the latter that is stopping me from a simple pinned rebate joint that I had briefly considered. https://i.pinimg.com/originals/4e/f1/8a ... de1244.jpg
could I use a small sliding dovetail joint (widest part say 8mm), and cut the overhanging board flush https://s3.amazonaws.com/finewoodworkin ... ils_md.jpg ? I have never seen this, which suggests that it is probably a non starter.
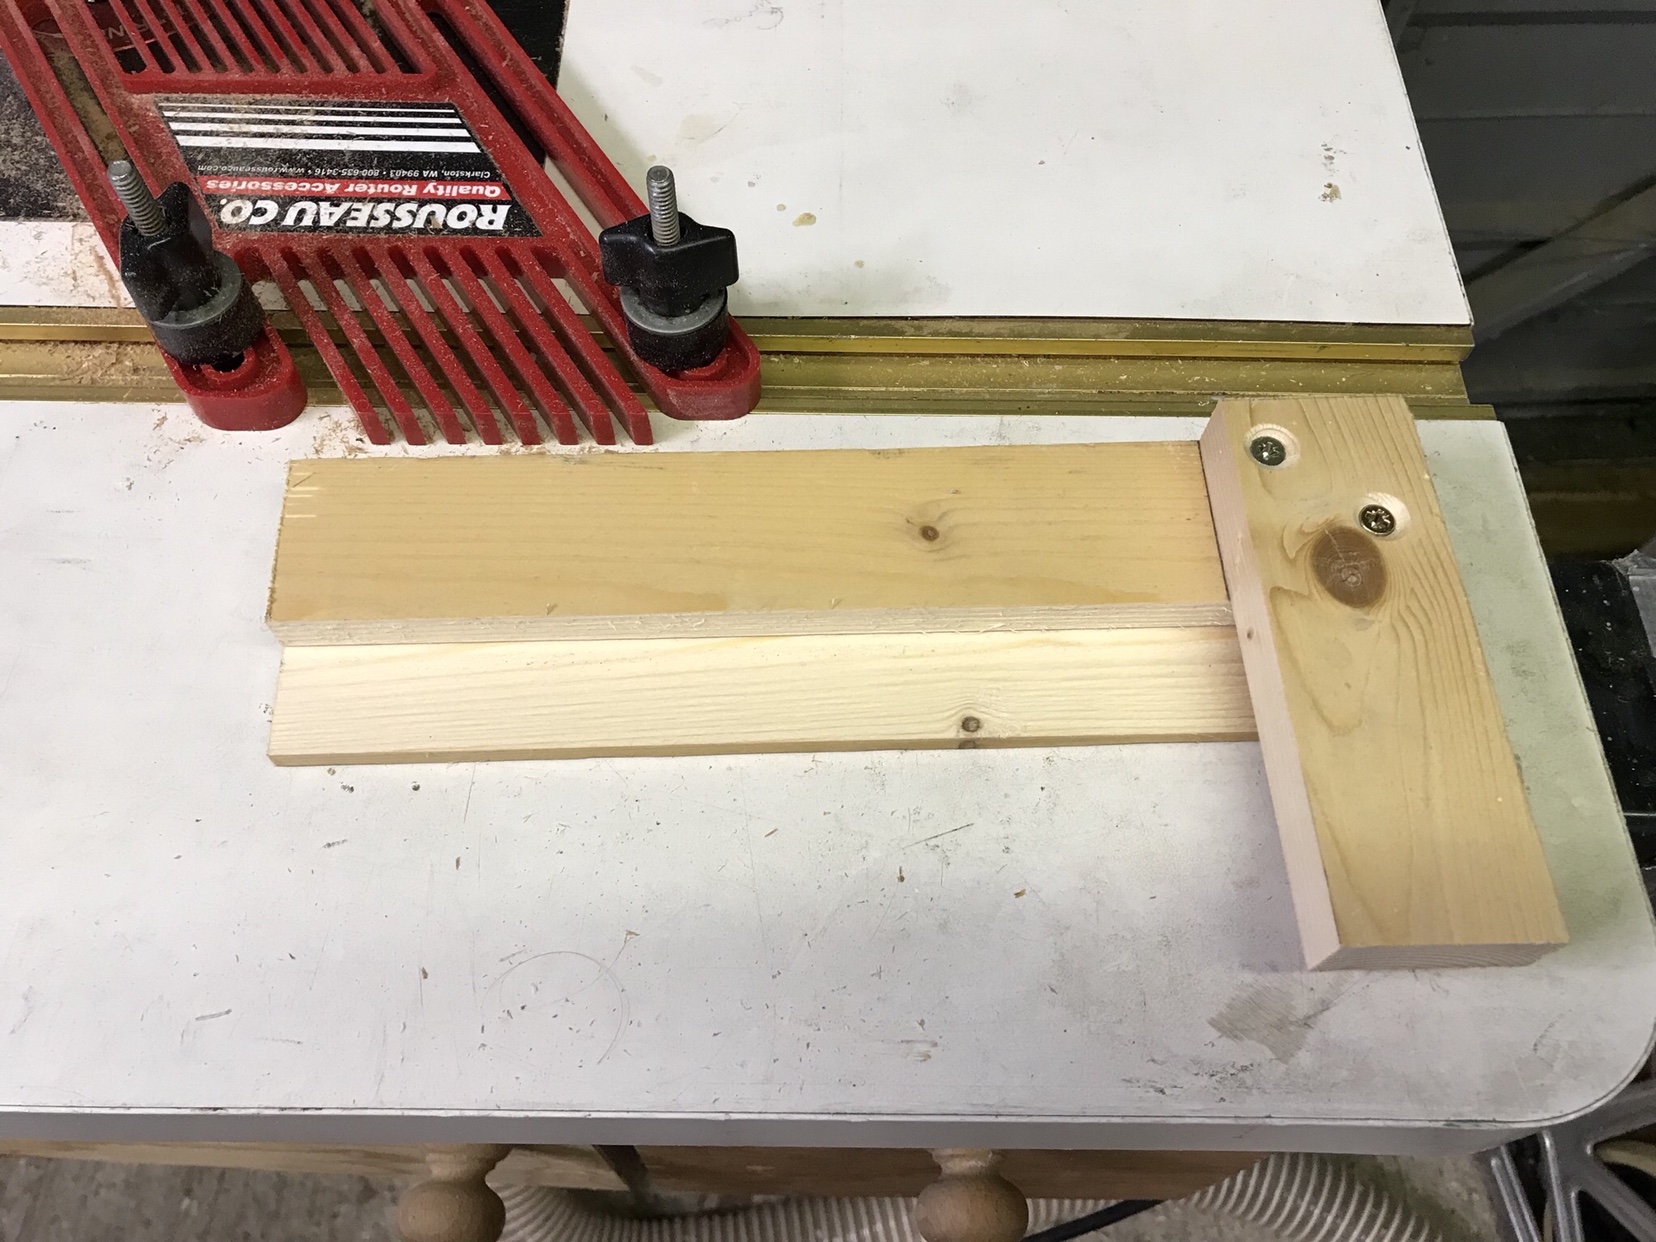
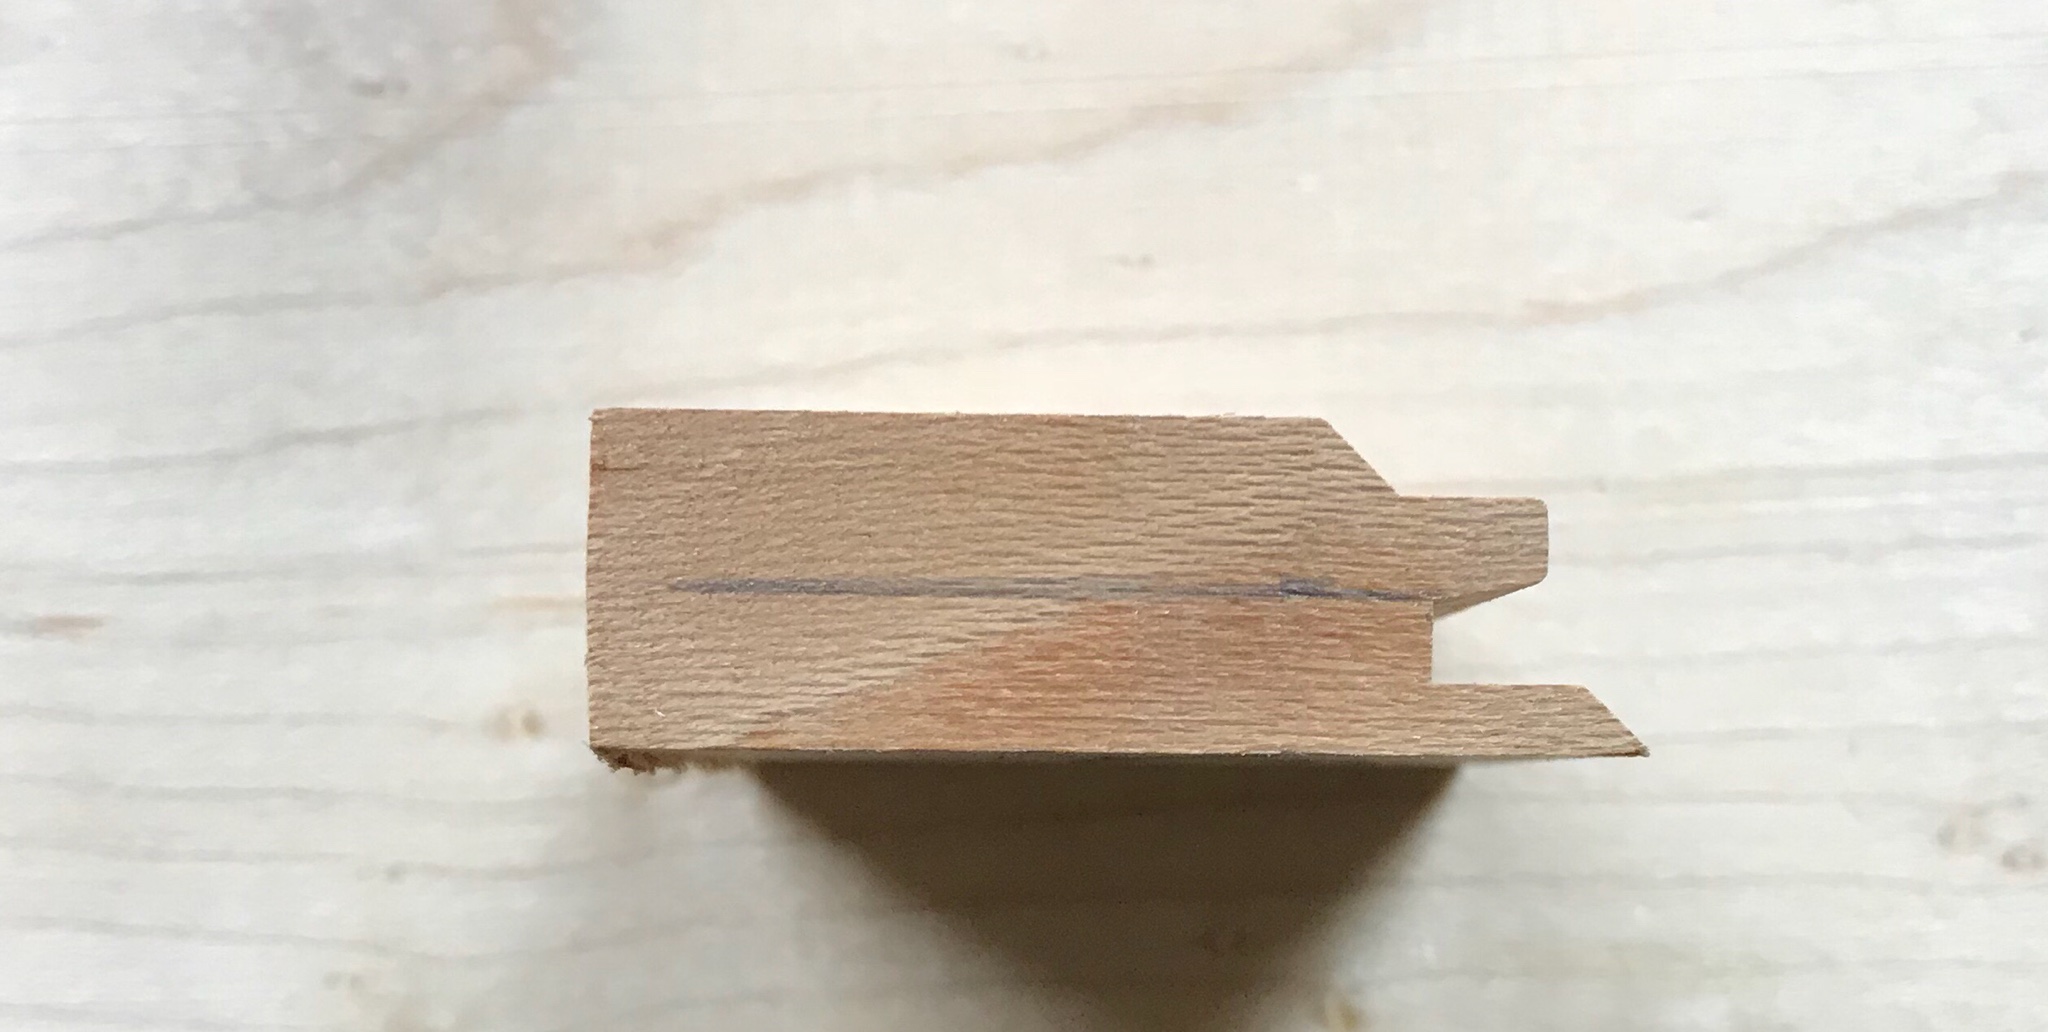
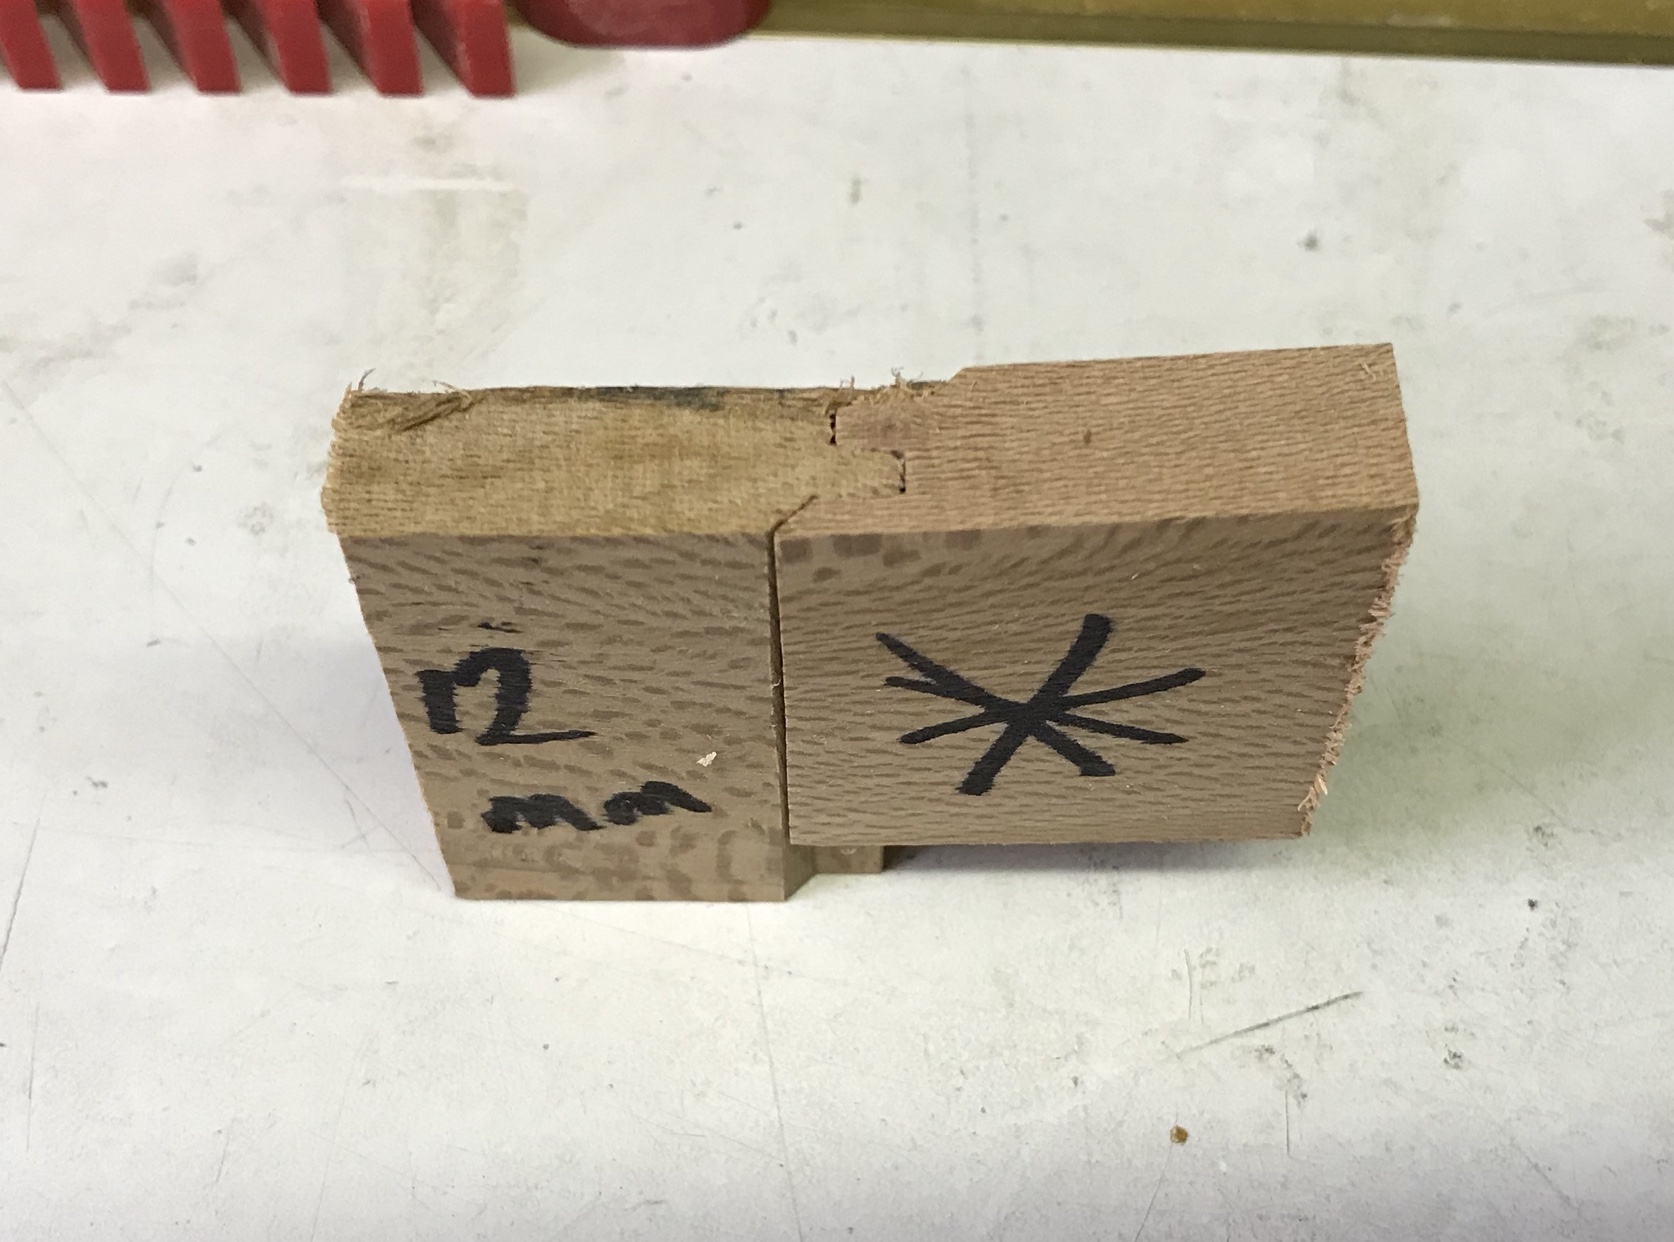
next alternatives would be a drawer lock router bit. the mitre lock bit looks too sensitive to board thickness to be viable for this.
any thoughts or suggestions?
I don't like the dovetails on it though, and I don't have the skills to cut them anyway. I guess that this would be ideal for the mitred dovetails, but that is not going to happen!
The timber will be approx 15mm tigery brown oak. It is currently sawn boards, and is at nominal 1", so if that changes, so be it. it is nice timber, and I would like to let it speak for itself.
I could use a rabbeted dovetail, but to me it looks a bit American, and a bit naff. it is the latter that is stopping me from a simple pinned rebate joint that I had briefly considered. https://i.pinimg.com/originals/4e/f1/8a ... de1244.jpg
could I use a small sliding dovetail joint (widest part say 8mm), and cut the overhanging board flush https://s3.amazonaws.com/finewoodworkin ... ils_md.jpg ? I have never seen this, which suggests that it is probably a non starter.
next alternatives would be a drawer lock router bit. the mitre lock bit looks too sensitive to board thickness to be viable for this.
any thoughts or suggestions?