Dr Al
Established Member
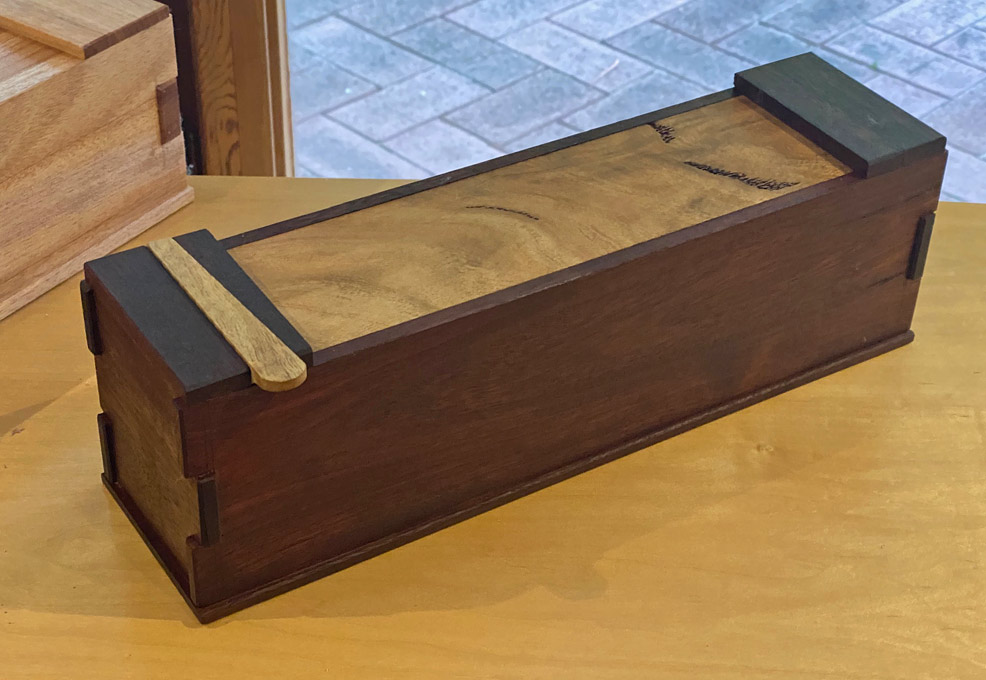
After spending all of last year working on the tool chest (and using pretty much every tool in my armoury), I thought I'd choose something a lot quicker for my next project. However, I'm keen to stretch myself a bit and, while thinking about options I came up with what struck me as an interesting idea:
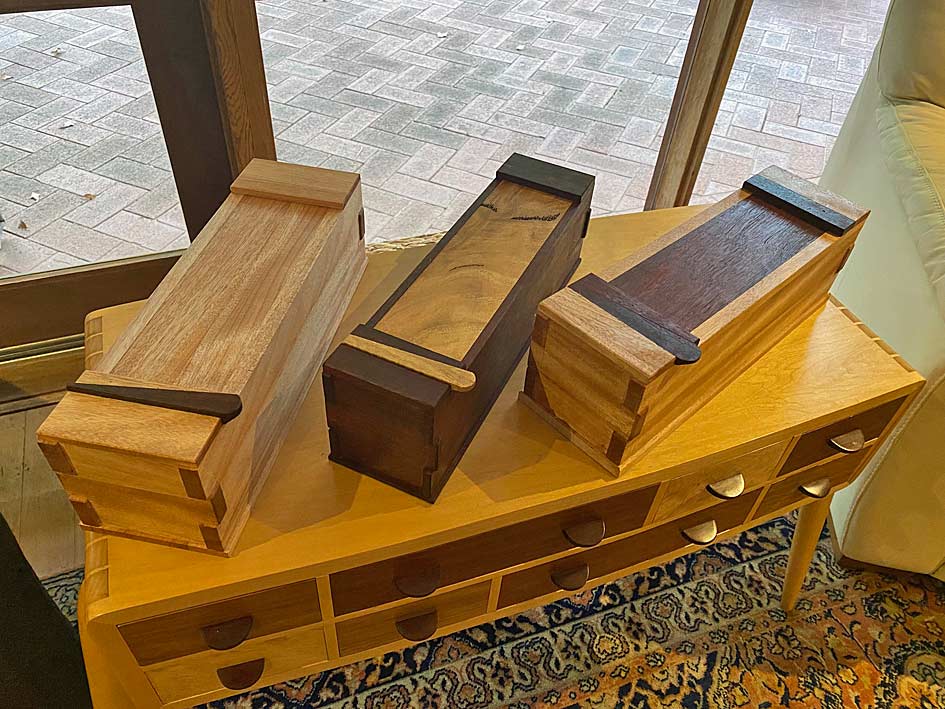
Make a wooden box using as few tools as possible.
That sounded to me like a fun challenge, so I thought I'd write down a few rules that I'm going to adhere to and I thought I'd share them in case anyone else fancies having a go as well.
Challenge rules:
Make a wooden box using as few tools as possible.
That sounded to me like a fun challenge, so I thought I'd write down a few rules that I'm going to adhere to and I thought I'd share them in case anyone else fancies having a go as well.
Challenge rules:
- The aim is to produce a box and have a list of used tools that is as short as possible.
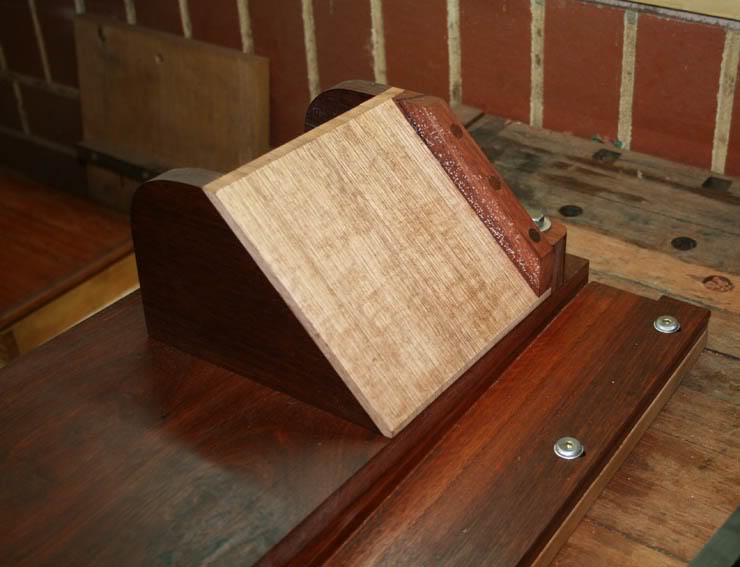
- The box must be made from ONE plank of rough-sawntimber.
- Two planks are allowed if (and only if) they're different timber species (e.g. one for the box frame and another for the top & bottom).
- No manufactured boards are allowed (e.g. plywood, MDF, OSB etc).
- Any and all tools used MUST be included in the list. Less obvious examples include:
- Bench hardware (vices, bench dogs, holdfasts, etc). A bench is assumed, but only as a horizontal flat surface you can work on / clamp stuff to.
- Other sawing aids (bench hooks, shooting boards, saw horses, etc).
- Marking tools such as knives, pencils, pencil erasers, squares. A pencil counts as one tool (whether propelling or not), but if you use the eraser on the back end, that's another one.
- Sharpening tools (stones, honing guides, strops etc).
- Consumables like glue, masking tape, oil (along with anything you use to apply the glue or oil).
- Every time you change to a different blade in a tool, it's an additional entry on the list. For example, use a plough plane or router plane with one cutter size and it's one entry. Change the blade to a different size and it's another entry.
- Basically anything else you touch that isn't the timber you've chosen goes on the list. Pick up a cloth to clean some glue squeeze-out? The cloth goes on the list.
- Water doesn't count (so you can wash your hands or clean a freshly sharpened blade) and neither does any lubricant specifically used for sharpening stones; any other fluid does. If you use a towel or paper cloth to dry your hands, that doesn't count; if you use it to dry the blade or remove some glue squeeze-out, it does.
- Simple-shaped blocks cut out of excess wood from your plank of source timber don't count, but if you have to fix more than one block together, it counts.
- For example, if you want to use an offcut of the source timber to protect your bench from chisel cuts or as something to clamp to the bench to push against, that doesn't count.
- However, if you make something like a carpenter's square or a dovetail marking gauge out of the offcuts, that counts as another tool.
- One power tool counts the same as 5 hand tools. Combination power tools (e.g. surface planer / thicknessers) count 5 for each function you use. Electric routers / drills count 5 per cutter/bit used. A lathe counts as one tool if treadle/human powered or 4 if electric. Each turning chisel used gets counted as one additional tool.
- Re-use of tools is encouraged. Use the side of a hand plane as a straight edge and the blade as a marking knife? That still counts as one tool.
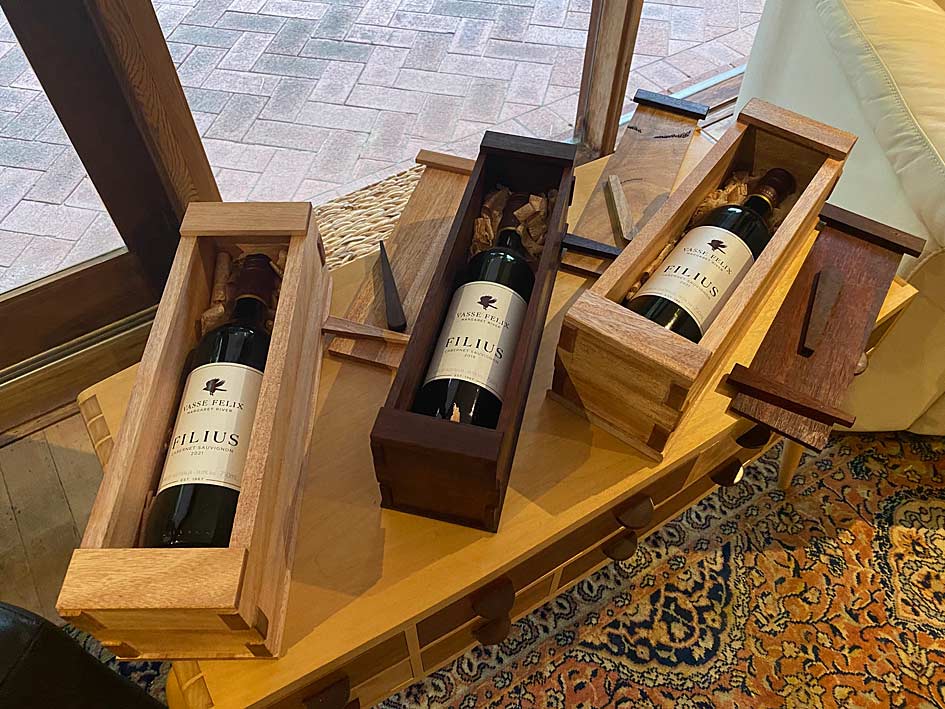
- The box must be made out of multiple pieces of wood joined together: for example connecting the sides with dovetails, finger joints or splined mitres is fine; taking a large lump of wood, carving out a pocket and calling it a box isn't acceptable. Similarly, sticking a blank in a lathe and drilling a hole doesn't count.
- There won't be any prizes but maximum kudos will go to the prettiest box made with the fewest tools, especially if you take photos of the processes that were most awkward with your chosen tool set!
Last edited:


") - so resawing the board for the box top & bottom is going to be hard work (especially without a vice)!
- so resawing the board for the box top & bottom is going to be hard work (especially without a vice)!