


Derek Cohen (Perth Oz)
Established Member
I thought that I would post some pictures of a recent project, which may help those looking to choose the type of tools one needs for hand cut joinery, especially dovetailing.
The backstory here is that I have been re-organising my workshop, with a view to retiring from my practice in a couple of years, and downsizing to a smaller home (smaller garden to upkeep). This will necessitate a new workshop. So I began looking at the hand tools I have accumulated over 35 years, and deciding which of those would be kept and which would be sold or given away.
The best tools went into a cabinet I built into my bench ...

If curious, visit "Underbench Cabinet" on this index page: Furniture
Joinery saws were here: http://www.inthewoodshop.com/ShopMadeTools/OldNewSawTill.html
I was left with a number of tools, and decided that these would become the ones I take to wood shows and workshops, where I demonstrate joinery techniques. While I do this a reasonable amount, in the back of my head I have been hoping to interest my 29 year-old son in building furniture enough to present him with a "starter kit". I would have killed for this starter kit when I started out! Back then I really had very little. He is getting married soon, and looking to purchase a house, so the timing may be good. I am holding thumbs, but realise that it is likely that his wife is going to be the woodworker! Great daughter-in-law!
It began with this box, which I made 10 years ago to house 5 Veritas chisels (O1, not PMV-11), which had come along as part of a road test over several months (as many know, I have road tested Veritas tools for many, many years. Alf used to do this as well. Wish she was back on this forum).
That is the box closest the camera ...
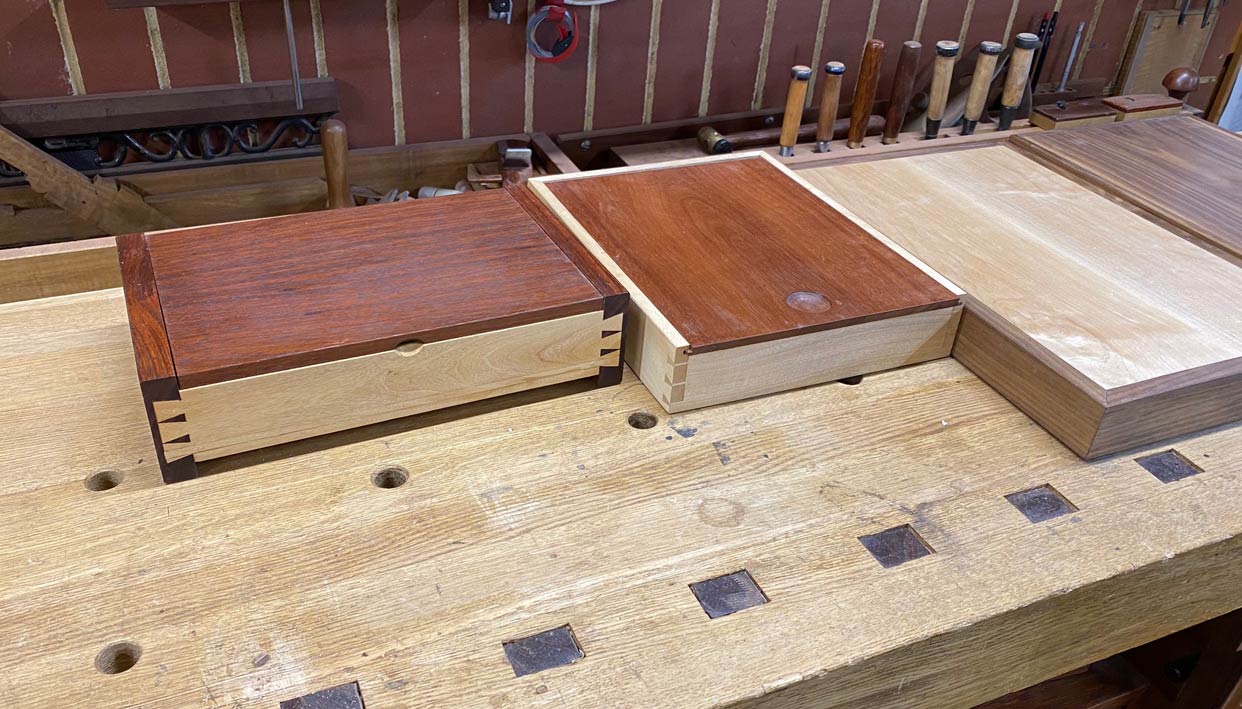
The problem was that the chisels had grown to 7 (as I have "made" two extra) and no longer fitted into the box. So a new box was necessary ...
A feature of two of the boxes was mitred through dovetails, which make for an easier process when grooving for bottoms and sliding lids ..
By the way, no trees were killed for these boxes. They are all made from offcuts. Mostly Black Walnut, Hard Maple, Jarrah, and Jacaranda.
A box for 7 chisels. The thumb hole was carved with gouges ...
The chisels, held with rare earth magnets (the box must be carried and the chisels cannot move). The largest chisel here is 1". The 1/8" and fishtail were made from spare pre-production chisels ...
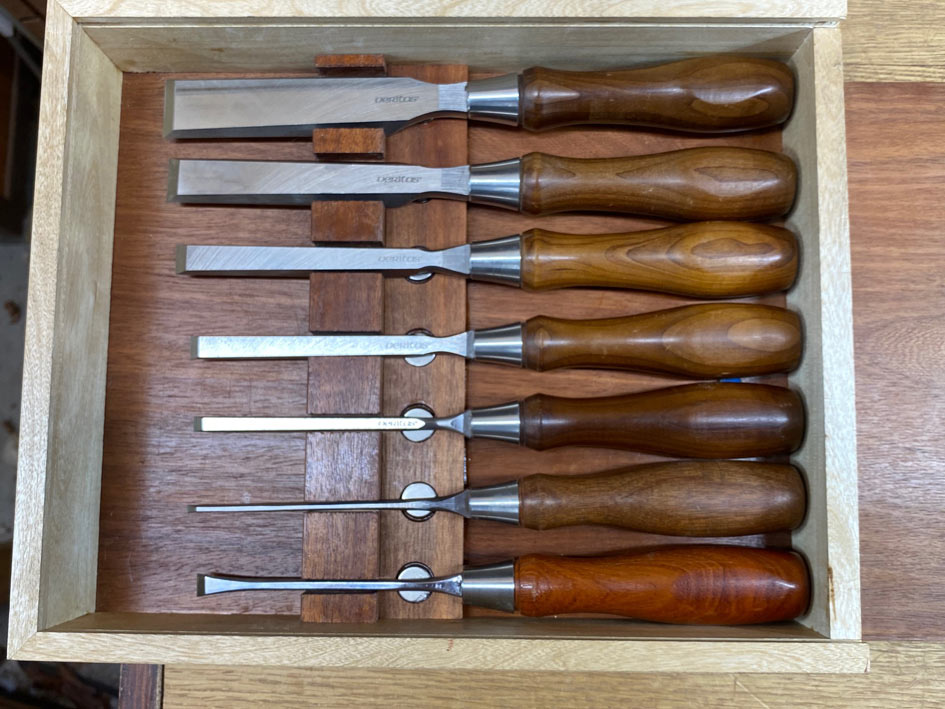
I do not think that Veritas make these O1 chisels anymore. The PM-V11 versions are better, but these O1 are simply wonderful.
Then came this box, in Walnut ...

Slide away the top to reveal two Veritas dovetail saws ...
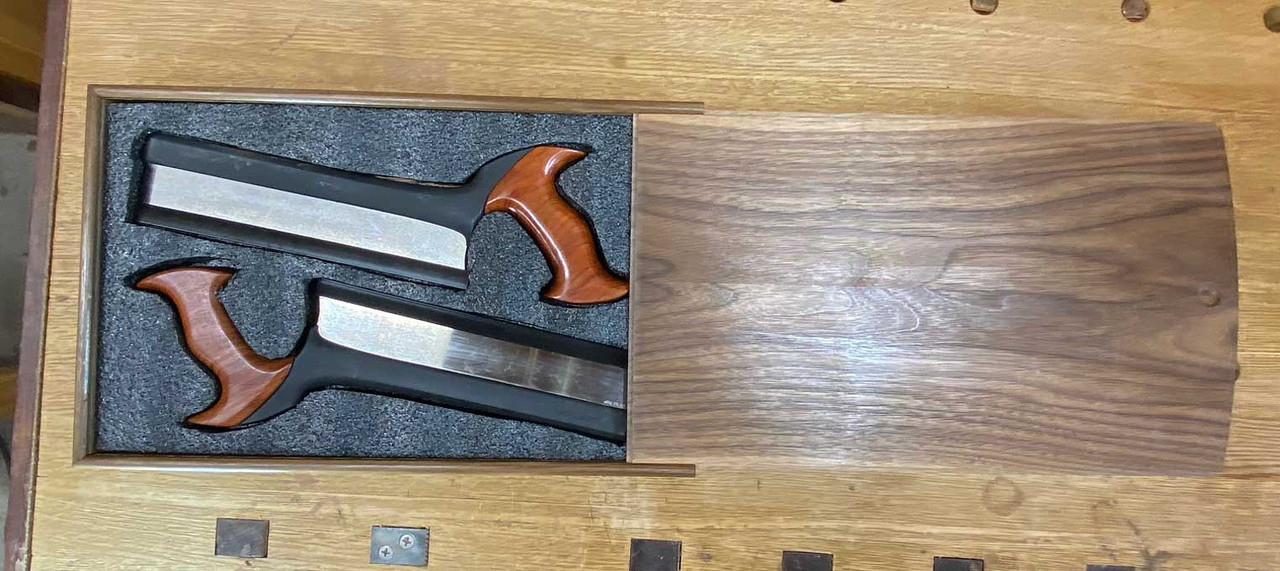
One is 20 ppi, and this is optimal for thinner boards (up to 1/2"). The 14 ppi is intended for thicker material, say 3/4". It has rip teeth (like the 20 ppi) and can also be used for used for smaller tenons. The 20 ppi can also do muster as a crosscut saw. A very versatile duo - these are the absolute best value choices for those wishing to buy new Western saws.
Both these saws come with 14 degrees of rake. This is really intended for beginners or softer timbers than our Australian fare. I refiled the 14 ppi saw to 10 degrees of rake and gave the toe about 1 1/2" of 15 degrees of rake to make it start more easily.
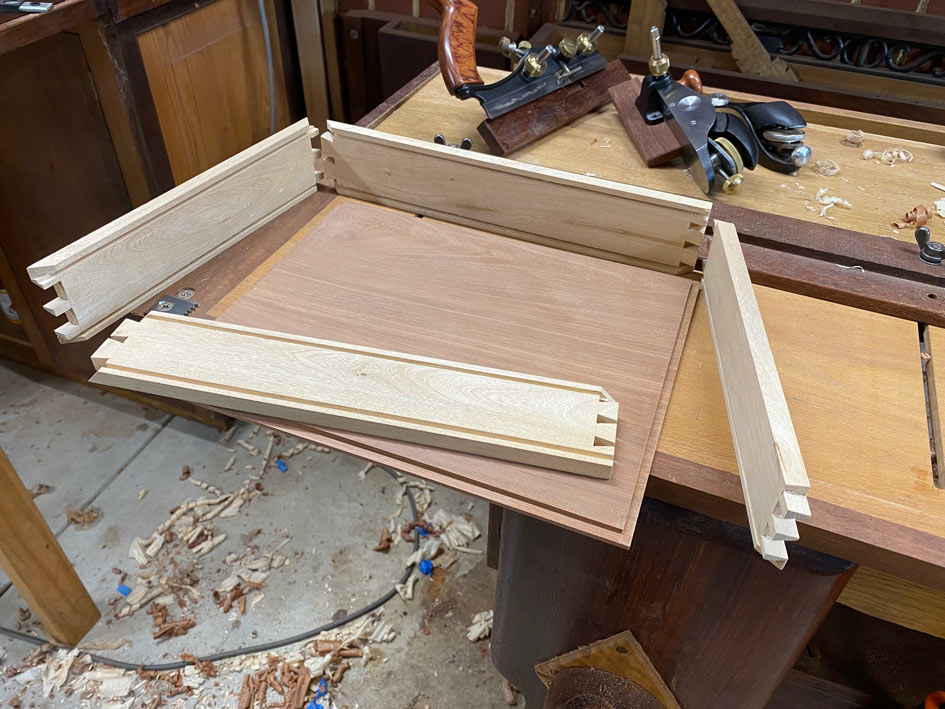
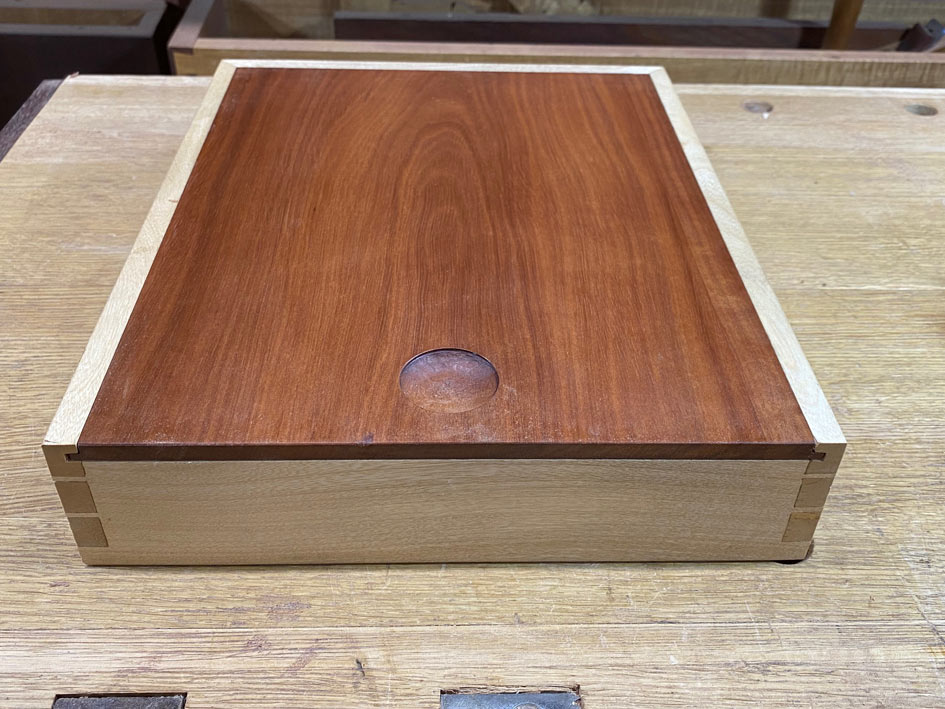
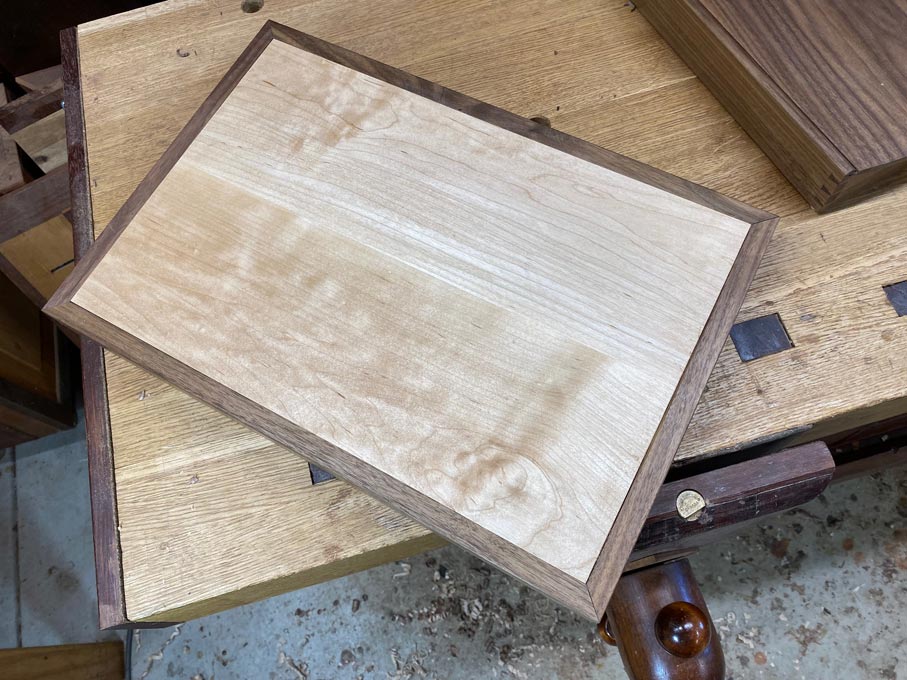
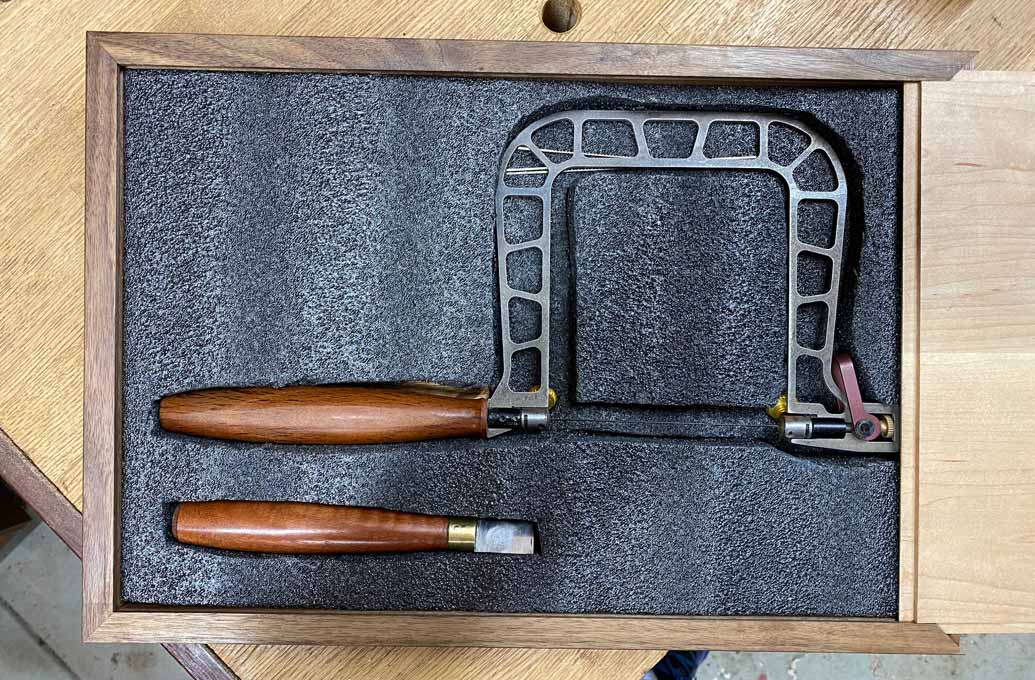
The third box appears to have lost its open end")
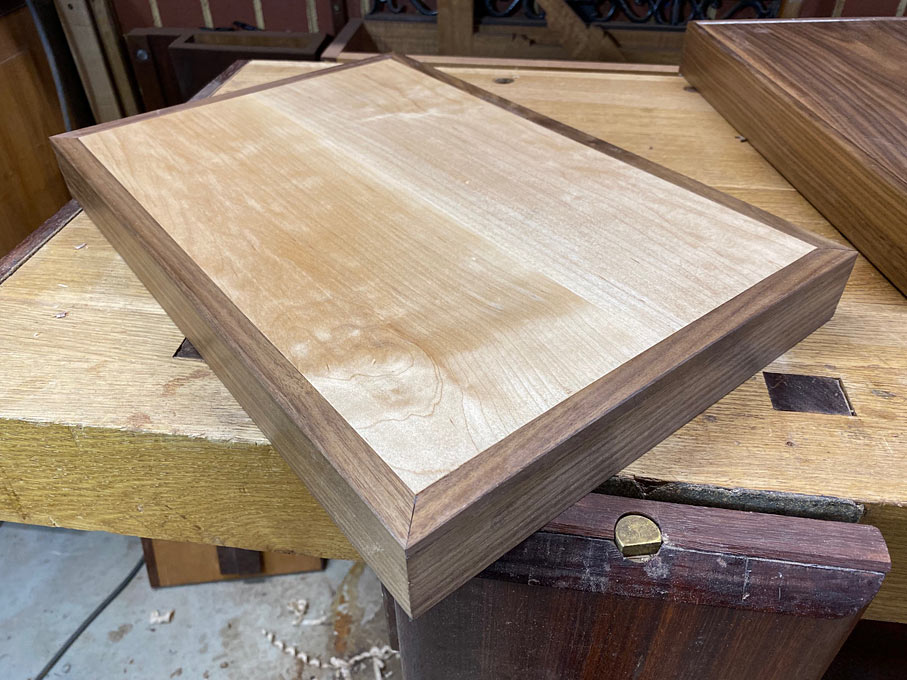
The corners here are simple mitres. The notable feature is is that there is no spline or reinforcing. Instead, the end grain corners are sized and glued.
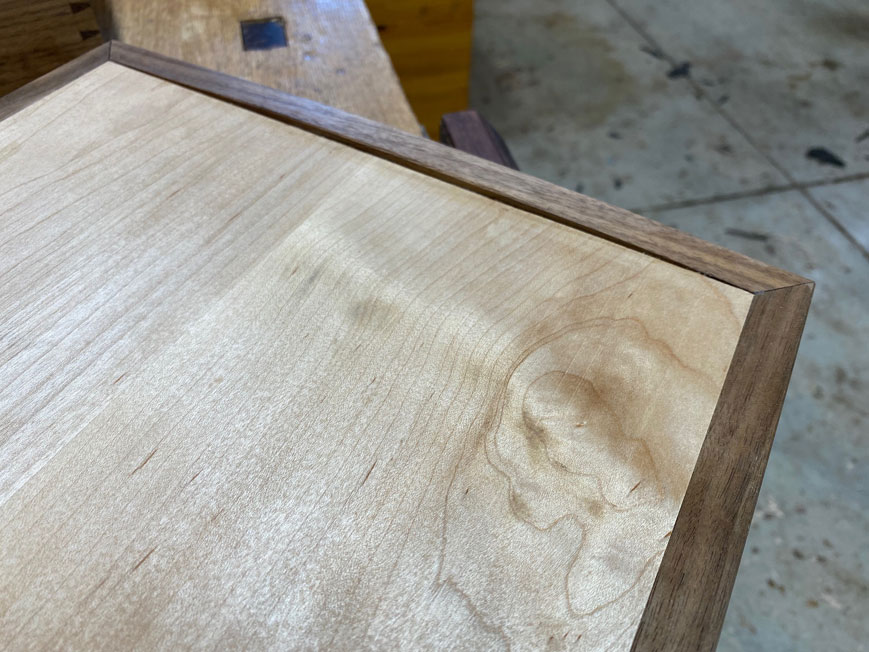
Sizing involved a layer of glue on the end grain, allow to near-dry, then add fresh glue. The glue fills the straws and the joint avoids being glue-starved.
The opening to the top in at the end facing the camera.
Here is the finger pull ...
Knew Concepts 5" Titanium fretsaw with one of my custom handles (I helped design these saws, and bring them to production), and a kerfing chisel I designed and made. Article here on kerfing chisels: http://www.inthewoodshop.com/ShopMadeTools/KerfChisel.html
So what happened to Box #1? This was re-purposed to hold marking tools.
![[Image: 15.jpg]](https://proxy.imagearchive.com/011/011247543fa6f88e1b850ce1daab6033.jpg "[Image: 15.jpg]")
![[Image: 16.jpg]](https://proxy.imagearchive.com/3e3/3e33f46393689aa174f9d3f7e8dce3b4.jpg "[Image: 16.jpg]")
Inside are a two cutting gauges, a 12"/300mm combination square, a 4"/100mm double square, dividers, marking knife, sliding bevel, and two dovetail gauges.
As I said, more tools than one actually needs (ask Frank Klausz).
Regards from Perth
Derek
The backstory here is that I have been re-organising my workshop, with a view to retiring from my practice in a couple of years, and downsizing to a smaller home (smaller garden to upkeep). This will necessitate a new workshop. So I began looking at the hand tools I have accumulated over 35 years, and deciding which of those would be kept and which would be sold or given away.
The best tools went into a cabinet I built into my bench ...
If curious, visit "Underbench Cabinet" on this index page: Furniture
Joinery saws were here: http://www.inthewoodshop.com/ShopMadeTools/OldNewSawTill.html
I was left with a number of tools, and decided that these would become the ones I take to wood shows and workshops, where I demonstrate joinery techniques. While I do this a reasonable amount, in the back of my head I have been hoping to interest my 29 year-old son in building furniture enough to present him with a "starter kit". I would have killed for this starter kit when I started out! Back then I really had very little. He is getting married soon, and looking to purchase a house, so the timing may be good. I am holding thumbs, but realise that it is likely that his wife is going to be the woodworker! Great daughter-in-law!
It began with this box, which I made 10 years ago to house 5 Veritas chisels (O1, not PMV-11), which had come along as part of a road test over several months (as many know, I have road tested Veritas tools for many, many years. Alf used to do this as well. Wish she was back on this forum).
That is the box closest the camera ...
The problem was that the chisels had grown to 7 (as I have "made" two extra) and no longer fitted into the box. So a new box was necessary ...
A feature of two of the boxes was mitred through dovetails, which make for an easier process when grooving for bottoms and sliding lids ..
By the way, no trees were killed for these boxes. They are all made from offcuts. Mostly Black Walnut, Hard Maple, Jarrah, and Jacaranda.
A box for 7 chisels. The thumb hole was carved with gouges ...
The chisels, held with rare earth magnets (the box must be carried and the chisels cannot move). The largest chisel here is 1". The 1/8" and fishtail were made from spare pre-production chisels ...
I do not think that Veritas make these O1 chisels anymore. The PM-V11 versions are better, but these O1 are simply wonderful.
Then came this box, in Walnut ...
Slide away the top to reveal two Veritas dovetail saws ...
One is 20 ppi, and this is optimal for thinner boards (up to 1/2"). The 14 ppi is intended for thicker material, say 3/4". It has rip teeth (like the 20 ppi) and can also be used for used for smaller tenons. The 20 ppi can also do muster as a crosscut saw. A very versatile duo - these are the absolute best value choices for those wishing to buy new Western saws.
Both these saws come with 14 degrees of rake. This is really intended for beginners or softer timbers than our Australian fare. I refiled the 14 ppi saw to 10 degrees of rake and gave the toe about 1 1/2" of 15 degrees of rake to make it start more easily.
The third box appears to have lost its open end
The corners here are simple mitres. The notable feature is is that there is no spline or reinforcing. Instead, the end grain corners are sized and glued.
Sizing involved a layer of glue on the end grain, allow to near-dry, then add fresh glue. The glue fills the straws and the joint avoids being glue-starved.
The opening to the top in at the end facing the camera.
Here is the finger pull ...
Knew Concepts 5" Titanium fretsaw with one of my custom handles (I helped design these saws, and bring them to production), and a kerfing chisel I designed and made. Article here on kerfing chisels: http://www.inthewoodshop.com/ShopMadeTools/KerfChisel.html
So what happened to Box #1? This was re-purposed to hold marking tools.
Inside are a two cutting gauges, a 12"/300mm combination square, a 4"/100mm double square, dividers, marking knife, sliding bevel, and two dovetail gauges.
As I said, more tools than one actually needs (ask Frank Klausz).
Regards from Perth
Derek
Last edited: