") Jacob - I knew you'd come.
Jacob - I knew you'd come. 


 Jacob - I knew you'd come.
 Jacob":2w2fc77c said:The 'english' bench is also far and away the easiest to make. It's a bit boring to look at - less glamourous than the continental types but very functional non the less.
Jacob":wzt6daq0 said:Stuff stays on top anyway, so rarely needs clamping, but things fall off the side - so G clamps or dog holes in the apron are really useful.
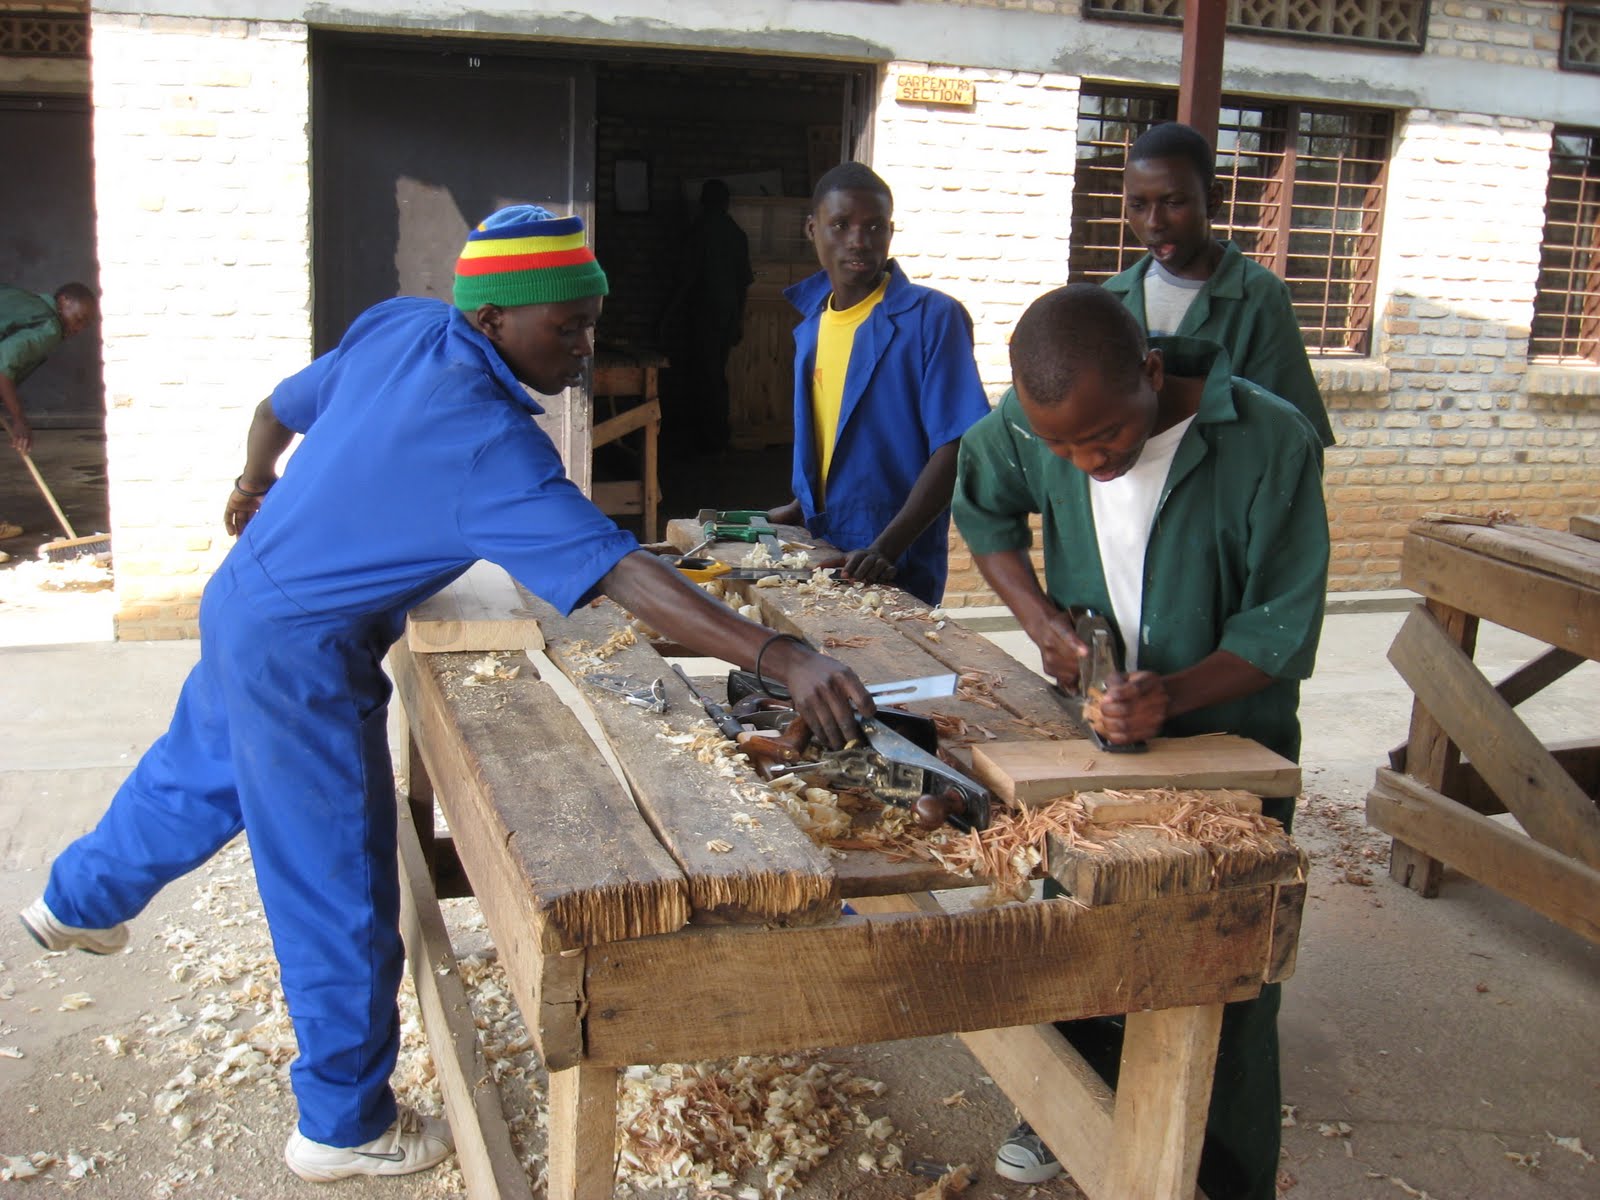
Yes. Seen in woodwork shops everywhere, large or small, not just schools. The standard pattern more or less. Simplest to make and highly functional. Even if you want a fussy continental bench you'd do well to knock up a trad english pattern first, as a working tool.Jelly":1j4o1mtp said:Jacob":1j4o1mtp said:The 'english' bench is also far and away the easiest to make. It's a bit boring to look at - less glamourous than the continental types but very functional non the less.
As in the classic School Workbench, with a vice on each side and a tool-well?
Jacob":1dxinkz1 said:Yes. Seen in woodwork shops everywhere, large or small, not just schools. The standard pattern more or less. Simplest to make and highly functional. Even if you want a fussy continental bench you'd do well to knock up a trad english pattern first, as a working tool.Jelly":1dxinkz1 said:Jacob":1dxinkz1 said:The 'english' bench is also far and away the easiest to make. It's a bit boring to look at - less glamourous than the continental types but very functional non the less.
As in the classic School Workbench, with a vice on each side and a tool-well?
Somehow they have been dropped from the agenda, mainly because they aren't very sexy and modern woodworkers don't seem to like simple things!
Jacob":3tm0ajar said:The main advantage of aprons is that they are the easiest way to stiffen up the whole structure - effectively bracing the legs and also adding support under the front edge of the top beam.phil.p":3tm0ajar said:Col - Some people swear by aprons, I've never really seen the need although .....
What you lose in top clamping you gain in side clamping. Stuff stays on top anyway, so rarely needs clamping, but things fall off the side - so G clamps or dog holes in the apron are really useful.
The 'english' bench is also far and away the easiest to make. It's a bit boring to look at - less glamourous than the continental types but very functional non the less.


J_SAMa":3760aorz said:Hi Jacob,
By "English" workbench are you referring to this:
Or this one originally illustrated in Nicholson's book?
More like this below. New woodworkers seem to be unaware of this basic trad (British?) design and are more familiar with the historic examples above, or continental styles. Very odd!J_SAMa":ohskv9md said:....
Hi Jacob,
By "English" workbench are you referring to this:.....
Or this one originally illustrated in Nicholson's book?
............

J_SAMa":1g5h9btx said:GazPal":1g5h9btx said:Hi Sam,
Paul's design is a proven one and a very good one too. His use of wedges is simply a method of making the bench easy to strip down and is one step you can happily leave out, as long as you still bolt the leg frames to the front and back aprons and coach screw the frames to the underside of the work top. It's the method Paul uses and it's perfectly fit for purpose.
Hi Gary,
Am I understanding what your post incorrectly or are you saying that simply bolting the aprons to the frames will work? I remember reading on the Schwarz's blog that bolts and screws will never work quite well for workbenches...
If I were to build it with the wedges, would it help if I glued them? I know it would make the wedges rather pointless, but that's better than bolts alonge right?
GazPal":1g5h9btx said:There's nothing wrong in using top and bottom stretchers in replacement of both front and rear aprons and you can step the front top stretcher back from the front edge of your bench for the sake of dog hole and end vise clearance. Simply mortise the front top stretcher into your end frame top stretchers instead of into the legs. The bottom stretcher can remain further forward and remain mortised into the front legs.
What size will you be building your bench and will it be kept against a wall or free standing in the middle of your working area?
If you have Sketchup I could work out a design and email it if you're in need of a few ideas or more clarification.
I'm thinking about 2100 mm by 600 mm, placed against a wall. And speaking of fixtures, do you think it is practical for me to drill horizontal holes might help. for holdfasts and dogs in the front apron? I obviously can't fit a deadman in there because of the aprons and thought horizontal h I know this seems a bit too early to ask as I've not even close to starting to build it but I'd want to ask it before I forget.
Another thing is the "feet". By it I'm referring to these:
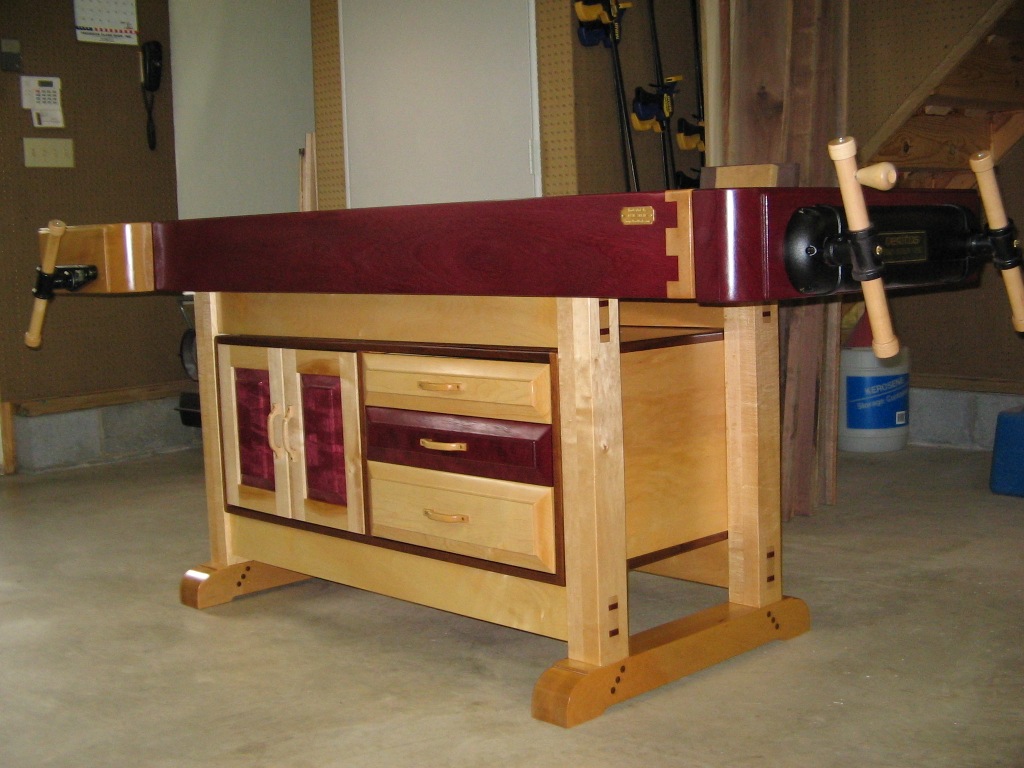
The bench doesn't stand on the legs but stand on the "feet" that run across the legs (what are those called anyways?). Are those beneficial? Do they give you extra grip or something?
I just downloaded Sketchup and fiddled around with it for the last few hours. I'll base my design on Paul Sellers and hopefully have it drawn in a few days
Thanks
Sam
JacobMore like this below. New woodworkers seem to be unaware of this basic trad (British?) design and are more familiar with the historic examples above said:Its just whats in popular press at the time, if some body else writes a fair bit of material with a different slant in future years then views will change again. Fashions a funny thing, certain things (usualy very few) will stick around regardless of what happens and the rest changes like the wind.
Col":3314cxrn said:phil.p":3314cxrn said:Col - Some people swear by aprons, I've never really seen the need although when I make another bench, I'm tempted to put an apron on one side only and have the best of both worlds. The lack of them makes clamping easier, although that is probably less important when using holdfasts.
I spaced the holes on mine so that I could bolt my bench drill near the vice using the same ones - I can swing the drill out over something held in the vice.
Phil - good thing that the aprons debate isn't as emotional as the sharpening debate
I have an old Progress bench drill - would love to be able to reposition it and swing over stock in the vice but it weighs it at over a 110kg so I don't move it much
Jacob":2bs0ec6s said:More like this below. New woodworkers seem to be unaware of this basic trad (British?) design and are more familiar with the historic examples above, or continental styles. Very odd!J_SAMa":2bs0ec6s said:....
Hi Jacob,
By "English" workbench are you referring to this:.....
Or this one originally illustrated in Nicholson's book?
............
It's as though someone has been rewriting the story, different benches, tool mania, polishing and sharpening frenzies, all relatively new.

GazPal":1iiakyrk said:J_SAMa":1iiakyrk said:GazPal":1iiakyrk said:Hi Sam,
Paul's design is a proven one and a very good one too. His use of wedges is simply a method of making the bench easy to strip down and is one step you can happily leave out, as long as you still bolt the leg frames to the front and back aprons and coach screw the frames to the underside of the work top. It's the method Paul uses and it's perfectly fit for purpose.
Hi Gary,
Am I understanding what your post incorrectly or are you saying that simply bolting the aprons to the frames will work? I remember reading on the Schwarz's blog that bolts and screws will never work quite well for workbenches...
If I were to build it with the wedges, would it help if I glued them? I know it would make the wedges rather pointless, but that's better than bolts alonge right?
GazPal":1iiakyrk said:There's nothing wrong in using top and bottom stretchers in replacement of both front and rear aprons and you can step the front top stretcher back from the front edge of your bench for the sake of dog hole and end vise clearance. Simply mortise the front top stretcher into your end frame top stretchers instead of into the legs. The bottom stretcher can remain further forward and remain mortised into the front legs.
What size will you be building your bench and will it be kept against a wall or free standing in the middle of your working area?
If you have Sketchup I could work out a design and email it if you're in need of a few ideas or more clarification.
I'm thinking about 2100 mm by 600 mm, placed against a wall. And speaking of fixtures, do you think it is practical for me to drill horizontal holes might help. for holdfasts and dogs in the front apron? I obviously can't fit a deadman in there because of the aprons and thought horizontal h I know this seems a bit too early to ask as I've not even close to starting to build it but I'd want to ask it before I forget.
Another thing is the "feet". By it I'm referring to these:
The bench doesn't stand on the legs but stand on the "feet" that run across the legs (what are those called anyways?). Are those beneficial? Do they give you extra grip or something?
I just downloaded Sketchup and fiddled around with it for the last few hours. I'll base my design on Paul Sellers and hopefully have it drawn in a few days
Thanks
Sam
Horizontal holdfast holes in the apron can only ever add to the functionality of your bench and would never detract from it's utility.
In addition to the bolts, housing joints (Dado) let into the apron's as recess into which the legs locate helps provide a belts & braces approach to the build and locks everything together. There's no need to use wedges unless you plan on dismantling the bench to move it. I'd not glue the aprons to the legs, but would consider gluing them to the bench top. The use of NYLOC nuts and spring washers when tightening down the bolts will help improve grip and enhance the manner in which the bench holds firm. Planning the bench into sections - such as top, leg frames, etc.) and assembling it in sections helps make maintenance less arduous should you ever find a need to repair/replace elements.
I'd rather have each leg resting individually on the ground than use trestle feet (With the bottom stretcher resting on the ground) as any unevenness in the floor will impact on how level the bench sits. Yes, self levelling adjusters can be used, but I don't think they're truly necessary, plus having them simply adds to complexity.
The flare legged design you provided rings true of Schwarz's take on the English (Nicholson) bench and honestly adds little or nothing to practicality in build or use. Artistic flare perhaps, but needless as the bench is already longitudinally braces via the presence of aprons. His preference for Roubo rings loud and true throughout both bench books and - in all honesty - is heavily biased in favour of his past, present and (Presumed) future endeavors surrounding his fascination with all that is Roubo. Even his suggestion that the leg vise should be angled to add to clamping width is unnecessary, as clamping width can be enhanced by simply widening the vise jaws. The square legged design is far better and simpler, as it's far easier to equip such benches with end mounted storage cupboards for quares, saws, etc..
twothumbs":25ohmz3x said:Having spent ages years ago thinking what I wanted /needed (not the same thing) I would be temped to build a good old British bench and use clamps, etc. Then you will learn what you truely need. Legs, rail etc. Simple and after all it is about making things and not benches. I would use bolts and screwed rod instead of wedged tenons....plenty of info around on that or I will expand what is involved. If the top is heavy it can sit loose so no need to fix down. If you are on your own then you have to lift everything so worth a thought. Made my first bench when I was about 14 from old fireplace mantels and fence posts. All 4" nail 'joints' with some dry half joints. I will not tell you how may decades it was successfully used before being replaced. Jacob is on the ball here. I am sure I saw a very old advert for continental style benches advertised as a gentlemans bench.... after all a gentleman could not be expected to use a bench which looked as as if it came from the local craftsmans shed. All benches would be made for the job or inherited, and a gentleman wouldn't know where to start so hence the growth of proper benches for carving and picture framing. People were there to make a living or earn money...not to spend time on fancy benches as protrayed by the american market via. books. Or am I wrong? When needs must..... keep it simple in redwood. Best wishes.
Enter your email address to join: