More progress and photos, there's pressure to get back to doing the kitchen, so being working quite hard on it!
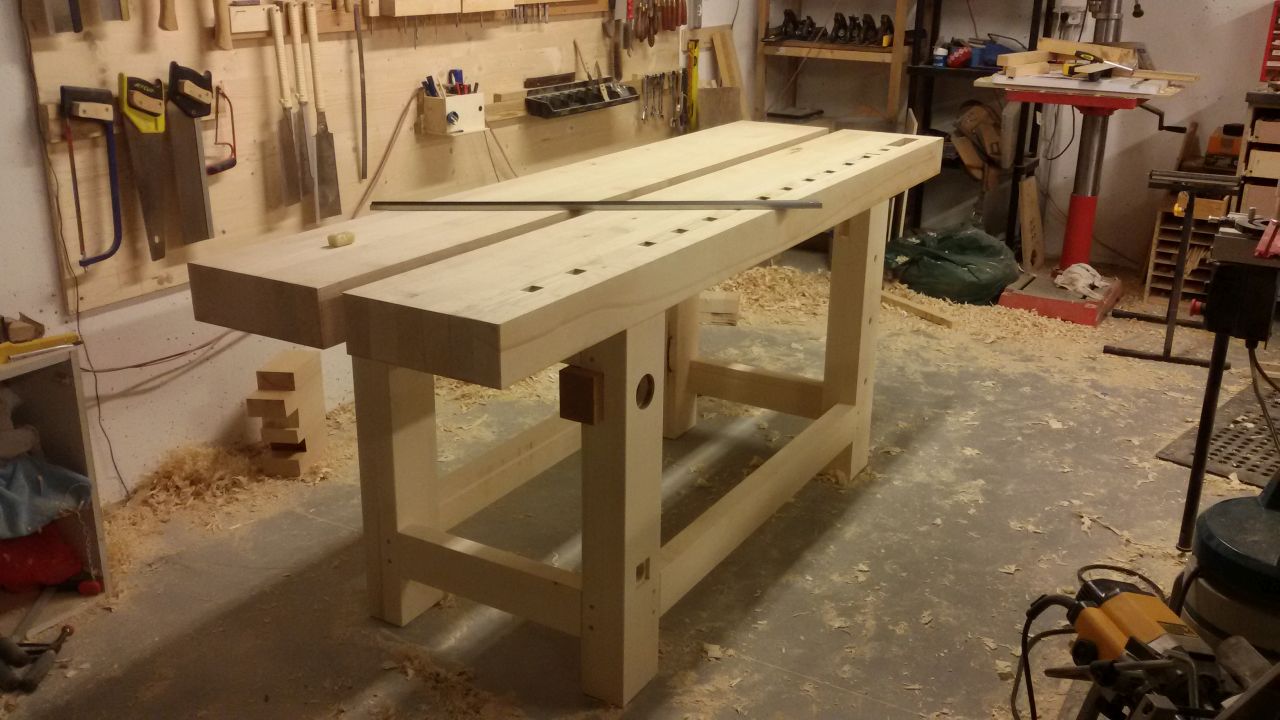
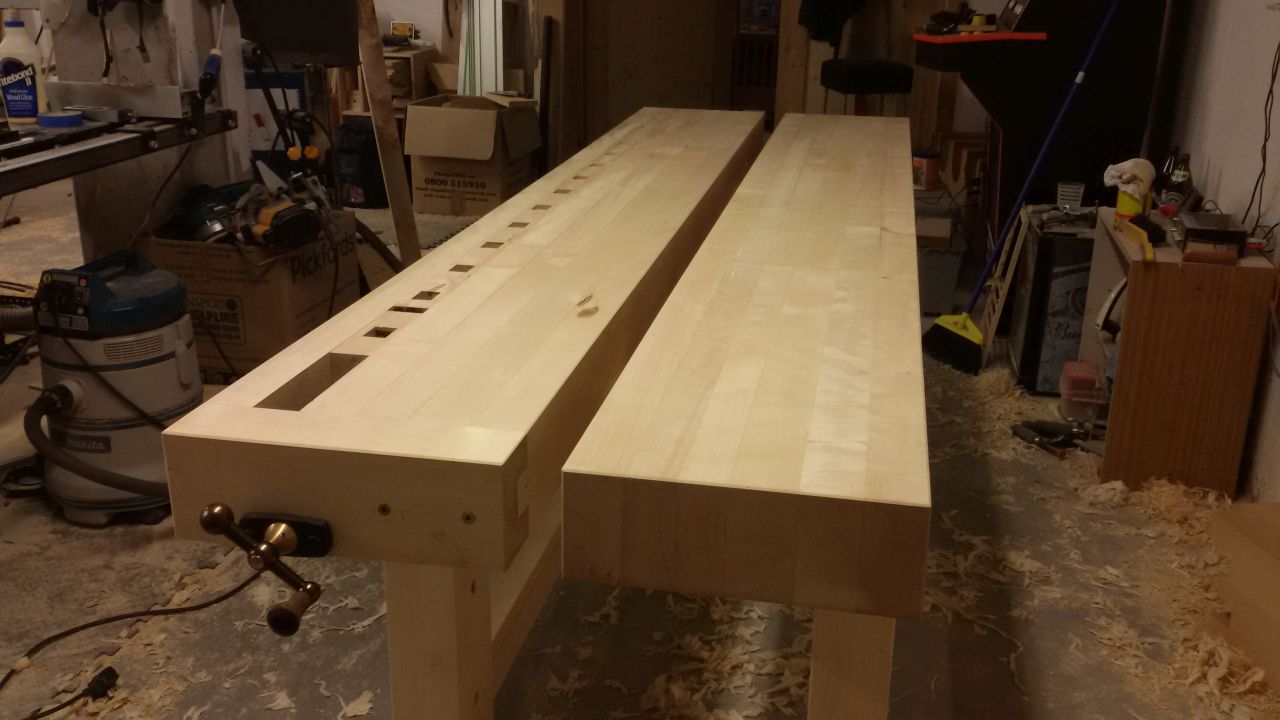
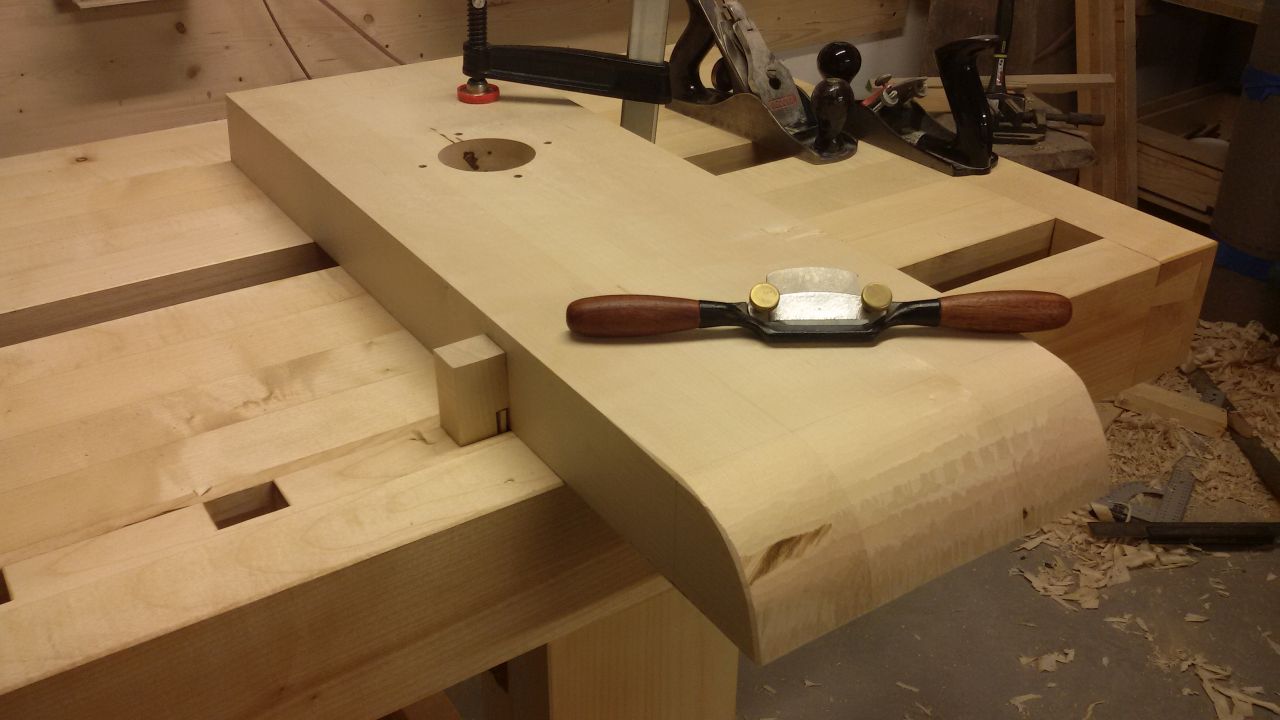
Firstly some that come before the last photos, this is during hand planing the top to mostly pretty quite flat... not perfect, but definitely good enough, and no lip from front to back slab.
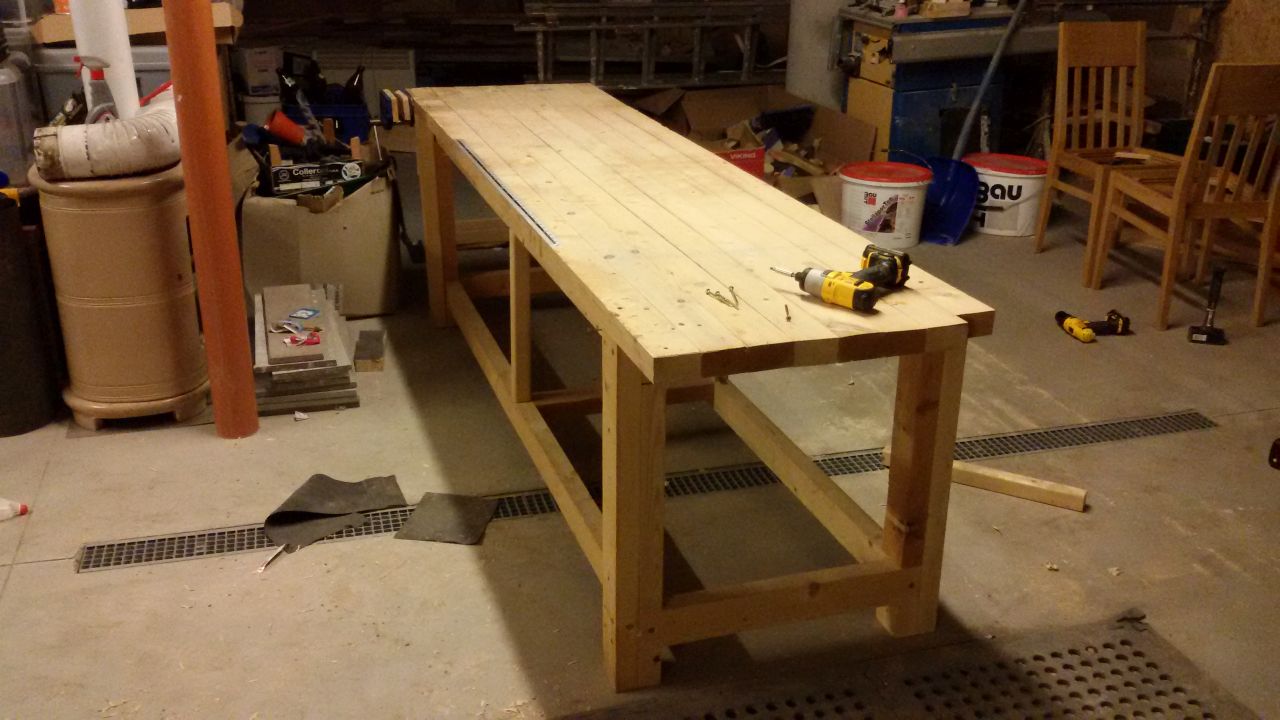
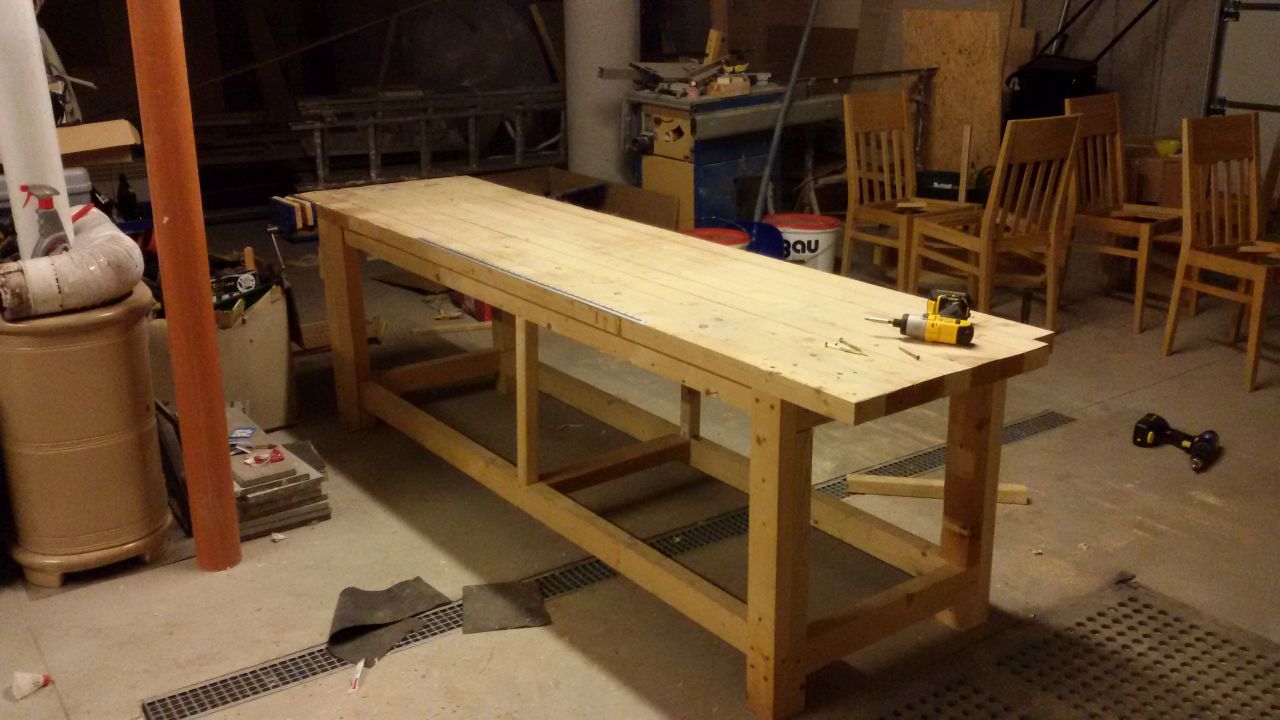
Then the old bench, just to remind me what it was like... I actually cut the legs down 5" and gave it to my kids, vice included. Were they grateful! nope, they just started fighting over who got access to the vice!
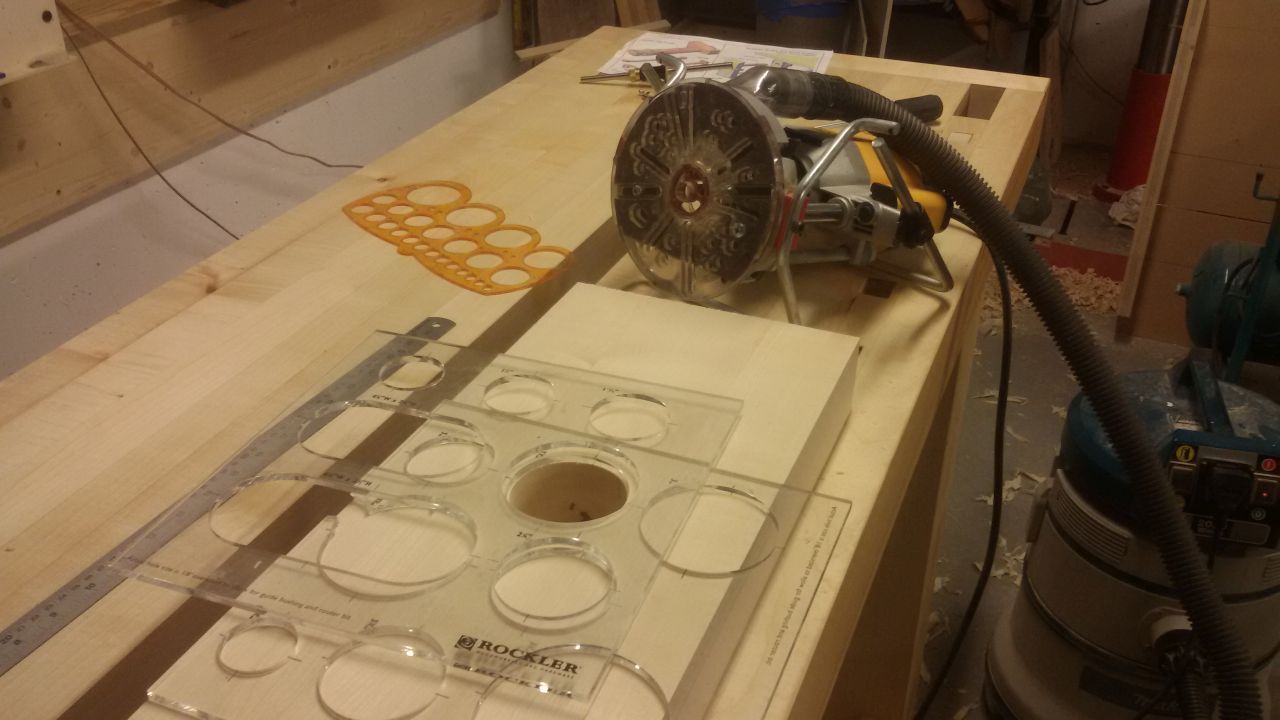
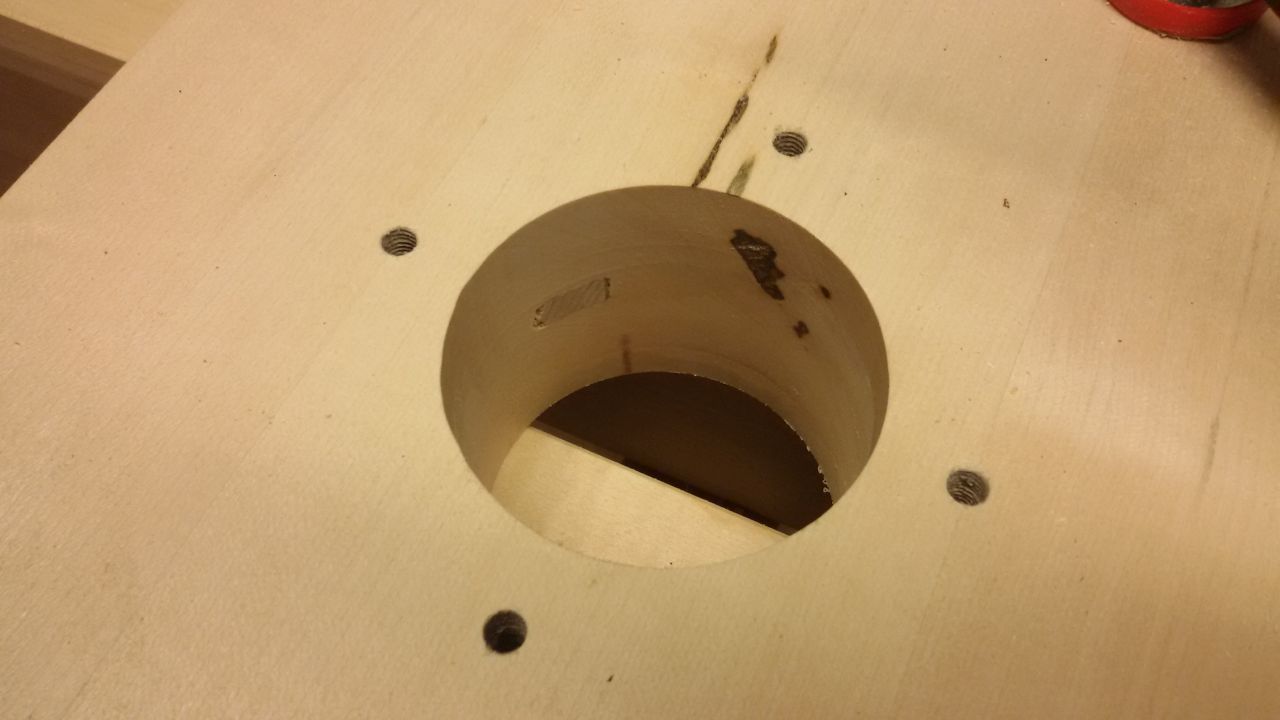
Leg vice was nice, as in tricky. First a 70mm hole in 50mm wood... used two plastic pattern jigs and a bushing guide to cut the first 40mm or so.
Then turned it upside down, and used a 1/2" patter bit to finish. Turned out well.
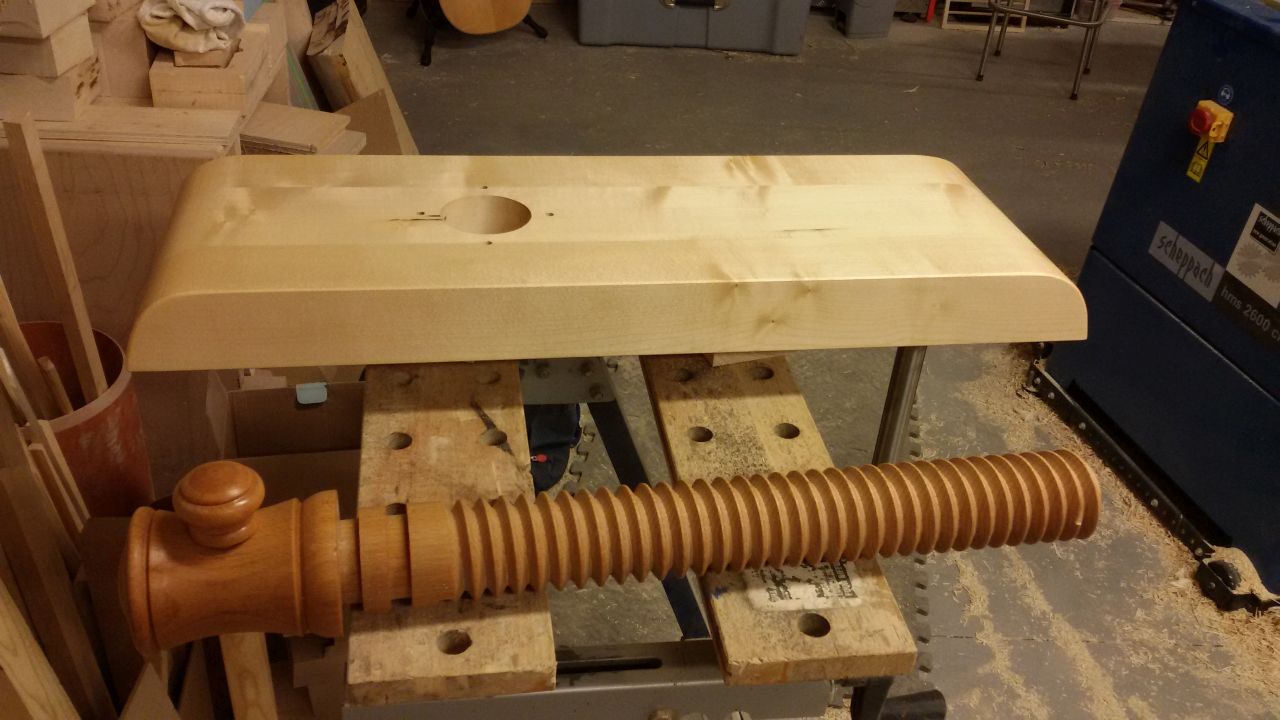
Then the relief curves on the leg vice. Found a spokeshave best for this, took a while mind you.
I tapped for M6 screws for the screw garter.
Fitting was a bit tricky, the distance between holes, plus the angle on the pin, fitting of the garter etc, plus other various slight errors made it tough, and it has to be quite precise.
First I had larger angle at the top instead of bottom.
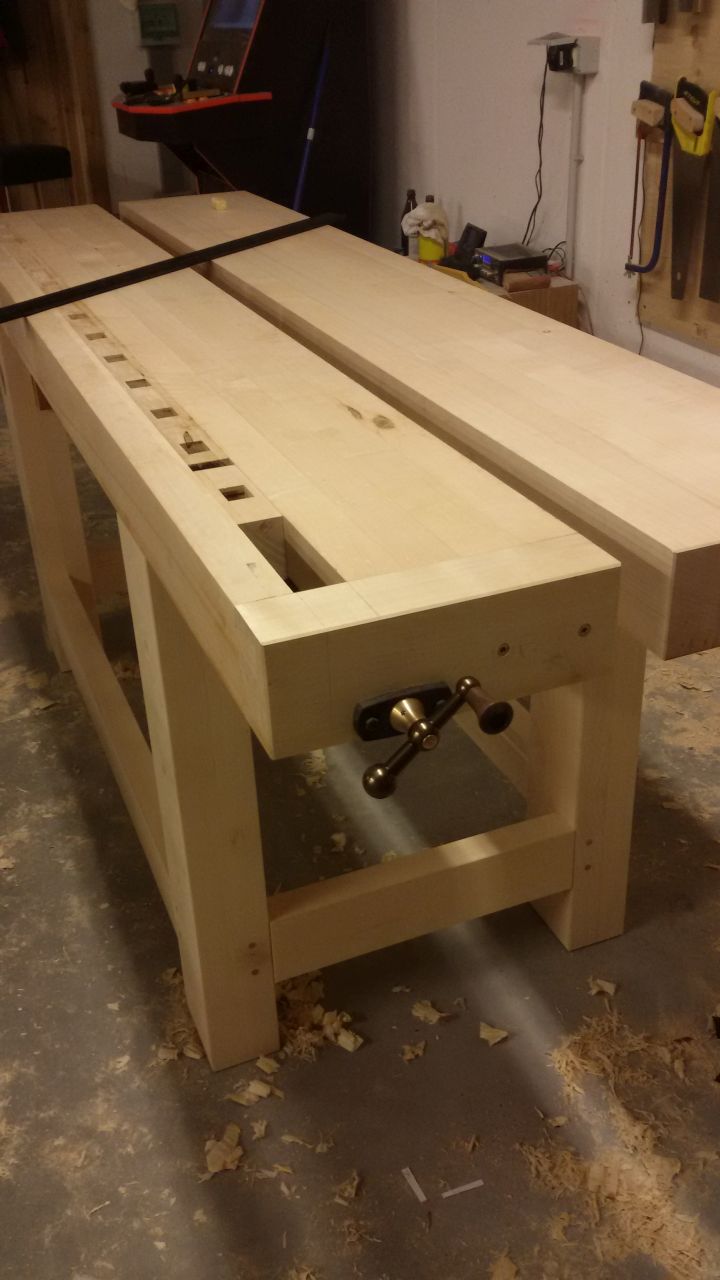
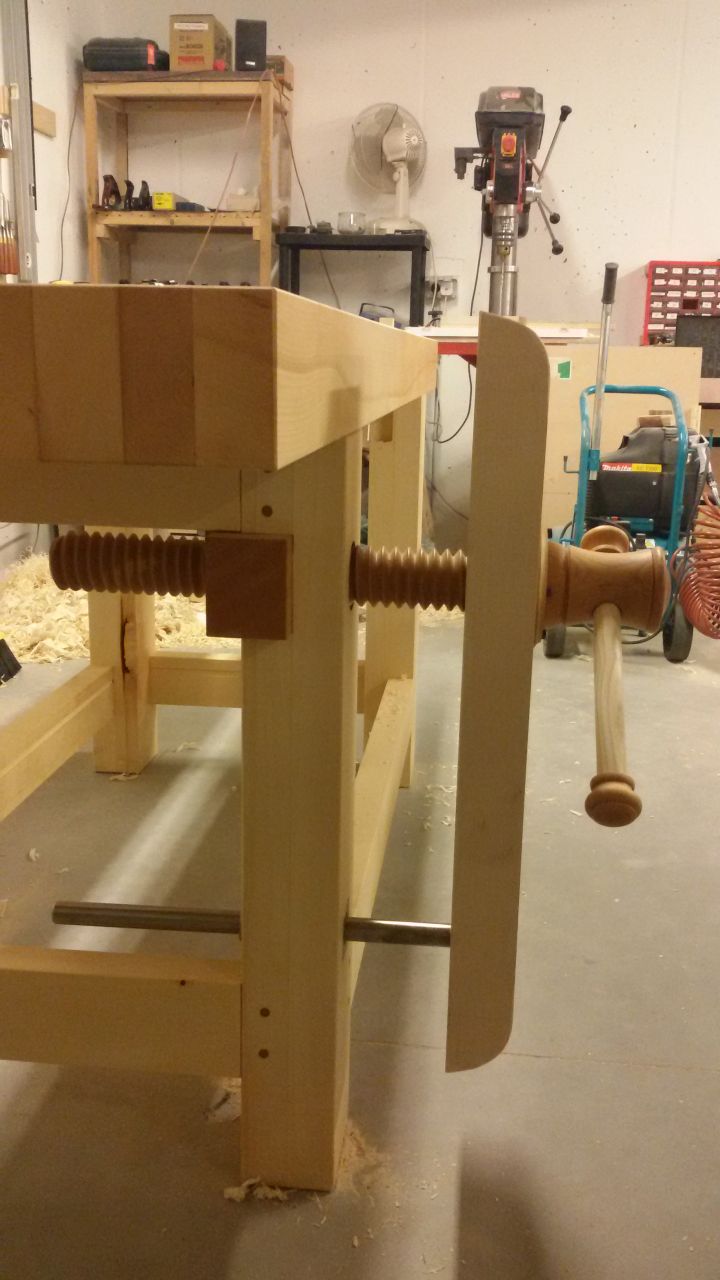
But after a lot of faffing, I got the angle, and the distance correct, and with some wax on the wooden thread, it goes on nicely. Really tight, no pin to insert at the bottom, and a very large capacity.
The action is extremely smooth until I tighten the garter to the vice, however it's smooth enough for easy use. The leg angles out slightly at the top, until it goes tight, and then goes straight. I notice that if you tighten more, it goes in at the bottom, however I will put it to use for a while before any final finessing.
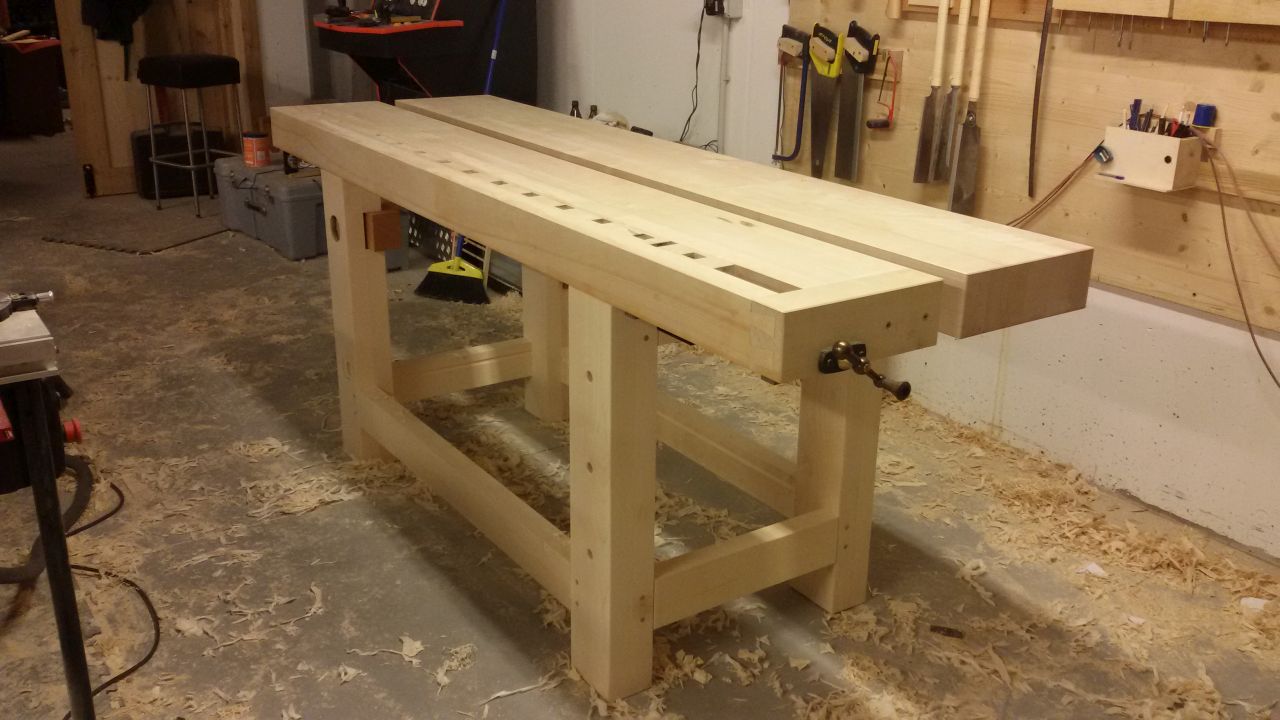
Then I finished the leg vice with the oil / varnish mix, and did the second (and last) coat on the bench.
When the oil has dried off, I shall fit it together.
At that point I will call it done for now.
I still need to do the sliding deadman, although I can't see it getting loads of use, so leaving for now.
Also the centre divider, which again I don't need right now, although I already find the gap useful for clamps.
Round dogholes in the front and back slabs also need to be done, however I have no holdfasts, and with the tragic death of Richard Tomes, I will wait on that and see if anything crops up. Workshop Heaven have some I might go for, but not important right now.
I have grooves ready for a lower shelf, however I don't need the storage, so will also leave for now, I like to get under to fit clamps and sweep (not that you'd tell from pictures)
Also need to attach the leather to the insides of the vice, which I am going to go and do right now!
I will shortly be able to use the bench full on, and it will never look the same again!
It's been one hell of a journey, and SWMBO does not understand why I went on it, expensive and time consuming, however ultimately worth it for a once in a lifetime trip!


")