


Corset
Established Member
After a bit of hiatus building some bird boxes and a toy chest for the son. I have managed to squeeze in some work on the chest.
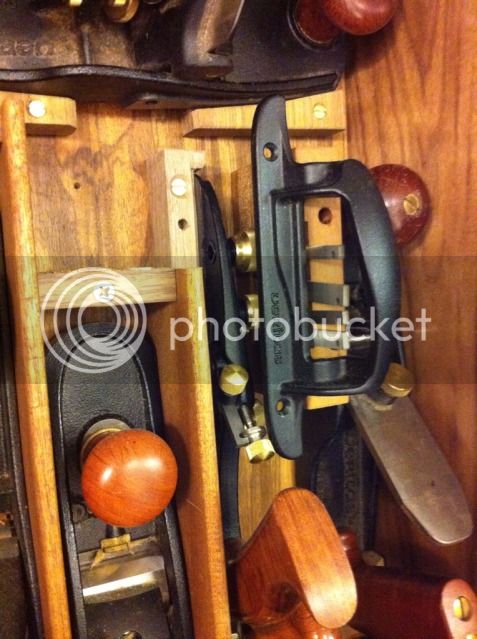
Not a massive amount of work but fiddly as the handles of the planes are very close tolerance.
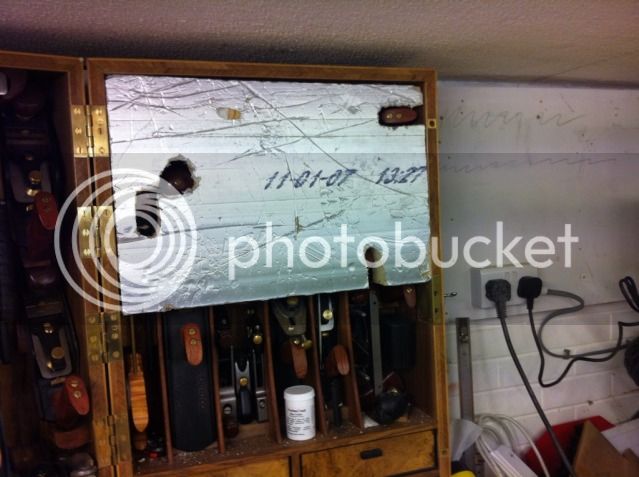
I started with the jointer plane as i had allowed for that to fit in gap below the hammer on the other half of the chest when closed. this would allow me to store some long tools and i have currently stuffed this with some spare tools. Then i added the carcass saw with space for the dovetail saw.
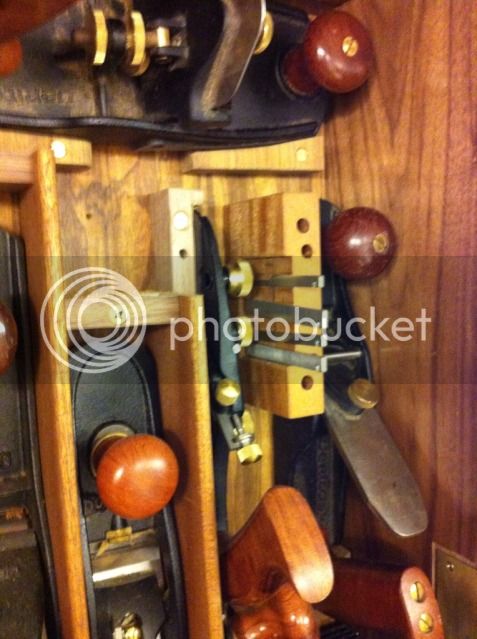
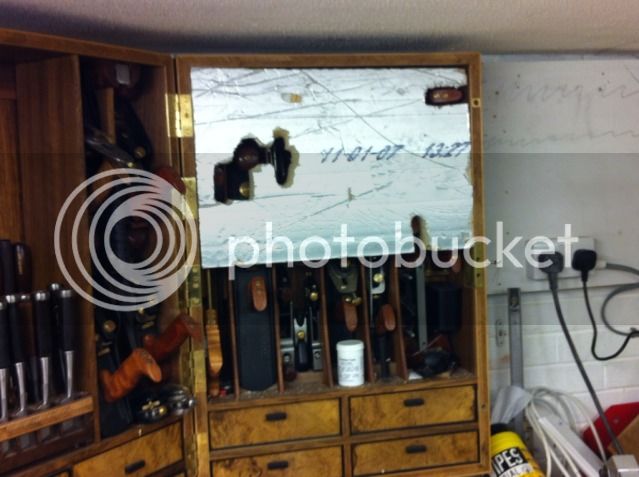
I then rustled up some dividers from some sapele off cuts i had and template cut them with the router, then using a combination of magnets and stops of wood fitted the tools in place. Took a long time but looks straightforward.
The fittings a bit ugly so i have a few bits of trim to stick on to cover the magnets and screws etc.
I have fitted an enclosure heater with safe touch closure to prevent rust on the tools. This will be hidded by a brass grill but i am not sure if i have been to clever and i would have been better with a low voltage light bulb, i am not sure this will stop the problem in the summer? Peoples thoughts on this would be appreciated as i have never used a heater before and one of the primary purpose of the chest is to hold back the rust.
Hope people are enjoying the slow progress.
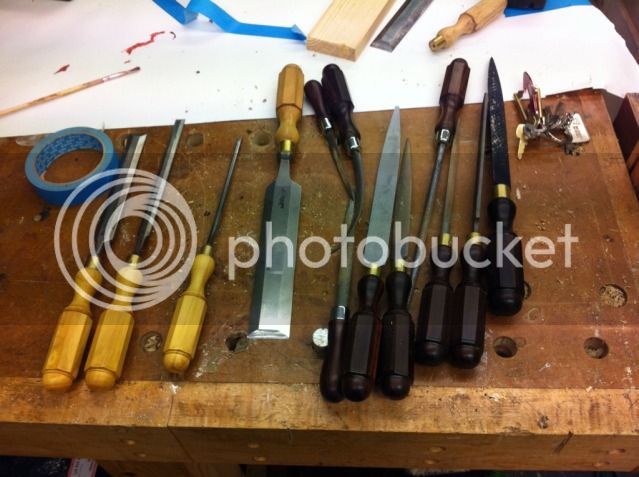
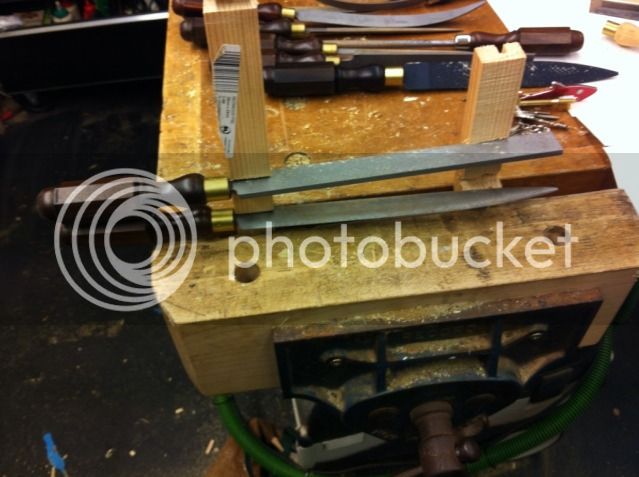
Next fitting the some more planes and the long rasps, paring chisels and measuring tools.
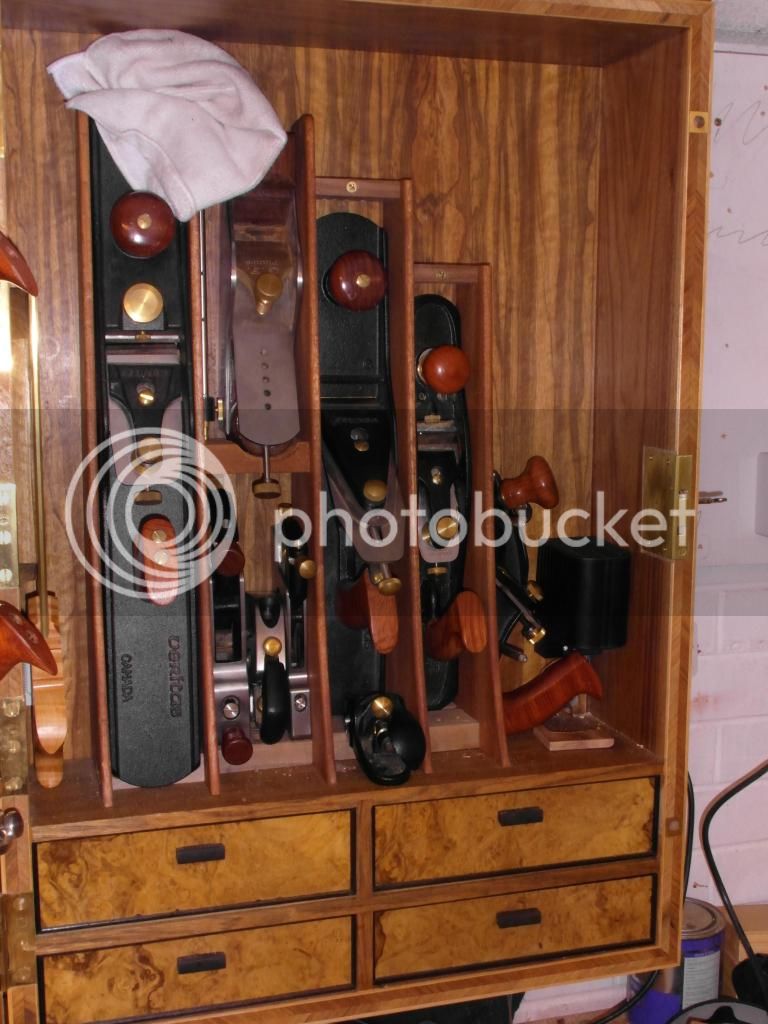
all tools in
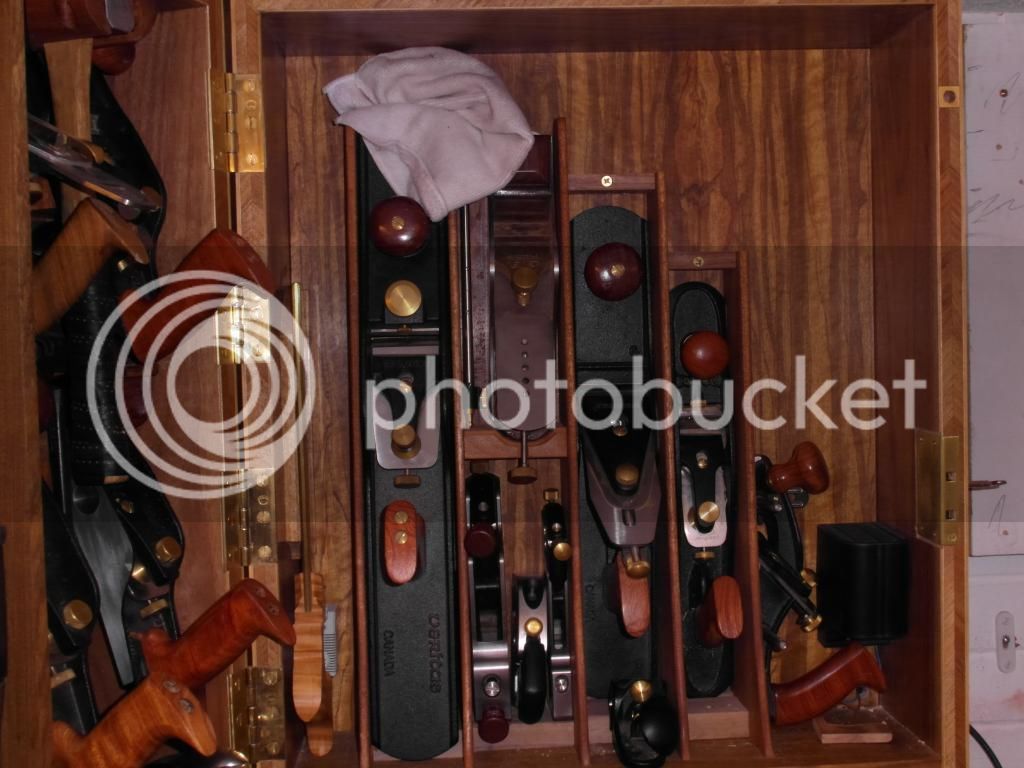
close up
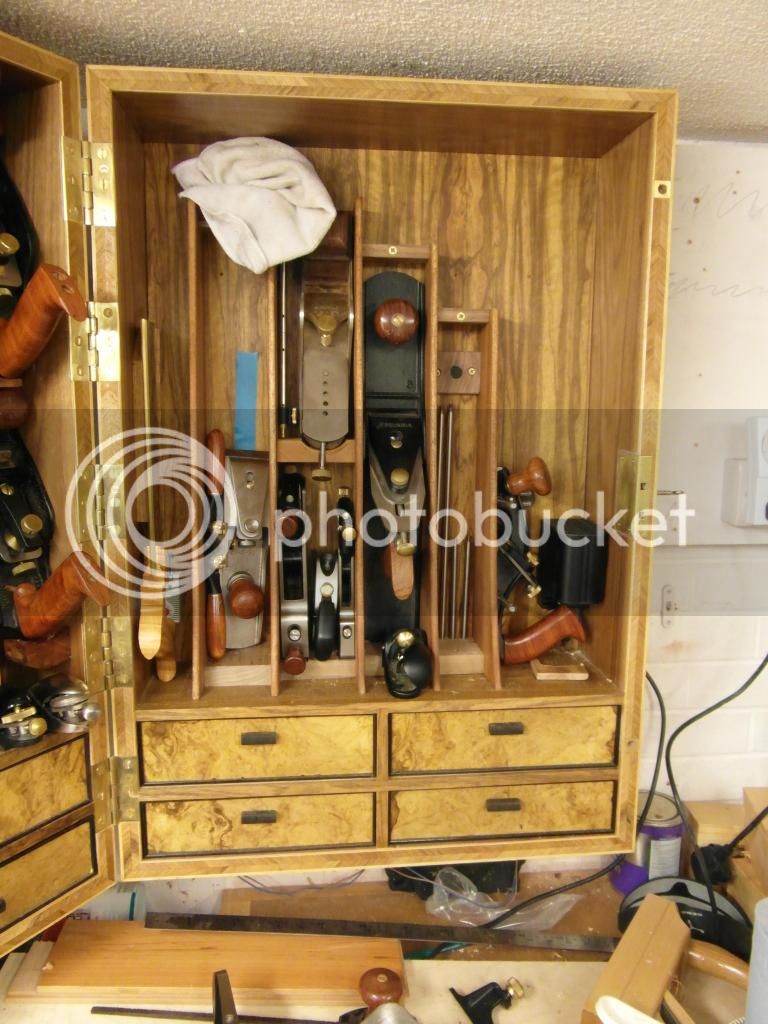
showing some storage behind the planes
Not a massive amount of work but fiddly as the handles of the planes are very close tolerance.
I started with the jointer plane as i had allowed for that to fit in gap below the hammer on the other half of the chest when closed. this would allow me to store some long tools and i have currently stuffed this with some spare tools. Then i added the carcass saw with space for the dovetail saw.
I then rustled up some dividers from some sapele off cuts i had and template cut them with the router, then using a combination of magnets and stops of wood fitted the tools in place. Took a long time but looks straightforward.
The fittings a bit ugly so i have a few bits of trim to stick on to cover the magnets and screws etc.
I have fitted an enclosure heater with safe touch closure to prevent rust on the tools. This will be hidded by a brass grill but i am not sure if i have been to clever and i would have been better with a low voltage light bulb, i am not sure this will stop the problem in the summer? Peoples thoughts on this would be appreciated as i have never used a heater before and one of the primary purpose of the chest is to hold back the rust.
Hope people are enjoying the slow progress.
Next fitting the some more planes and the long rasps, paring chisels and measuring tools.
all tools in
close up
showing some storage behind the planes


")


