Wall Tool Chest (potential WIP)

UKworkshop.co.uk

Help Support UKworkshop.co.uk:

This site may earn a commission from merchant affiliate links, including eBay, Amazon, and others.

Corset

Established Member
Joined
5 Mar 2005
Messages
656
Reaction score
91
Location
Nottingham
After having a bit of a go at banging out some wardrobes which turned out ok'ish. I got some credit from the wife.
IMG_0331.jpg


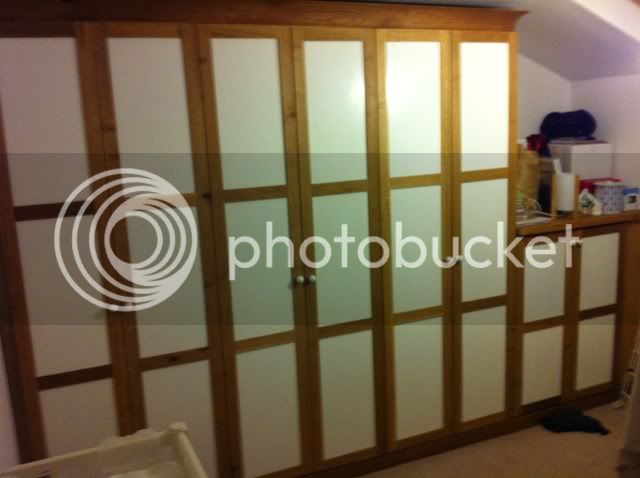
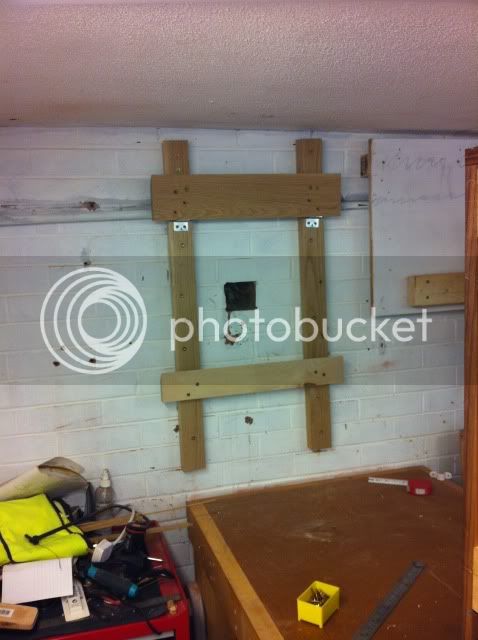
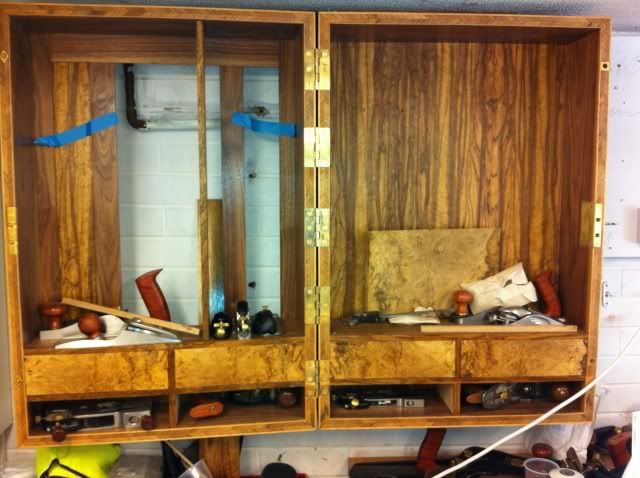
At this point I decided to start work on a wall tool chest. I have for some time kept my tools on a wall mounted plywood box which while crude has worked well for the last couple of years. It stops me losing stuff and with the inclusion of a low voltage bulb stops the rust. However i made it to long and it hardly clears my bench and was a bit ugly. Clearly this is a slightly indulgent project and the old box would work fine however...
I would like at this point to state that i do have too many tools, i don't need half of them and clearly a more talented person would produce more and collect less, but you can't help who you are and I have always loved tool chests and tools. I therefore have ended up with lots of shiny brass and metal things. When i saw the Studley tool chest many years ago I wanted to have a go at making a slightly less impressive one. Here is my attempt.
I am not a great photograper and as my attempts are in two hour evening chunks I have sometimes forgotton to whip out the iphone. I will post a few photos and hope people might be interested in my attempts.
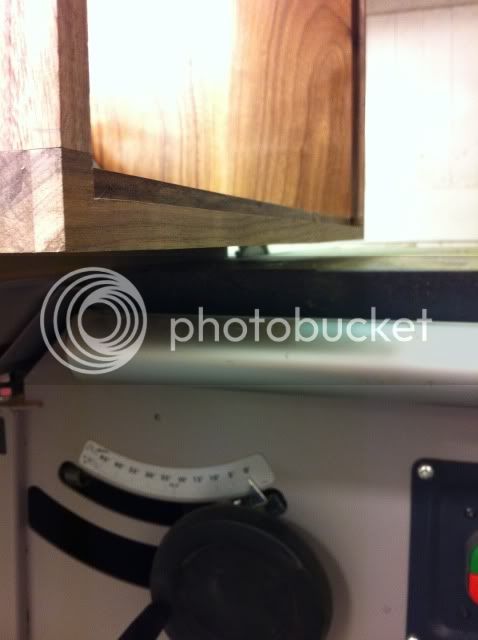
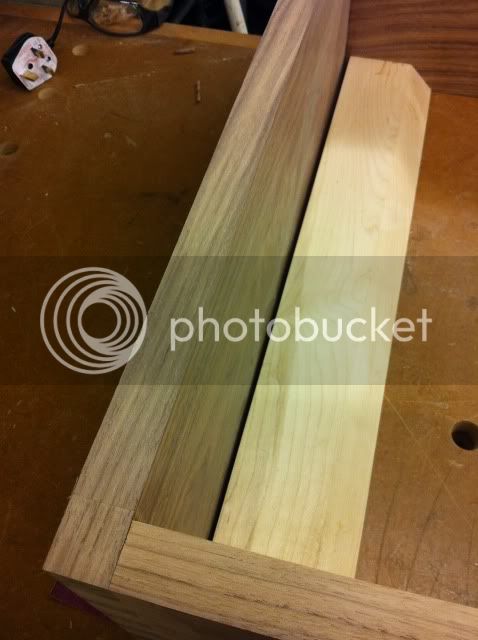
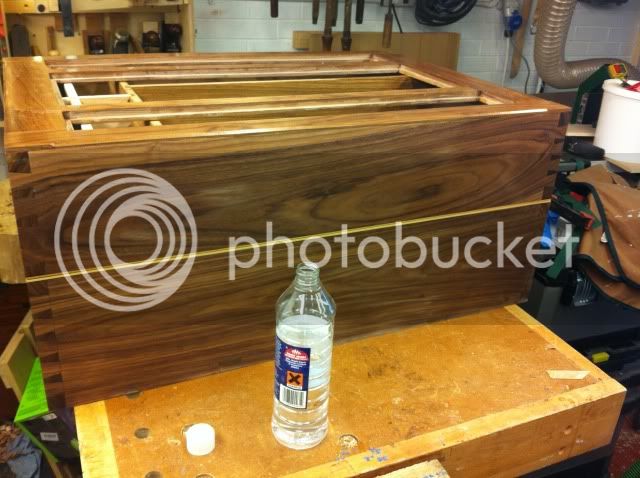
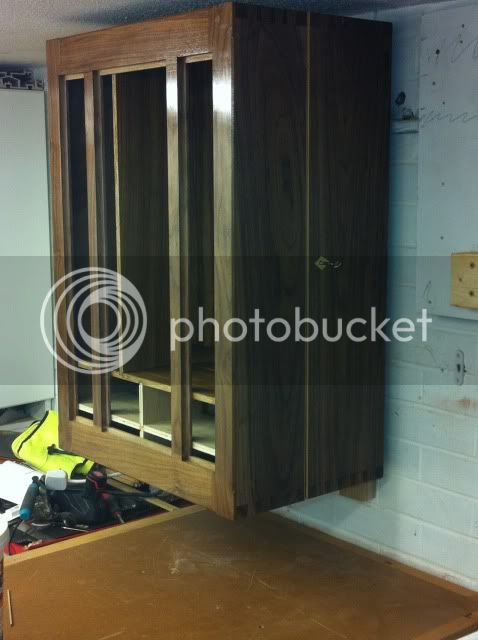
I have had to buy very little wood so far as I have had some black walnut left over form a project so I decided to make the casework from this. Clearly it was rough sawn and i thicknessed it down and jointed it make the carcass.
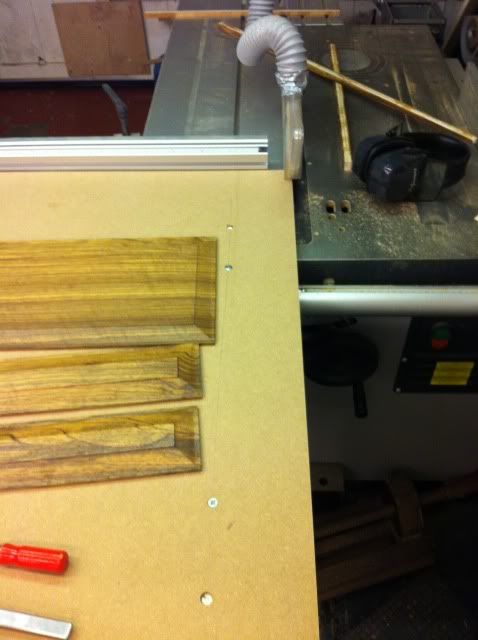
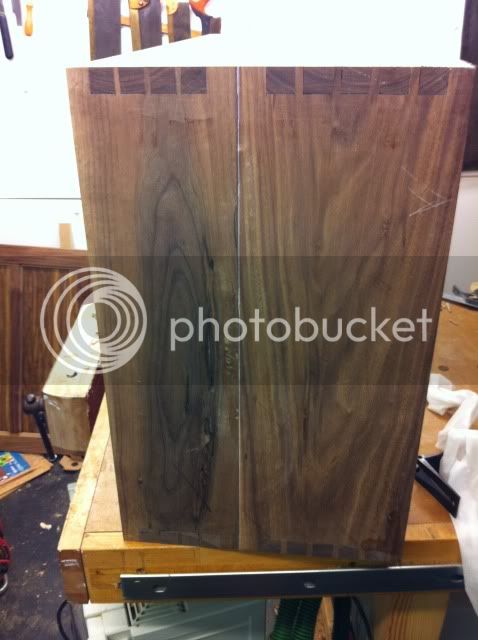
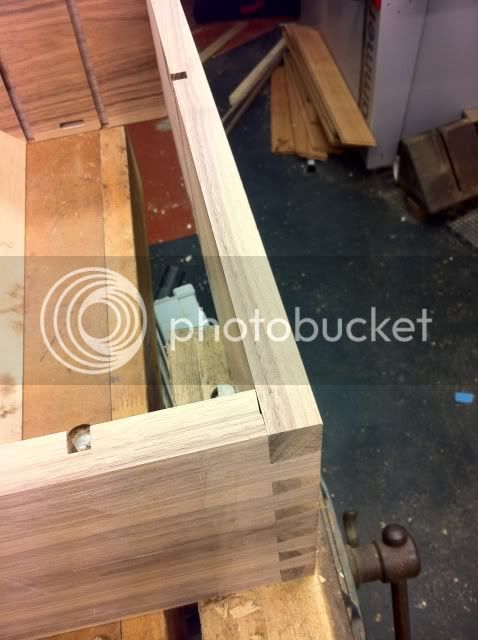
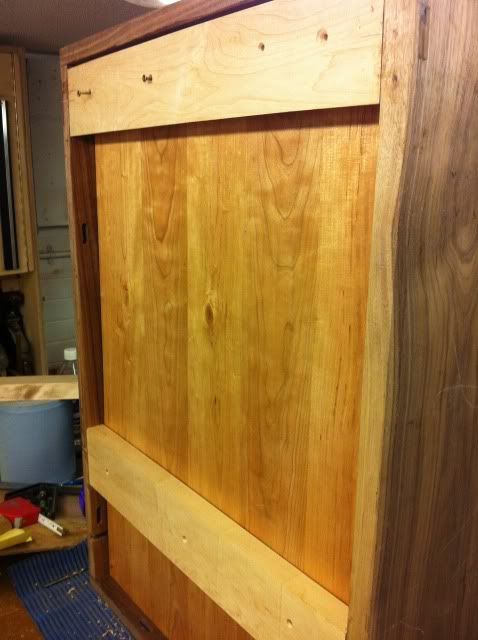
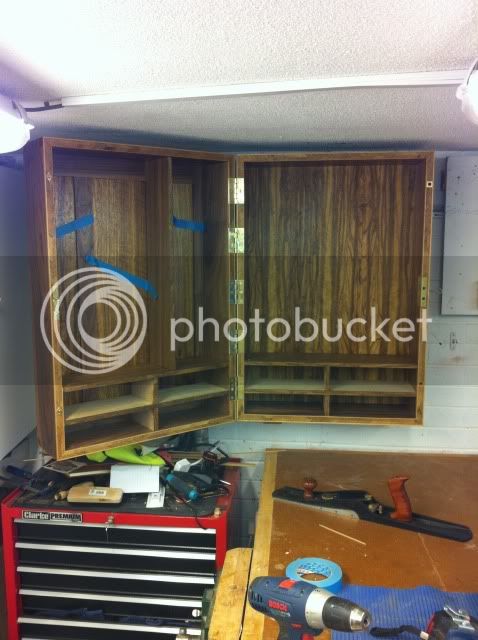
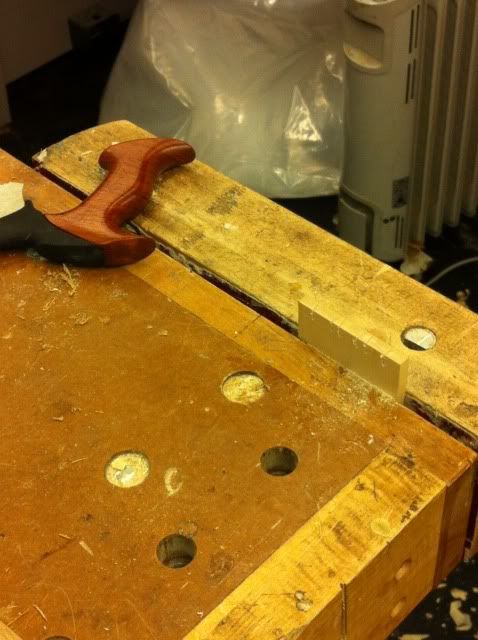
I decided to dovetail the joints for the carcass selecting the best board orientation and allowing for the unit to be cut in half.
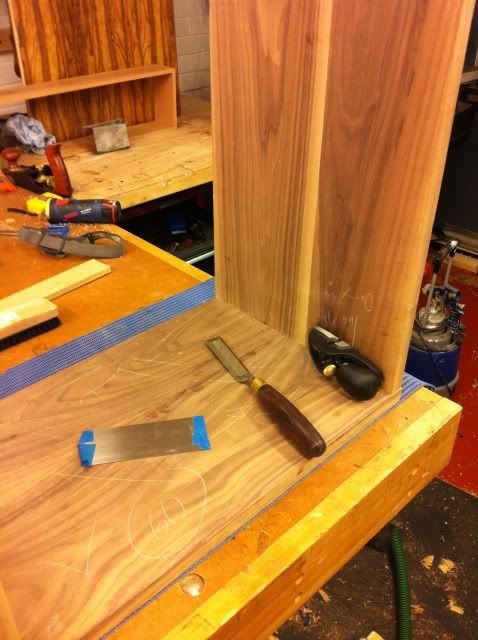
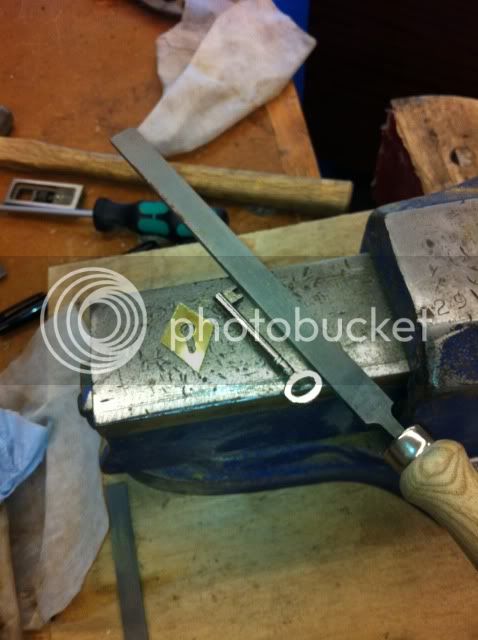
Chisels ahoy
IMG_0291.jpg

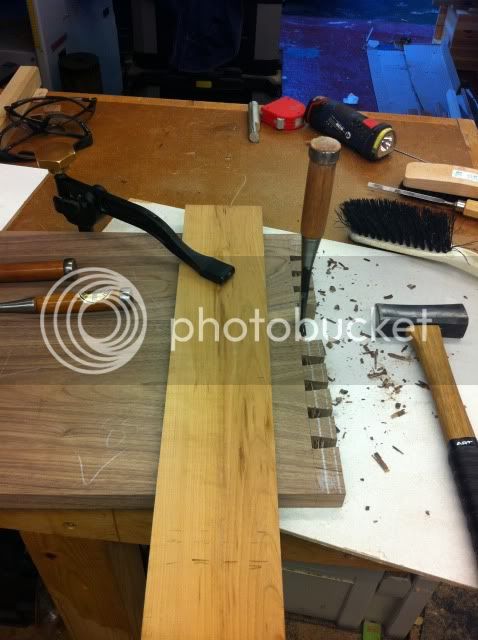
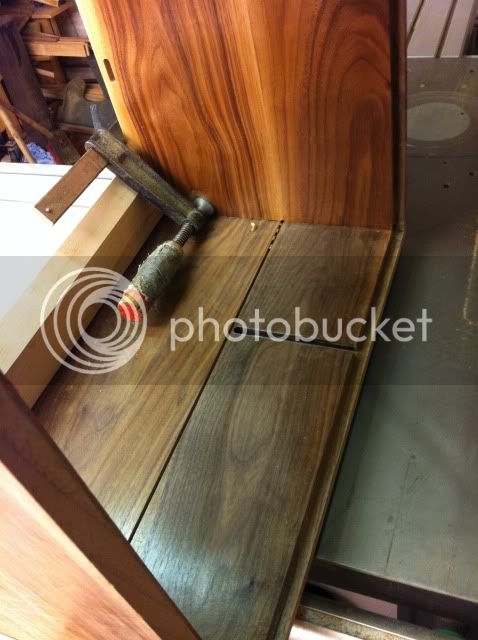
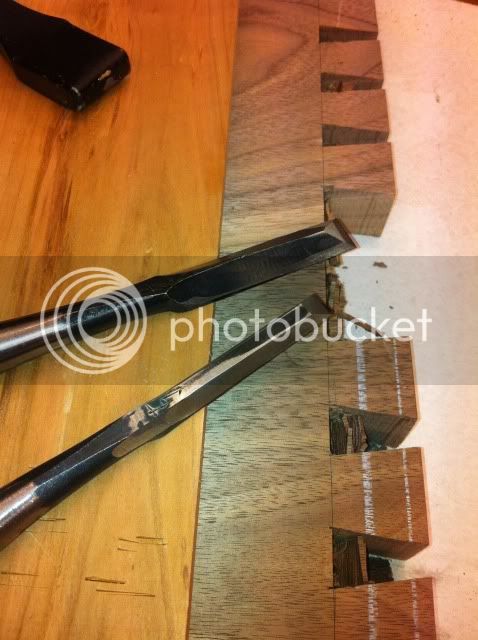
Chopping out waste with some ground back chisels.
IMG_0293.jpg

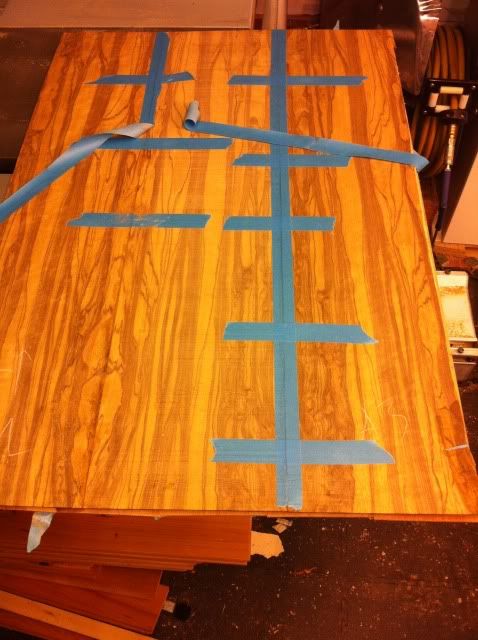
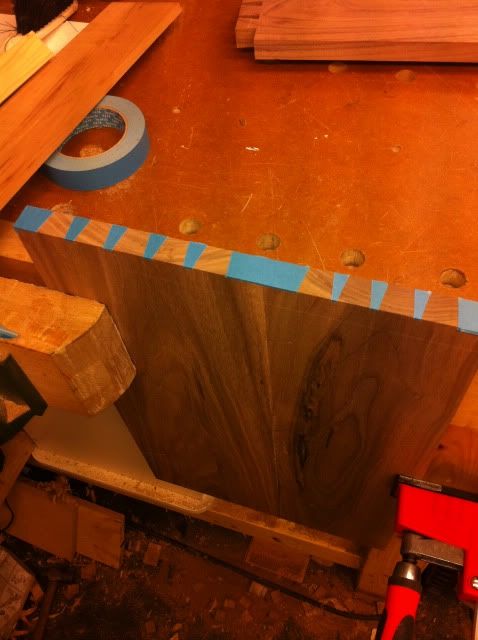
Using some blue tape for visual aid on the pins. Thanks for the tip whoever posted this a while back cracking.
IMG_0294.jpg

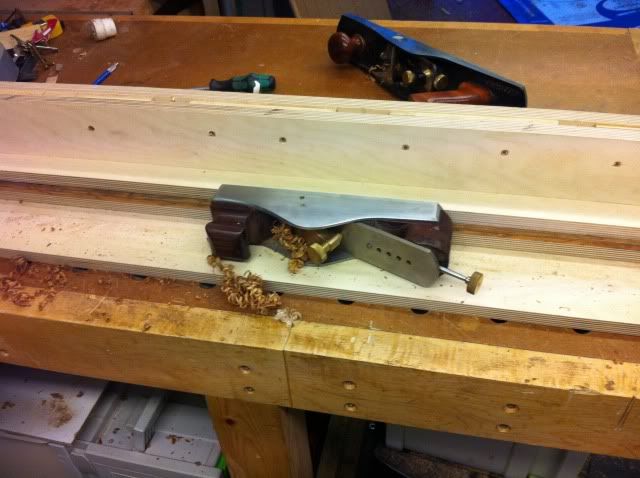
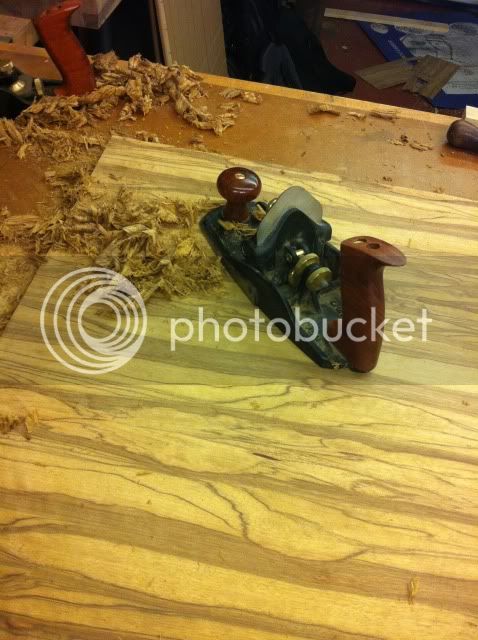
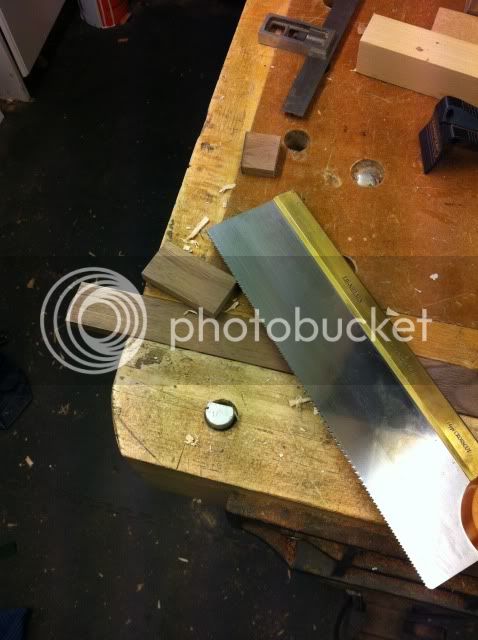
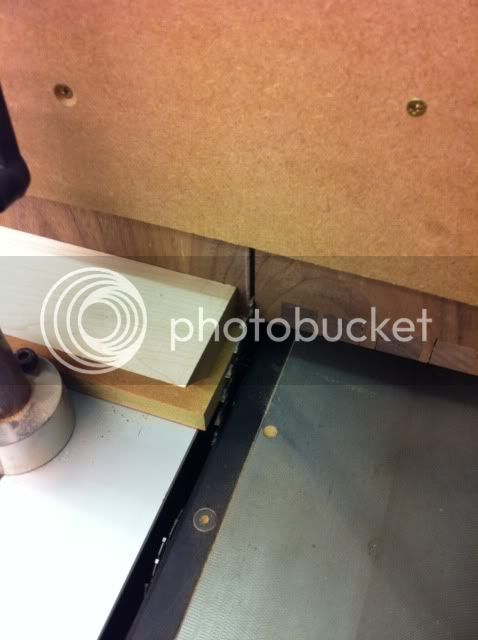
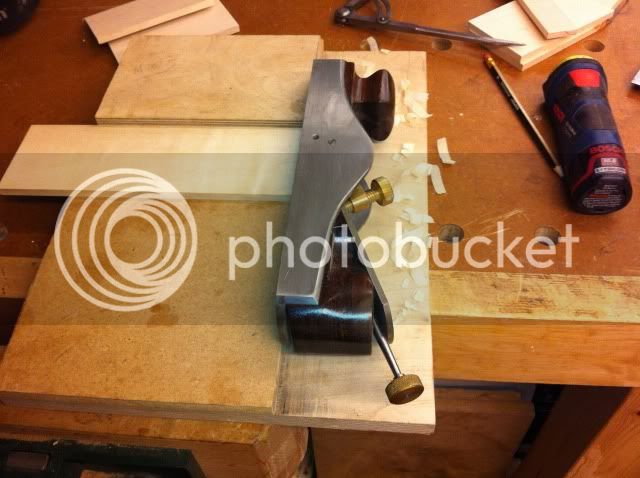
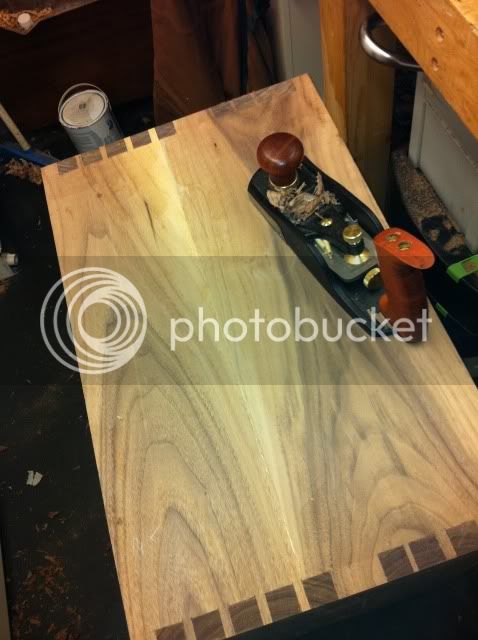
Planing back dovetails, drive by shot of plane. I am hoping to use all the tools on the project that are going in the tools chest
IMG_0303.jpg


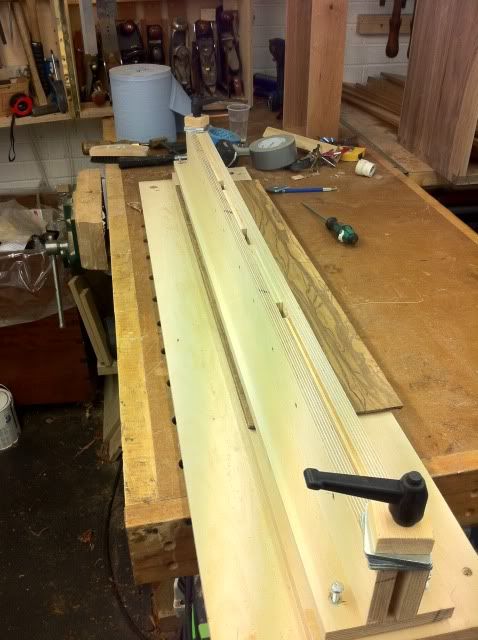
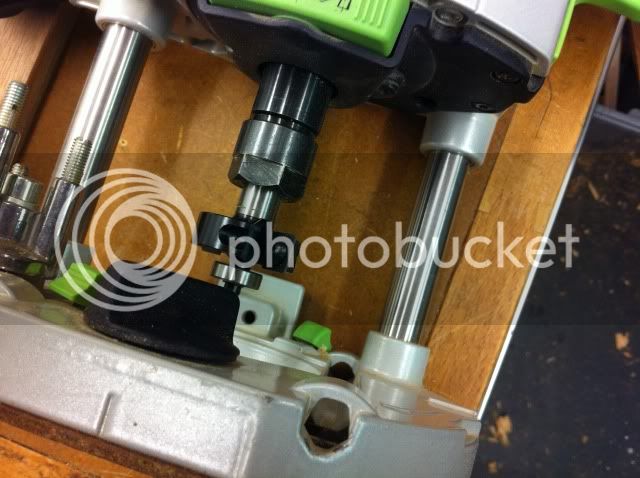
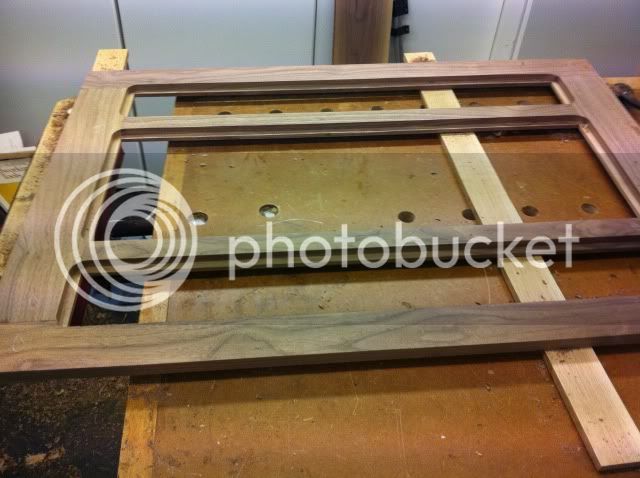
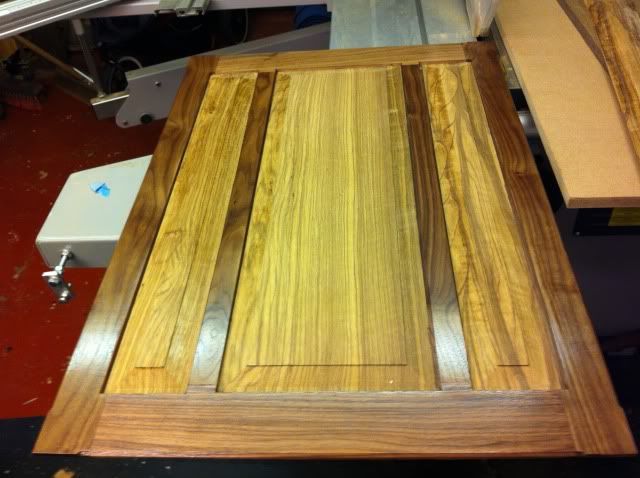
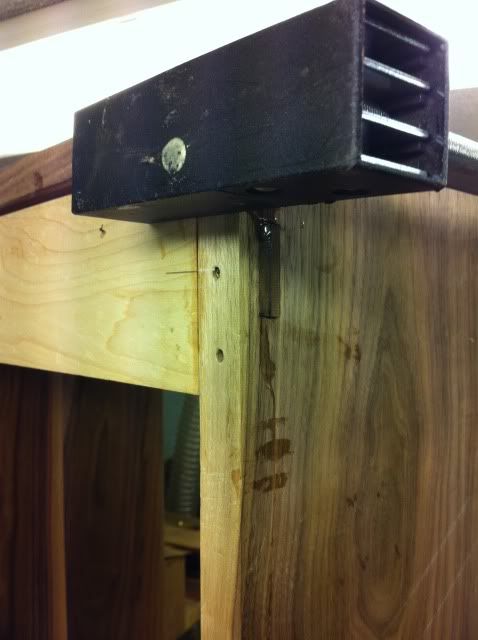
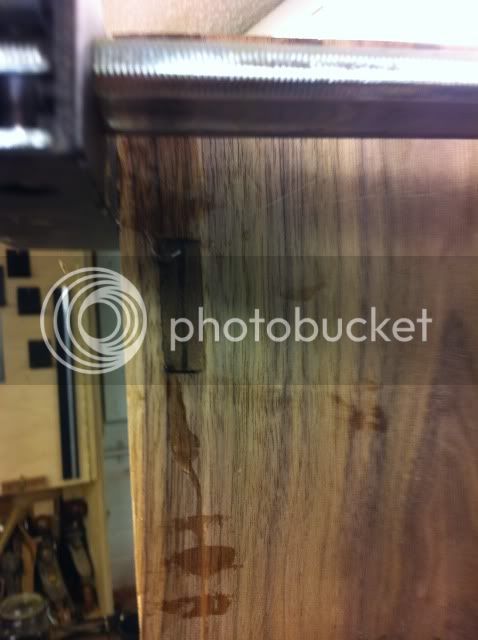
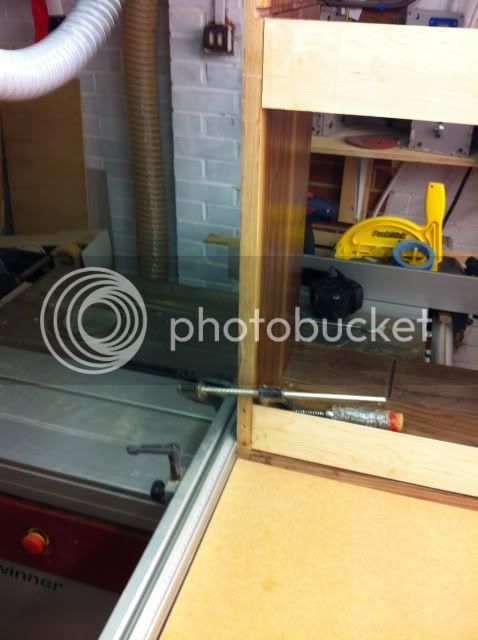
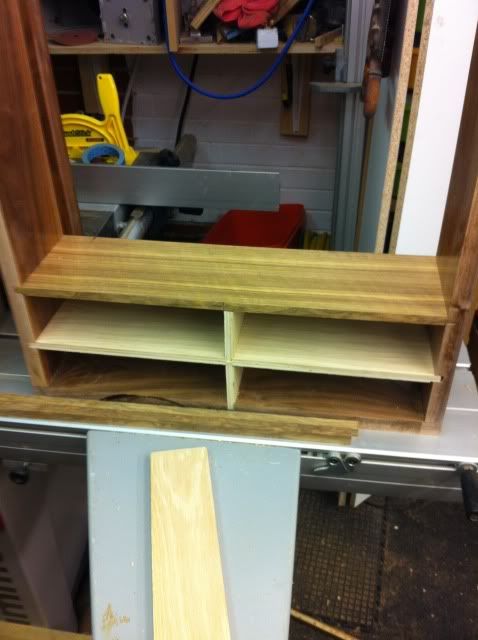
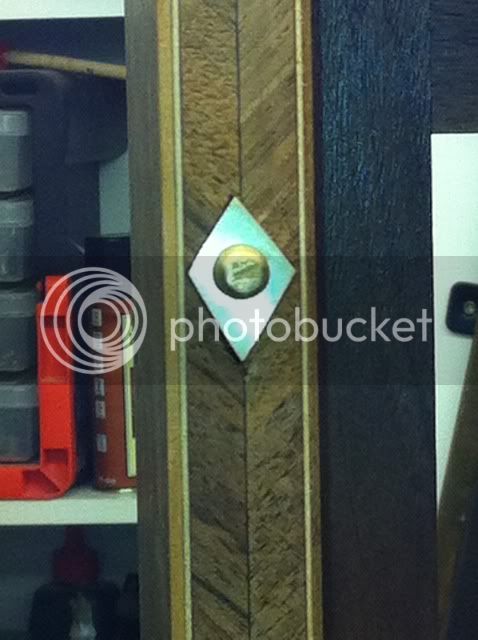
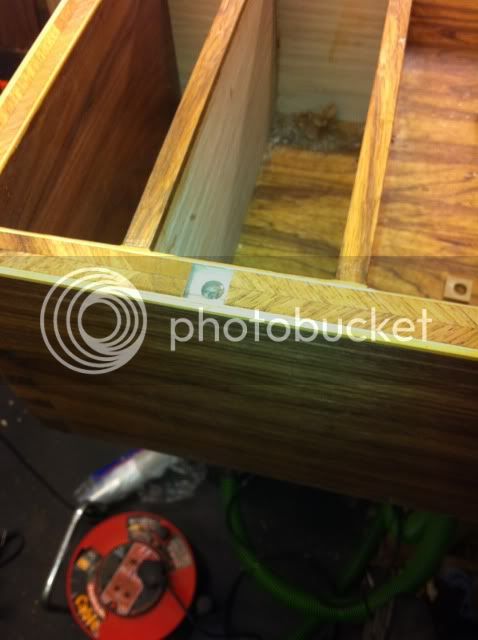
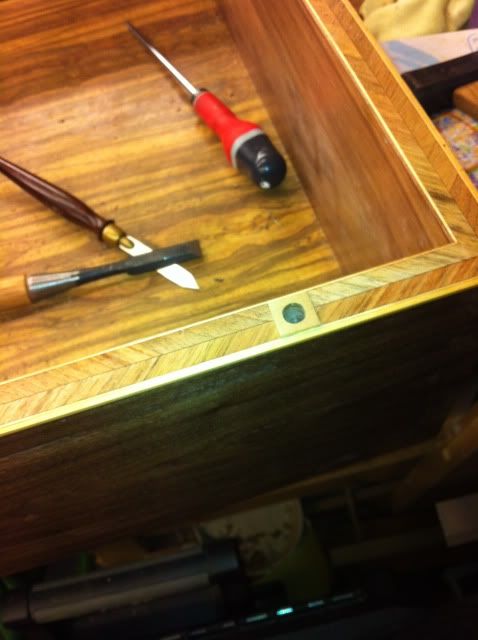
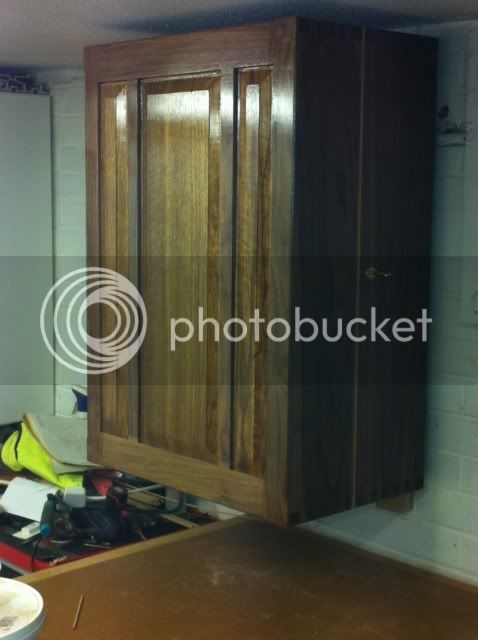
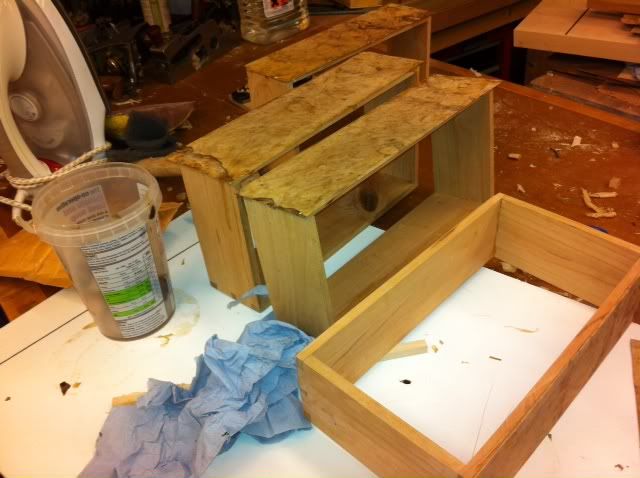
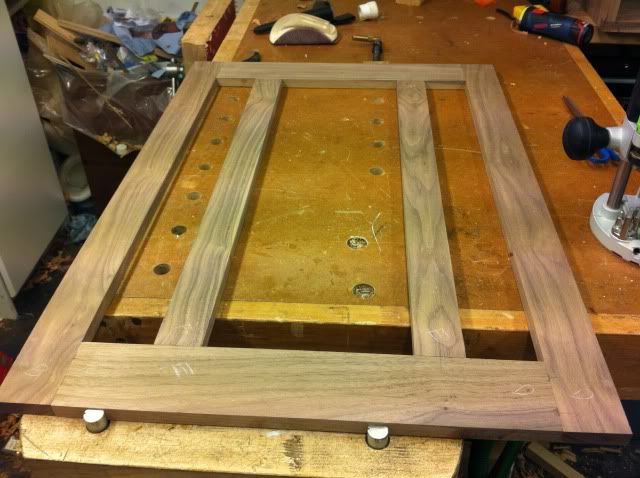
Next I got frame for the front made up, i used some dominos
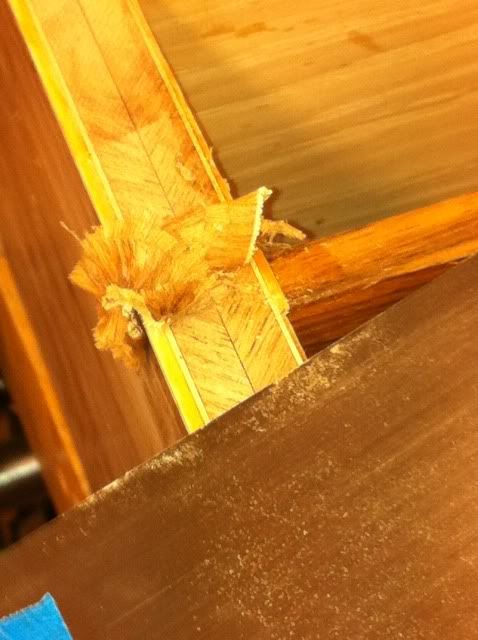
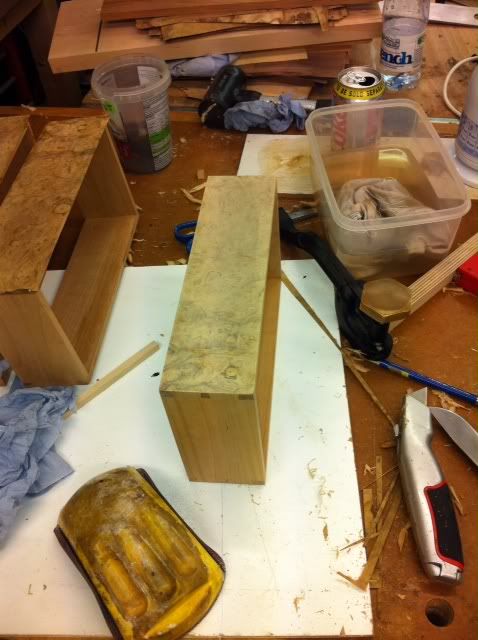
tightjoint

IMG_0341.jpg


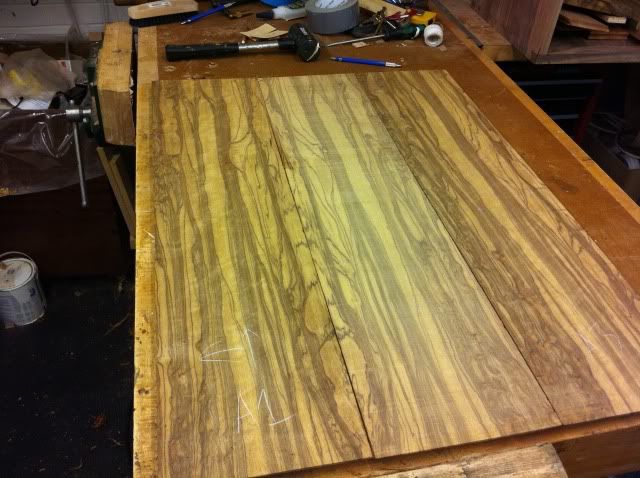
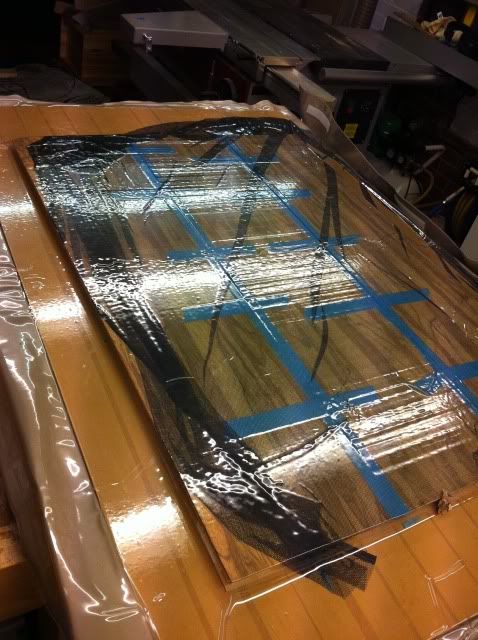
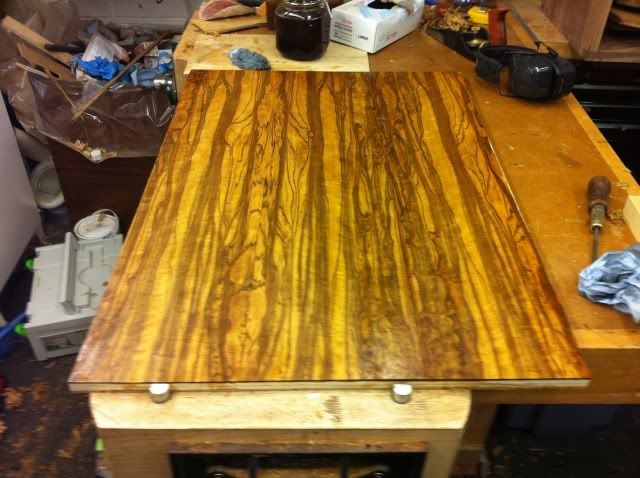
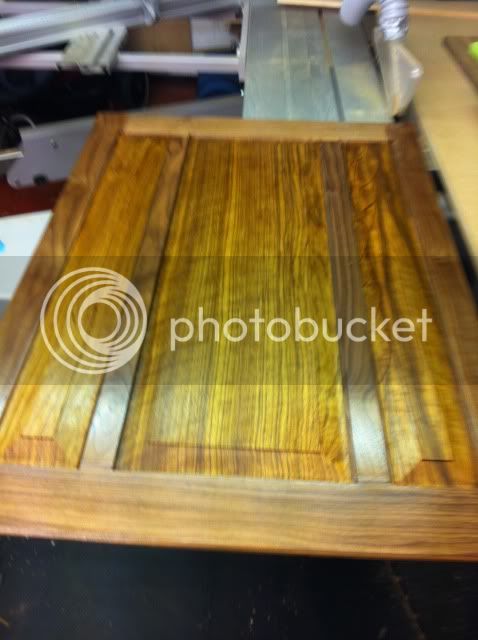
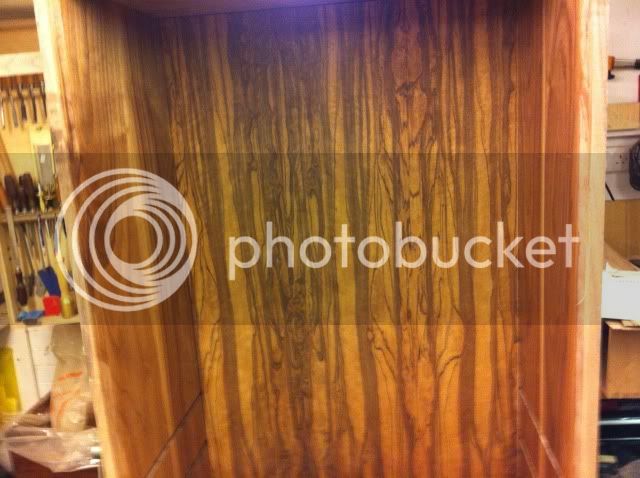
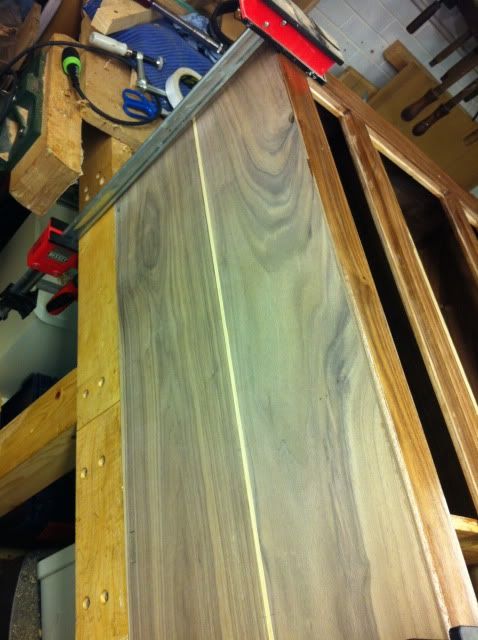
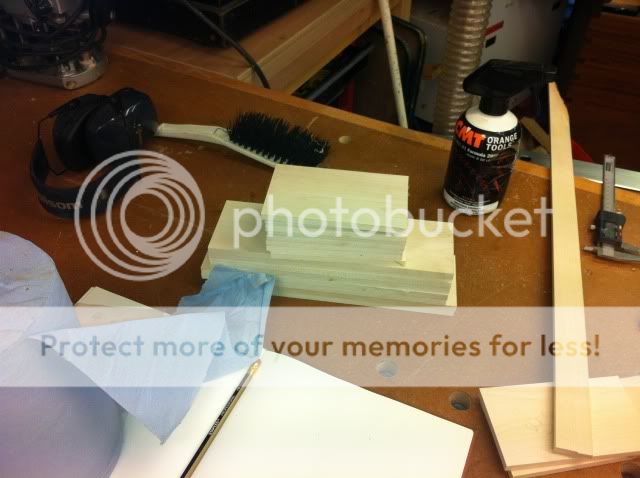
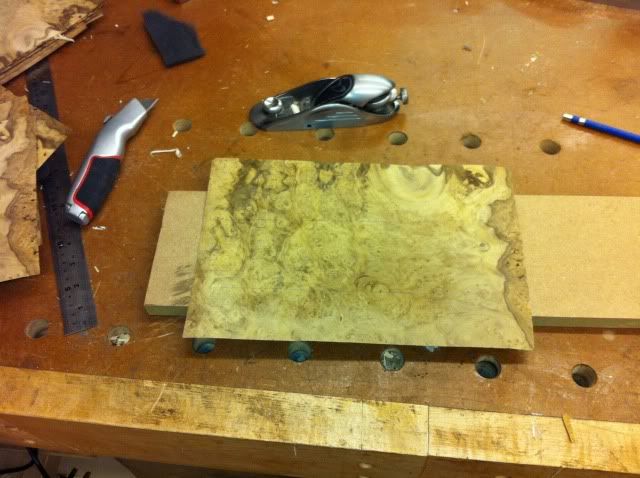
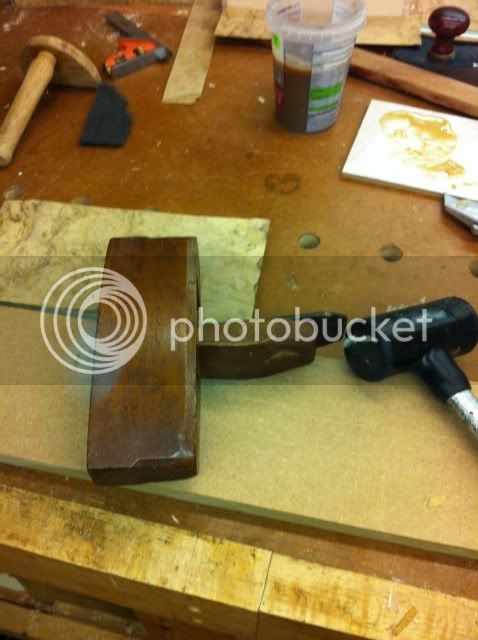
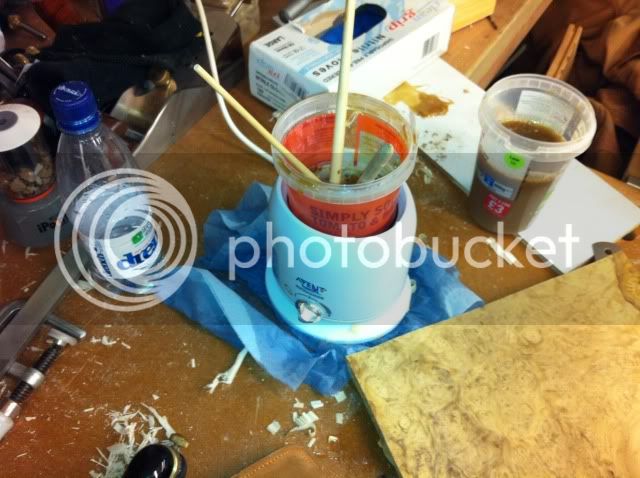
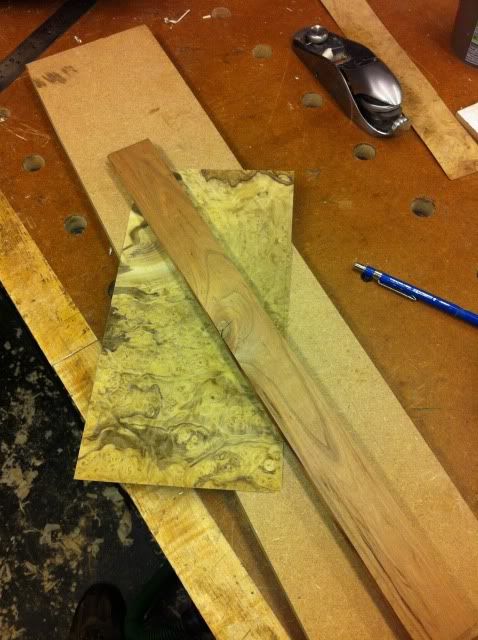
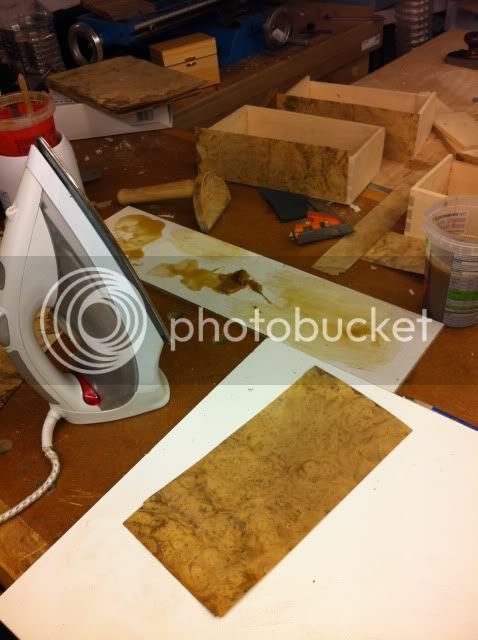
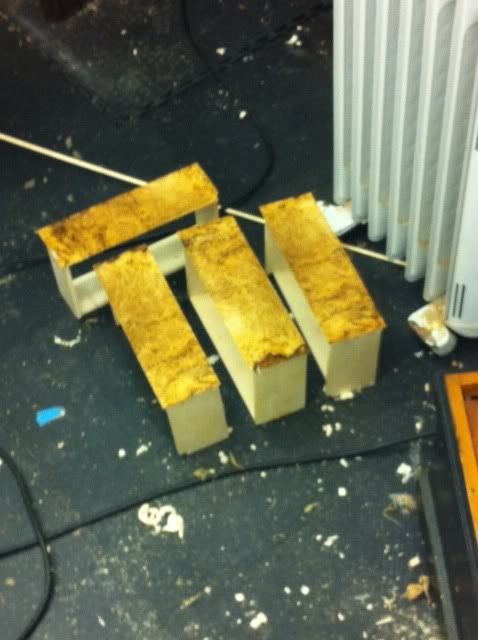
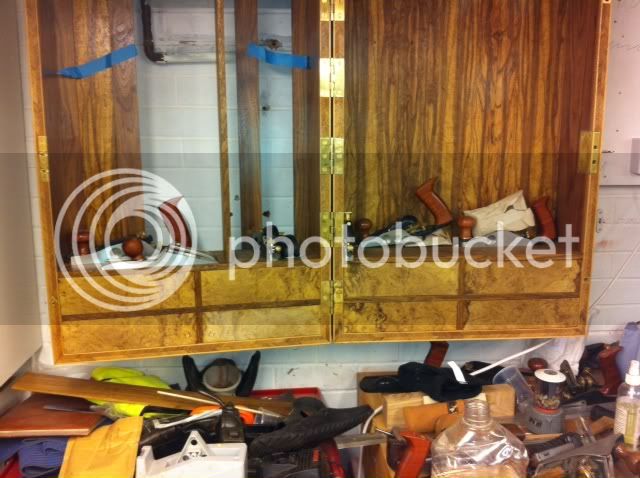
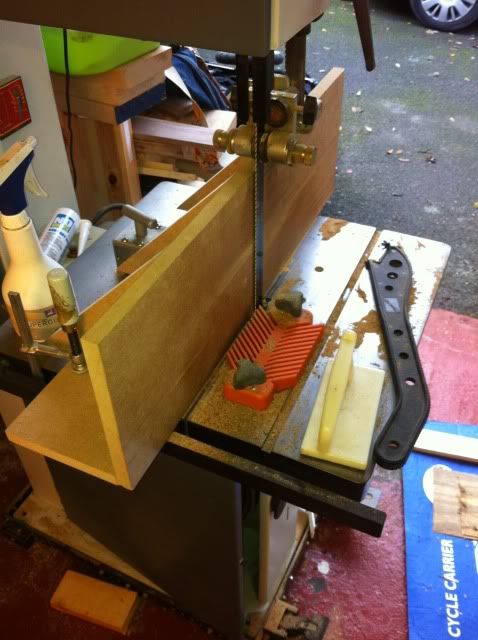
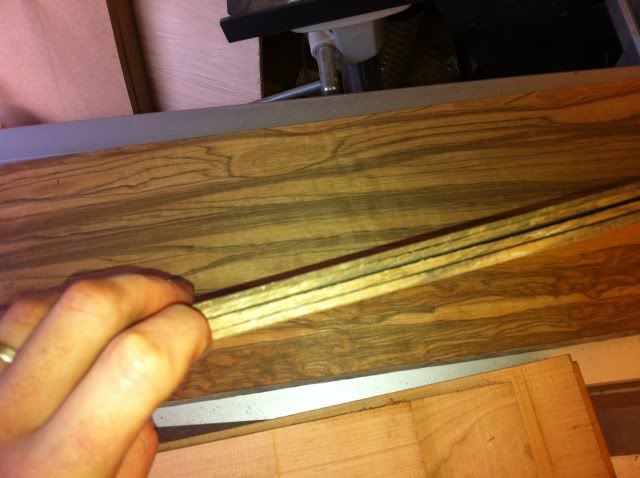
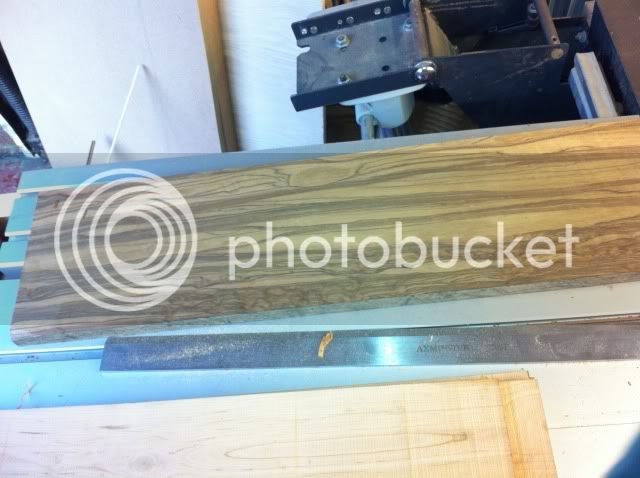
Next i picked up some idiand grey silver wood planks from a tool auction fo 20 quid. no idea what it was but i thought i would veneer with it. it turned out nice from some murky grey planks
IMG_0309.jpg

IMG_0311.jpg

so far so good. i have got more photos as i progress if anyone is interested?
owen
IMG_0313.jpg
 
Continuing.
Veneers layed out for order
IMG_0316.jpg

shooting veneers on ingham shooting board
IMG_0319.jpg

Trimming veneer with mitre plane that i part made a while back it was a kind of kit with the base dovetailed together but not cleaned up. Gerd Fristche kit.
IMG_0321.jpg

venneering in bag to plywood, cherry on the opposite side
IMG_0322.jpg

looking ok
IMG_0323.jpg

trimming
IMG_0324.jpg

levelling with a toothing plane
IMG_0326.jpg

scraping
IMG_0327.jpg

nice backing board for the chest done with a bit of oil! nice bit of wood
IMG_0328.jpg
 
Continuing
popped a rebate cutter in the router.
IMG_0342.jpg

Cut out the rebate for the panels.

IMG_0343.jpg

Next i cleaned up the inside of the cabinet with some scraping chiseling.
IMG_0344.jpg


I used some spare wood from the indian grey silverwood to make some panels on the router table. I forgot to take any photos at this stage but it all was quite difficult running the panel raising cutter on the narrow panels. In the end in order to maintain safety I had to rig up a special carrier block to stop the cutter being tipped into. I wished I had just set up the spindle moulder. Teach me to be lazy!
IMG_0363.jpg

loose fitting
IMG_0349.jpg

bit of oil
IMG_0354.jpg

I then cut the back panel to size and test fitted it. I decided to loose fit it for ease of removal and space saving. I also routed out the grooves for the shelves which are to be fitted later
IMG_0362.jpg

Next I cut out some mortice holes for the back french cleats with the domino and then cut the cleats and fitted some loose tenons with epoxy. I also had to make a slight repair.
IMG_0366.jpg

IMG_0367.jpg

IMG_0368.jpg
 
Next I had to go through the slightly scary task of parting the box. I had thought about using a hand saw and skill. However to much work had been done to rely on my own talent. so i bolted some mdf to my sliding table. Cut through to create a zero clearance. I then remove the riving knife and bolted the box to the table with it clamped to the line of the cut with some clamps. Gingerly i pushed the box through. As i was a good distance and verything bolted down it went very easily and safely as i was at least a 1m from the balde and nothing could drop off. I screwed some plates of plywood to the top and bottop for the final legth cuts so the box would not fall apart or trap the blade.
IMG_0369.jpg

IMG_0370.jpg

IMG_0372.jpg

IMG_0373.jpg

IMG_0375.jpg


finish was good enought to be cleaned up with few passes of the plane
IMG_0378.jpg

IMG_0379.jpg


hecking the fit
IMG_0382.jpg

The back board fitted . This will help spread the weight of the mortices and help sqare up the frame.
IMG_0407.jpg
 
almost upto date now sorry its a big post!
I used some spare plys and some indian grey silverwood to make some shelves and drawer dividers. I glued it in with animal glue so i could reverse it if all went wrong.
IMG_0411.jpg


I then seemed to have been in a photographic hole.. Jumping forward i have stuck inlay to the front to provide a little decoration. It's boxwood and crosbanded walnut. This is stuck on and scraped off to provide a good finish. I avoided the sander incase it contaminanted the lighter coloured wood.

IMG_0548.jpg

IMG_0549.jpg

IMG_0550.jpg


I then fitted the hinges ( i will get some photos) this was fun as i used a chisel and a router but the router slipped. I ended up using the router plane in the end and it worked well. I bought the hinges from house of brass in nottingham and they were excellant and heavy duty and extruded (is that right?) I also managed to align all the barss screw heads which should appeal to the retentive among you. I duly waxed the tread and used a metal screw to prep the way. Boring stressful and time consuming.
I realised at this point that no matter what happened with hinges the box would sag a little. Looking at the studley tool chest a i realised
that anti sag pins had been put in by studley. So I got some brass plate and drilled and filled out some plates by hand to make some vague diamond shapes. I felt that having a pillar drill would have been handy. I am now a lot better with the file though.
IMG_0568.jpg

To make the pins i got some 8mm rod and cut it long, chucked it up in a drill and sanded it to a dome shape. In order to drill the hole straight I used a dowel jig. The pin went in fine with some epoxy and i cut in the brass inlay.
IMG_0569.jpg

IMG_0570.jpg

IMG_0571.jpg


So I have fitted a lock and am hoping to hang on the wall tommorrow. I will post an update. Any comments welcome
Owen
 
I had a very successful three hours on the weekend and got the chest on the wall. It was a bit of a heave on my own however a good heave and it was up.
I started off by filing the lock escutcheon a simple diamond


IMG_0587.jpg


I then set up a simple but sturdy frame to put the french cleat on. This took a while but i could hang and bounce on it and it would not move so i think i am safe upto 100kg.
IMG_0588.jpg


Heaved it up.

IMG_0591.jpg


Although its got the panels in the beading is yet to be moulded up. But i could not resist having a look.

IMG_0592.jpg

IMG_0594.jpg


So after the beading the next big question is do i make up the drawers for the 8 drawer holes at the bottom or do I start doing the 3D french fitting and racking that is required to fit all the tooling in? Input welcome.
Owen
 
Continuing the work that I have started I have had a few weeks off but over the last few days I have managed to get some output.
I decided to start the drawers next and have a go at hide veneeering.
I have made a conscious effort on this project to try and use up old scraps and not get too obssesed with minor mistakes. Which is probably a good thing! I am keen to get this done and I think its easy on a project to get focused on the details and never finish the project.
So i first used some scarp sycamore and thicknessed it down to around 10mm. I cut it to length and fine tuned with the shooting boards for the drawers. However i realised later on i have left no space for handles so I will have to think about that.
I whacked out some dovetail. They are not the finest but I struggle with chiseling out small tails due to lack of small chisels and patience. i think they probably reflect my skill level so I think its fair to have them as i can always redo the drawers when I get better. I think it took me around an 1hr a drawer as i tried to make one a night. I prefer to make the sides proud of the pins and plane them for a snug fit in the housing. I find that if I match the front drawer piece tightt and the pins are pround the drawer ends up sloppy. I expect that is just me being rubbish? I also make the back piece of the drawer a mm or so narrower in width than the fron to make fitting easier.
I fitted them together with hide glue which is quite quick to set in my cold garage so the focus is on. They went together saw cut to saw cut with little paring but they are a touch rustic.
After fitting them carefully ( as best as i could) I found some veneer offcuts I had bought and choose some interesting wood. After watching a clip on you tube (hand veneering one and two) very useful. I got started. I keyed the fronts with a toothing plane (very handy i seem to use it a lot. I then wetted the burr veneer, I am not sure what it is so ID would be gratefully received. After a quick practice I got cracked on.
|I cut the veneers oversize with a stanley knife and a straight edge and then wetted and iron the burrs. I then lathered the drawer fronts with glue. Hopefully the glue is the right consistancy and pressed on the veneer. I then left them for 20 mins and pressed the bubbles down again with some hot iron. I then trimmed them back with a knife and a plane and removed the excess glue. I then slotted them back in the cabinet. while they still need the cock beading/beading not sure what it will be and the base I am quite happy. A few gaps but not to bad.
I really enjoyed the veneering it was a first time for me and a lot of fun. Just the next four drawers and bases to do, then the cockbeading and then some handles.
I would be grateful for any input that people may have about the box. Have I done this right?
IMG_0608-Copy.jpg
wood cut to size
IMG_0610-Copy.jpg
shooting to length
IMG_0649-Copy.jpg
cutting tails forgot my iphone in garage for a bit
IMG_0652-Copy.jpg
the veneer
IMG_0655-Copy.jpg
toothing practise substrate
IMG_0653-Copy.jpg
glue pot/baby bottle warmer thanks for that tip whome ever i saw on a site.
IMG_0654-Copy.jpg
cutting veneer
IMG_0656-Copy.jpg
ironing veneer /getting ready
IMG_0657.jpg
stuck on drying
IMG_0659.jpg
trimmed on ready to fit
IMG_0660.jpg
FITTED, ish !
 
Its a gerd fritsche kit i did a while ago. The sides came ready peined but it was fun. The wood needs a bit more work but it is a fantastic plane the blade is sooo thick. It does not know the word chatter. Really getting some use out of it now.
owen
 
Continuing on with the wall chest. I have made up the bottom set of drawers. These were made in cherry as i had some scrap wood available roughly the right size. I cut the number of dovetails down to ease construction and veneered the fronts on again with the burr veneer. I fitted them to the holes and the next step is fitting the recessed drawer pulls. Its taken me some time to track down the pulls the right size as most seemed to be to big or very poor quality. Got these of ebay and they seem to have been recycled from another piece.
I have never fitted them before so any tips would be really greatfully received. :)
owen
photo3.jpg

photo2.jpg

photo1.jpg

photo-1.jpg
 
There's some serious tool porn to be envious of going on in these posts!! :shock:

Very nicely done an an excellent account of the build =D>
 
Nice work indeed! I've never fitted those pulls myself, but if I was going to, I think I would:

a) press the back of one into a bit of plasticine to show how big a hollow is needed to accommodate it - then you know what your finished excavation will look like, and

b) do at least one dry run on a piece of scrap first!
 
Back
Top