wadkin pk restoration

UKworkshop.co.uk

Help Support UKworkshop.co.uk:

This site may earn a commission from merchant affiliate links, including eBay, Amazon, and others.
The switch has been replaced by a modern one but I have a lovely original one which I hope I can use.


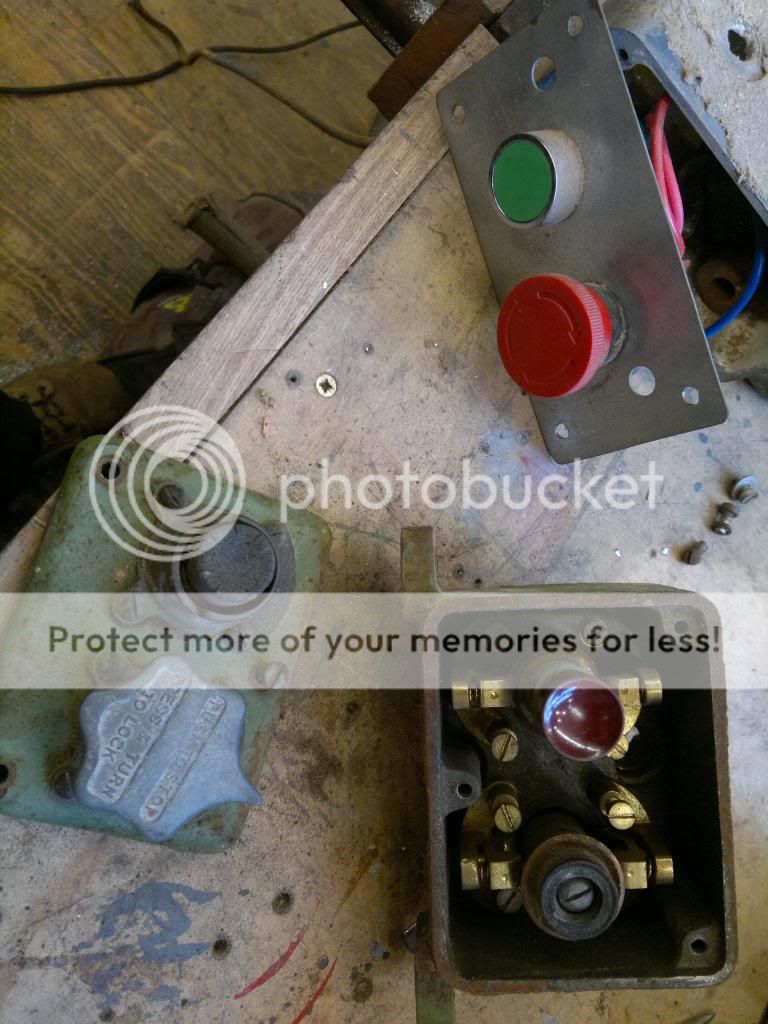
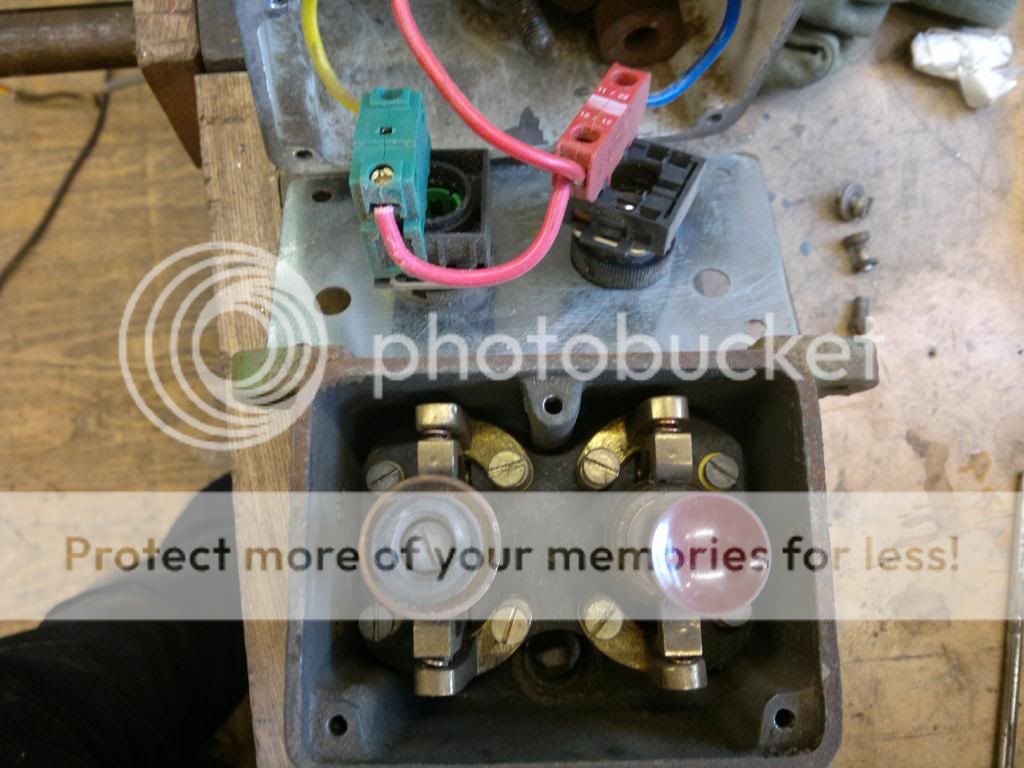
Heres the new and old together. Can anyone advise me if I can use the old switch as is or should I just have the modern buttons hid inside and the old buttons to press


I ran out of my usual zinc primer but found a tin of base primer which I don't know where it came from. It covered really well
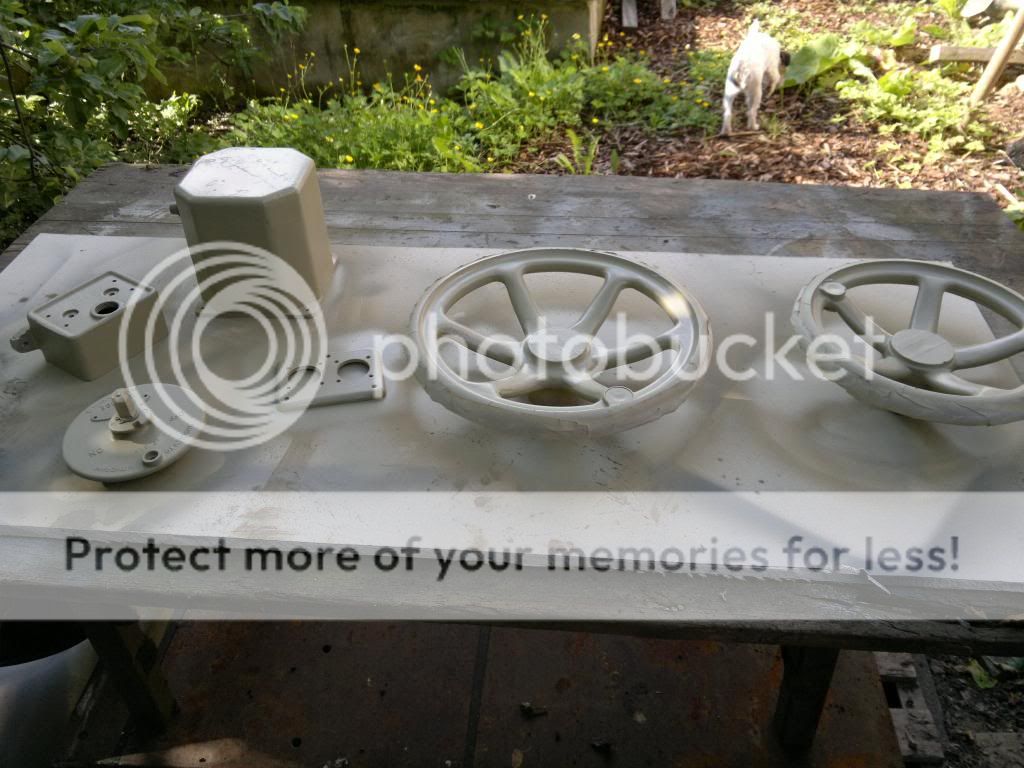
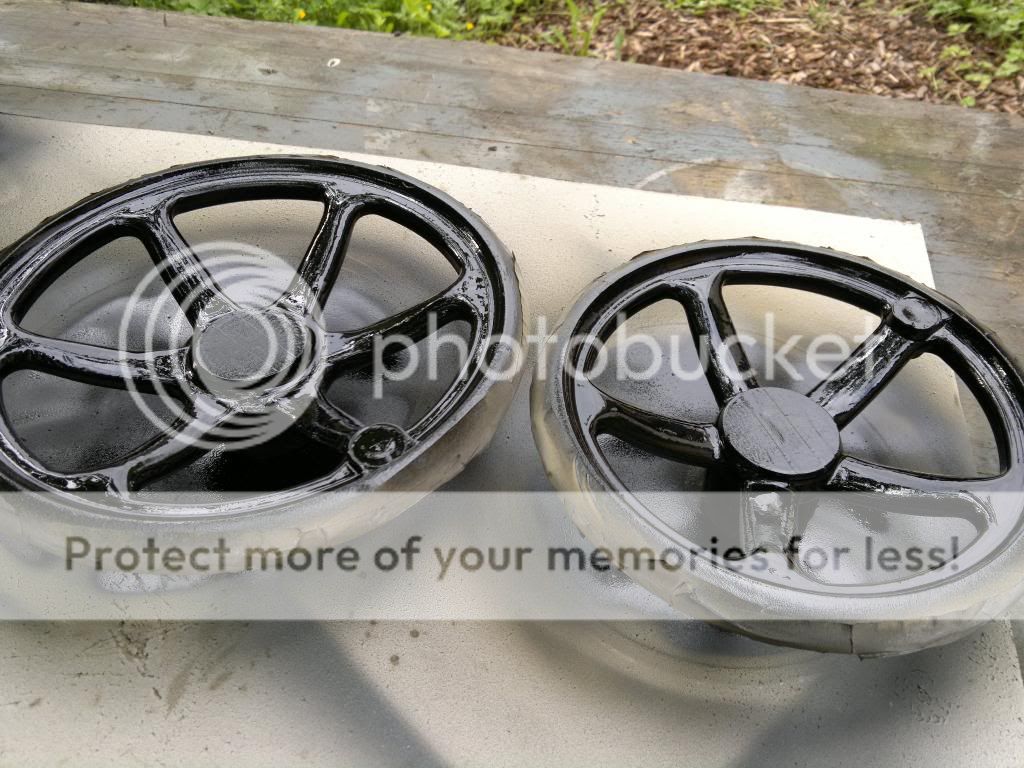


And then a top coat

 
I assembled the tilt gears


And then assembled the blade rise gears before using a block a tackle to lift it into place, I cant believe I lifted this bit into position on the first pk I did. Do you loose muscle as soon as you hit 40 or just wiser not to lift silly lumps of iron.

 
quite good progress today, got the switch done. Not too sure about the shiny black


I'm not happy with how the isolator turned out so might redo it


I'm quite happy with the blade flask door


The door that encloses the electrics had been drilled to accept wires from a break, luckily I had a spare door.


I thought I would bench test the motor before putting it back in. Unfortunately it might be goosed. When I switch it on it goes really slowly and draws a load of amps. I asked Mr 9fingers for some advice and he believes it may need a rewind. I'm taking it to the guy who rewound the bobbin sander motor for him to test. I can see now why is was listed that it could not be tested. Oh well, I have two options either rewind this one or use the motor out of my parts pk. My only concern with using the parts one is that I don't know if it will align with the pins when I install it.
In the mean time I made a start on the table, it looked pretty rusty but there is no pitting


I will finish it off properly once its been painted and installed


Next comes the fence, this one is from a different older pk and their are some differences. The pins that hold the fence sections together can be tapped out on the newer ones, this one was a pain because dowels don not go all the way through. They have a thread inside which by putting a bigger ring between the dowel and a bolt you can wind the bolt in and it will drag the dowel out.


I managed to get one out by this method but the other would not play and just kept snapping bolts, in the end I drilled through the cast and knocked it out. I'll be able to weld up the hole


Does anyone know if its possible to renew the chrome/nickel plating on the handle.

 
Pretty sure re-nickeling/chroming is possible, but from memory to do it properly uses some very nasty reagents (cyanides particularly). Possibly a job to farm out to a specialist?
 
Hi Dick I did the usual search and you can get kits for a few hundred £. Not really cost effective, I found a company that does bike parts so have asked for a quote.
 
Why thank you Phil, I got some good news today. I took the motor to my local winders and he checked it out and its fine. He checked the amperage for each leg and it was low. He said it was wired in star. He matched the 6 wires up in pairs to make it delta and the amperage increased. I don't know what I must have done for it not to work.
 
A few of the collars were pitted so I put them on the lathe to clean up


Then I polished all the bits of the fence


This crown guard adjuster is of a different pk and is in a very sad state


Good progress. The polished bits look great. I like those old handles that are on the top of the guard, yours might need a bit of work though to get it up to scratch! What are you going to do about the electrics? will you use the original bits or hide some new stuff in it? Cant wait to see the saw when its done!

Cheers,
Donald.
 
Hi Donald, the saw came with a modern brake but when I disassembled the wiring I found a loose wire with no obvious place to go. I plan on putting the brake inside the electric compartment where the old starter would have gone. I downloaded the wiring schematic but electrickery is not my strong point so have asked a friend who works with industrial machinery to help.
 
Here you go Jimmy, not too long to wait. I used a powerfile to get through the rust before finishing things off by hand sanding down to 600grit.


For flat things I glue sand paper to a mirror


And after polishing


Superb once again Wallace.

I don't know if I asked you before but have you used 3M MicroMesh in your work?

At first I thought it rather expensive but I still have a pack I bought about six years ago...which I now relegated from light wood..through to dark wood and now metal. This is only because of cross-contamination...nothing to do with any loss of cutting ability.

Jim
 
Ive got some but its 3000, 6000. Ive used it for pen turning but thats about it. I could do with some rougher stuff for hand finshing
 
wallace":2eketjqf said:
Ive got some but its 3000, 6000. Ive used it for pen turning but thats about it. I could do with some rougher stuff for hand finshing

I would try using Mirka Abranet rectangular pads and start with the 120G up to 600G then swing over to 1500 mesh Micro-mesh Regular and work up the meshes to 12000 and see what happens. Both are bought in those links in multipacks.

I sometimes use Micro-mesh MX which is formulated for metals as it has a tougher bond but it's less flexible and I've never had a problem with the regular stuff wearing.

Jimi
 
Back
Top