Tile layout - corner shower

UKworkshop.co.uk

Help Support UKworkshop.co.uk:

This site may earn a commission from merchant affiliate links, including eBay, Amazon, and others.
Still can't make my mind up. For some reason...(I'm sure it was a good one all that time ago (2 years plus) that the shower pipes and stuff were put in) that large "hole" for the shower control is not central to the shower tray. I like the idea of using the centre line (c/l) and working out in either direction from that but that then doesn't place the shower control central in the centre tile. If I shift the centre tile to the left to centralise the control then it gives me uneven width tiles on either side.

I'm erring on the side of making the tiles centred on the c/l since there's a lot more of them on that wall and I think that once it's all finished then the offset of the control won't be that noticeable (I hope)
 
I was just in a house 4 days ago (with my builder house mate) where he is renovating (house is empty) and the tiler did (A) in the bathroom and I commented on the short tiles in the corner - it was the very first thing I saw going into the bathroom.

While it may be convention to have the cuts in the corner when the tiles are stacked, in reality it's a real eyesore for those who are a bit finicky on the details.

If you are not the worlds greatest tiler - brickbond is also more forgiving on the tile alignment, even with spacers, because you don't have 4 corners meeting at the same time.

I would echo the "start from the middle" approach as well and go with centered tiles and off centre shower control because the tiles are what your eye will see more of when that area is looked at "as a whole" when not actually using the shower, which will be the majority of the time in the bathroom.

But obviously that's just my opinion.
 
I've done a lot of bathrooms and showers over the years Roger and always start from the middle with one exception that being if it's going to leave a narrow cut at each end in which case I'd move it across however I would never run a full tile up a corner as I've never found one yet that was exactly plumb. Same story at bottom of tile to shower tray or trim unless you/re very lucky to find it's exactly level or as is common the tray edge is straight. When spacing bottom to top I wouldn't necessarily measure from centre as long as to top edge isn't a narrow cut and of course if an integral part of rest of bathroom tiling that has to be carefully considered or you'll have an issue around other fixtures.

Not saying it's the correct way just my preferred method and I never once had a bad comment from a customer.
 
Probably teaching granny to suck eggs but if you are cutting the bottom row of tiles on to tray / bath / floor then the easiest method is to pin or screw a thin lath temporarily to the wall at the line of the top of your bottom tile then tile up from that using spacers between lath and tile. Remove laths when set then cut and fit bottom row of tiles.
 
So, as I only have two spare tiles (and they are no longer available) I had a wee go this morning on a similar tile. I used a Rubi blade in the angle grinder and it worked a dream. There is something aesthetically pleasing when using a quality blade as opposed to Screwfix's 'best'.


If anyone is interested in the technique then this video is a good starting point.

[youtube]lKVCMyFNiHg[/youtube]

I also use this wee beastie to cut large tiles and, again, it's a joy to use. You can shave off the slimmest of cuts and the cut edge is nigh on perfect. It's a wet cutter, needless to say. I never had any success with those score'n'snap jobbies and got fed up using the El Cheap'n'Nasty wet cutter from Screwfix. Once I've finished with it, it will go on eBay (or here if anyone is interested).

 
RogerS":mpuensqg said:
So decision made...appreciate all the suggestions. And we're off...


literally :)

That wet cutter - wow that's a biggun isn't it? I've got a pretty large tiling project in my future - parents utility room being built and kitchen renovation, although I'm guessing it'll be next year now before I get to tiling - using large format 300 x 600 tiles, so that would have been perfect if it wasn't for the fact you are oop north :)
 
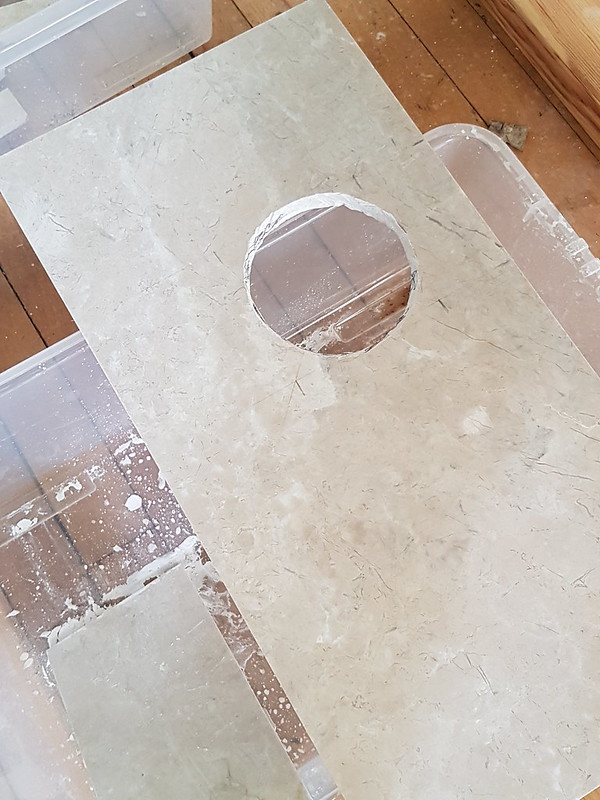
Hole cut in the 'proper' tile. A few comments for anyone thinking about doing this for themselves.

Geometry is your enemy. The initial cut made to define the circle is very easy to do and because you're only kissing the surface (or should be !) then the grinder/diamond blade can be almost vertical. In the video, it looks as if he's resting part of the grinder as a pivot point. I tried that but that wasn't easy on my grinder as there was no obvious point on it to act as the pivot. I was also concerned about the grinder running away across the tile. So I held it by using a pair of those orange 'sticky' gloves and using my hand/knuckle as the pivot.

The difficulty starts to come as the depth of cut progresses. Because of the diameter of the blade, while you're focussing on the leading edge as you go round making the next shallow cut, if you're not careful then the trailing edge of the blade will start cutting where you don't want it. To get round that, you gradually end up holding the blade at an angle and grinding away a bevel on the inside. That's not a problem but what you end up with is an opposite bevel on the tile surrounding the hole. Once you've finally cut all the way through then you are left with this bevel that now needs removing (unless the dimensions of whatever you're cutting the hole to fit allow you to make the circle much larger than you'd think).

So you can turn the tile over and carefully nibble way some of the bevel using the edge of the blade. But again geometry is a problem as you still have to be careful what that trailing edge of the blade is doing. In an ideal world one could buy a blade that had a much smaller diameter (but then the grinder itself would probably be prohibiting!).

Or a drum sander - covered in fine diamonds. I tried using a hole cutter and running the diamond embedded on the side to grind the bevel away but there simply wasn't enough meat on the cutter and it kept slipping away. Possibly clamping a portable drill upside down with the cutter adjusted to the right height, flipping the tile over and grinding the bevel away might work but if it's a thick tile then you'll be forever adjusting the height of the cutter.

Or you might think one of those Vitax diamond tile files would be the answer. It isn't. The diamonds on those files are just to coarse and the tile just skips over and des SFA. A horrible tool.

The answer (for me) was the trusty Dremel (other makes are available) and a diamond cylinder that I think might have been originally intended for sharpening a chainsaw blade. Any road, that worked a treat and is my preferred way.

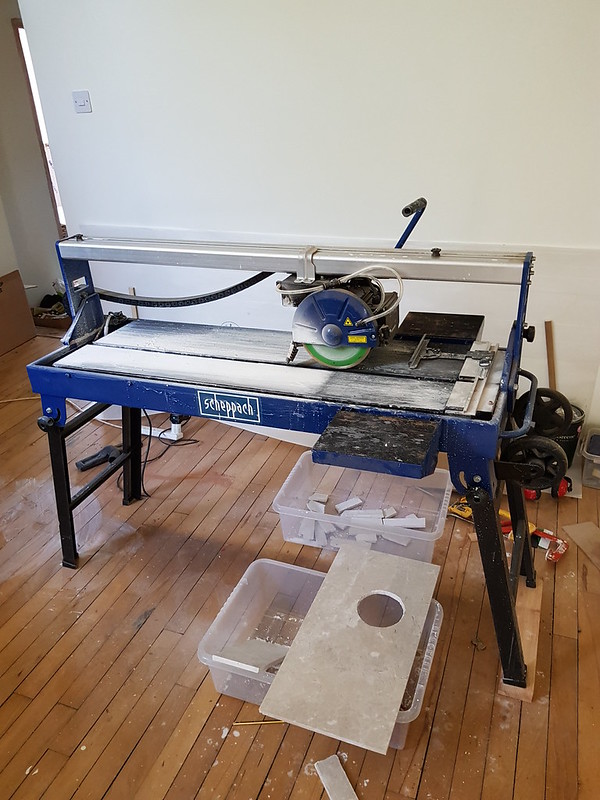
It has also been suggested to adjust the tile positioning so that you can get in there with a tile saw and cut two semi-circles in two tiles to come together to form your hole. Yes..but if the tiles are very large then you can't easily get the tile saw handle all the way round. Plus if they are natural tiles, such as marble, then there are hidden flaws...the integrity in the tile as a whole keeping it all together but as soon as you start cutting that semi-circle, leaving those two 'wings' then if there is a hidden flaw in the wing it will break.
 
Back
Top