Hi all,
Following on from my previous threads asking for advice I started building the table this weekend. So attached are some pics to show progress so far....
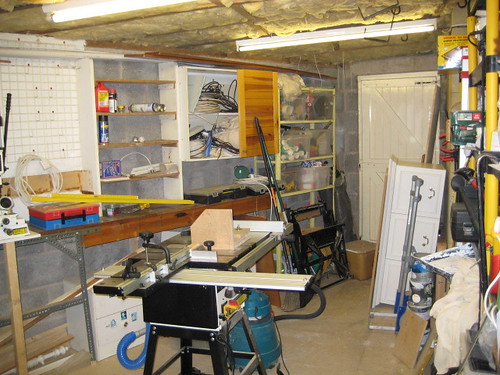
the starting point, a table saw with loads of bits jutting out which was just too big for the workshop, so I decided to build something with more flexibility so including a router table, storage, drawers and removable jigs / extensions
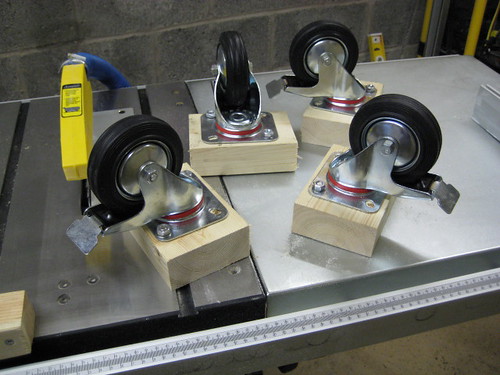
castors bought from axminster which should keep the unit mobile (very important in my small shop)
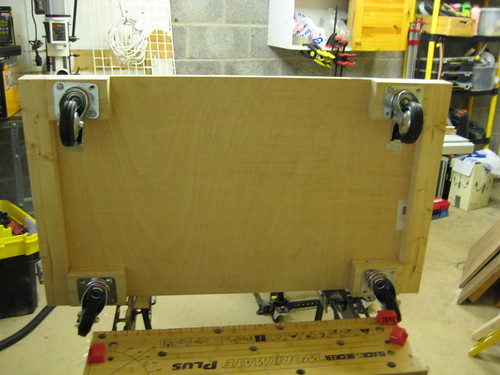
the castors mounted on the base
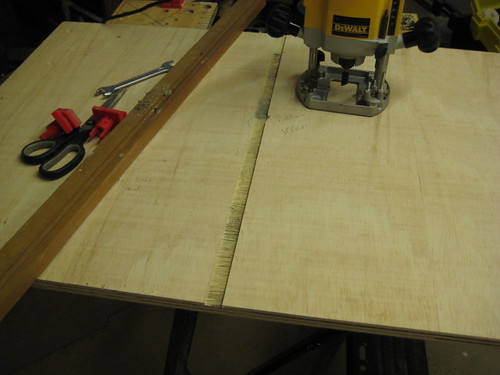
my first ever go with a router !! making a slot for the centre panel to fit into :
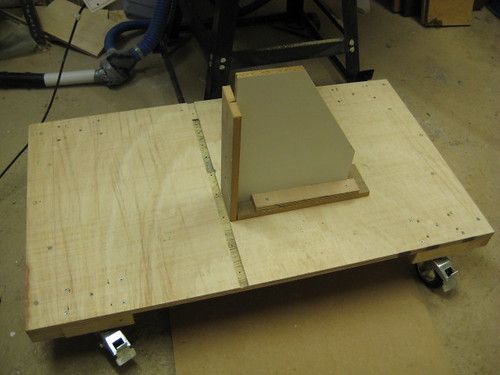
made a couple of jigs to ensure everything stays in line:
unit starts going together :
put in a couple of support cross members which the router table will sit on:
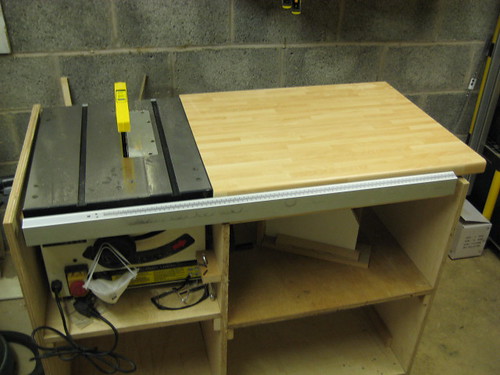
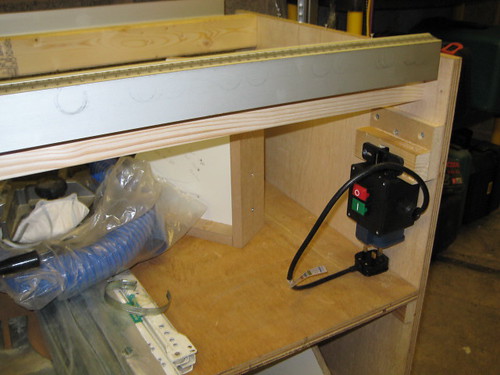
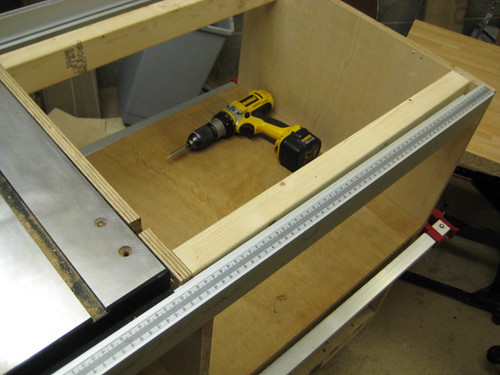
the eagle has landed ! :
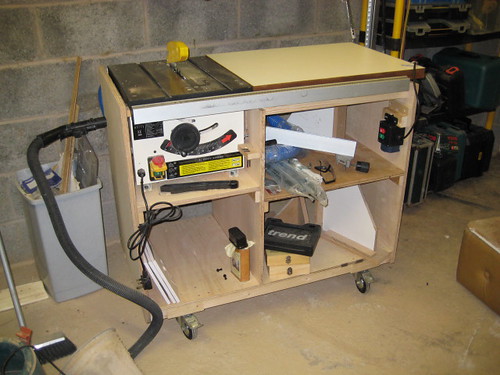
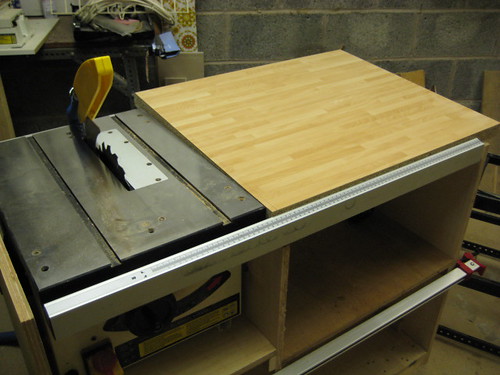
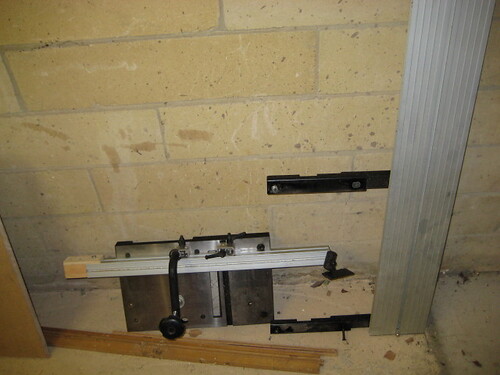
should be able to use the table rails over the router table section :
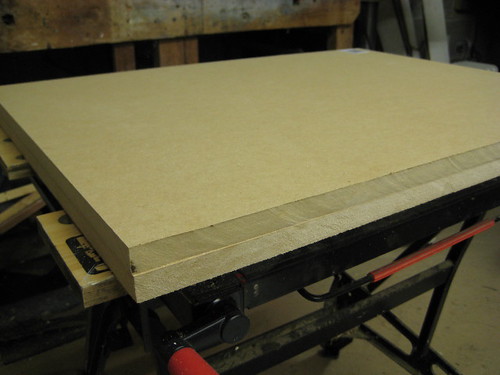
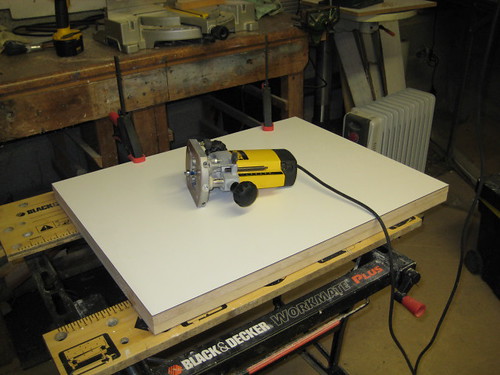
router top not cut yet but you get the idea (its a kitchen counter offcut bought from local b&q yesterday for 6 quid) :
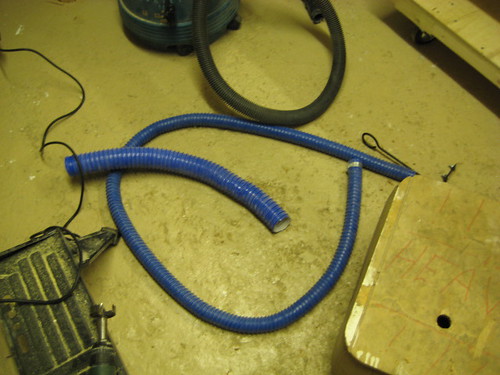
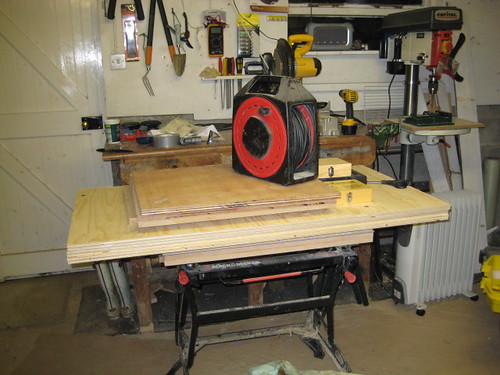
left-over bits that I am going to replace with jigs which should take up a lot less space in the workshop:
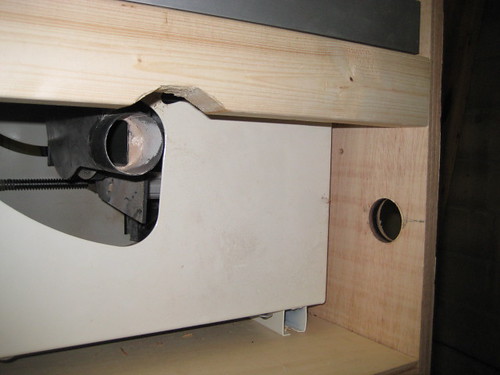
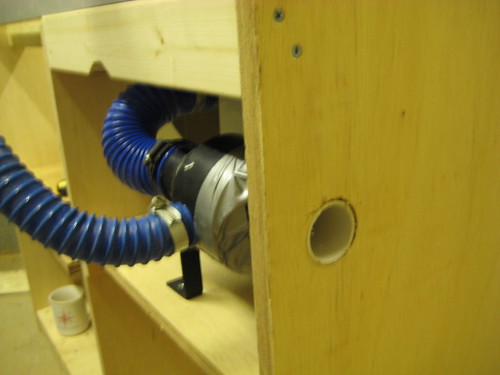
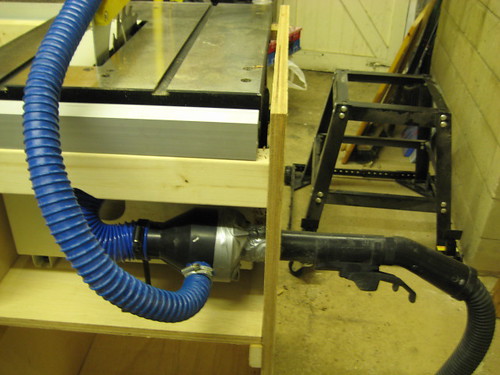
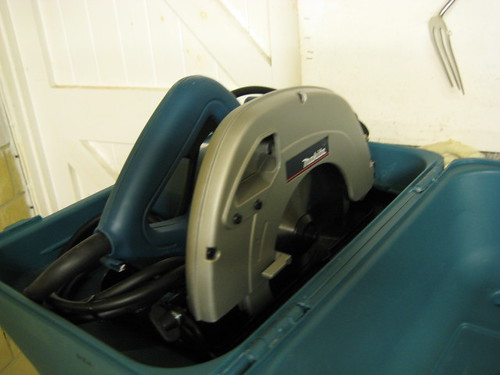
whats going into the unit :
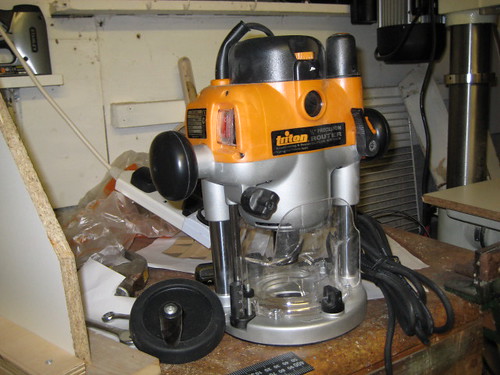
QUESTION : Where should I mount the router in the router section, in the middle, front left, back right ? My guess is back left so there is max space in front for wide stock and max space to the right for long stock ?
Following on from my previous threads asking for advice I started building the table this weekend. So attached are some pics to show progress so far....
the starting point, a table saw with loads of bits jutting out which was just too big for the workshop, so I decided to build something with more flexibility so including a router table, storage, drawers and removable jigs / extensions
castors bought from axminster which should keep the unit mobile (very important in my small shop)
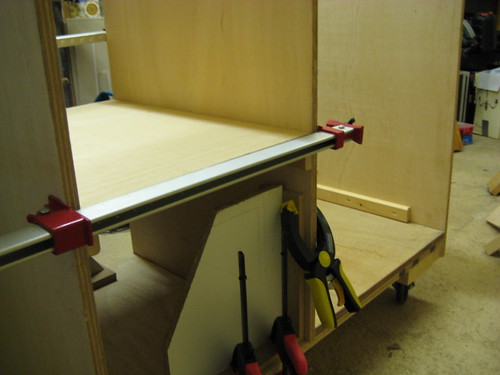
the castors mounted on the base
my first ever go with a router !! making a slot for the centre panel to fit into :
made a couple of jigs to ensure everything stays in line:
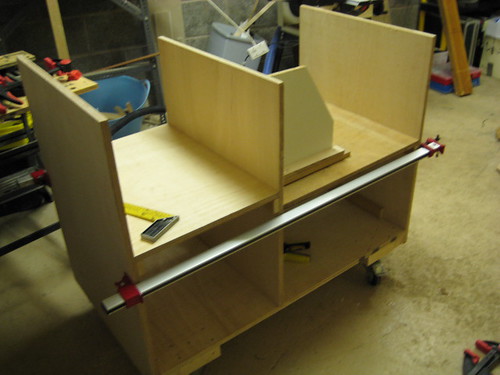
unit starts going together :
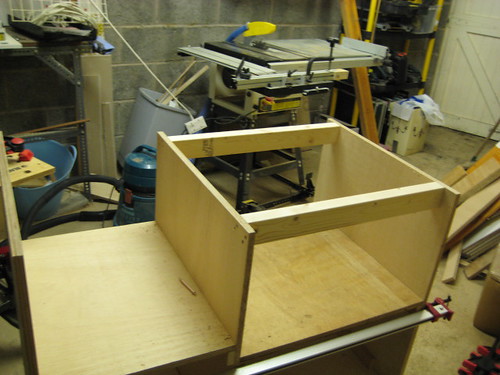
put in a couple of support cross members which the router table will sit on:
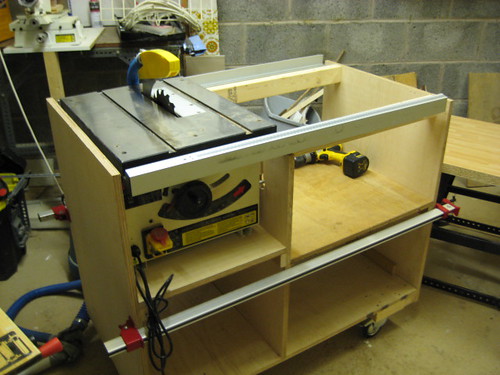
the eagle has landed ! :
should be able to use the table rails over the router table section :
router top not cut yet but you get the idea (its a kitchen counter offcut bought from local b&q yesterday for 6 quid) :
left-over bits that I am going to replace with jigs which should take up a lot less space in the workshop:
whats going into the unit :
QUESTION : Where should I mount the router in the router section, in the middle, front left, back right ? My guess is back left so there is max space in front for wide stock and max space to the right for long stock ?
 , just going on screwfix to look for the hardware