harryc":1o783ysb said:I always knew there was a use for those LIDL tools
Keep up the Good Work
Harry
I've still got 90% of it left but as yet have found no use apart from giving me something else to trip over


harryc":1o783ysb said:I always knew there was a use for those LIDL tools
Keep up the Good Work
Harry
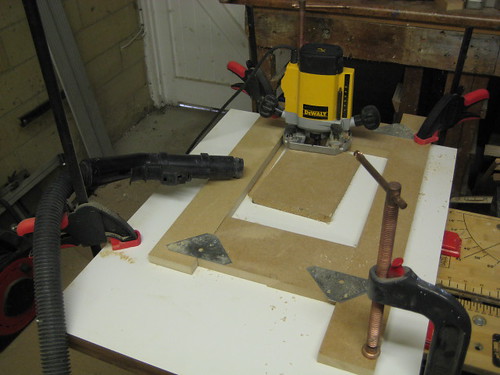
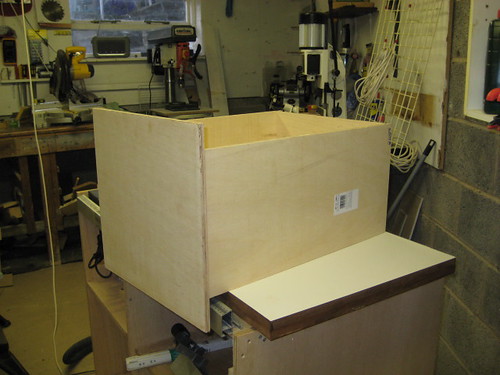
WiZeR":3vm3zj78 said:you know what, I really like this project. It's a great space saver. What height is the table out of interest? and is that a dust hose hanging out the side?
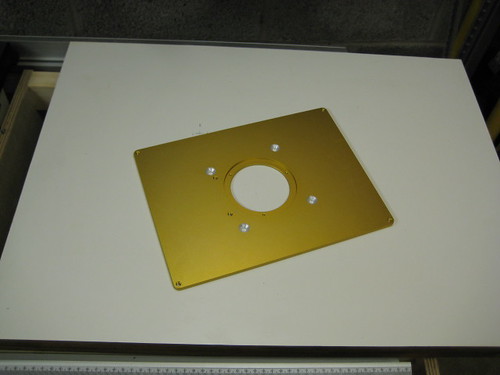
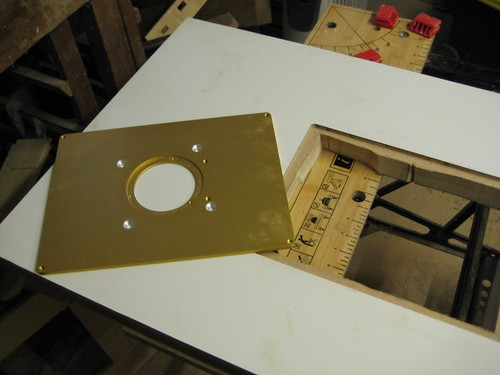
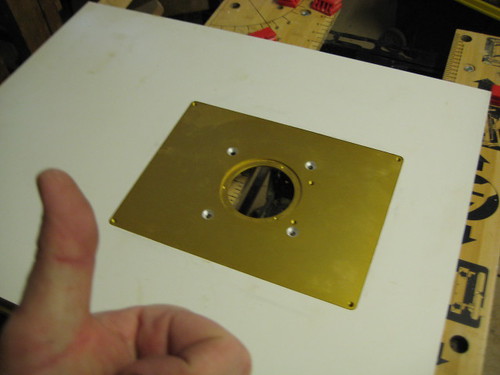
Slim":1glc1svd said:I've been to B&Q for a template cutter before without success.
Do you have any guide bushes? If you do, you could just increase the size of your template and use a normal straight bit with a guide bush.
Shultzy":1fa3m8nu said:Screwfix have plenty if there's a branch near to you.
http://www.screwfix.com/cats/A238047/Bl ... er-Cutters
Mighty_Genghis":3sinhavr said:Girlfriend is away for the weekend
ccasion5: WiZeR":1vui8jbh said:Mighty_Genghis":1vui8jbh said:Girlfriend is away for the weekend
Thanks for the update Paul. This project has inspired me to make some decisions on the layout of my workshop. I'll be building one of these by the end of the year.

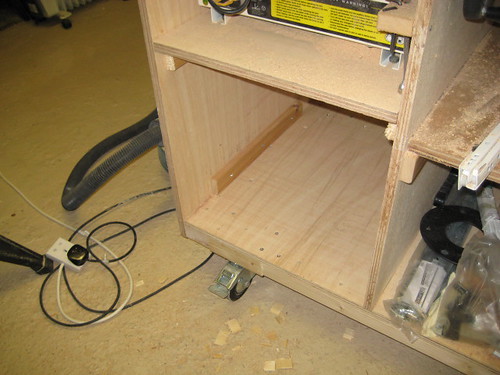
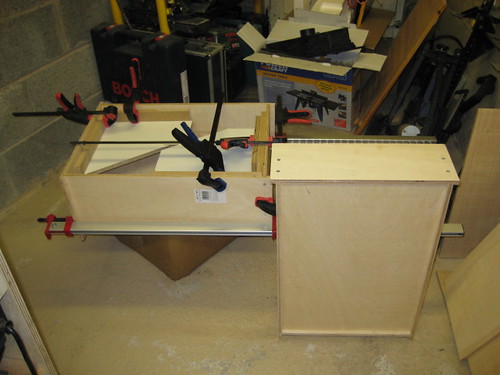
Rich":2gori7fd said:Looking great MG, could you possible show a pic of how you replaced the steel extension table with your timber one?, a pic from underneath would be invaluable as I intend to follow your example, I am so impressed.
regards, Rich.
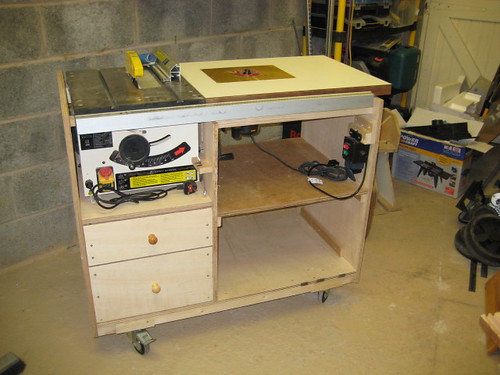
OPJ":2vw8oq3m said:LOL Just noticed the old router table thrown back in to it's box in the background of a couple of your recent photo's!
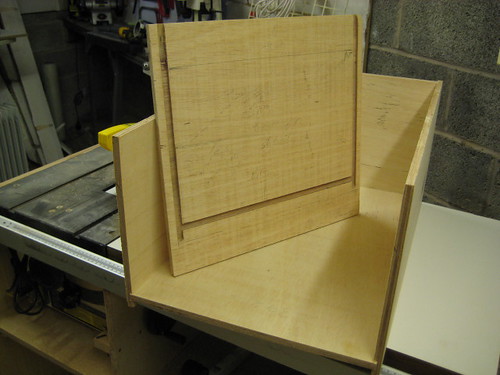
Looking good though. I like the idea of adding swing-up extensions for the table saw.
You do appear to have quite a bit of "dead space" around the router inside the cabinet. Do you have any ideas as to what you could do with this or store in there?
Enter your email address to join: