joiner_sim
Established Member
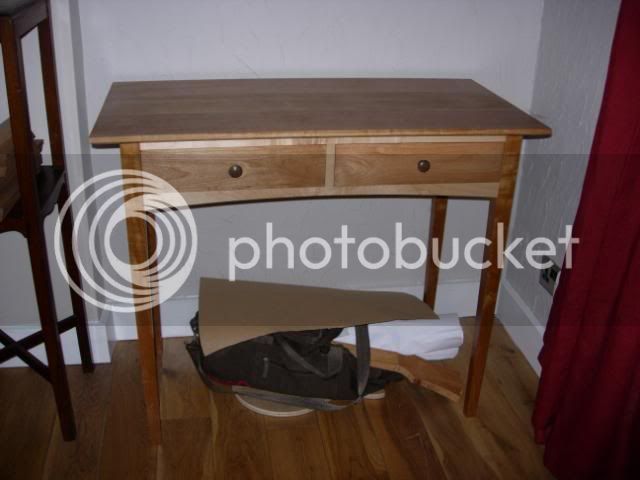
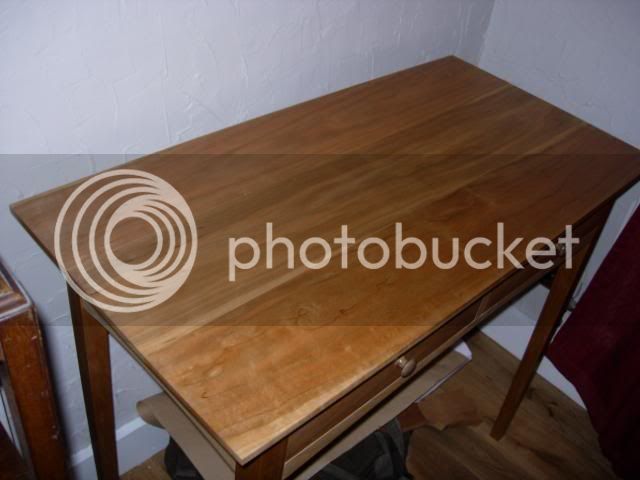
The table I've got to make is only a small table top one and wont be used for sitting at. I'll taper the inside of the legs then, thanks for the advice. ")


 - Rob
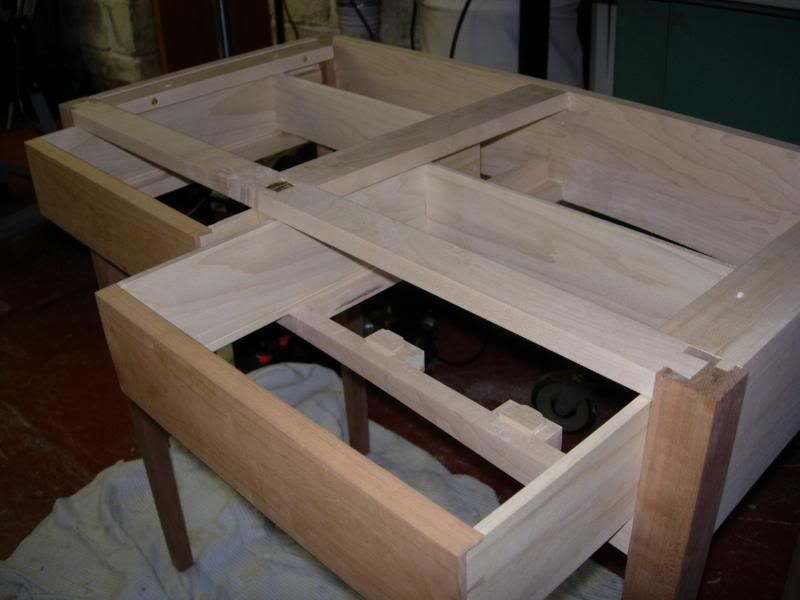
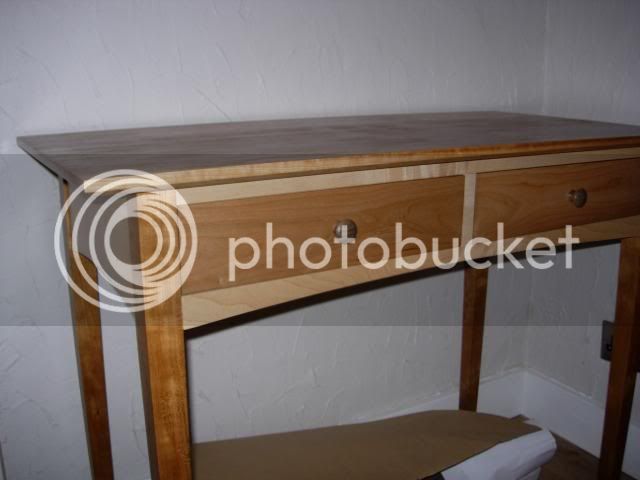
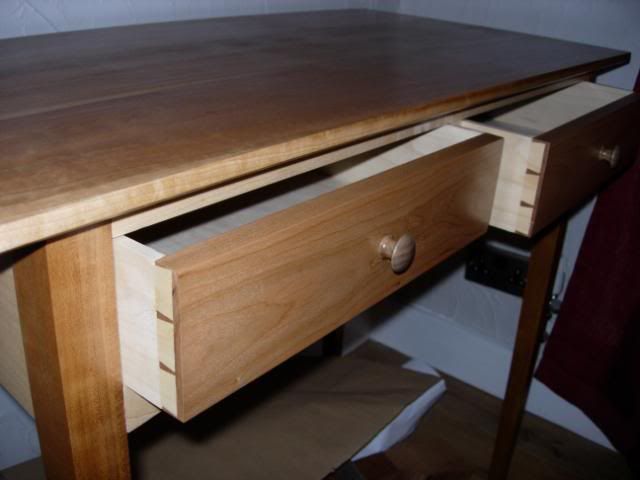
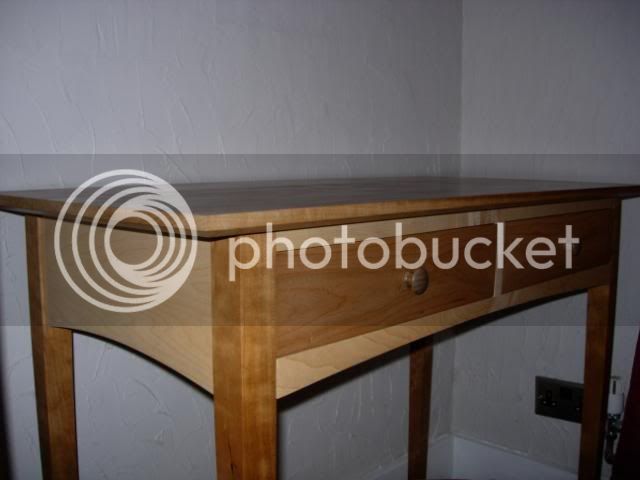
- RobIf you were given tulip wood for the drawer sides (as I seem to recollect)...fairly smartly! I actually think that's a pretty lame excuse on the part of your lecturers as easing the runners as described is an acceptable way of getting round the problem...not perfect, but acceptable. Any grit that might come off can soon be sucked up with shop vac or simply brushed off. In an ideal situation, the rear of the drawer opening should be made just a fraction wider than the front opening to stop this from happening. When you're making a decent piece like this, quarter-sawn oak (or something similar) is the only timber to use for drawer sides and runners/kickers...if it happens next time, it might be worth throwing teddy out the pram :lol: - RobIronballs":92d55b4t said:The reasoning being that some grit would embed itself in the wood and gradually over time wear grooves in the runners. :wink:
Enter your email address to join: