Ironballs
Established Member
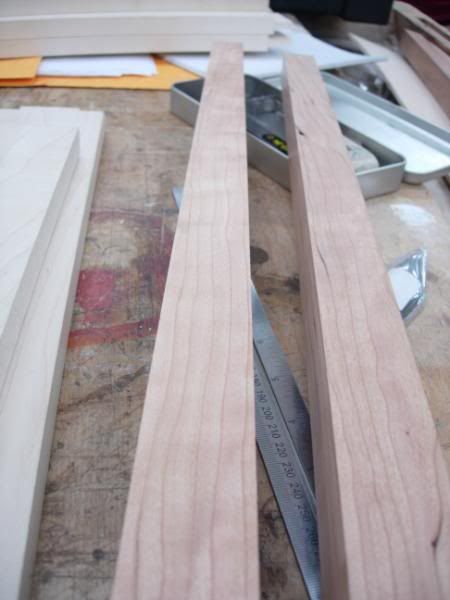
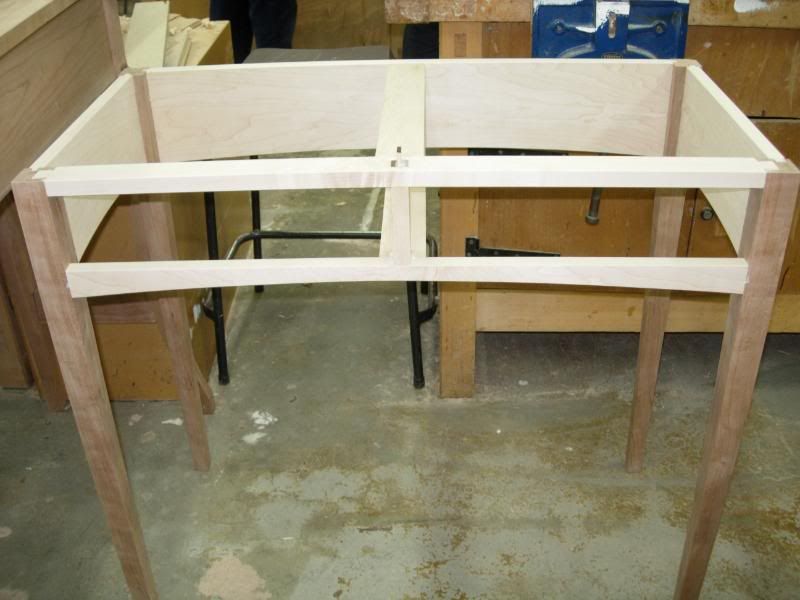
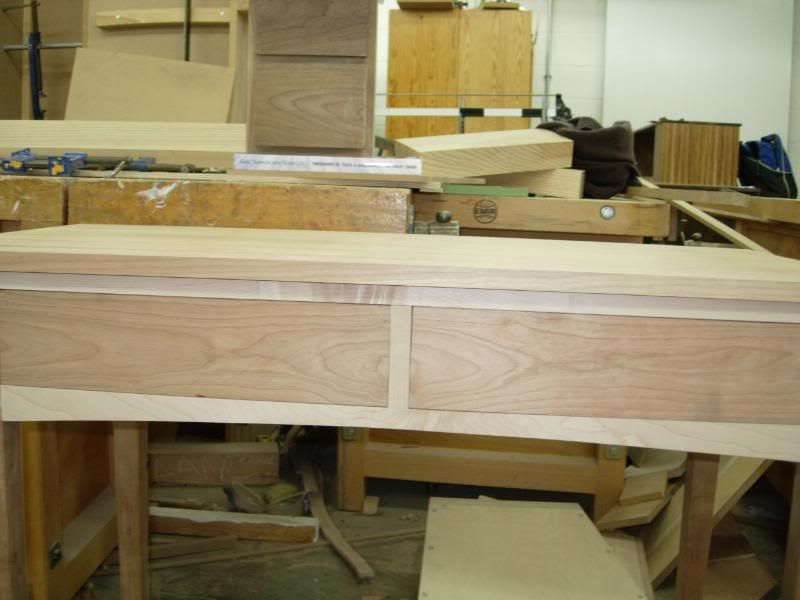
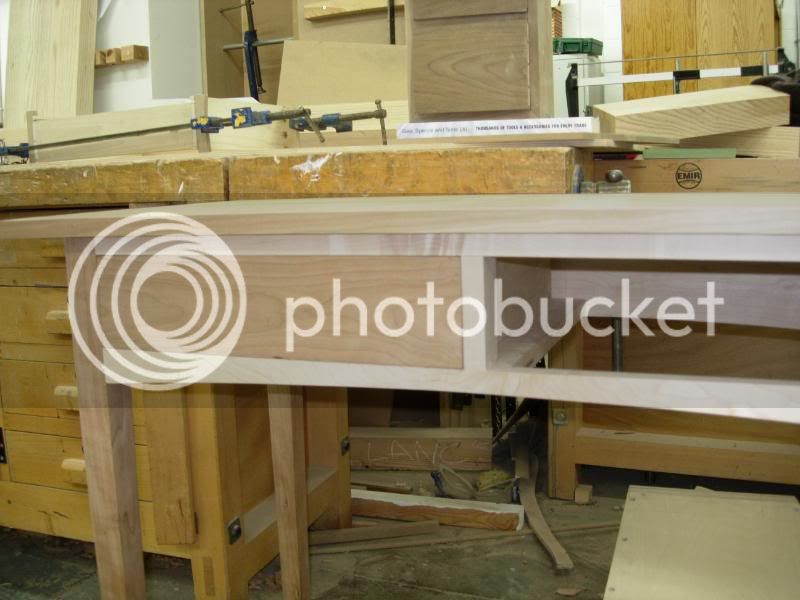
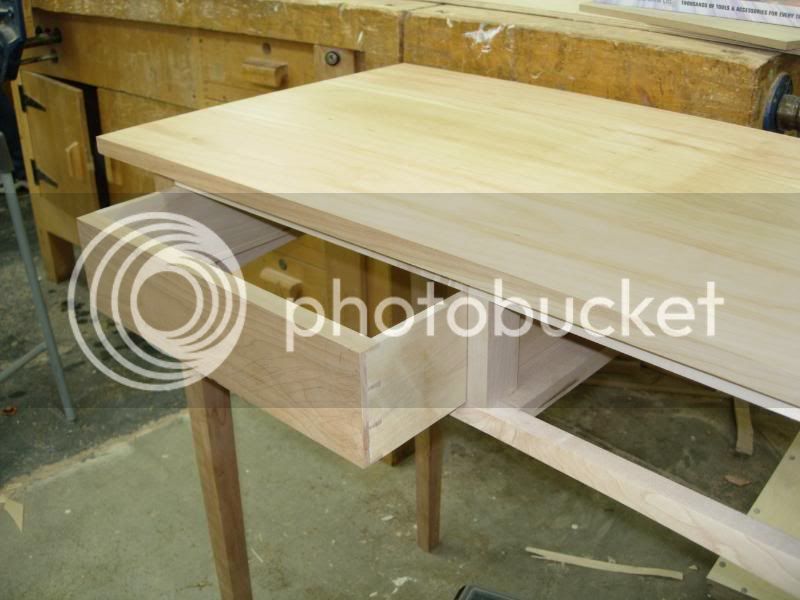
This was our set piece for our second year cabinet making class, a shaker style hall table. We had a basic design to follow but were allowed our own embellishments and wood choices. Our choices for timber were ash, oak, maple, cherry and if you were feeling rich, walnut. I decided to go for maple and cherry, the timbers would be an interesting contrast and give it a more modern look too.
Part of the reason for doing this WIP is that it still is a WIP despite the course finishing in June. I'll not tell you where I've got to yet, but it does need that final push to finish it. So I'm hoping public shaming will be an additional spur, though the fact it already looks great should be enough (well, I think so anyway ).
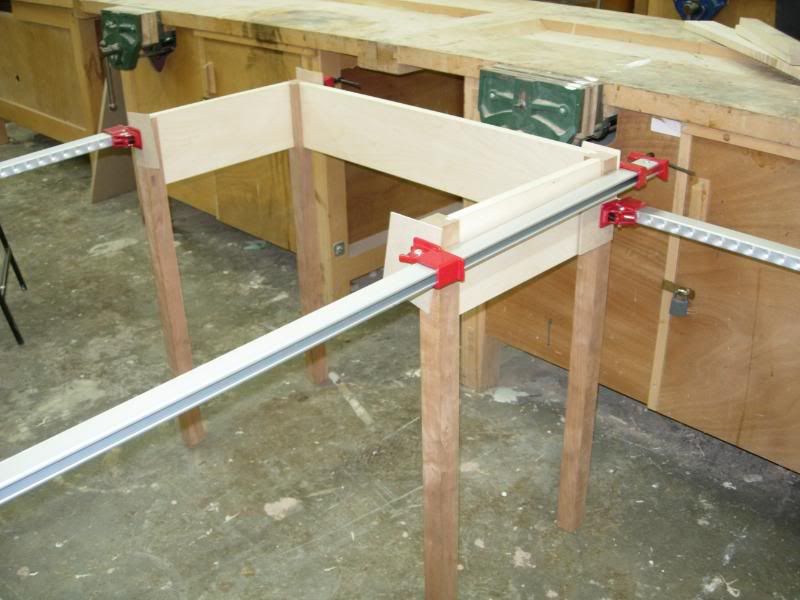
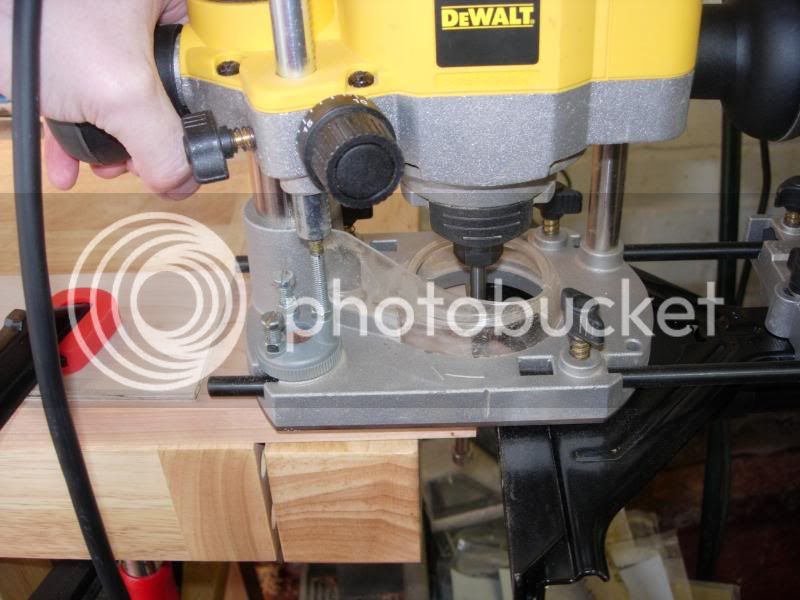
So here goes, machines were used for most things - morticing, tenoning, planing, thicknessing - though there was plenty of fettling to be done by hand, plus all the dovetails.....
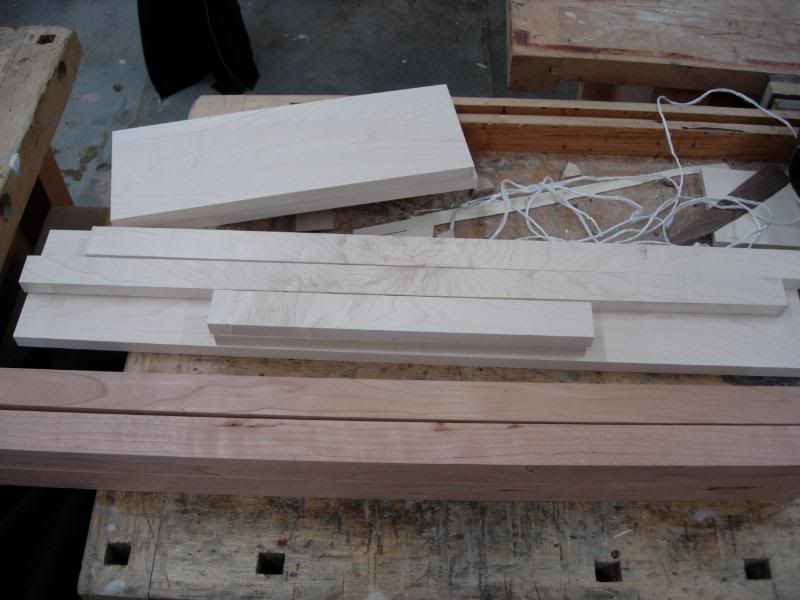
First up the machining of the main pieces, cherry legs and maple rails. We think the timber may have been fresh in to the college as despite it being hotter than the surface of the sun with a humidity of 0%, all the pieces moved a bit after we had machined them down to size. Knew we should have left a bit over
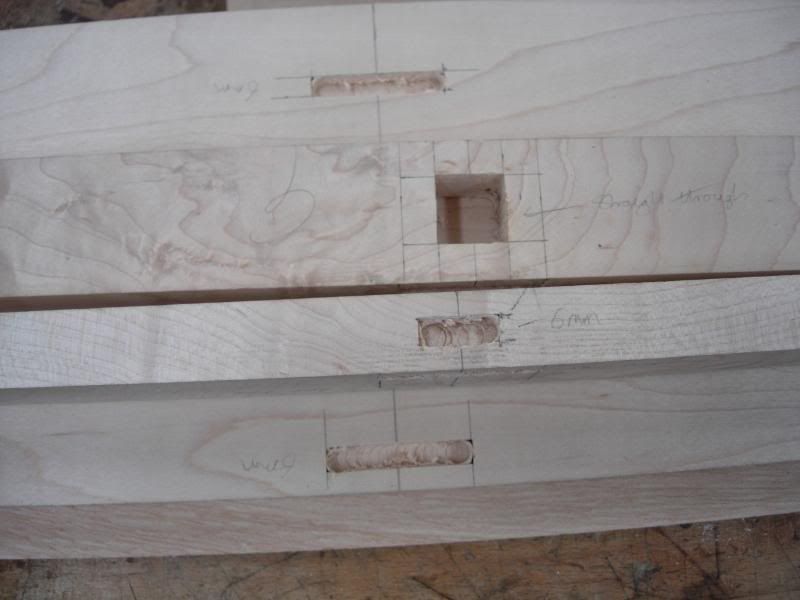
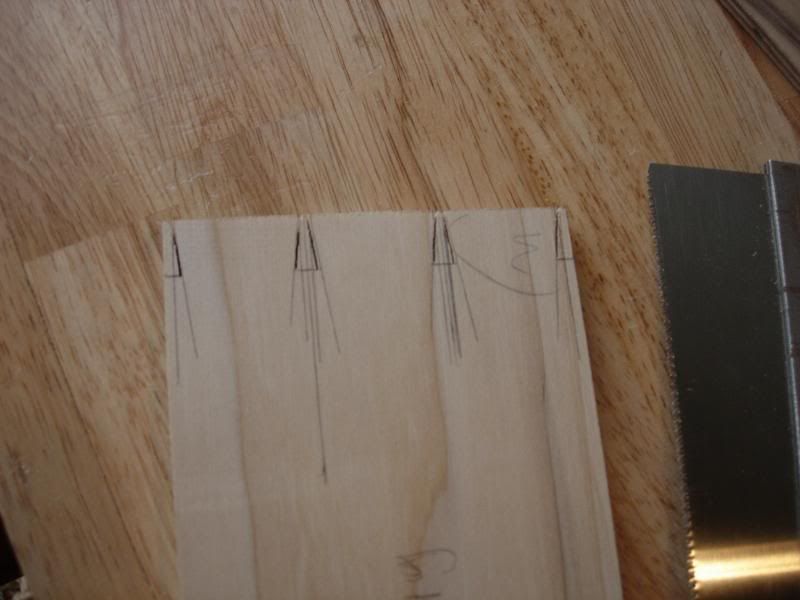
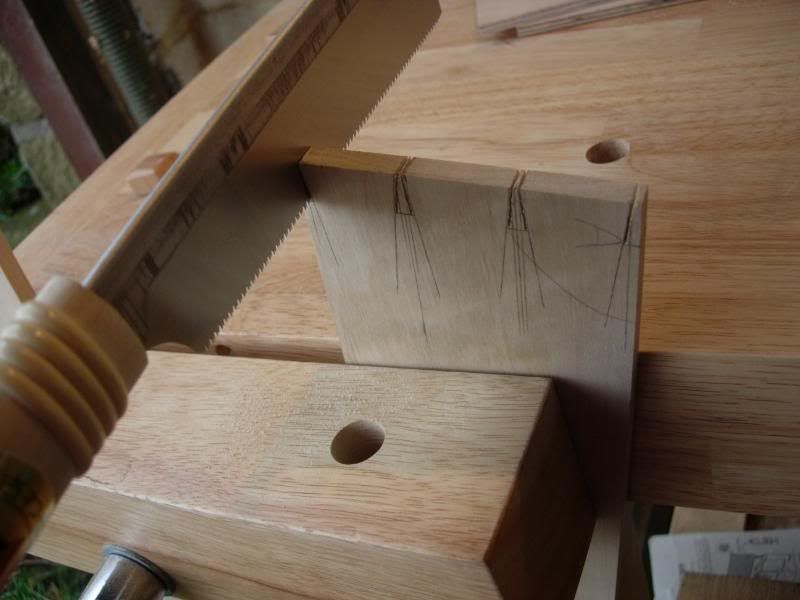
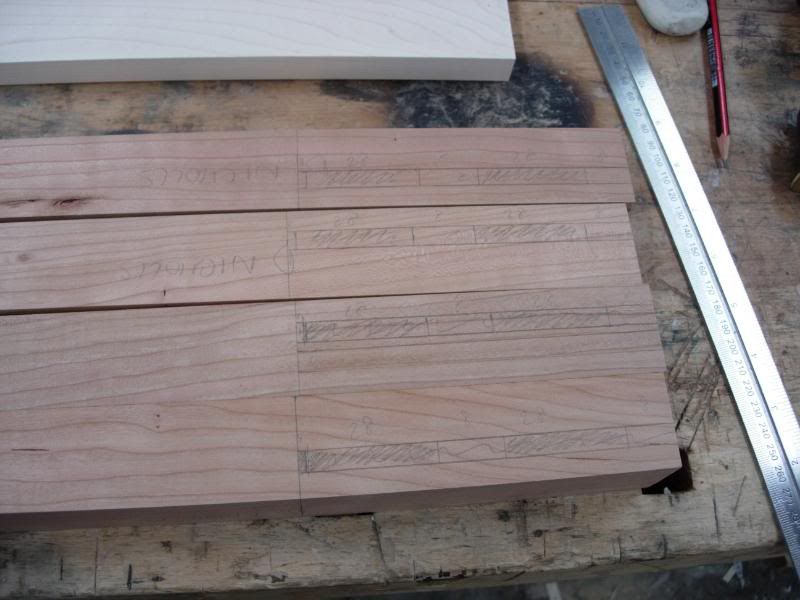
Marking up of the mortices in the legs
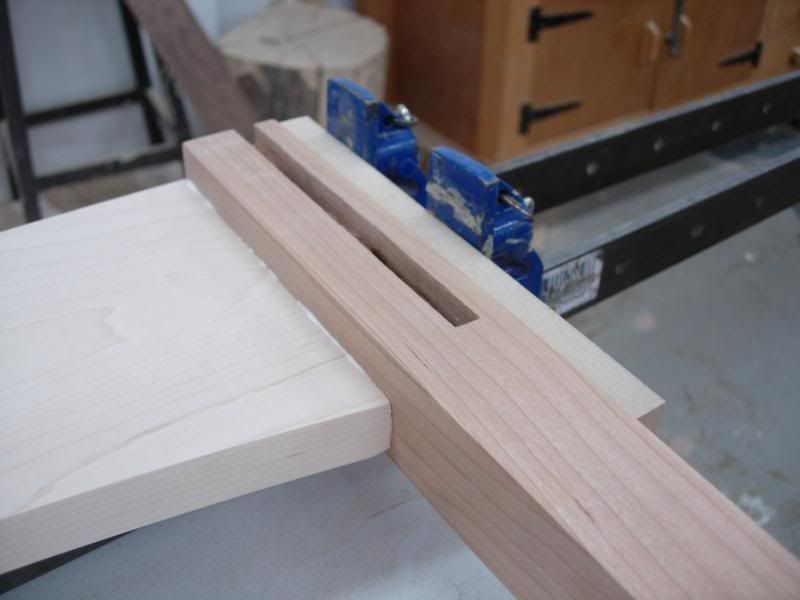
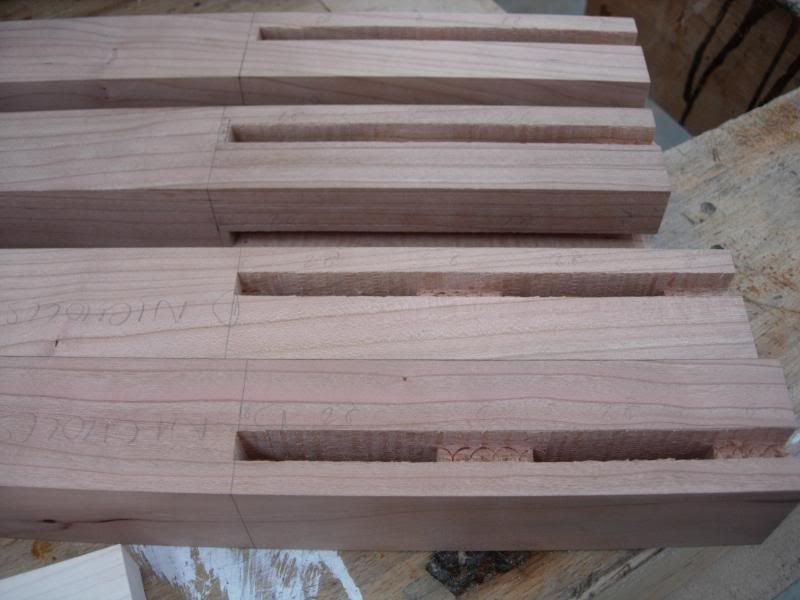
Legs after morticing, not too bad, I ended up using the Axminster which was easier to set up but not quite as accurate as the large Wadkin
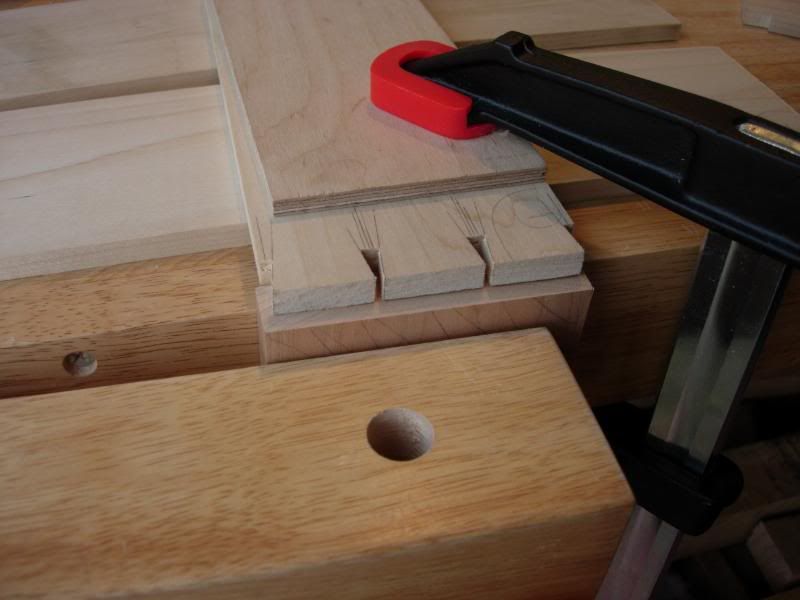
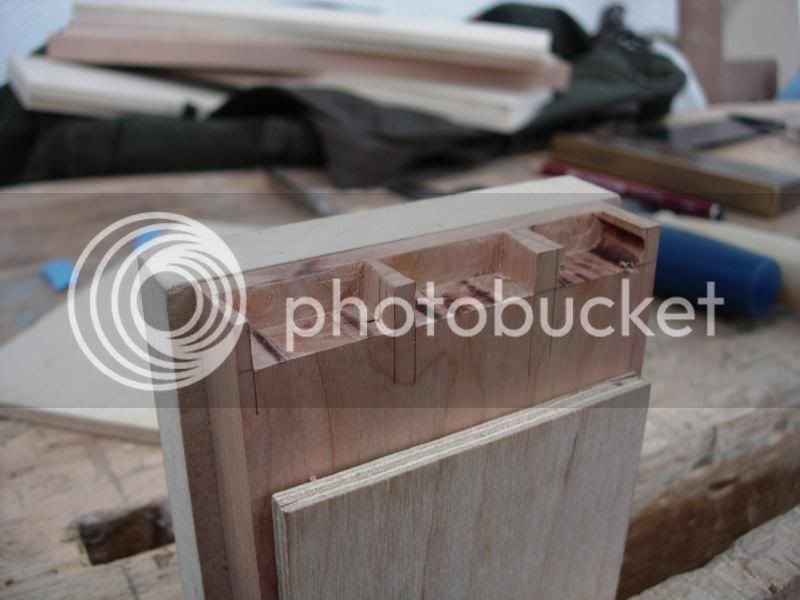
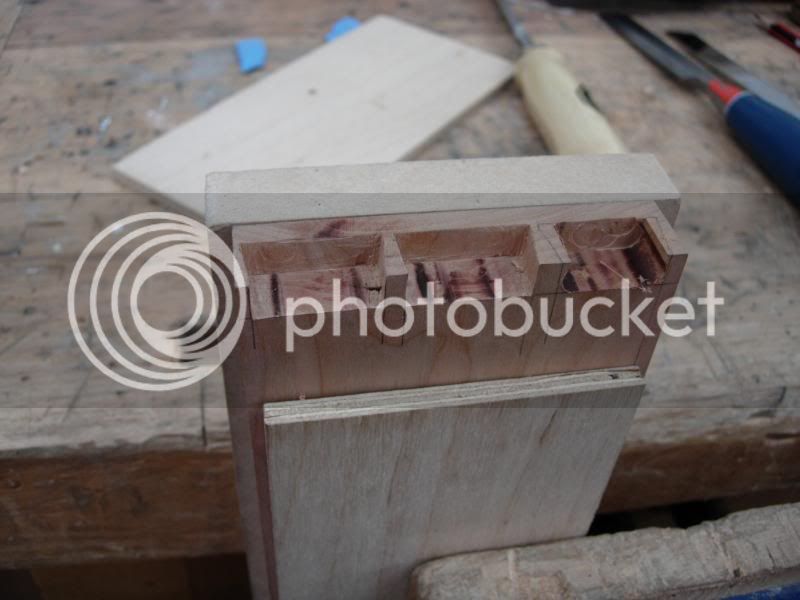
The rails after being run through the not insubstantial tenoning machine - which was slightly out of true
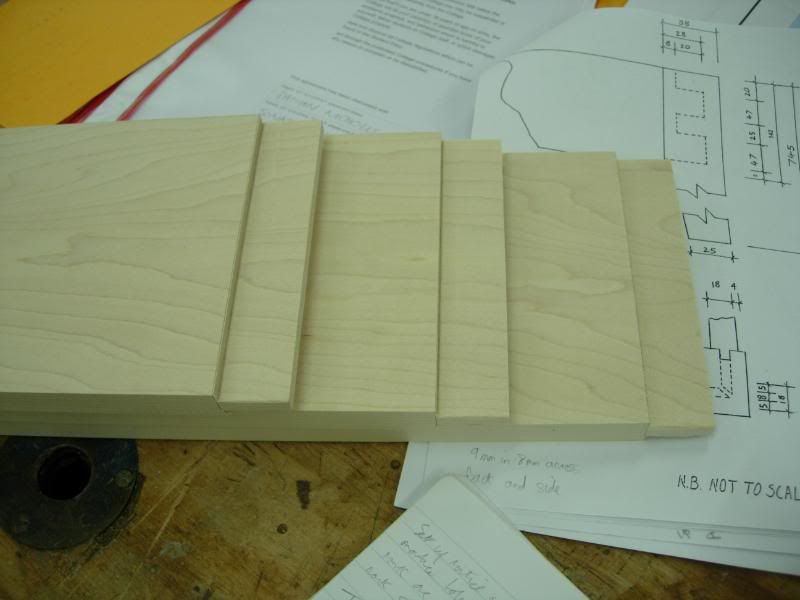
Side on view of the tenons

To be continued... in case the PC crashes and I have to do this all over again :x
Part of the reason for doing this WIP is that it still is a WIP
despite the course finishing in June. I'll not tell you where I've got to yet, but it does need that final push to finish it. So I'm hoping public shaming will be an additional spur, though the fact it already looks great should be enough (well, I think so anyway ).So here goes, machines were used for most things - morticing, tenoning, planing, thicknessing - though there was plenty of fettling to be done by hand, plus all the dovetails.....
First up the machining of the main pieces, cherry legs and maple rails. We think the timber may have been fresh in to the college as despite it being hotter than the surface of the sun with a humidity of 0%, all the pieces moved a bit after we had machined them down to size. Knew we should have left a bit over
Marking up of the mortices in the legs
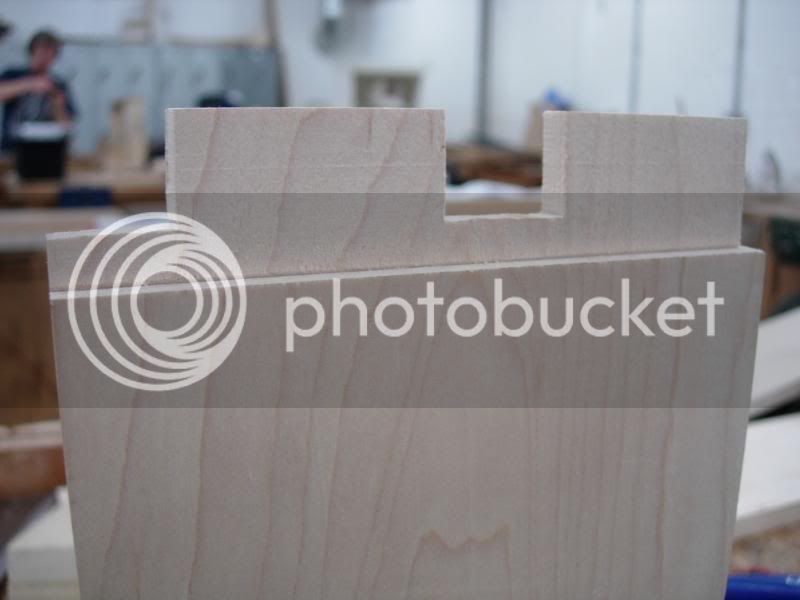
Legs after morticing, not too bad, I ended up using the Axminster which was easier to set up but not quite as accurate as the large Wadkin
The rails after being run through the not insubstantial tenoning machine - which was slightly out of true
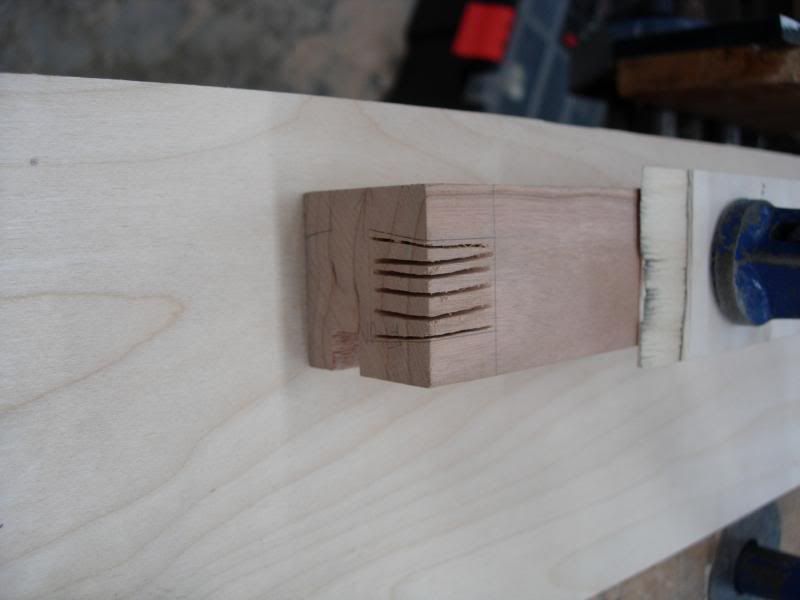
Side on view of the tenons
To be continued... in case the PC crashes and I have to do this all over again :x