Reusing an old upvc door

UKworkshop.co.uk

Help Support UKworkshop.co.uk:

This site may earn a commission from merchant affiliate links, including eBay, Amazon, and others.

ColeyS1

Established Member
Joined
2 Nov 2009
Messages
4,245
Reaction score
35
I've been umming and ahhing a window for the shed for a while. I always thought If I put a window in the shed, people would start gawping through the hole.
Some of you may remember I recently made a rusty planter
936face06aed762380380f083a25a72e.jpg

Ever since that I thought perhaps a small window might be o.k, cause someone would have to lean over the planters to see in.
I've been keeping an eye open ever since, waiting for a suitable piece of glass.
I found some on Sunday :lol:
a25ca3228d367565b097b1ad6476e50c.jpg

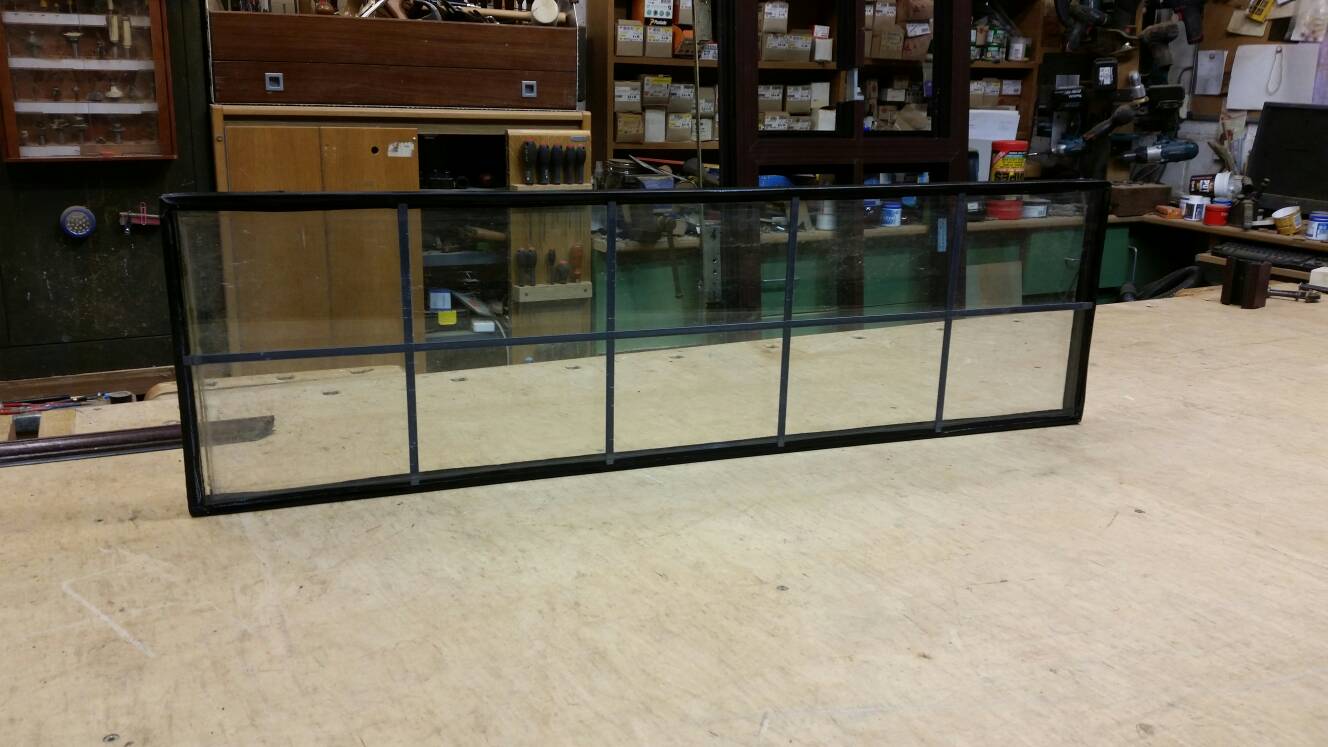
Some nice leaded 30mm double glazed units ! For £6 I didn't mind that the lead didn't look quite how I wanted. I decided for extra privacy that I could add some window tint film to the inside. I remember my mates back in the day adding it to their cars and how it always use to peel at the edges. That's when I thought how convenient it'd be if I had a upvc window and easy to remove beads/panes of glass.
The tip wouldn't allow me to just take the glass out on their premises , for health and safety reasons, so I had to take the entire door then take back what I didn't need - there ain't gonna be much left to take back :lol:
fc59f5e8c1e170d1b3e803478b4e0cb9.jpg

ab9de56c539a44231519e7d8be0338fa.jpg

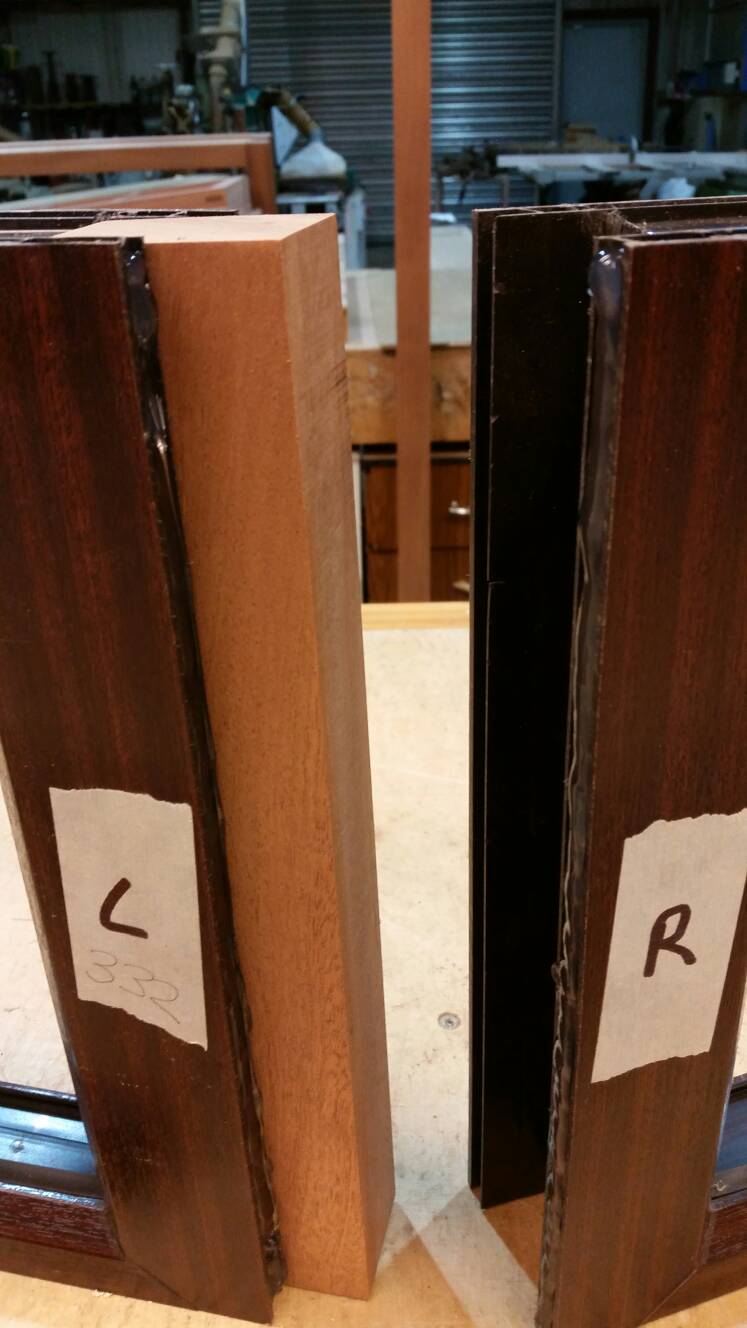
This is the centre section of the door. If I ripped it down the middle I could reuse the frame
646b52ea553eccc0c9984f5114f6024c.jpg

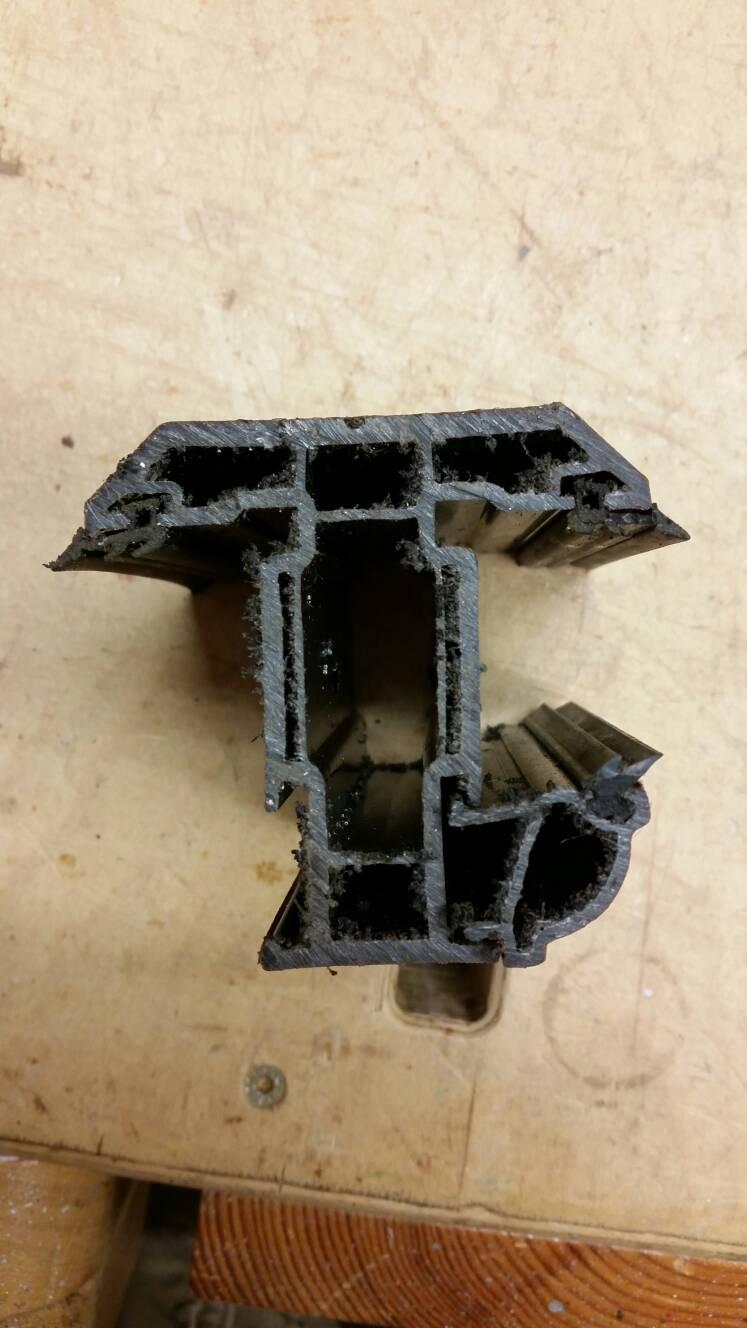
Cut the bottom of the door off and removed the aluminium strengthening bar's.
494984fc95d1f59a58bae196a6a574e9.jpg

Put in an old saw blade and started cutting off the top and middle rail of the door. Something peculiar was happening cause the cut didn't look right. The top section of the door was 20mm out of square!!!!! They can't have even checked it !?
12bbd6881158d4ddff1647ffafdf6efa.jpg

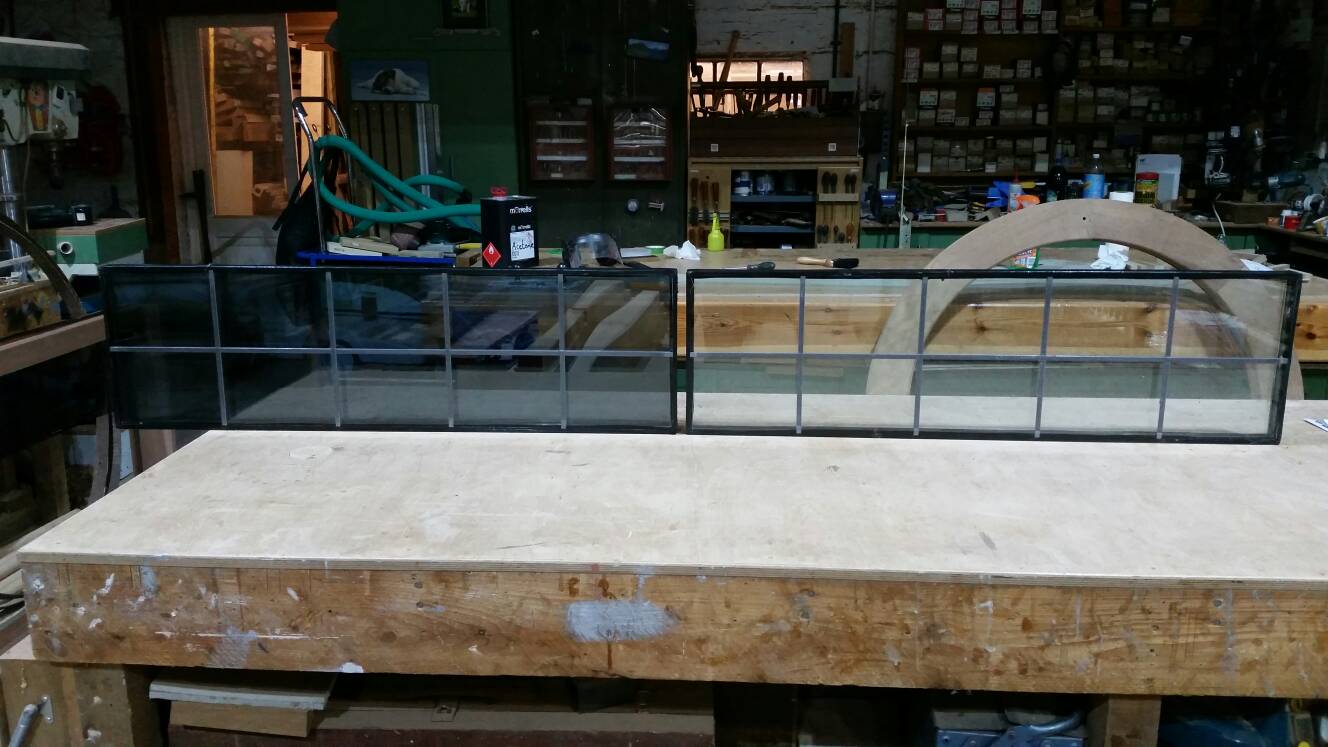
I cut the door in half, surprisingly it cut really well and didn't seem at all brittle.
aad6fe028300821243f160b44c42c4da.jpg

I trimmed the ends off (had to push the frame square)
Just need to make a simple frame for both of them to sit in, also to add a little strength. The rest of the shed is softwood so I guess idigbo should be a cheap and good enough for this job.

Window tint should come tomorrow. Hopefully make a start on the frame tomorrow night.

Coley

Sent from my SM-G900F using Tapatalk
 
Cool idea.. but... remember you said easy to pop out the beads and remove the glass.. now think the same thing if your trying to nick stuff out of a locked shed.. might want to add a nice fancy grill or something on the outside..
 
lee celtic":370jvys9 said:
Cool idea.. but... remember you said easy to pop out the beads and remove the glass.. now think the same thing if your trying to nick stuff out of a locked shed.. might want to add a nice fancy grill or something on the outside..

Install the window with the beads on the inside :wink:


Looking good Coley =D>
The recycling gods must look upon you favourably :lol:
 
lee celtic":2kx5zxwu said:
Cool idea.. but... remember you said easy to pop out the beads and remove the glass.. now think the same thing if your trying to nick stuff out of a locked shed.. might want to add a nice fancy grill or something on the outside..
Most upvc products have the beads so either a rubber has to be removed first on the inside, then the bead on the outside becomes loose. In this instance, as nolegs mentioned, the beads are on the inside do it shouldn't be an issue.
The tricky bit will be adding drainage for it
92d7146dfb9ef5b49cff4e2bf811c261.jpg

Phil it's amazing how much good stuff people consider to be rubbish isn't it. Working with what you can get,more often than not means compromising but at least it means less goes to landfill. Does your shed windows have beer decals/branding aswell ? That'd be kinda cool !
Coley


Sent from my SM-G900F using Tapatalk
 
n0legs":2zgnu1pw said:
The recycling gods must look upon you favourably :lol:

I think it pays to be persistent ;)
I'm wondering if the door would have started off square but over time gradually dropped- that'd be quite a good selling point for wooden windows if over time upvc door joints started to fail.
19c3336a6151538d246f623562ab0a1c.jpg

The panels also had a plywood section that had got damp, swelled and started to degrade. Simple door construction but it's definitely made to a price instead of quality.

Coley

Sent from my SM-G900F using Tapatalk
 
Get yourself a couple of drainage caps to save putting a hole through the lot. Just drill into the upvc chamber from the rebate, drill some (i think from memory) 5mm holes in the front of the frame and pop them in.
 
skipdiver":12c6npc8 said:
Get yourself a couple of drainage caps to save putting a hole through the lot. Just drill into the upvc chamber from the rebate, drill some (i think from memory) 5mm holes in the front of the frame and pop them in.
Oh willy's, now that is a good idea! !!!!!!!!! I wonder if the tip have any in stock :)


Coley
 
A little more progress
229061b1b70479da436bbf007f8fff2a.jpg

Only butt jointed the frame together.
babdd0638fb81256f097a98aed95dd10.jpg

Drainage slots on the head. Architrave type surround to go on the sides and head

e651ff5220fae7b5b559c07886dcf831.jpg


Coley

Sent from my SM-G900F using Tapatalk
 
b5b676fc8df128dd5f4efb11726065eb.jpg

Glued the upvc to the frame last night
b63f54dfaab78edc8bde6ca7ae8be01f.jpg

d8d6ea03b212ddaa13ceab97b8b1caf0.jpg

This morning I cut off the dried glue and drilled some drainage holes - I looked into getting the drainage caps but decided hidden holes might look neater
a6098edc20669339e41581f12a4fa521.jpg

Acetoned off the upvc and gave everything a lick of zinsser 123.
An hour later after returning from the dog walk I splashed on a coat of bedec barn paint.
c76054b501fd6e57b44de16b2f86e895.jpg

I think it looks much better now it's had a lick of something.
It's had 2 bedec coats but I might give it another one tomorrow for good measure.
Just need to fit the window tint film, which I'm really really not looking forward to !!

Coley

Sent from my SM-G900F using Tapatalk
 
3c78fd97001a2db15b7660b0f325caf9.jpg

Cleaned off as much grime as I could from the glass.
In hingsight I probably should have cleaned off my bench thoroughly first.
0df6927acf5c840af9bc5c559c688603.jpg

The dust on the film looked tiny tiny tiny but when I started to squuegy out the water I noticed lots of tiny scratches from it. Here's a pic of the tinted glass vs the plain glass
31c710704e5eadc69e2c000c31f9e77f.jpg

I'm fairly sure it's not quite as dark as I was hoping but will have more idea once it's fitted. I was aiming for the greyest tint possible without being limo black but think this is probably a tad too light.

The tints had a few days to dry, I'm tempted to plop them in the holes just to see how it might look. Don't think I'll attempt to fit it today until the cuts had a few more days to heal.
Coley


Sent from my SM-G900F using Tapatalk
 
Finally got around to fitting it this afternoon.
659fd0846414eada4f3c81c461bb4810.jpg

a077714b1618c6a1a1acef8f51cba3e2.jpg

Im really pleased with how much light it let's in, despite being able to see hardly anything from the outside.
402f96f120f74c28edd51361d4c0e778.jpg

Studwork and insulate the inside next- hopefully be ready for the summer !!

Coley

Sent from my SM-G900F using Tapatalk
 
Well done Coley, looks a lovely job as does the shed =D> =D> =D>

One person's rubbish is another's treasure plus it saves a bit of landfill.

Regards Keith
 
Thanks chaps. Not sure why it took almost 4 months to fit it though :lol:
Cheers
Coley

Sent from my SM-G900F using Tapatalk
 
Back
Top