photography help

UKworkshop.co.uk

Help Support UKworkshop.co.uk:

This site may earn a commission from merchant affiliate links, including eBay, Amazon, and others.

Bigbud78

Established Member
Joined
27 Jan 2015
Messages
398
Reaction score
0
Location
Manchester
I'd love to be able to take some better quality photo's of the things I've made, I've a canon SLR but with no really good place to take photos of my work. Does anyone know of any links or be able to provide some basic tips to get started ?

I've seen some use a light box with a fluorescent light which I'm going to try, I don't really want to sink much money in TBH but would like to try and upgrade a little with anything I can make :)
 
If they are small things, then I guess a light tent and a tripod would be a start.

I seem to remember that using a window with the right aspect can also be used at the certain times of day and sun to good effect.

There are some experienced photographers on here, so Im sure you will get some good pointers
 
The easiest way to improve your images is to get more light on the subject. Have you a work-light? Best used indirect either of a wall or ceiling or through a sheet.
 
I have this set up. A simple camera and a white screen behind and produce the phot shown of the bud vases with no or very little adjustment.

IMG_20160531_165854066_zpsygv0qjhp.jpg

DSCF4463_zpszsphh9dt.jpg

DSCF6197_zpsfvzs20ft.jpg


It is best to have a plain background with no clutter after all it is the item you have just finished that you want to see.

All I do is set the camera on "program AE" then go to menu and select "White Balance" followed by "custom setting" point the camera at the white background and click then press set now I am ready to take the photo.

Hope that makes sense. I think that most camera's have the setting I mentioned above.

Sorry about the photo of the camera as I used my phone
 
Probably the simplest method out there Dalboy, nice explanation how to get the best out of it!
 
Thanks Stiggy.

Something I did forget is avoid taking it in direct sunlight as it casts shadows which can also distract. I also go through the same process evry time as the light levels may vary each time you want to take a photo
 
You don't need anything fancy. Just use a plain background and take the picture outside on an overcast day to prevent harsh shadows. As said, a tripod is useful if you have one.
 
woodpig":2poachnb said:
As said, a tripod is useful if you have one.

Probably the single greatest step towards quality, and not at all expensive.

Certainly under £5 at a car boot.

BugBear (who got a Benbo, a Gitzo and a Manfrotto for a fiver each)
 
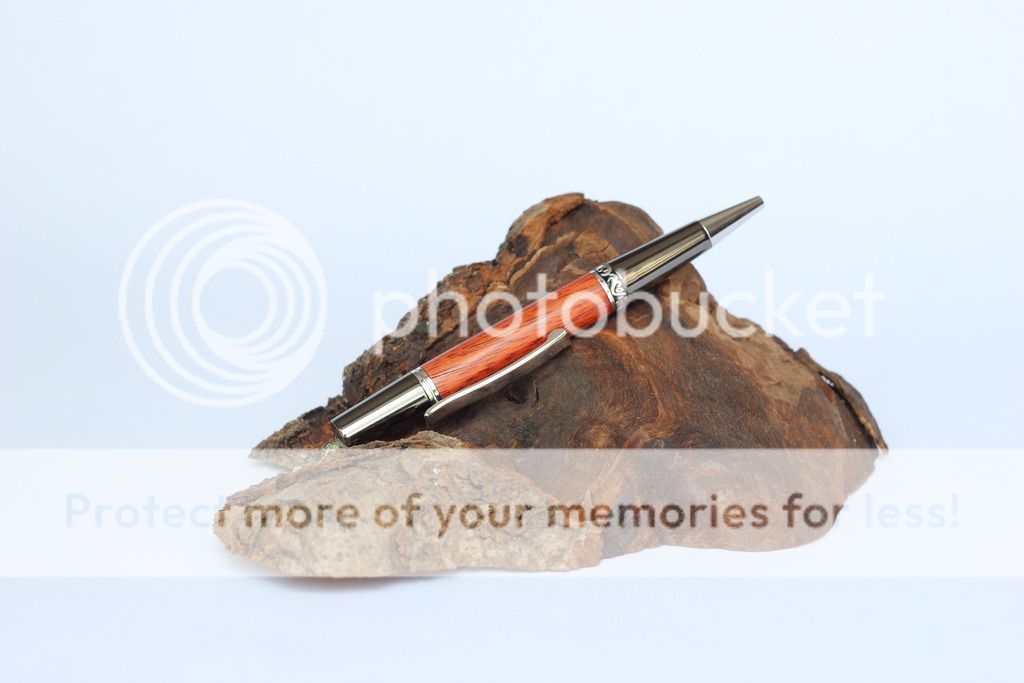
A decent DSLR is a great start. If you can, shoot in RAW format. That will allow more manipulation when processing. In turned items that means you can tame highlights and boost shadow detail if you're unable to fully control light levels when shooting, plus you have much finer control over white balance to ensure you get the correct colour of your timber. Another good trick is to use the clarity/presence/structure control gently to enhance figuring detail.

A tripod, even a cheap one, is really helpful in two ways.
1/ If it's sturdy enough you can make long exposures at small f numbers (f8>f22) which will give you more depth of field on smaller objects. Try to use mirror lock up and a self timer to help reduce vibration if it's only a lightweight tripod.

2/ It allows you to walk away from a set up shot, look at it on a decent screen, then return to adjust the lighting/background/exposure etc from exactly the same viewpoint. This can be really helpful when learning.

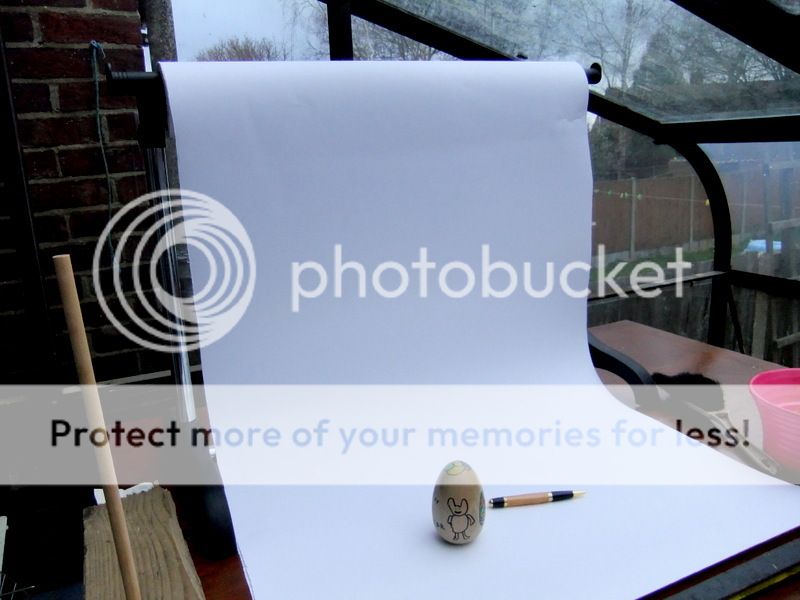
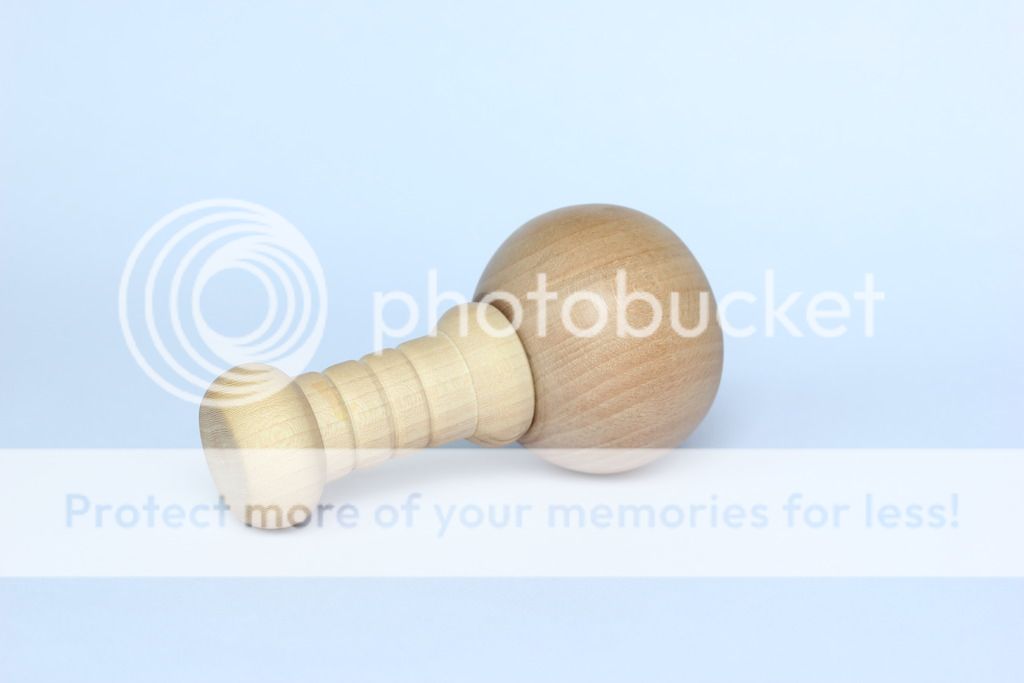
Lighting is the absolute key to good product photography. A good starting point is soft indirect daylight, north facing window or outside on a cloudy day. You can use simple white sheets of card to help bounce light back onto the turning to help fill in shadow detail. Be aware of how any bounce cards like this reflect in the finish, well positioned they can enhance the detail of the work.
Avoid direct flash. It's harsh, contrasty and rarely will deliver the best results.
Soften the output with a soft tissue over the gun at the very least.
Continuous lights (floodlights, spot lights etc) can be excellent too. Try to ensure they are all the same type as mixing tungsten/halogen/fluorescent/LED etc will give you big problems with different colours.

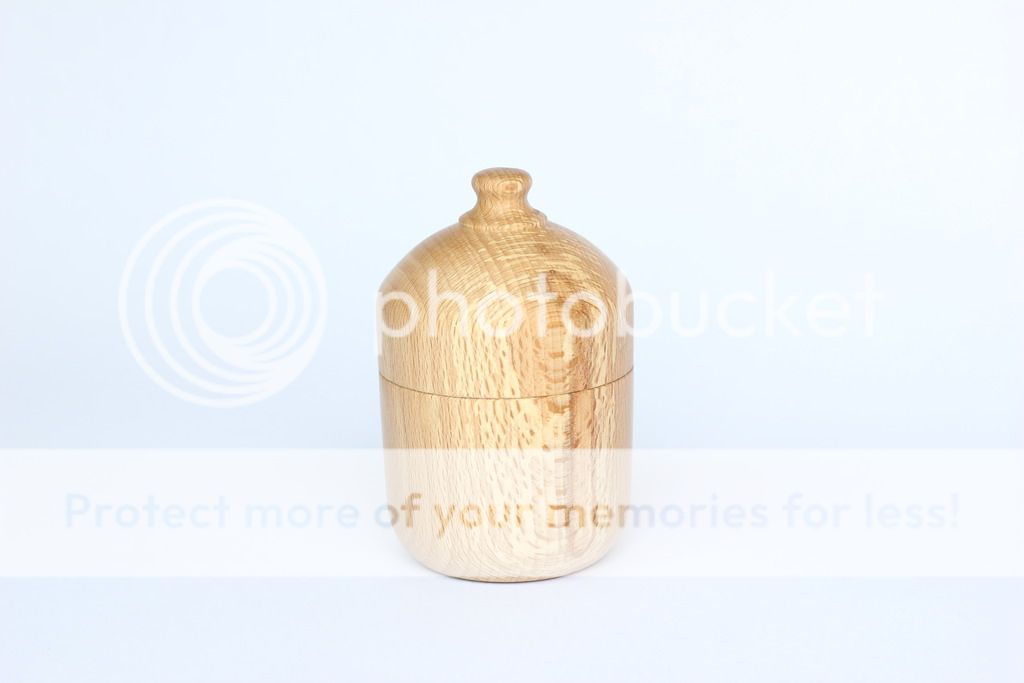
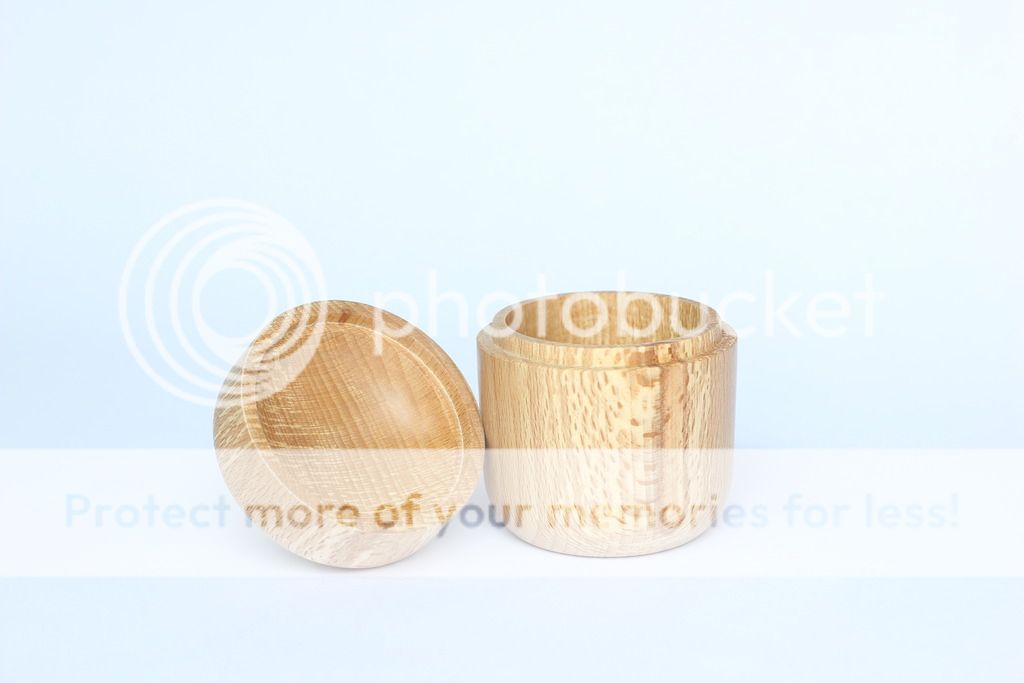
Background; A simple curved white sheet of card from an artists or framing supplier is often the easiest and cheapest solution.
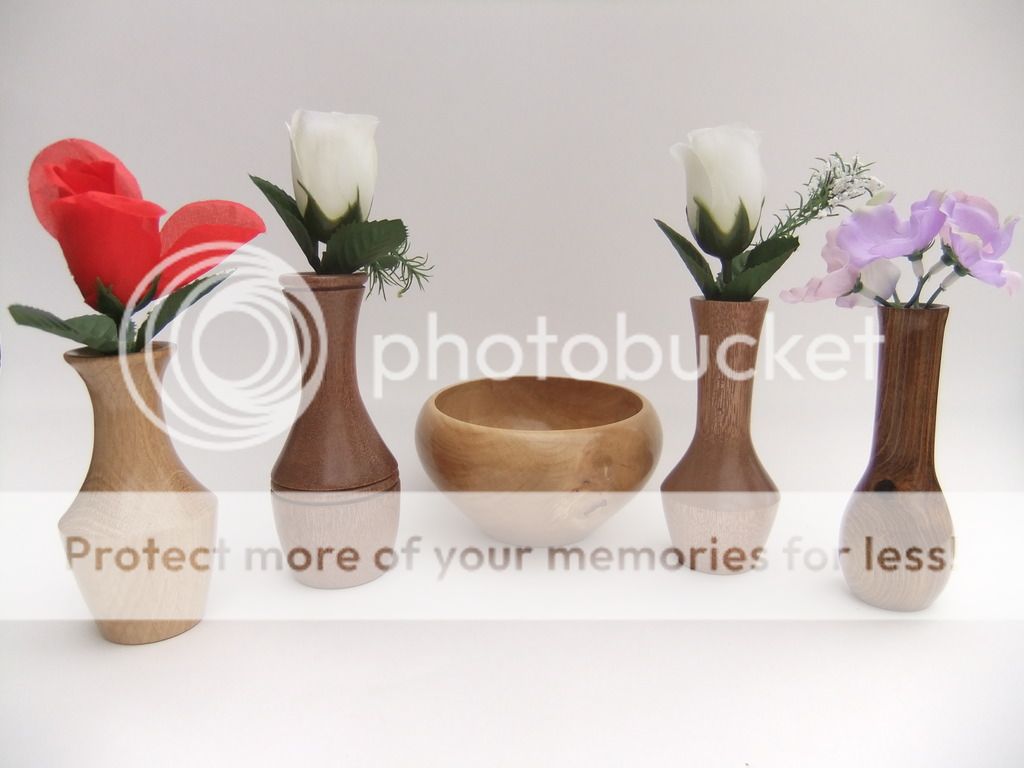
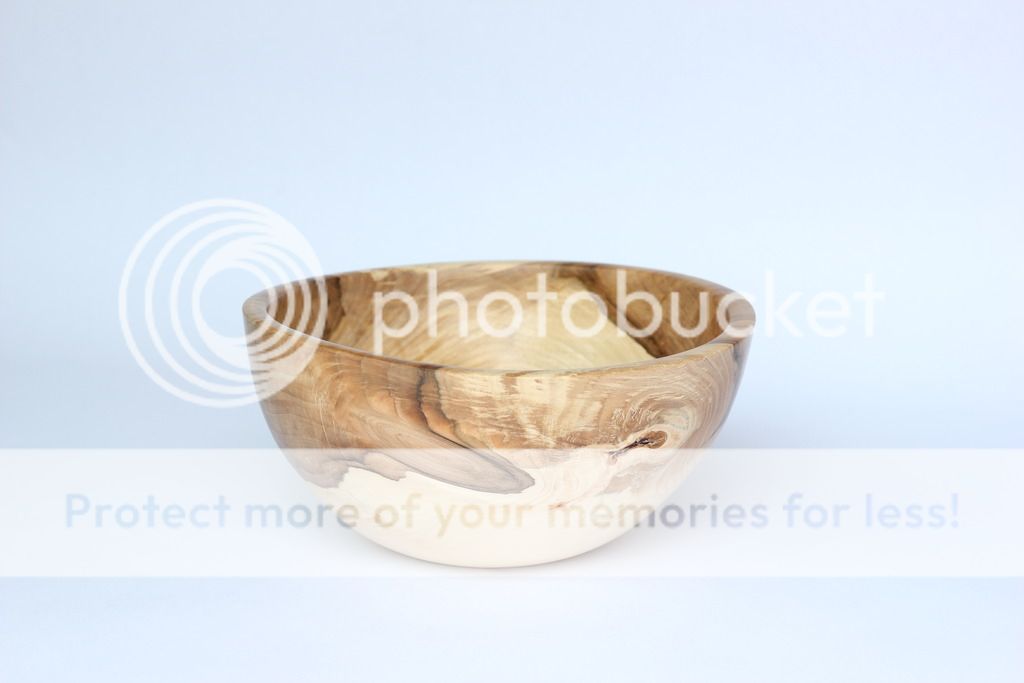
Don't get hung up on it having to be white. A contrasting tone can make work stand out more. When well l it and pale turning will look great against a dark background.
A lot of good photography of turning places them in 'lifestyle' setting too, don't think the background has to be plain.
Have a look through my Pinterest board https://uk.pinterest.com/paul8863/turned-bowls/ of turned bowls and see how many good photographs of turned items are on boring white backgrounds....not many.

Output: When preparing images for the web, post in sRGB colourspace for greatest compatibility and don't be tempted to over sharpen images. Check sharpening at output size and back off until you don't see any nasty artifacts on edges(white lines usually).
 
They're all fine; Although if they were shot against a white background they all look a bit 'cool', but nothing that a minute or two in an image editor wouldn't solve.
1. looks a little under exposed, but could probably be pulled up in post processing OK. There's also a lack of sharpness compared to the others. Maybe a little camera shake ?
2. The lighter wood at the bottom has lost some detail, but could be a perfect example of when shooting RAW would help. You could pull down the highlights to regain that detail. It could also do with some more depth of field.

I don't think you need much help ;-)
 
A good few photo's. Other than the obvious under and over exposure one thing I would change is in the pen one get rid of the wood support either lay it flat on the sheet or get a clear plastic stand for this purpose, I just lay mine flat as in the two below. nothing to take the eye away from the pen or other object.

DSCF5274-001_zpsfzkeimps.jpg

DSCF5273-001_zps7wikkfj8.jpg
 
Dalboy":2xod96zr said:
one thing I would change is in the pen one get rid of the wood support either lay it flat on the sheet or get a clear plastic stand for this purpose,
YMMV, I think it looks nice in a less sterile environment. It gives it some 'woody' credentials.
 
Dalboy":2luzmitq said:
A good few photo's. Other than the obvious under and over exposure one thing I would change is in the pen one get rid of the wood support ...

I really liked it!!

And I think Bigbud78 has cracked his photography problems.

BugBear
 
Whether or not we like or dislike a prop in the photo what has been achieved is that the photo's have improved and can be worked on by Bigbud78 to suit himself. This is the testament to the power of the forum
 
Wow!

I love those photos mate, very clean and sharp.

I especially like the pen on the block of wood, sometimes an object on it's own just isn't very interesting...

Well done!

:D
 

Latest posts

Back
Top