kirkpoore1
Established Member
Part 1--"Hang 'Em High"
Back in November, I got my Oneida dust collector dropped on my driveway. Over my New Year's break, I finally got some time to try to get some of my garage back, and put at least the cyclone up in the shop. I spent an evening putting up a hoisting point in my shop ceiling, and the next morning my friend Eric came over to help out. He has a complete lineshaft shop in his basement and another one in his three car garage, so he's the last guy to miss out rigging fun. Now I should say that my shop has a clerestory in it, and thus has a 16' ceiling in the middle. I decided to put the cyclone up there to save space--even though the shop is 22'x26' (6.7 x 7.9 m), it's full with 16 machines and two benches.
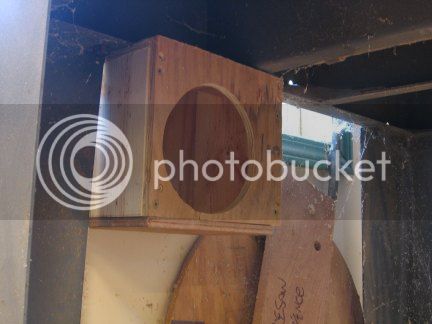
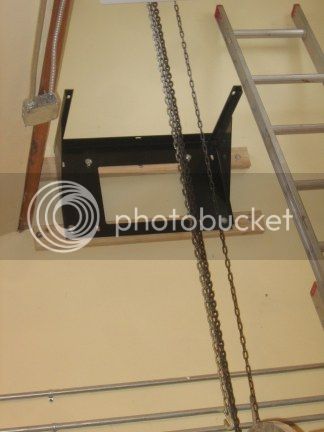
First, we put up the mounting bracket, bolted to the wall 2x4's with four 3/8" lag bolts:
Then it was on to assembling the cyclone, from four major parts. With a 5 hp motor, it is heavy (maybe 200 lbs), tall, and tippy:
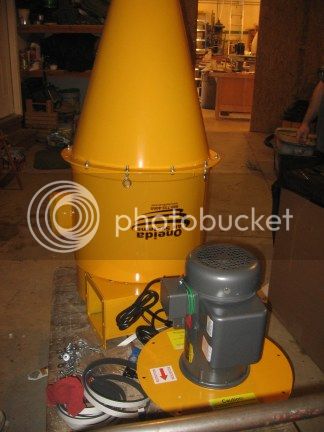
The motor and fan come mounted to their own plate.
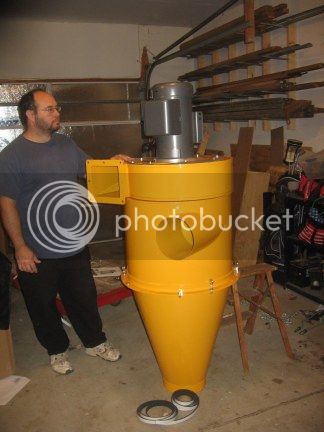
Assembled & ready to move.
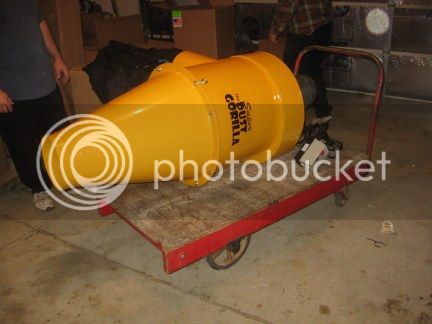
Looks like a jet engine--and later I found that it sounds like one too, but with a lower pitch. But it did fit on the shop cart.
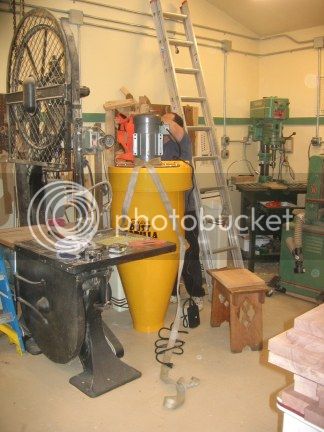
Getting ready to lift.
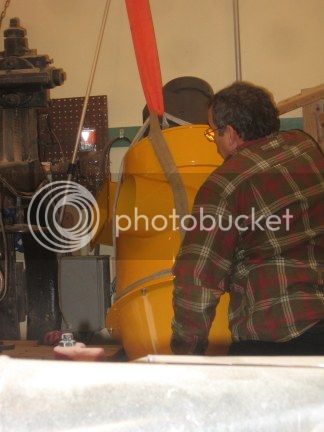
Lifting is via Eric's chain hoist. The chain wasn't long enough, so we used an extra strap to move it up a couple of feet, then removed the extra.
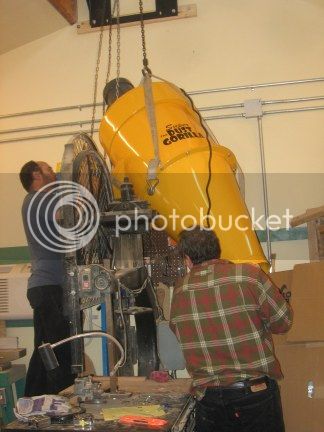
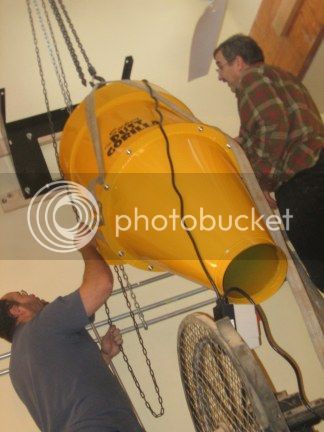
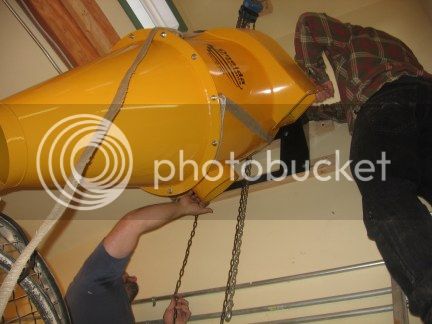
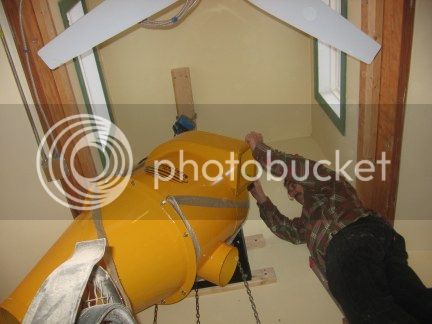
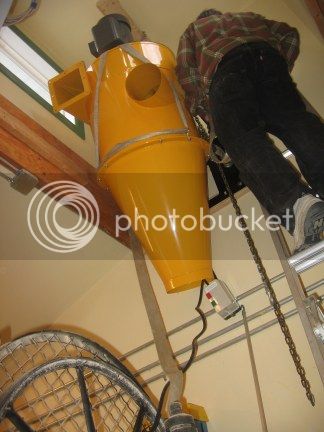
We got it all the way up, but it was a little short. I had to buy a small pulley, then we used my come-along and a strap tied first to the bandsaw, then the mortiser, and finally the tenoner to do the final hoisting. The problem was getting the come-along pulley's cable clear of the motor. We had to tilt the cyclone so that the rim would sit onto the bracket, then temporarily bolted it down. Eric braced the cyclone with an extended 2x4, and my daughter Kate tightened and loosened the come-along as necessary. Finally, we got it bolted down:
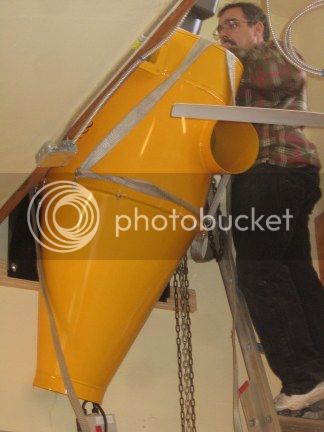
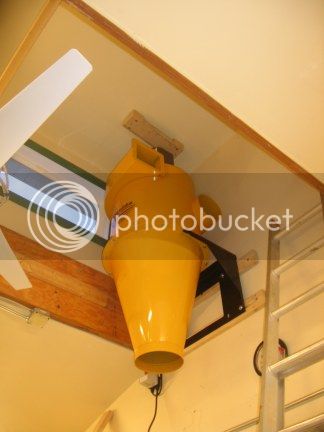
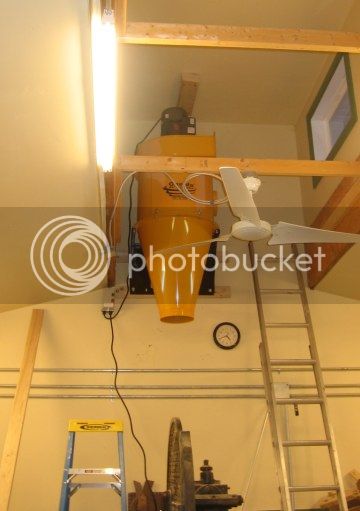
I screwed the starter to the wall. It's 10 feet off the floor, but the DC comes with a wireless remote, so I don't have to reach it--I hope. I haven't tried it yet because I need to change the plug to an L6-30 to match my outlets.
The whole process was complicated, but not really dangerous. The most dangerous part was bolting the 2x6 to the ceiling to act as a hang point for the cyclone. It was really hard tightening 6" long lag bolts by hand when I was 16 feet off the ground. Eric and I never had to back up, but we did have to reorganize or change plans many times to get the cyclone in place.
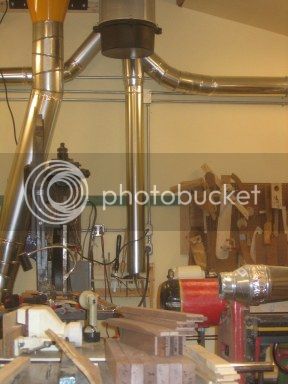
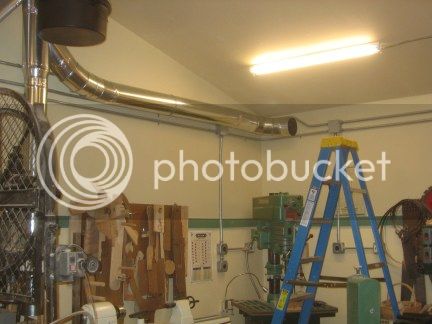
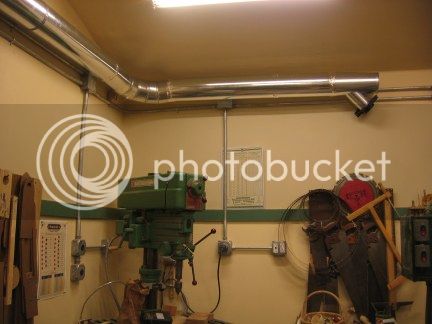
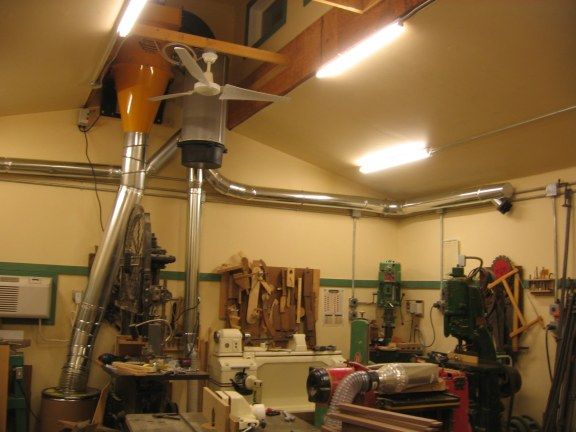
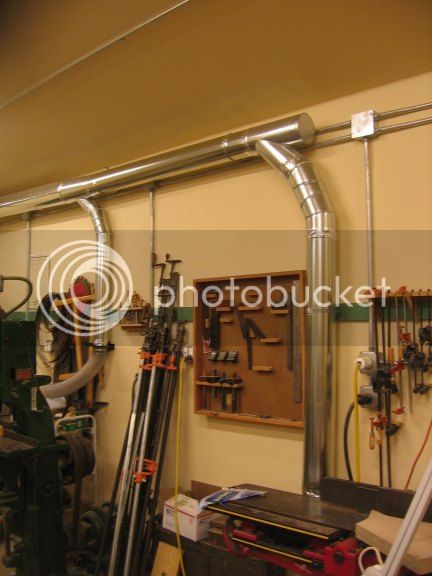
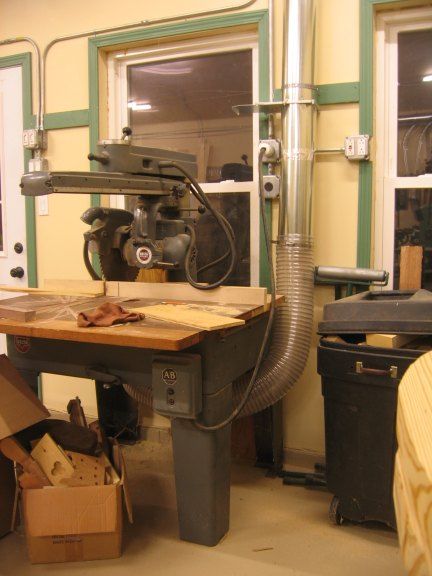
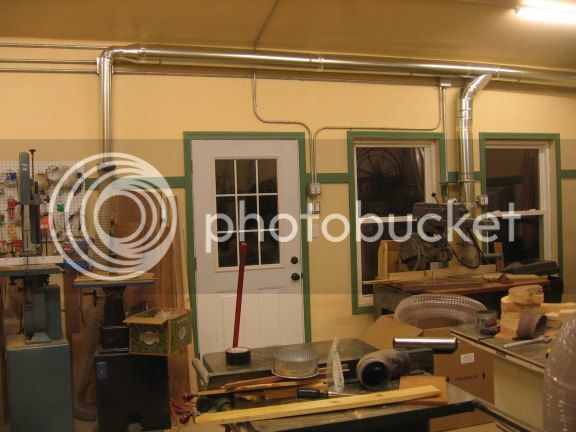
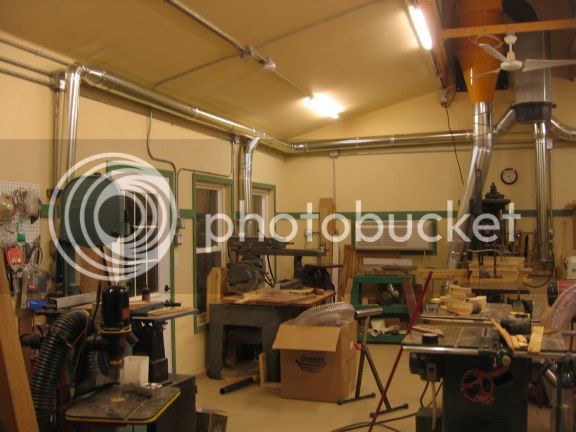
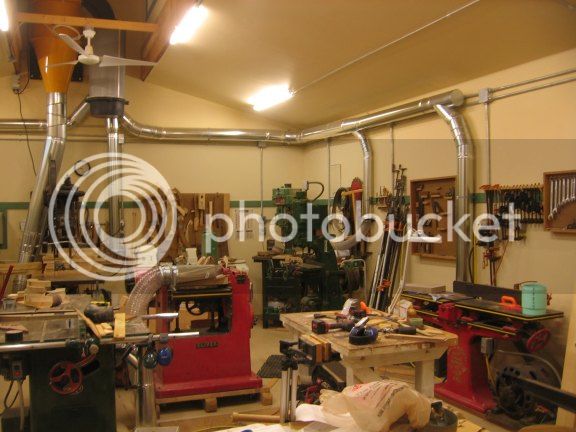
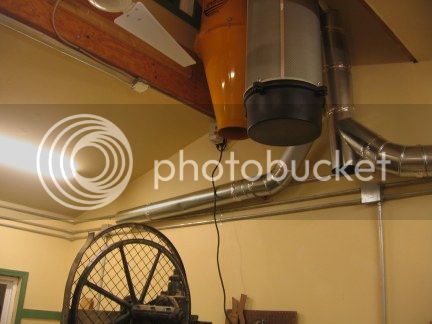
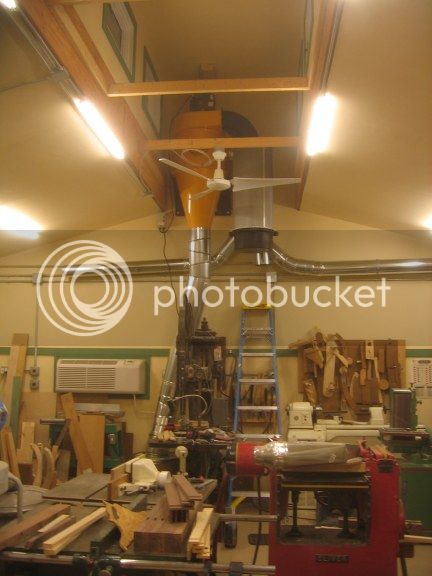
Next, the piping grew gradually, first down, then the filter added, then split right and left, and then on bottom of the cyclone. :
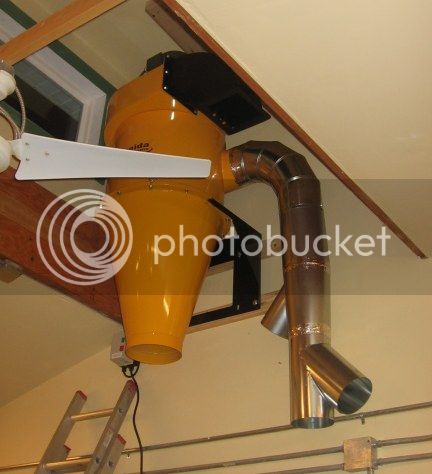
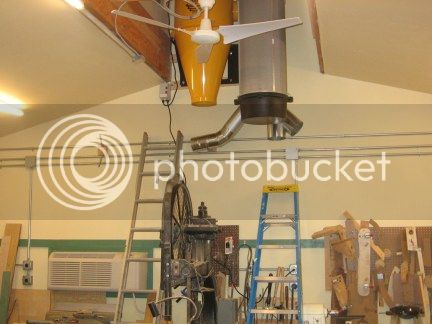
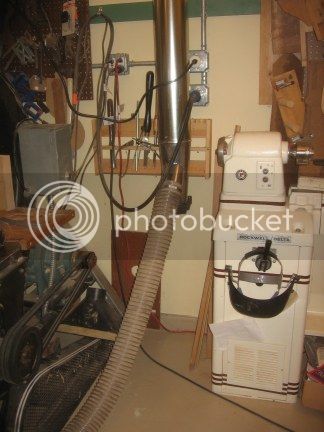
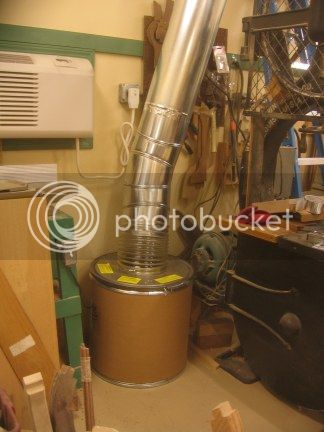
The small 35 gallon bin. I think I'm going to put a handle on the top, since the clear hose is actually under compression and holds the lid in place. I have to pull it up to get the bin out.
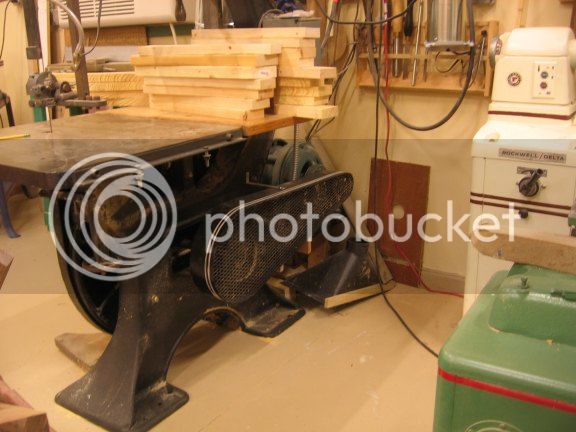
The bandsaw was really in the way for this, but I took advantage of it one or twice by having one foot on the top of the C-frame and the other on the ladder.
Kirk
Back in November, I got my Oneida dust collector dropped on my driveway. Over my New Year's break, I finally got some time to try to get some of my garage back, and put at least the cyclone up in the shop. I spent an evening putting up a hoisting point in my shop ceiling, and the next morning my friend Eric came over to help out. He has a complete lineshaft shop in his basement and another one in his three car garage, so he's the last guy to miss out rigging fun.
First, we put up the mounting bracket, bolted to the wall 2x4's with four 3/8" lag bolts:

Then it was on to assembling the cyclone, from four major parts. With a 5 hp motor, it is heavy (maybe 200 lbs), tall, and tippy:

The motor and fan come mounted to their own plate.

Assembled & ready to move.

Looks like a jet engine--and later I found that it sounds like one too, but with a lower pitch. But it did fit on the shop cart.

Getting ready to lift.

Lifting is via Eric's chain hoist. The chain wasn't long enough, so we used an extra strap to move it up a couple of feet, then removed the extra.


We got it all the way up, but it was a little short. I had to buy a small pulley, then we used my come-along and a strap tied first to the bandsaw, then the mortiser, and finally the tenoner to do the final hoisting. The problem was getting the come-along pulley's cable clear of the motor. We had to tilt the cyclone so that the rim would sit onto the bracket, then temporarily bolted it down. Eric braced the cyclone with an extended 2x4, and my daughter Kate tightened and loosened the come-along as necessary. Finally, we got it bolted down:


I screwed the starter to the wall. It's 10 feet off the floor, but the DC comes with a wireless remote, so I don't have to reach it--I hope. I haven't tried it yet because I need to change the plug to an L6-30 to match my outlets.
The whole process was complicated, but not really dangerous. The most dangerous part was bolting the 2x6 to the ceiling to act as a hang point for the cyclone. It was really hard tightening 6" long lag bolts by hand when I was 16 feet off the ground. Eric and I never had to back up, but we did have to reorganize or change plans many times to get the cyclone in place.
Next, the piping grew gradually, first down, then the filter added, then split right and left, and then on bottom of the cyclone. :


The small 35 gallon bin. I think I'm going to put a handle on the top, since the clear hose is actually under compression and holds the lid in place. I have to pull it up to get the bin out.

The bandsaw was really in the way for this, but I took advantage of it one or twice by having one foot on the top of the C-frame and the other on the ladder.
Kirk


