New smoother underway

UKworkshop.co.uk

Help Support UKworkshop.co.uk:

This site may earn a commission from merchant affiliate links, including eBay, Amazon, and others.

jorgoz

Established Member
Joined
6 Nov 2007
Messages
269
Reaction score
0
Location
Les Fagnes, Belgium
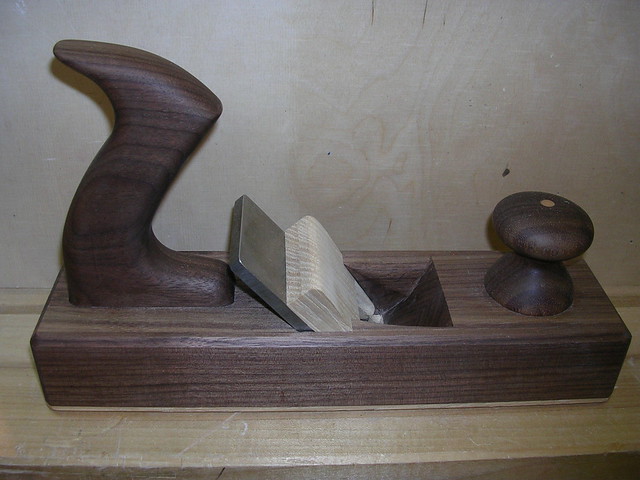
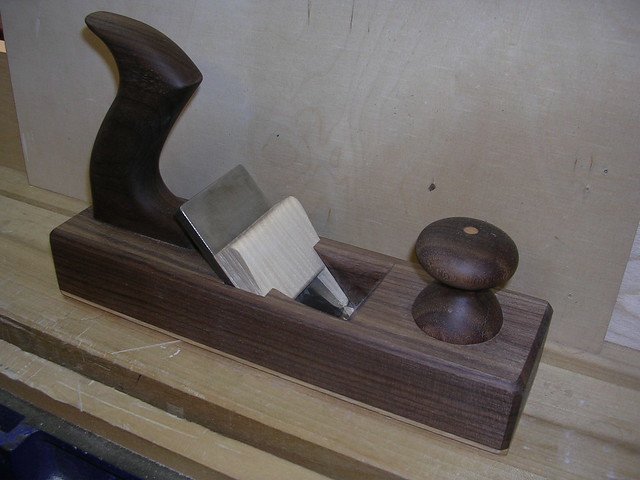
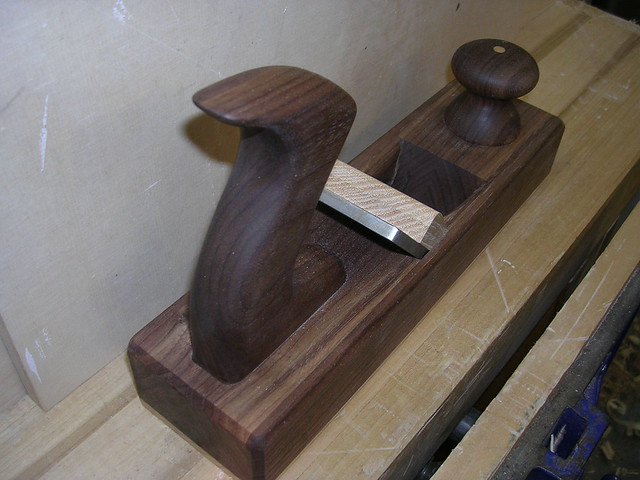
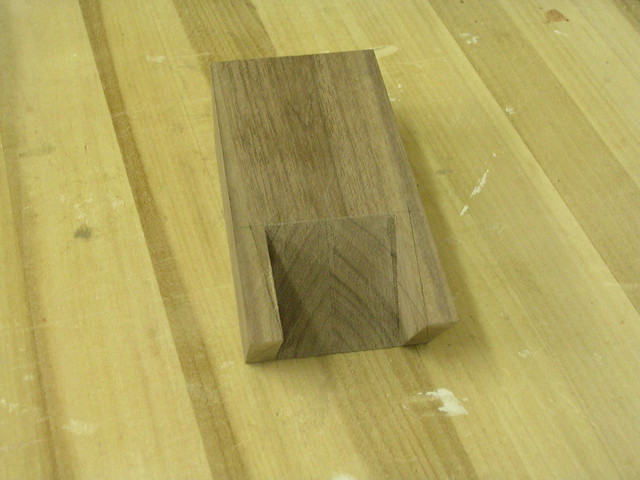
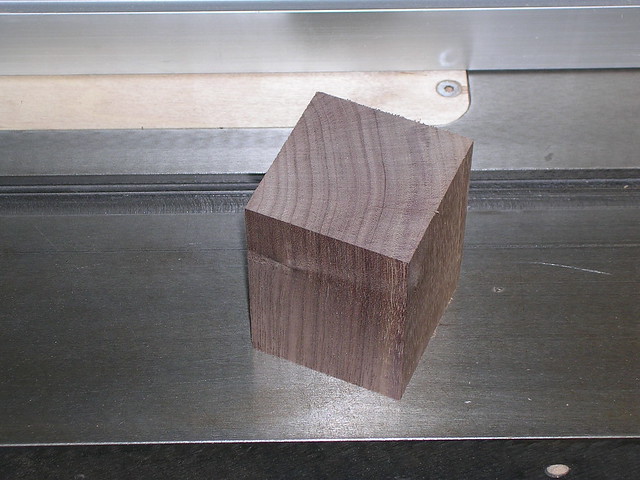
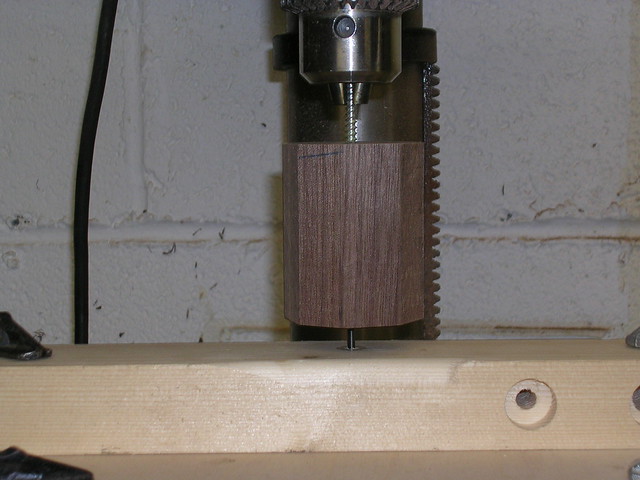
Started on my next plane build.

It's going to be a 4 1/2 type of plane, made of a walnut body with a hickory sole.

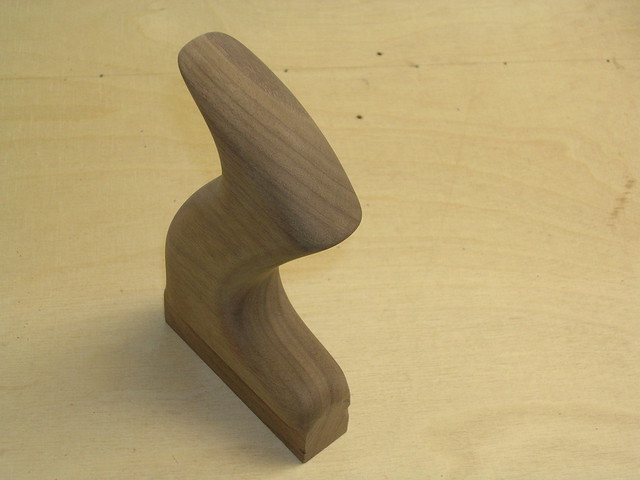
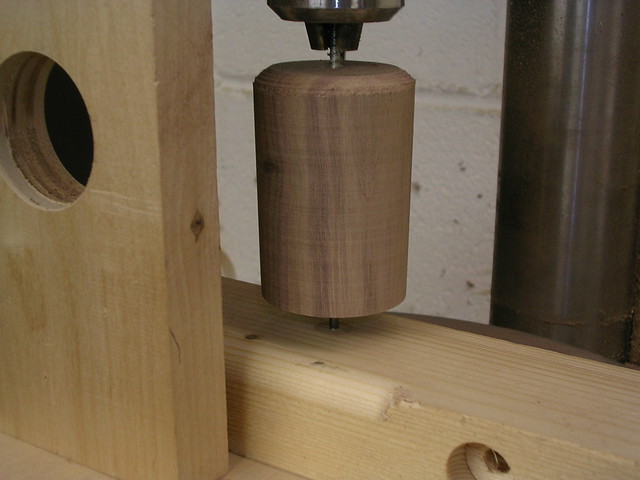
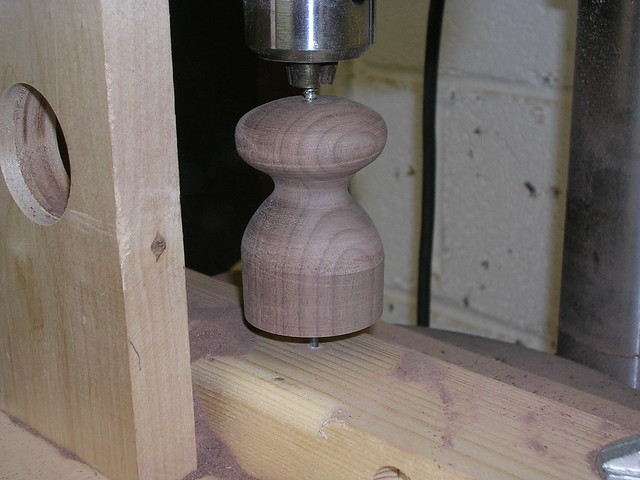
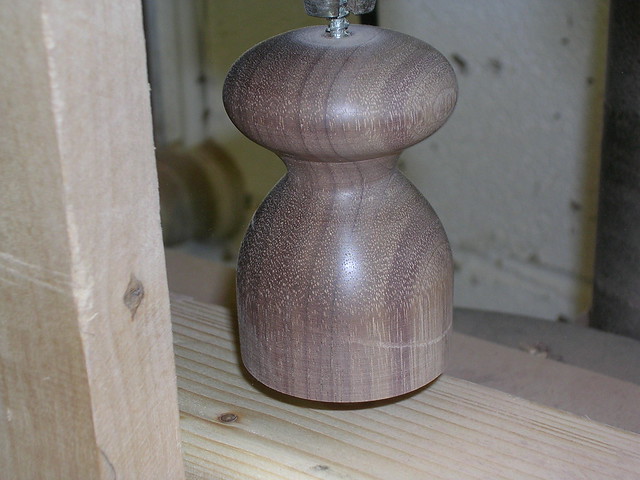
I started with the fun part first and made the tote.

5385337862_b36beca2c8_z.jpg


5385337860_08492208d6_z.jpg


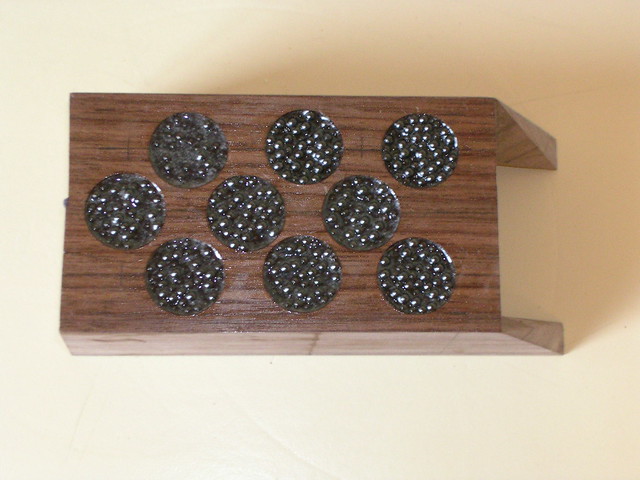
I'm toying with the idea of adding lead to the main block for that extra bit of weight.
 
Looks good so far! Let's hope the rest will follow to the same level of quality. I'm sure it will.

Is this going to be a pure woody then? Not an infill? Are you making the iron too?

Dave
 
It's going to be a 'pure' woody, maybe with some lead-inserts for added weight.

Got the blade from Phil Edwards.

I'm thinking about making my own brass lever cap, problem is i can't find any suitable brass stock, 6 or 7 mm thick (thicker is no problem) though.
 
I've been ill for a bit, so progress is a little on the slow side, but slowly but surely i'm getting there.


Did some work on the mouth

5390875228_3d581ed923_z.jpg


5390269285_b0fdb15b83_z.jpg


5390879202_cae3c187a8_z.jpg


5390273069_a690662851_z.jpg


With the mouth ready the toe is weighed down with some lead pellets/epoxy mix. When this dries i can put the plane temporarily together to find out how much i need to add to the heel to get a balanced plane.

5392591193_ab876e25d5_z.jpg


What do you do when you want to maka a front knob and have no lathe.


You start off which a small rectangular block of wood.

5393214369_9faa50787c_z.jpg


Next you mark the centers and make an octagon.

5393812324_683221b585_z.jpg


Put in a screw on the top and the bottom of the block receives a upturned drill bit mounted in a block of wood.

5393215503_7d68cd7948_z.jpg


5393814598_174f48b37d_z.jpg


With rasps and files you turn it into a round piece of wood.

5393217741_28480866f5_z.jpg


And after a while you get this.

5393815692_9e149bc425_z.jpg


5393816286_aa75e21347_z.jpg
 
Finally finished. Normally it was going to be a razee smoother, but in my enthusiasm i forgot to make the relief cut before glueing on the tote.

5413533416_ef3348575f_z.jpg


5412925749_a69058f2fa_z.jpg


5413534474_5377aeb8a6_z.jpg


At the moment i'm having trouble with the (Philly)blade. The edge is crumbling quite quickly, after a minutes use or so. :?
 
jorgoz":4kxsvvdy said:
At the moment i'm having trouble with the (Philly)blade. The edge is crumbling quite quickly, after a minutes use or so. :?
Send it back to Philly. It'll nead annealing and then hardening and tempering again, but it's unusual for a Phillyblade to crumble. I've got one and it's been fine - Rob
 
After telling Phil about it, he told me to regrind a new bevel (35°) and in doing so i ground of about 4 to 5 mm from the tip. Now the edge doesn't crumble anymore, although it seems very brittle compared to some japanese blades i have. Now curious how long it will retain it's edge.
 
Back
Top