Mr Ed
Established Member
Hello All
I've not been posting here for some considerable time, but I did read the recent thread on the ATC course and enjoyed it, so I thought I would reciprocate by sharing my pictures of the Dutch Tool Chest course the following week. These are all from Instagram, which I used to capture things as the course went along and then completing the build once I got home.
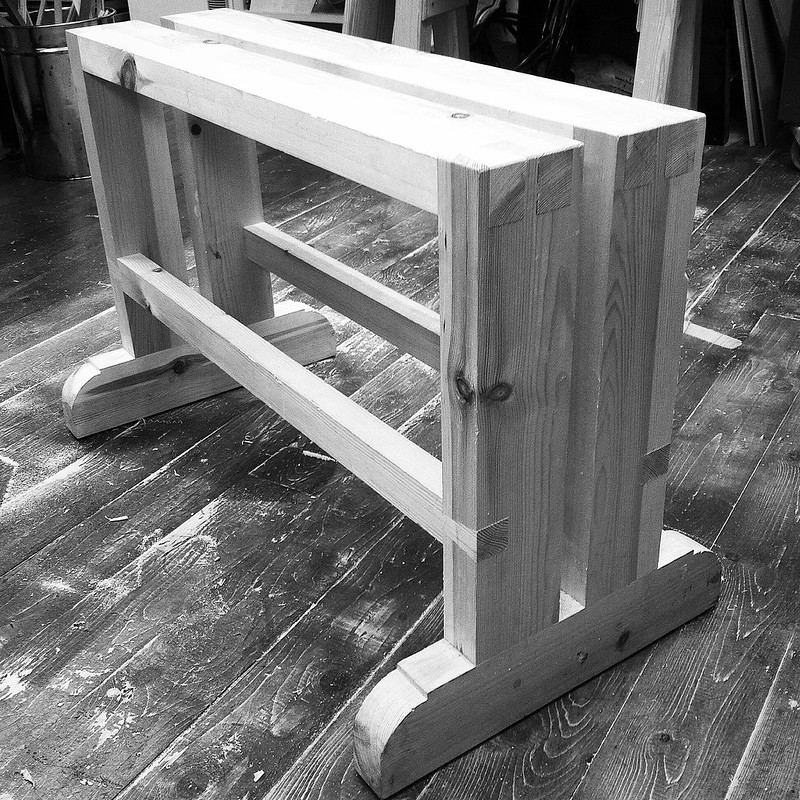
You need to make a tool chest to take your tools to a tool chest making course
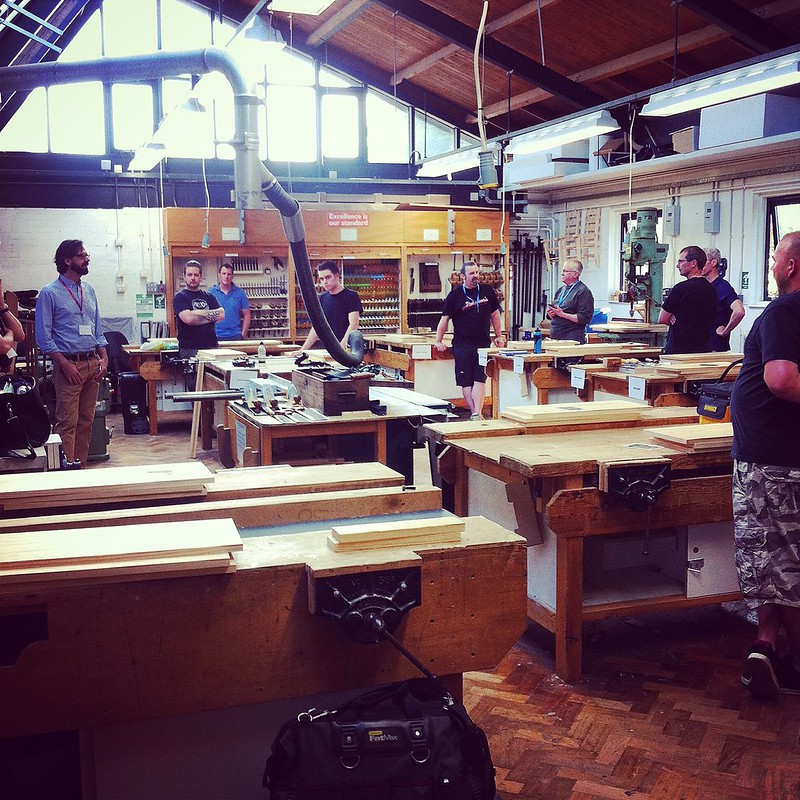
Ready to get started
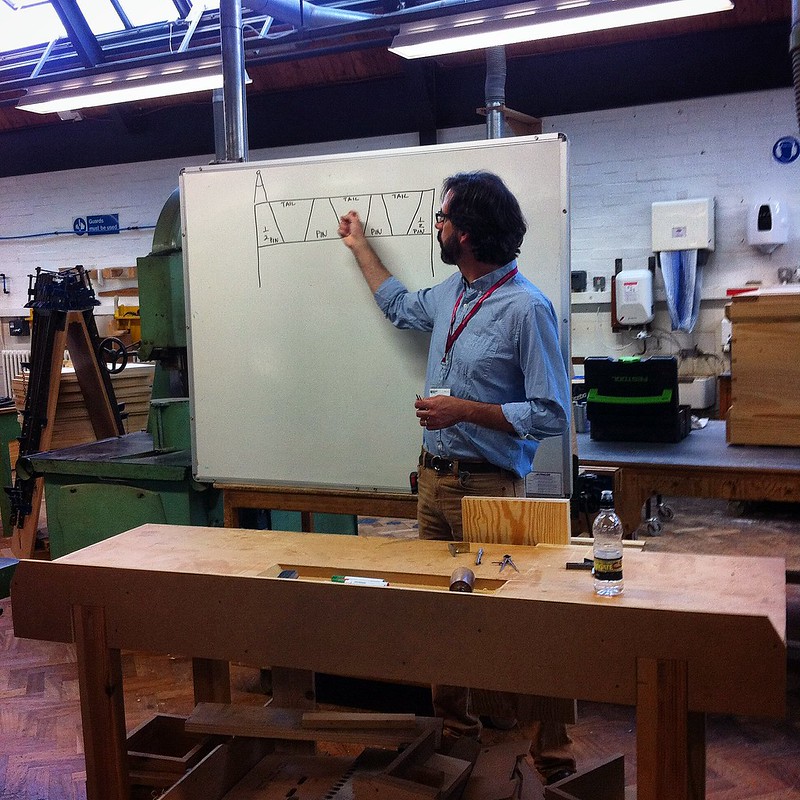
Quick dovetail tutorial
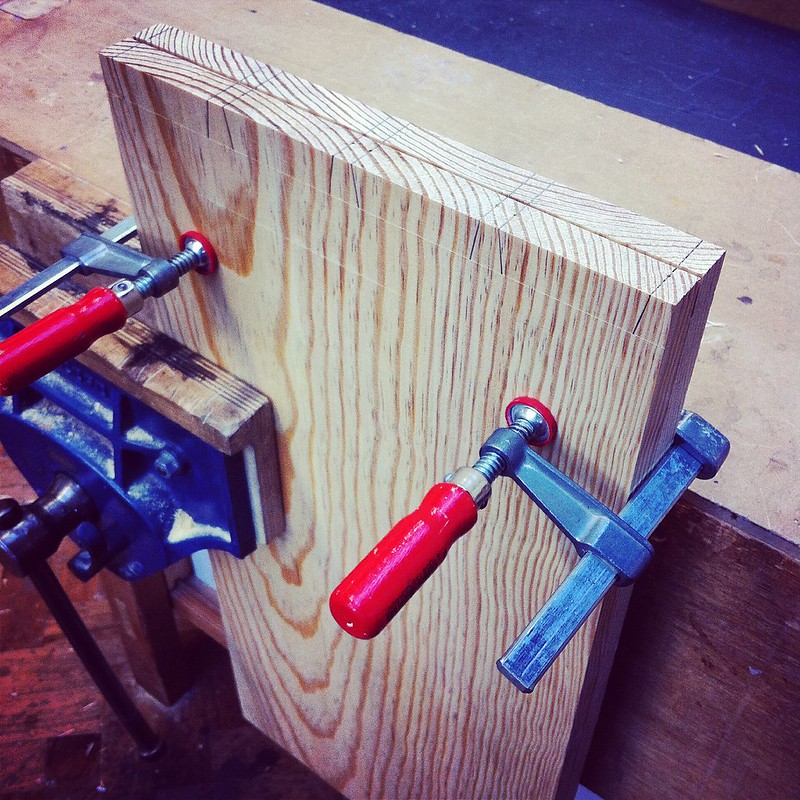
Marking out
Sawing tutorial
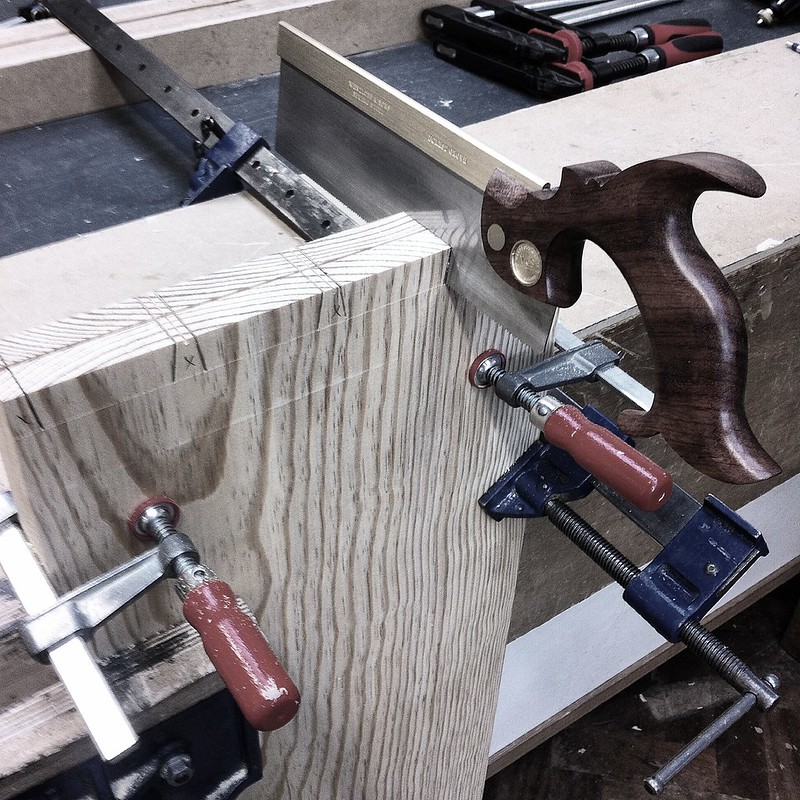
Sawing
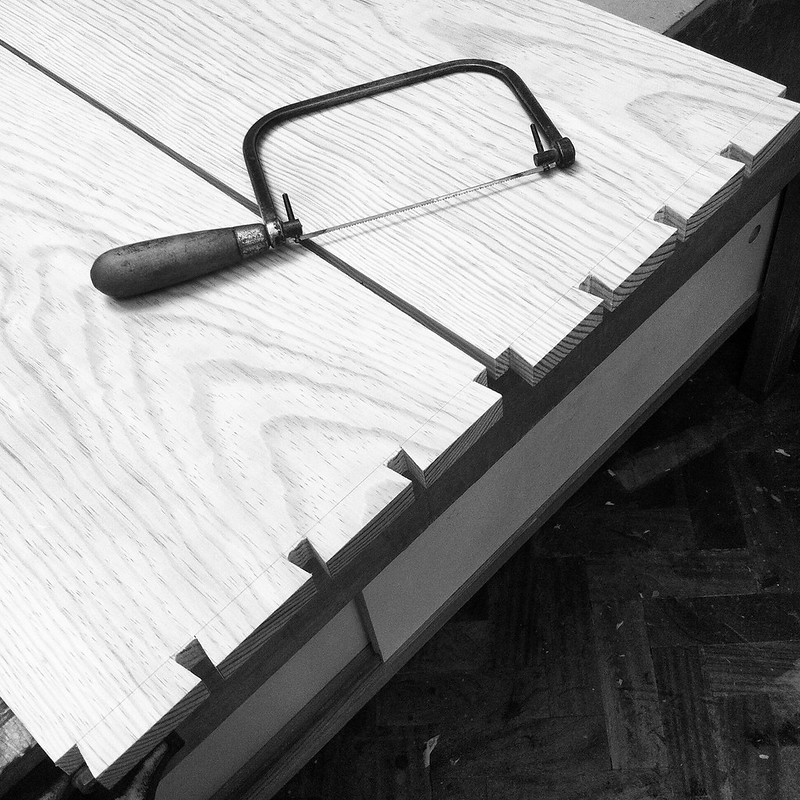
Coping
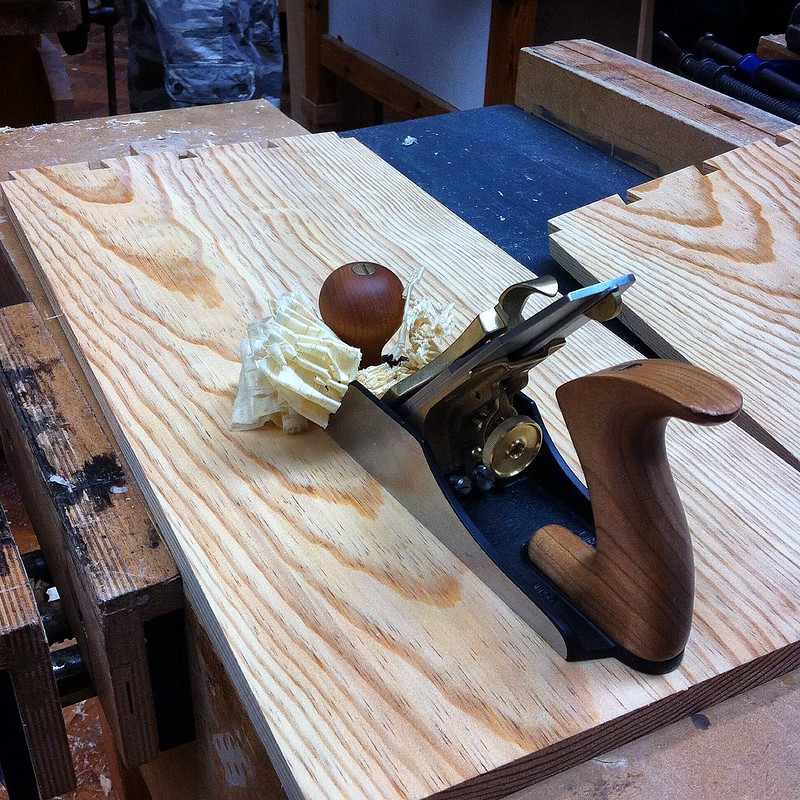
Cleaning the faces up
The Schwarz dovetailing

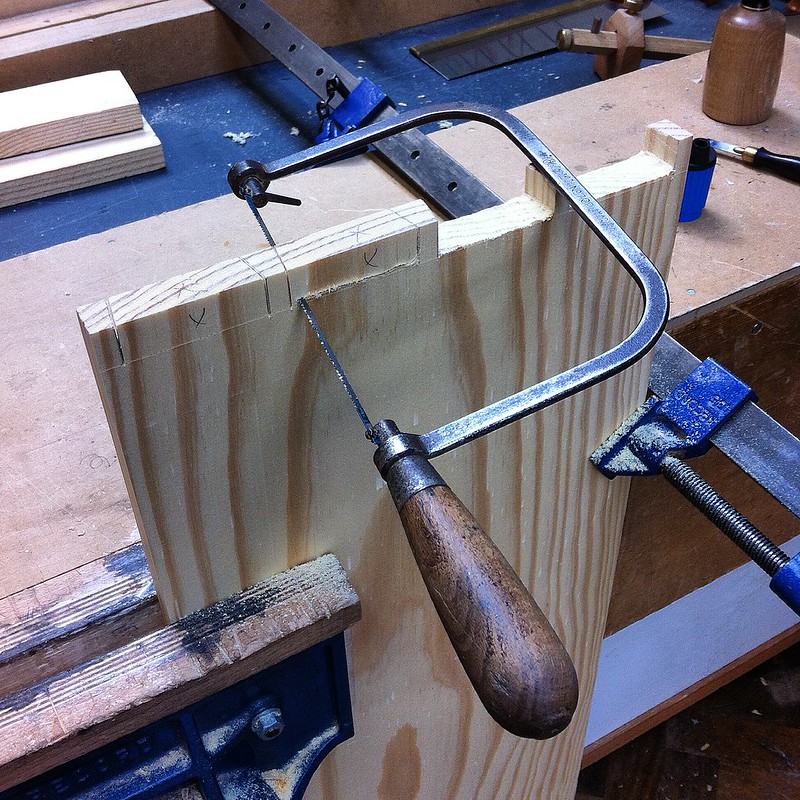
More coping
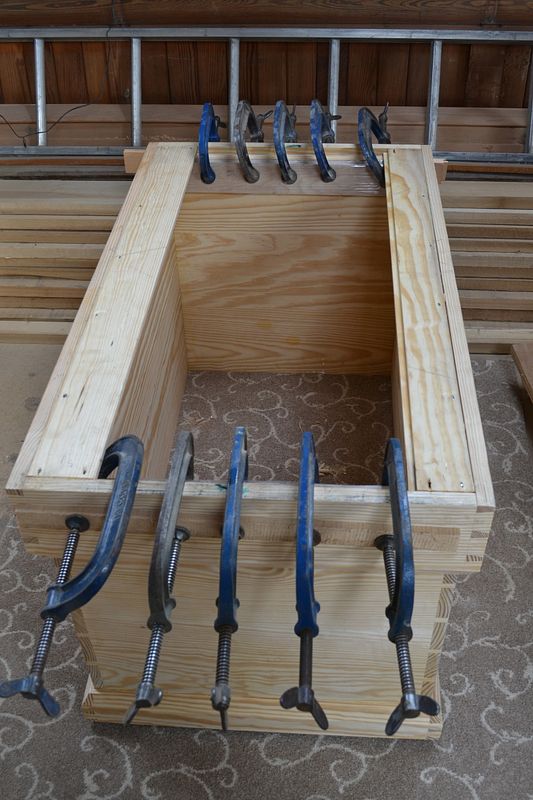
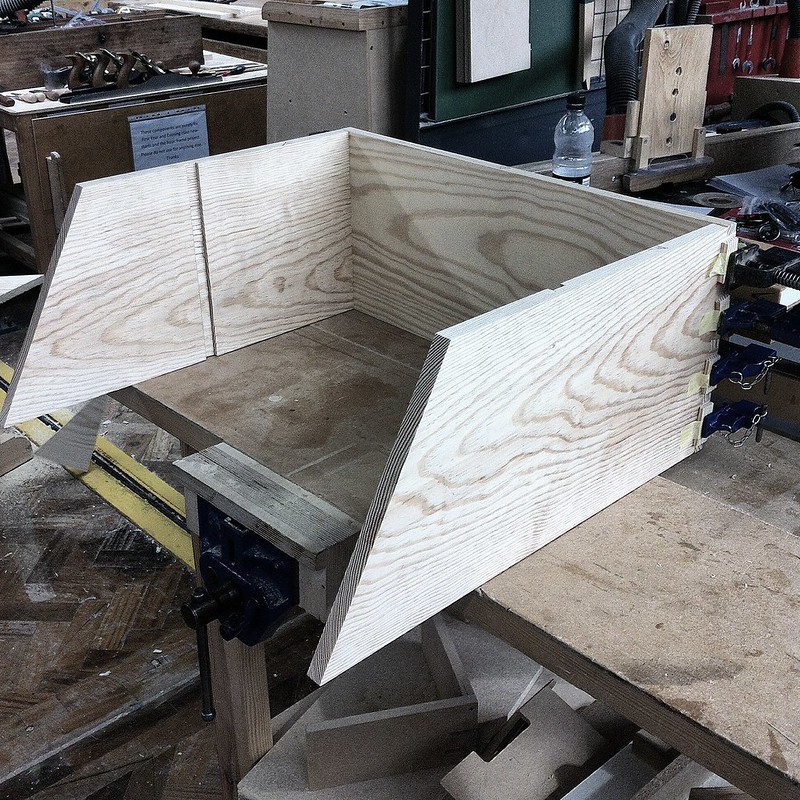
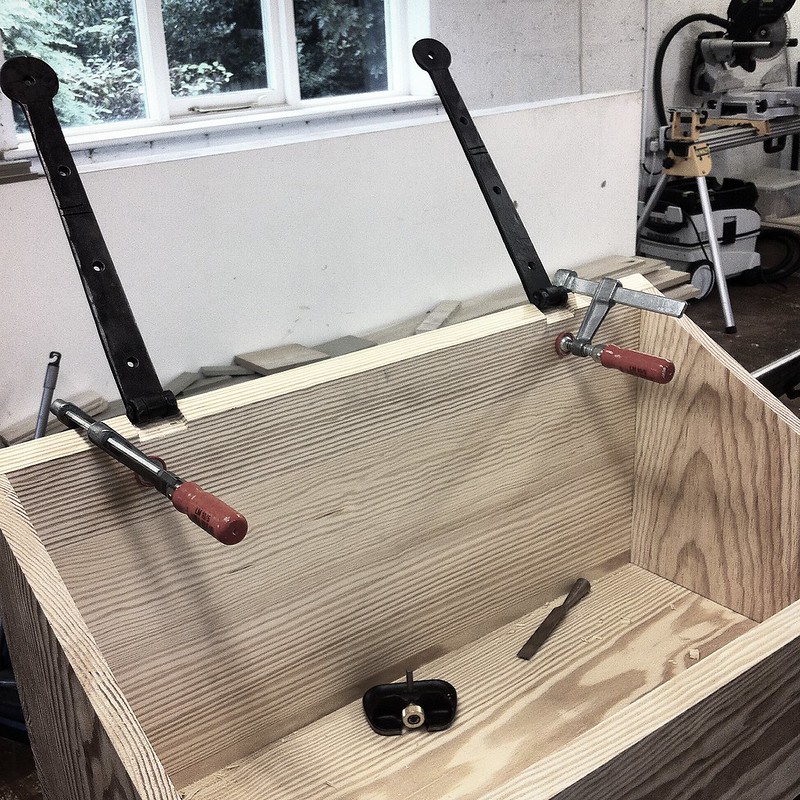
In the clamps at the end of day one
Cleaning up after gluing
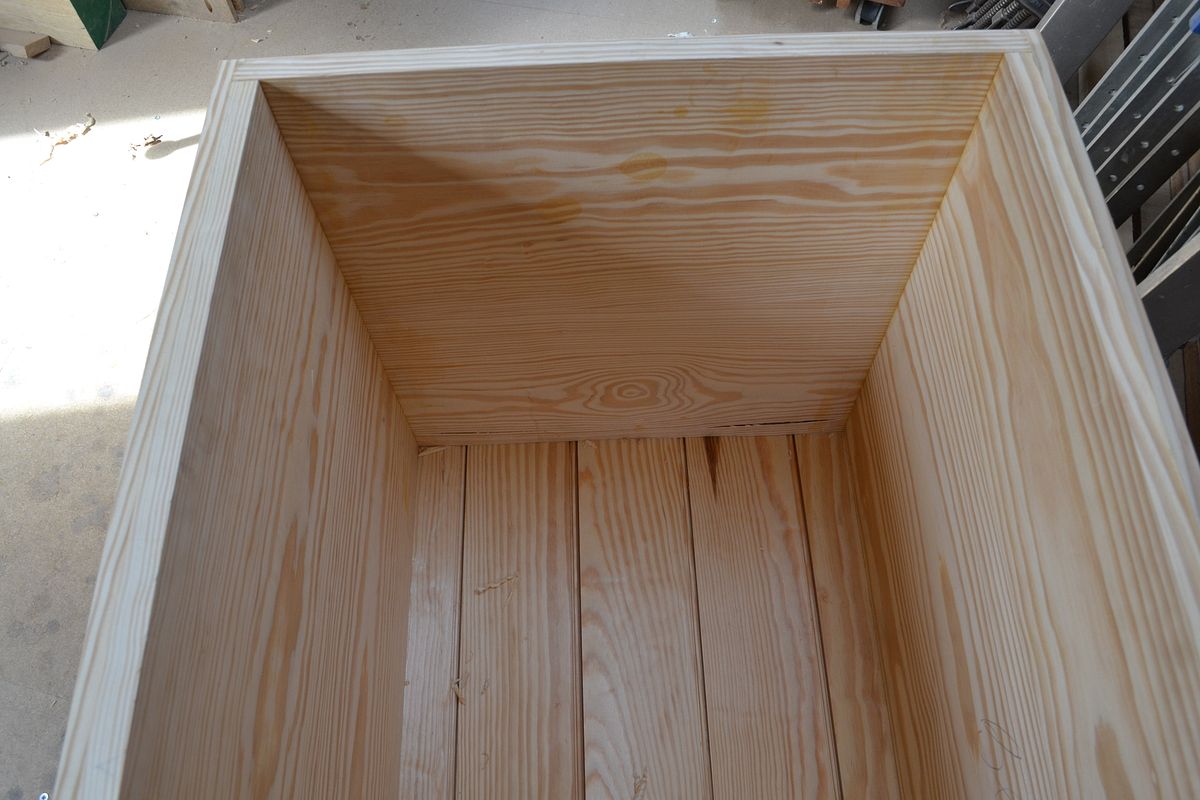
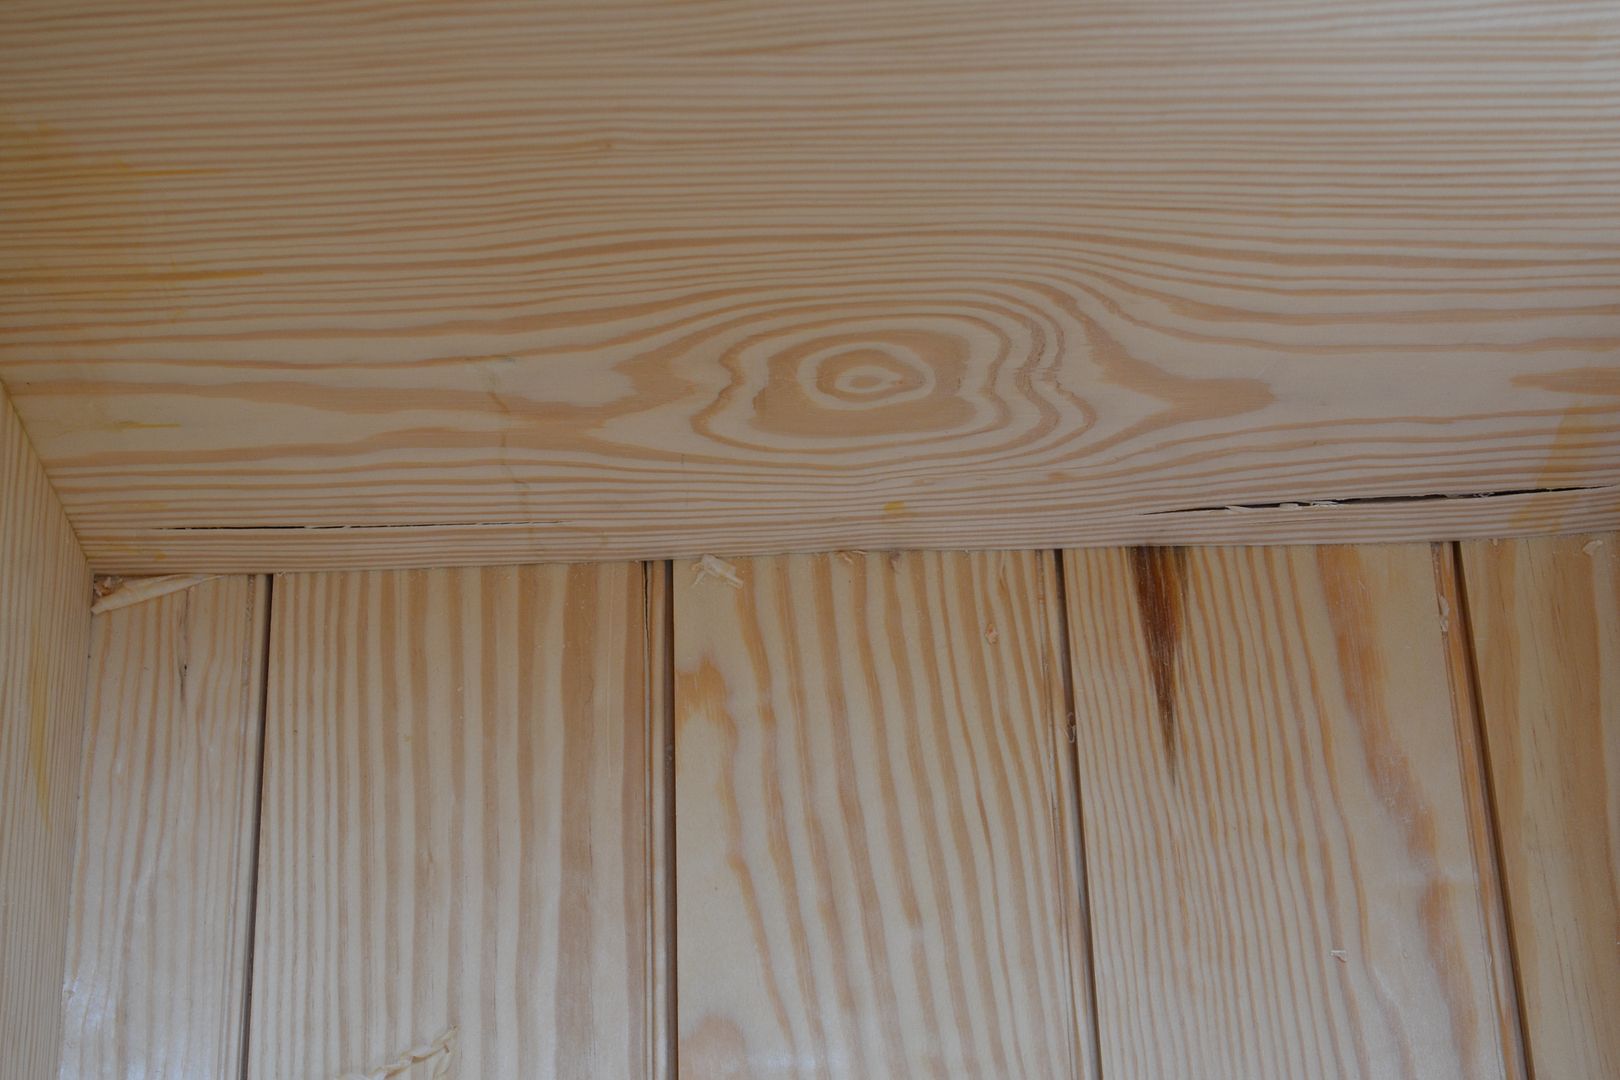
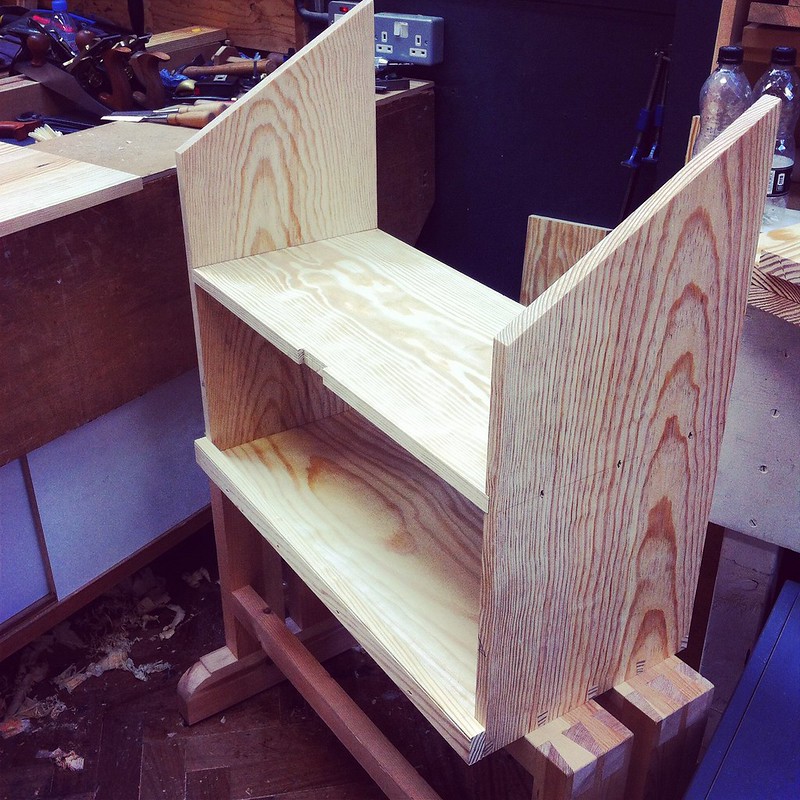
Fitting the shelf
Beading with Mr Schwarz's Clarke and Williams side bead
Front lip fitted
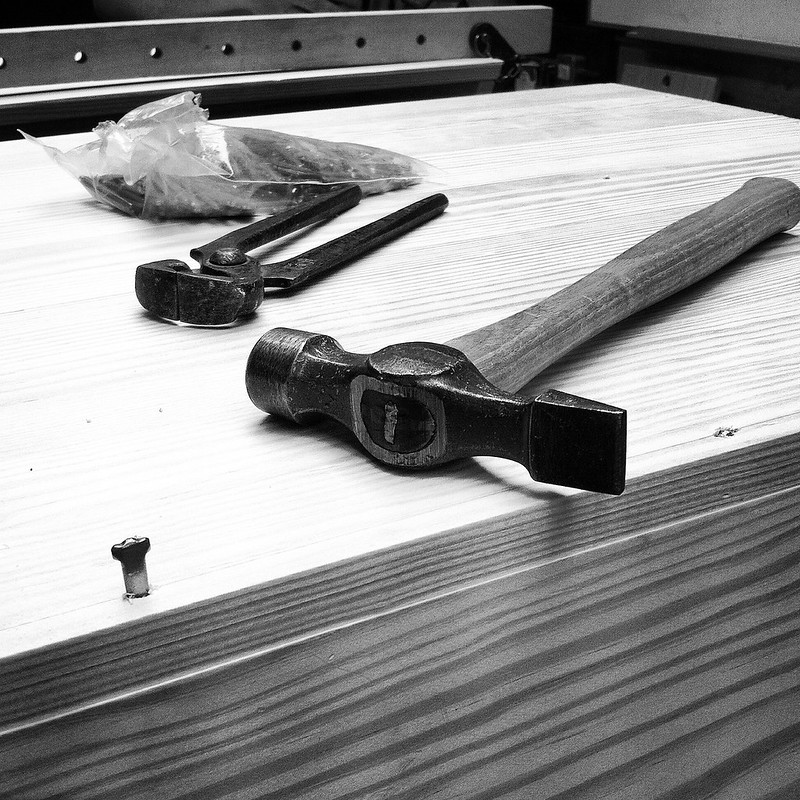
Nailing on the back
With the fall front fitted

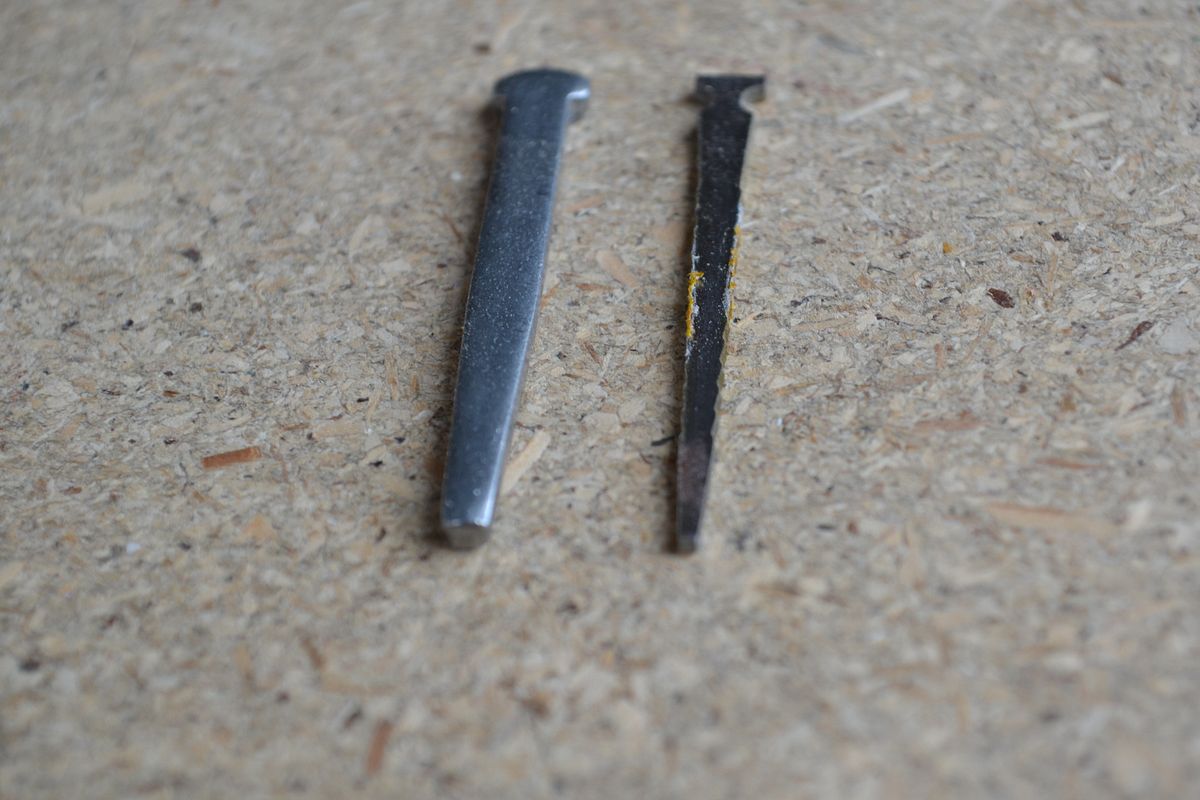
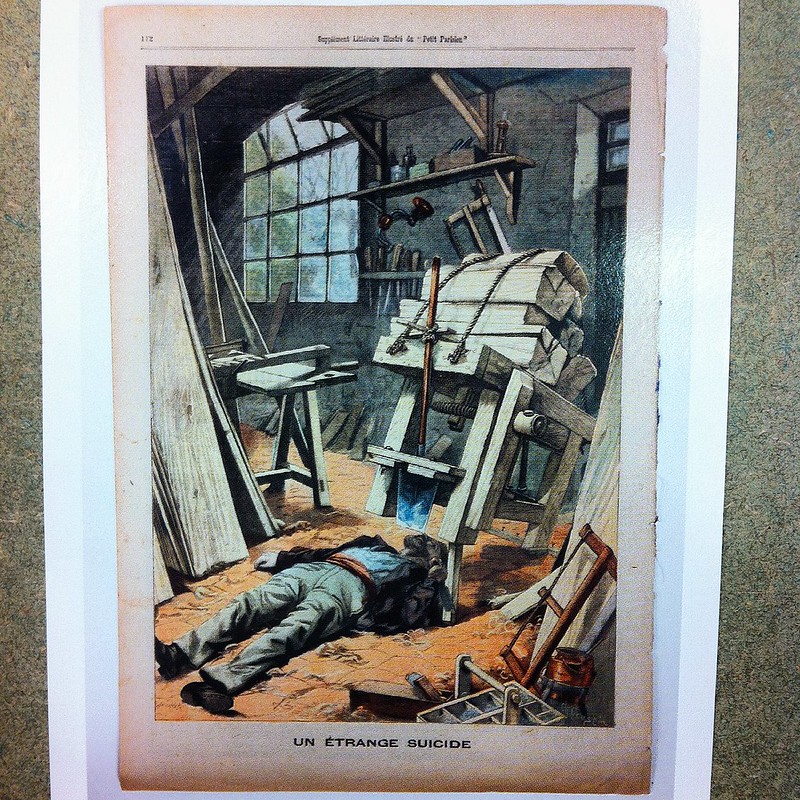
Has it come to this?
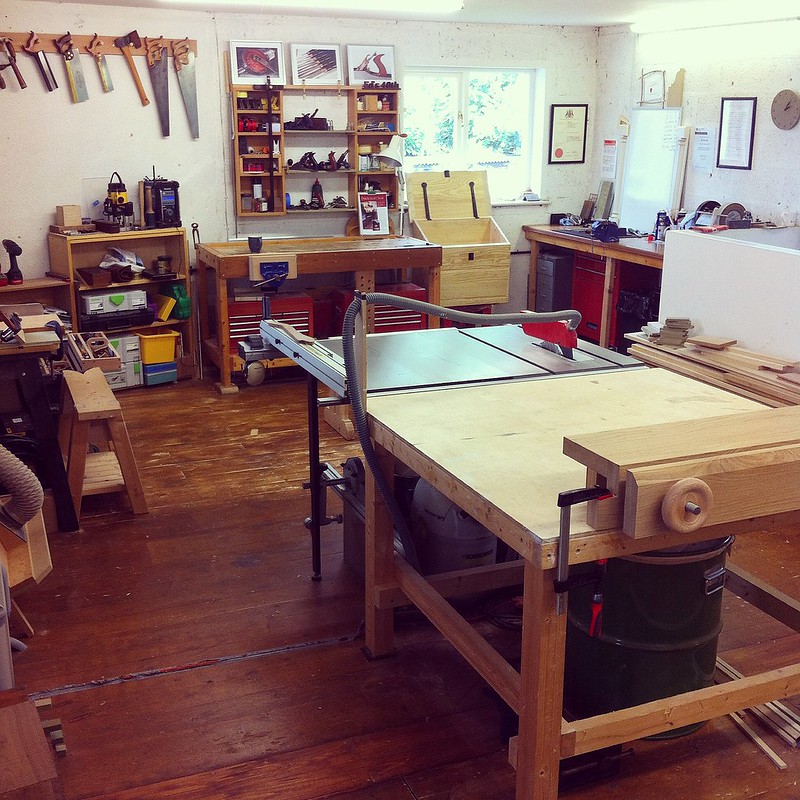
Back home in the workshop
All about the certificate

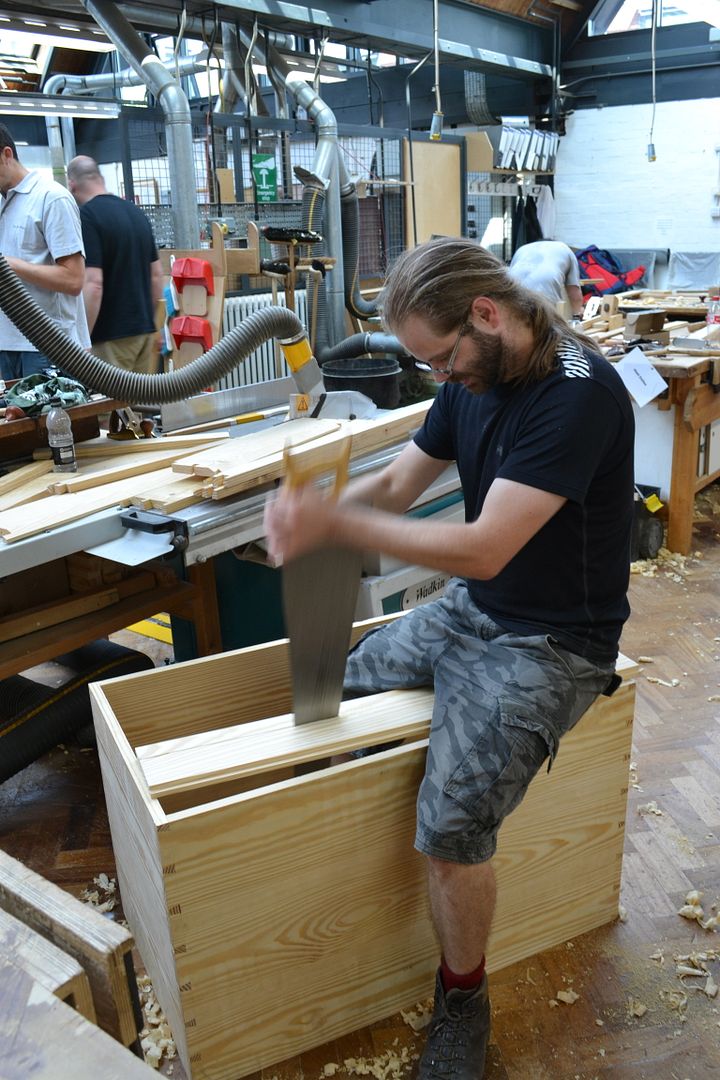
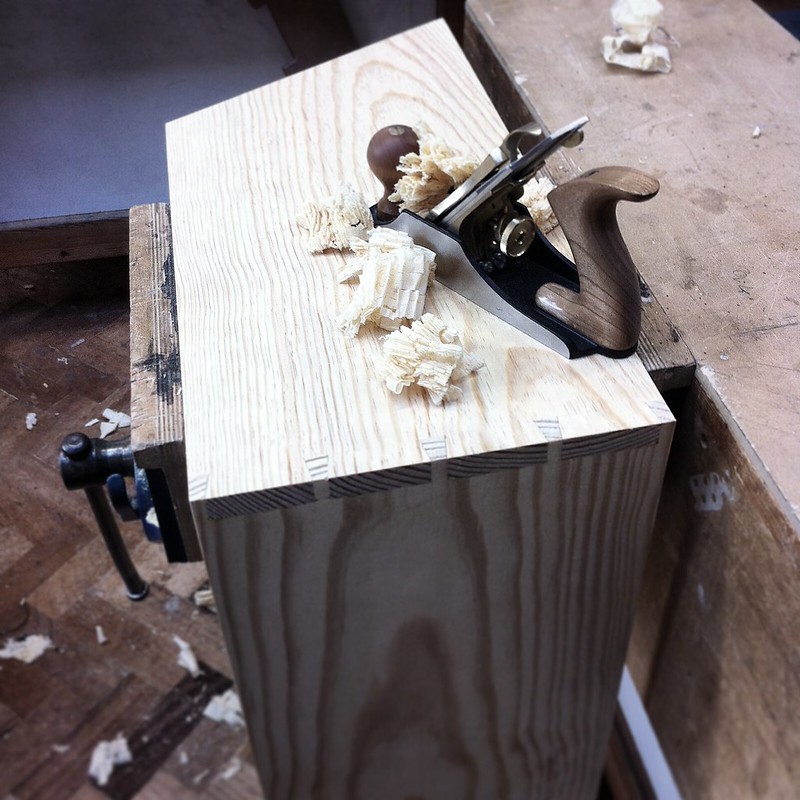
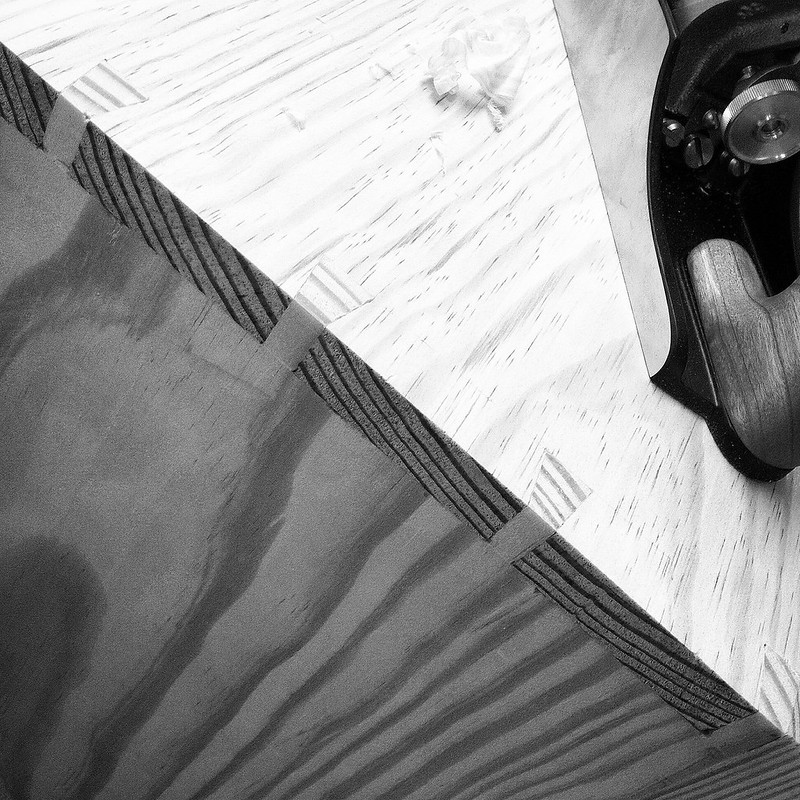
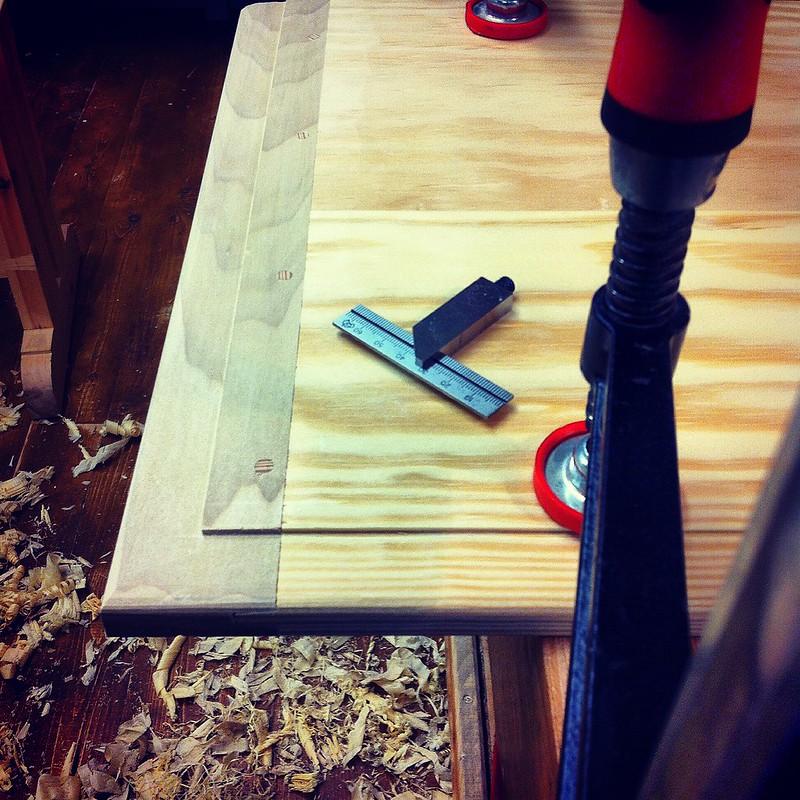
Cleaning up the dovetails
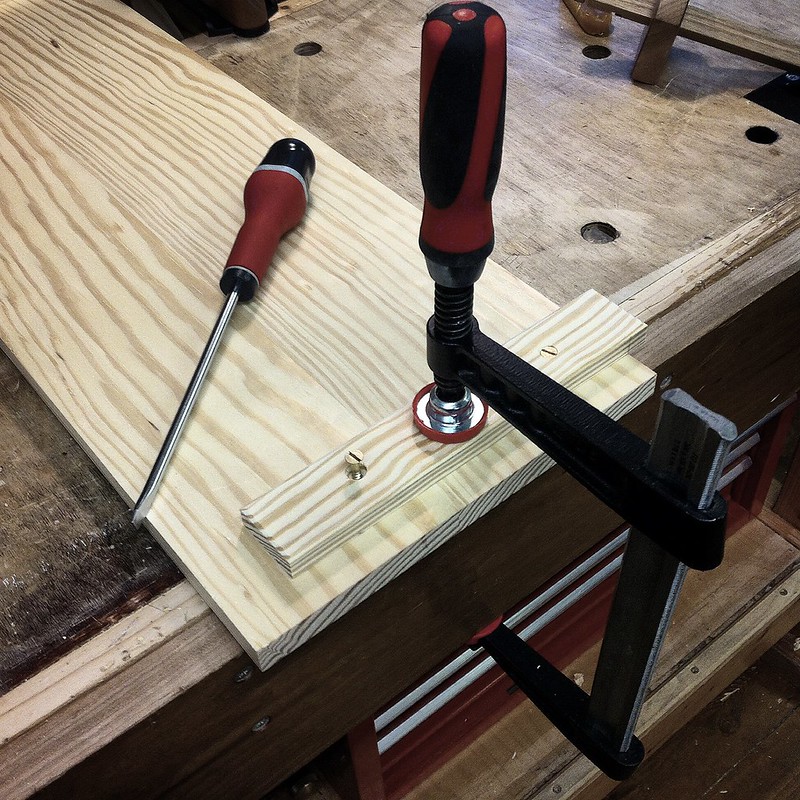
Fitting the battens to the fall front
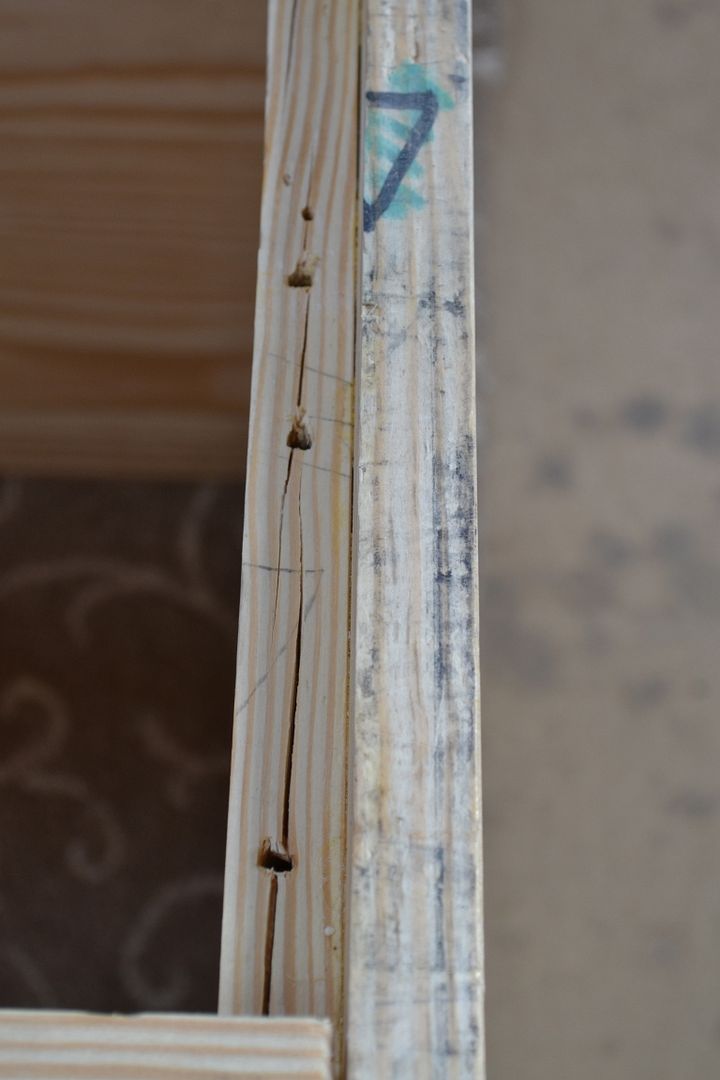
A little adjustment

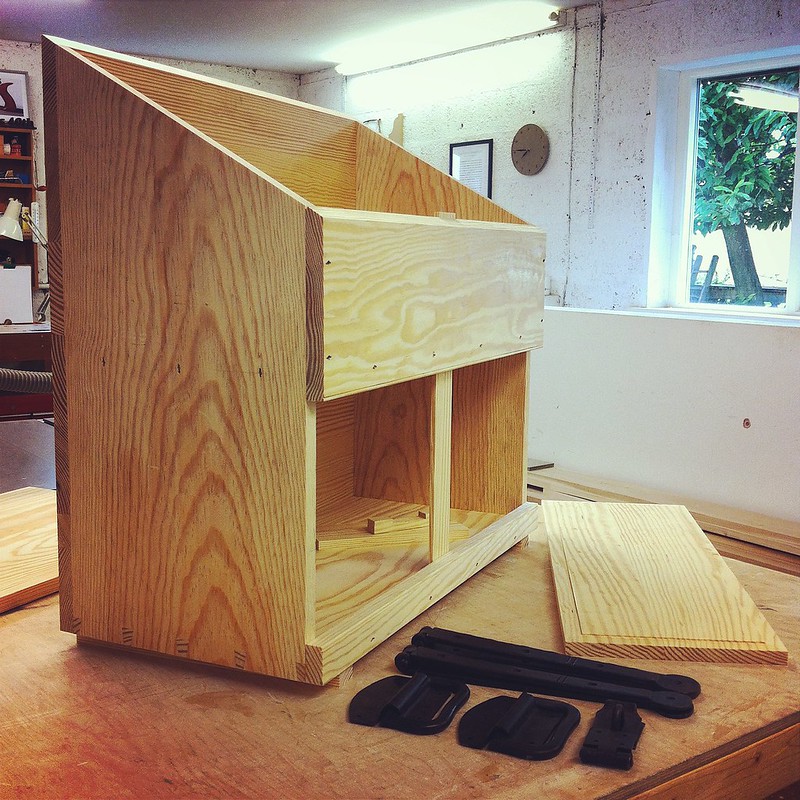
Skids on the bottom of the case
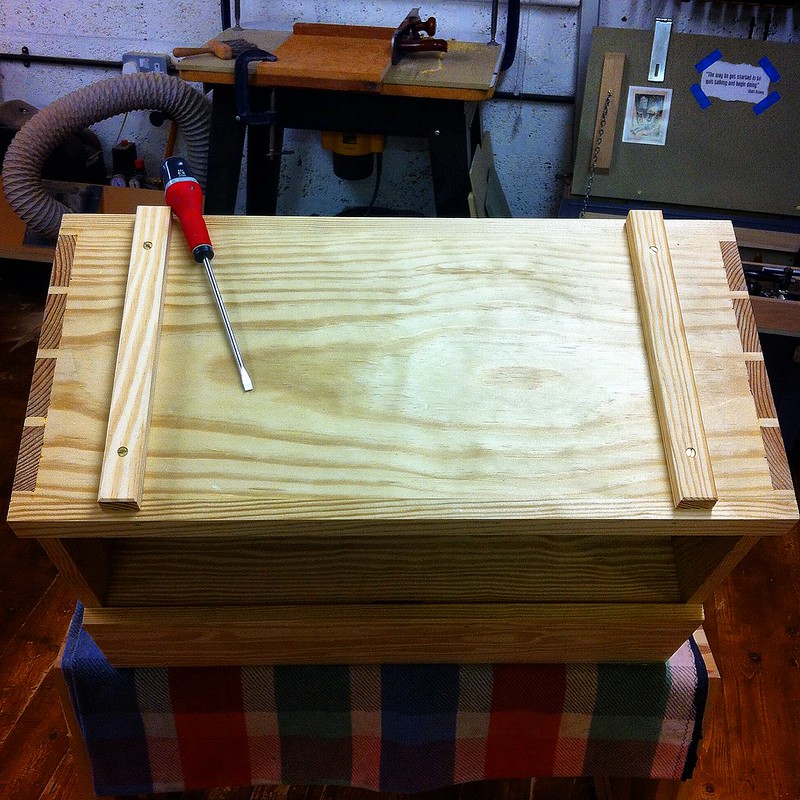
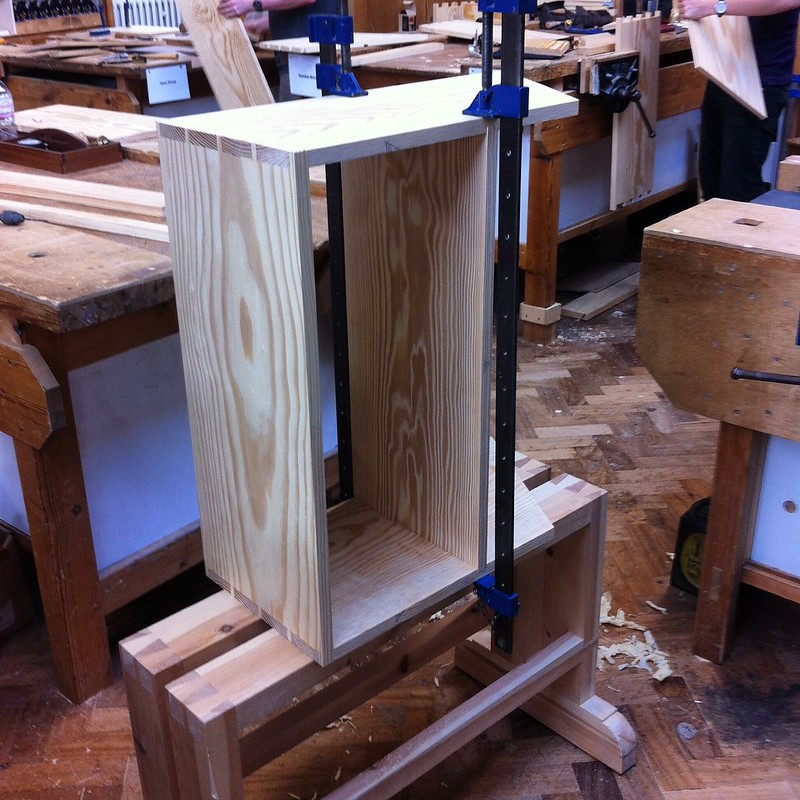
Coming together

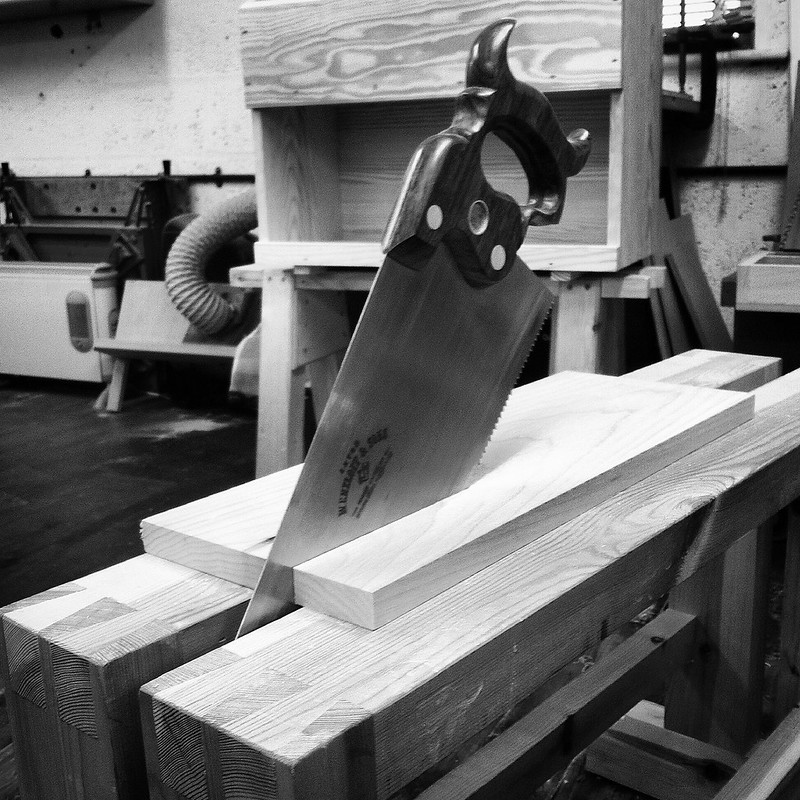
Ripping the breadboard ends for the top
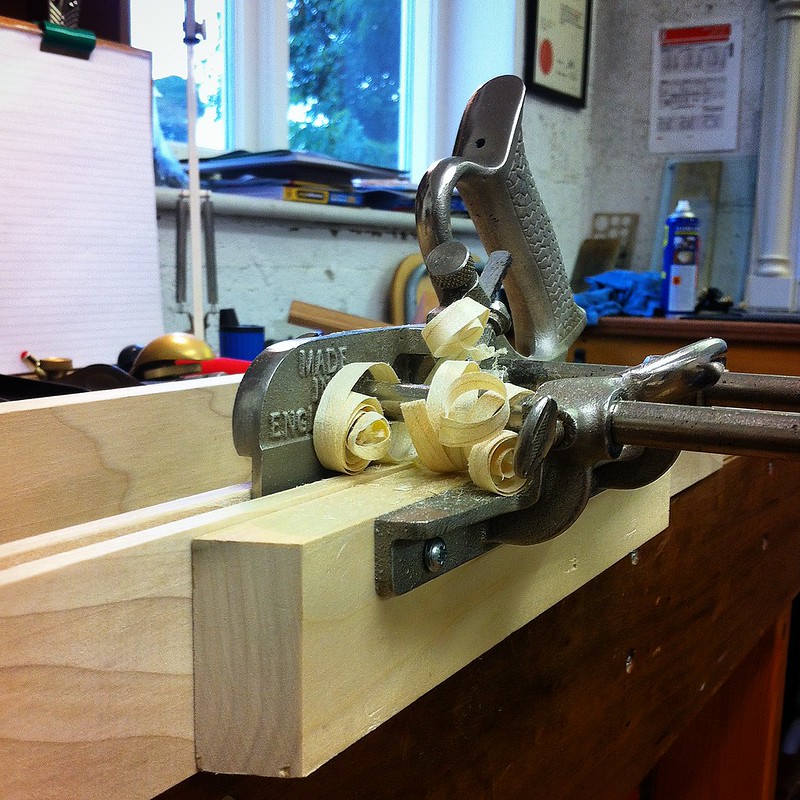
Ploughing the groove
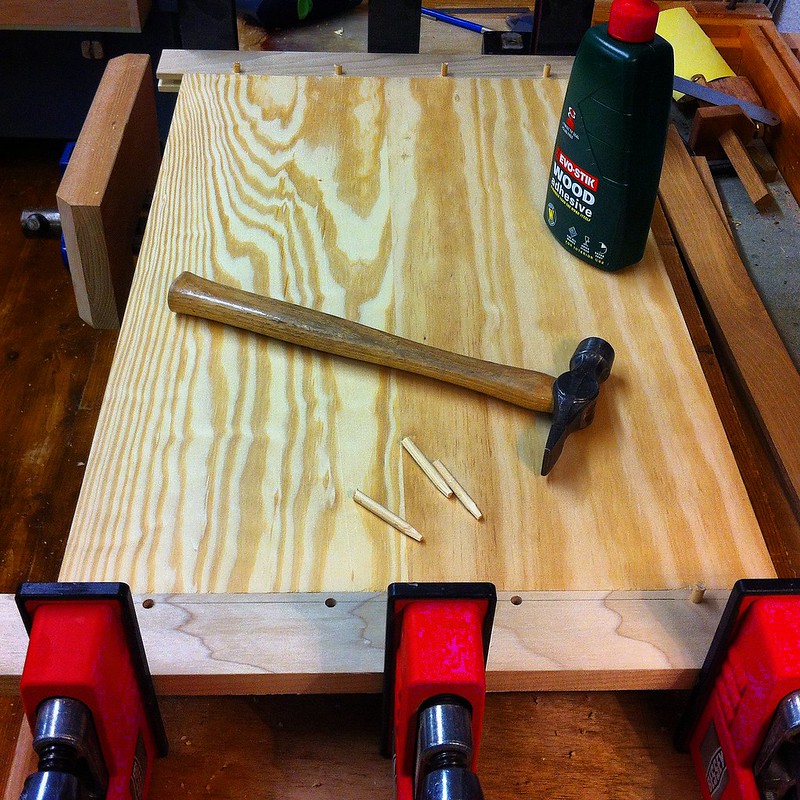
Fitting the breadboard ends with pegs
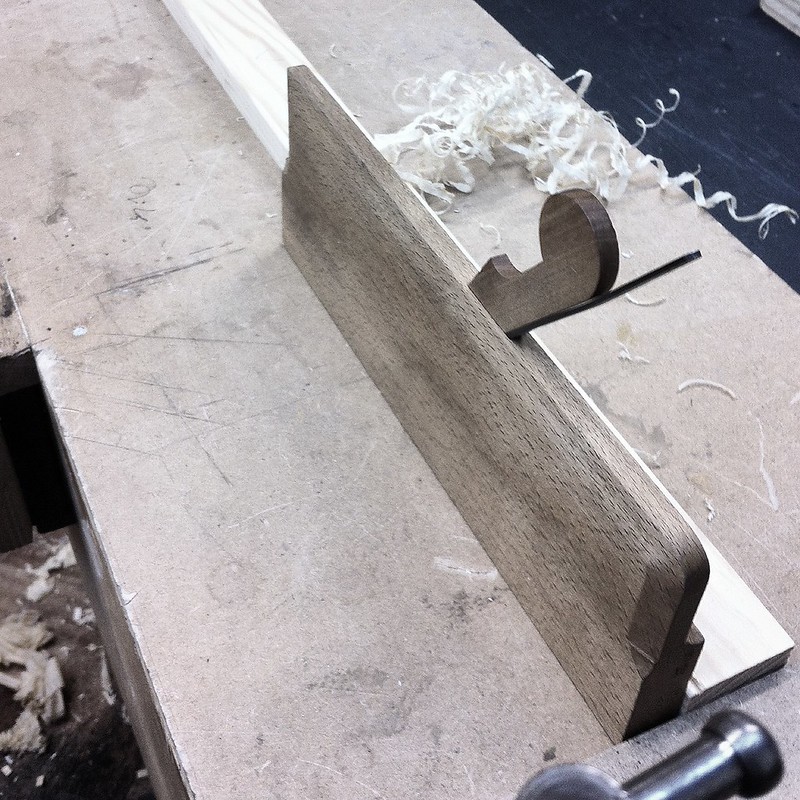
Hand planed thumbnail moulding on the lid
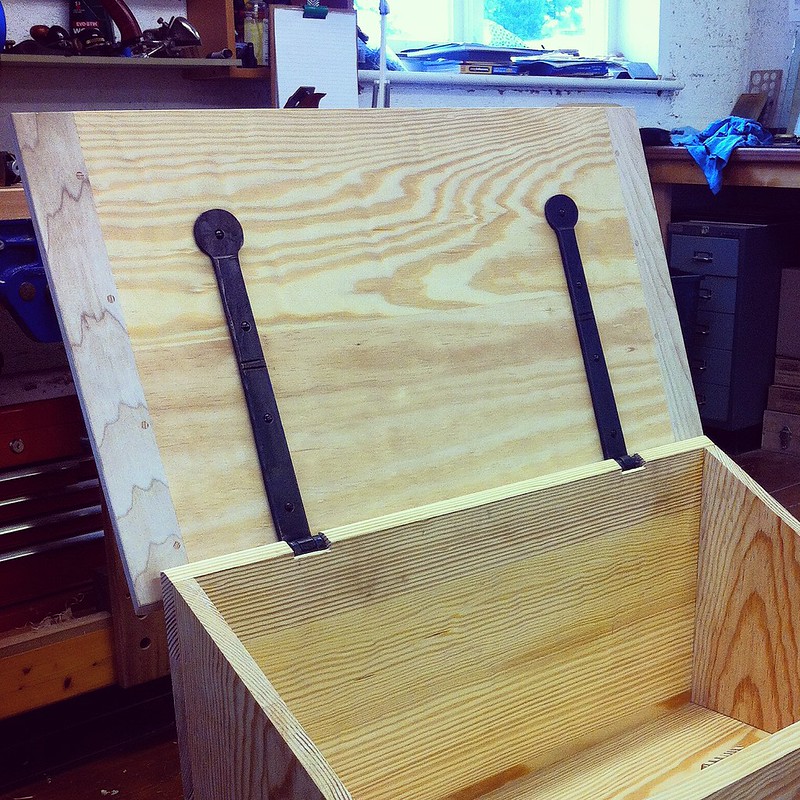
Fitting the hinges
Lid fitted
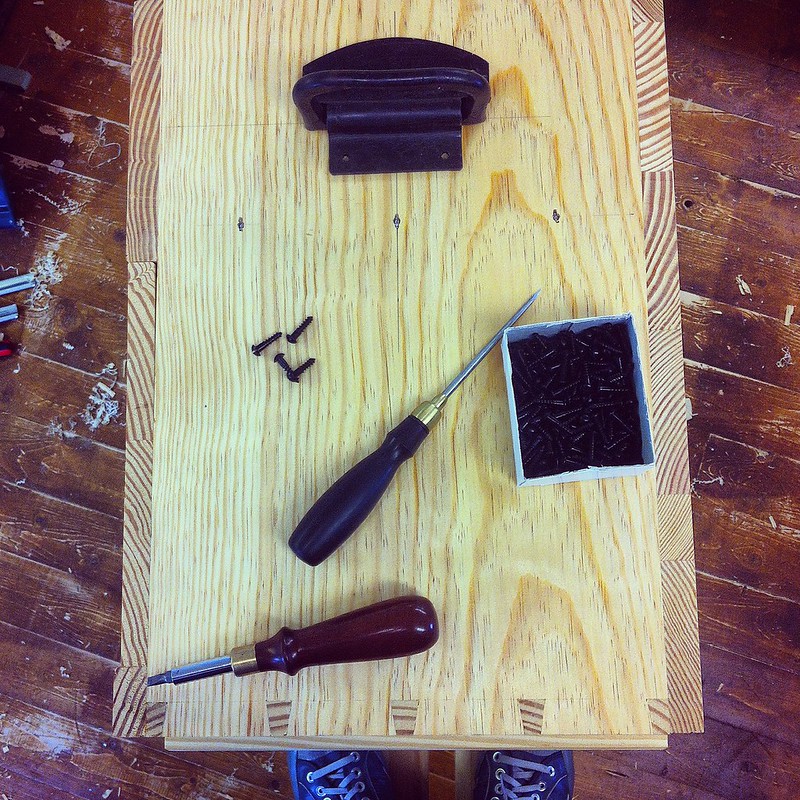
Fitting the handles
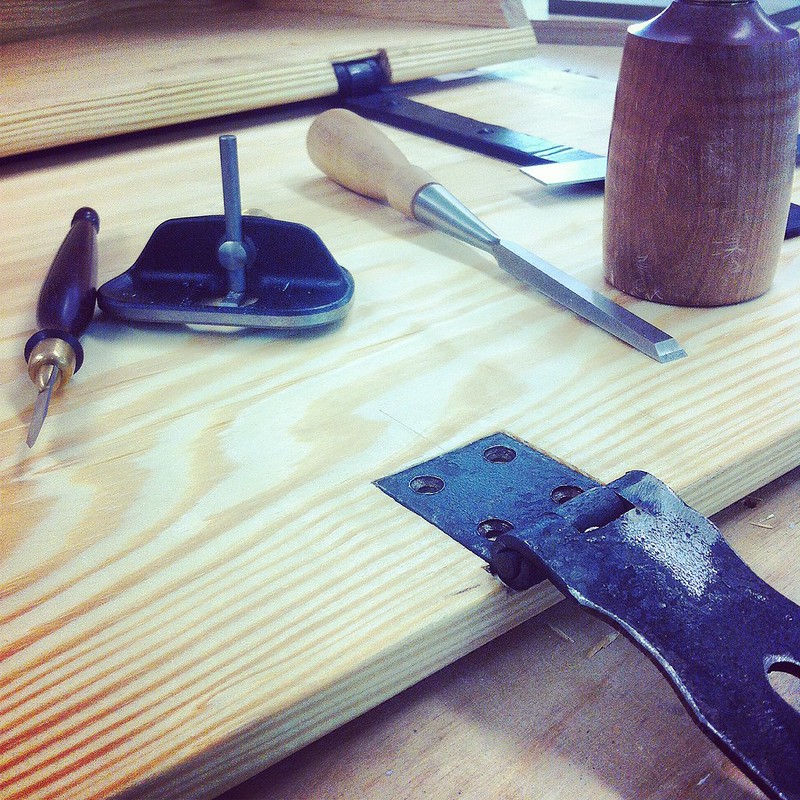
Fitting the hasp
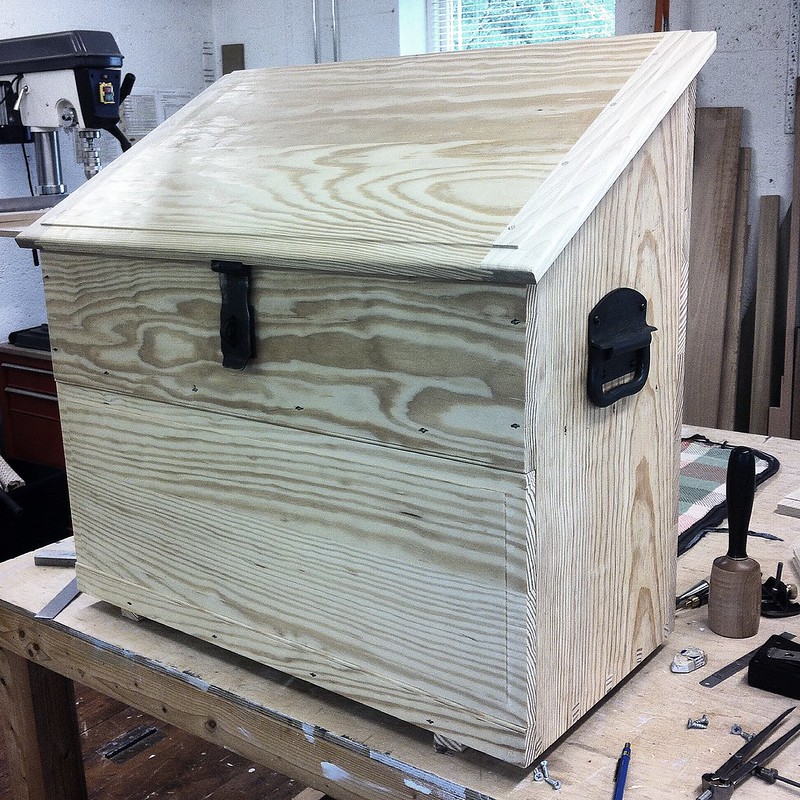
Done (apart from some paint and the internal fittings)
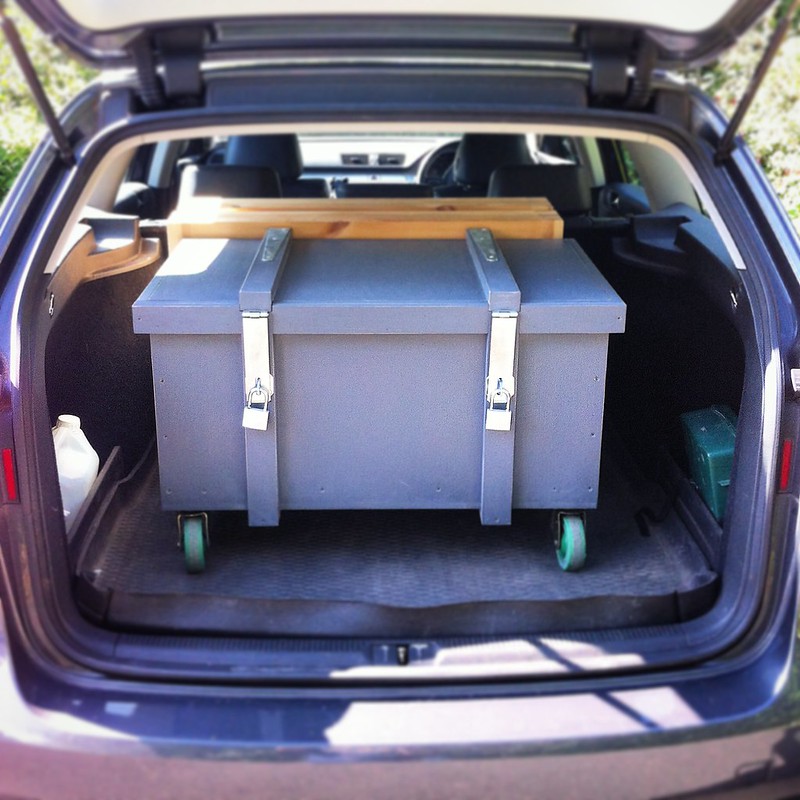
And finally, sitting happily in its new home
Hope that's of interest to someone
Cheers, Ed
I've not been posting here for some considerable time, but I did read the recent thread on the ATC course and enjoyed it, so I thought I would reciprocate by sharing my pictures of the Dutch Tool Chest course the following week. These are all from Instagram, which I used to capture things as the course went along and then completing the build once I got home.
You need to make a tool chest to take your tools to a tool chest making course
Ready to get started
Quick dovetail tutorial
Marking out
Sawing tutorial
Sawing
Coping
Cleaning the faces up
The Schwarz dovetailing
More coping
In the clamps at the end of day one
Cleaning up after gluing
Fitting the shelf
Beading with Mr Schwarz's Clarke and Williams side bead
Front lip fitted
Nailing on the back
With the fall front fitted
Has it come to this?
Back home in the workshop
All about the certificate
Cleaning up the dovetails
Fitting the battens to the fall front
A little adjustment
Skids on the bottom of the case
Coming together
Ripping the breadboard ends for the top
Ploughing the groove
Fitting the breadboard ends with pegs
Hand planed thumbnail moulding on the lid
Fitting the hinges
Lid fitted
Fitting the handles
Fitting the hasp
Done (apart from some paint and the internal fittings)
And finally, sitting happily in its new home
Hope that's of interest to someone
Cheers, Ed