barkwindjammer
Established Member
Some people are confident enough to go straight at a tenon with a saw, when I do it I always 'notch' the marked line for the saw cuts, so the next implement in my hand after the marking gauge is a chisel ")


barkwindjammer":1frul5iv said:Some people are confident enough to go straight at a tenon with a saw, when I do it I always 'notch' the marked line for the saw cuts, so the next implement in my hand after the marking guage is a chisel
barkwindjammer":2ckzsvqk said:I cant think of a simpler way of using these tools, there is no room for error-it just works, which in the end is also not really a necessity when you think about it, I cant think of a single joint that requires a 'one shot' perfect scribed line using a marking guage.


I nearly missed this thread, its somthing I have never thought about when I wandered I thought it was doem to my loss of consentration.Those are indeed lovely Pete, but didn't you have to make them ?
James C":m7ajw8uz said:I tried this with students at school and they sometimes struggle with the pin grain problem. We have tried the dots method but they as beginning woodworkers have definitely found the light passes with increasing pressure the easiest to master and get the most consistent results from.
barkwindjammer":3b2lrtpp said::lol: Ok, I will give you the last word Jacob
A good old £5.75 + VAT British made 'J Marples' marking gauge is equal to a Lee Valley rollerflange !
I've waxed it nicely, but no luck, I'll try warming it at 70 degrees for a short while then leaving it indoors overnight.phil.p":rtxalrqt said:Try to dry it, lubricate it with some wax, maybe. Don't plane it - it'll be loose other times of the year.
Jelly":2brkzsxv said:I've waxed it nicely, but no luck, I'll try warming it at 70 degrees for a short while then leaving it indoors overnight.phil.p":2brkzsxv said:Try to dry it, lubricate it with some wax, maybe. Don't plane it - it'll be loose other times of the year.
Jelly":15tsczwh said:I've waxed it nicely, but no luck, I'll try warming it at 70 degrees for a short while then leaving it indoors overnight.phil.p":15tsczwh said:Try to dry it, lubricate it with some wax, maybe. Don't plane it - it'll be loose other times of the year.
adzeman":3dykl9rj said:Just to let you know Pete took one of my marking gauges gave it a chisel point, works a treat thanks mate
I was taught it at school 45yrs ago.Racers":3sh3lerm said:adzeman":3sh3lerm said:Just to let you know Pete took one of my marking gauges gave it a chisel point, works a treat thanks mate
Hi, Adzeman
No problem, its a David Charlsworth tip originally.
Pete
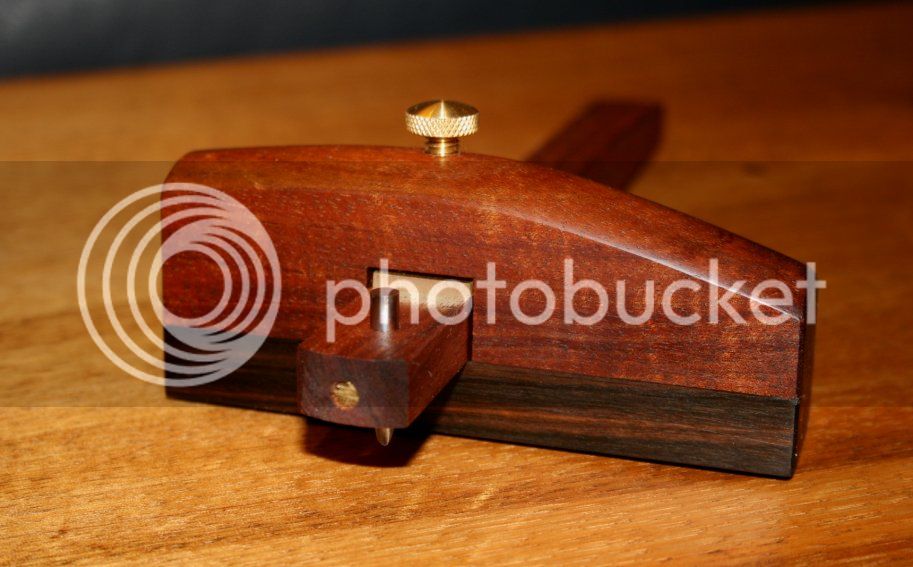
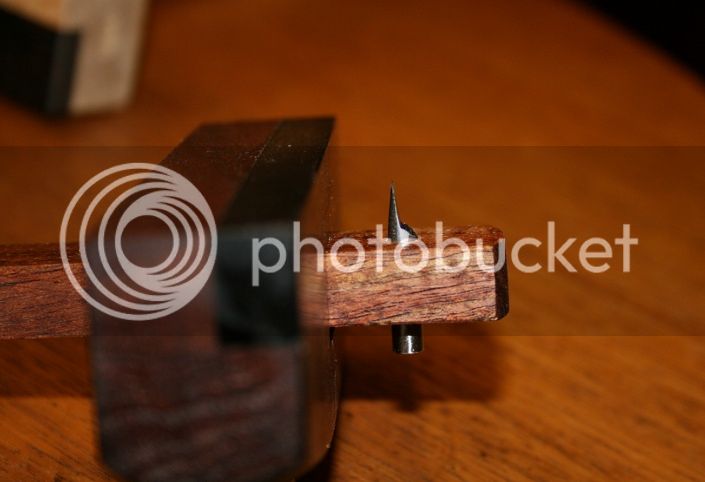
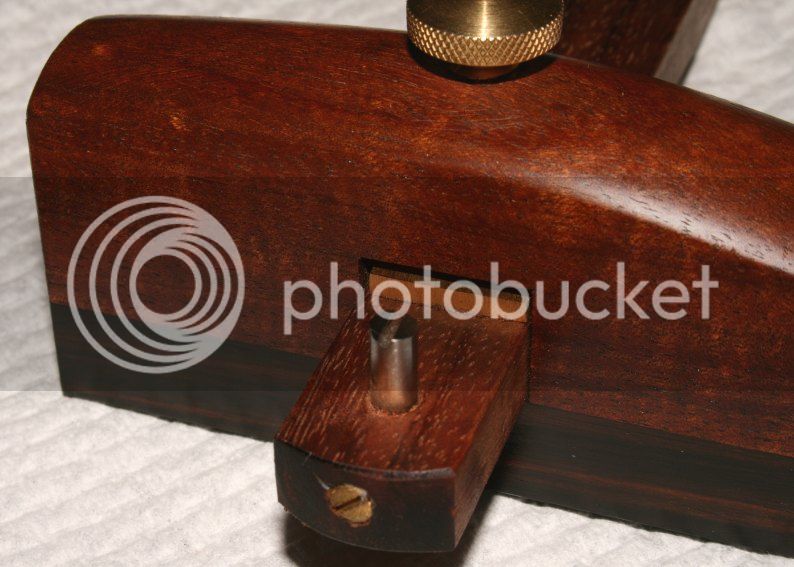
When using a cutting gauge it is important to ensure that the knife is perfectly aligned - parallel - with the fence. If it is even slightly skew, the knife edge wil drag and cause tear out.
To get it parallel, grind a slot at the upper end of the rod. Use a screwdriver to turn it until it is cutting as you wish.
Derek
Enter your email address to join: