bodgermatic
Established Member
Shavings are better than screwed up newspapers for starting fires - canvas your friends to see who's got a woodburner or an open fire. I stick a large pile under my kindling, goes up a treat.


bodgermatic":2gh2jize said:Shavings are better than screwed up newspapers for starting fires - canvas your friends to see who's got a woodburner or an open fire. I stick a large pile under my kindling, goes up a treat.
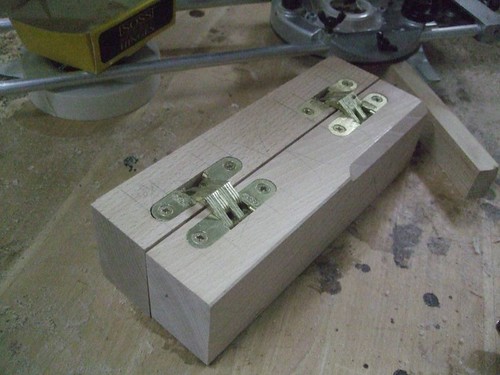
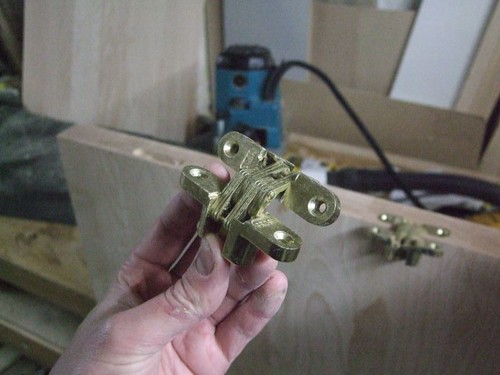
OPJ":8cc7j7sv said:Bad news - I spoke to Isaac Lord today and I'm looking at a three-to-five week wait for the soss hinges I ordered nine-days ago.This definitely won't be finished in time for Christmas dinner, now then. I guess it could get it ready as a four-seater though... Question is, how easy would it then be to get it back to work on?!
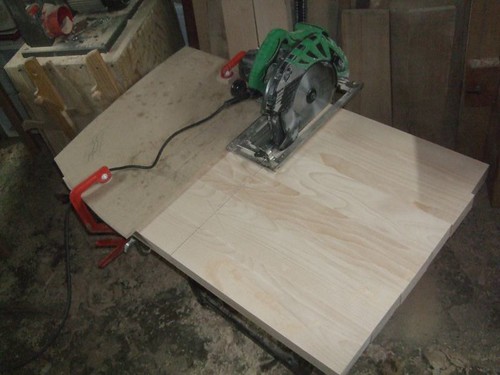
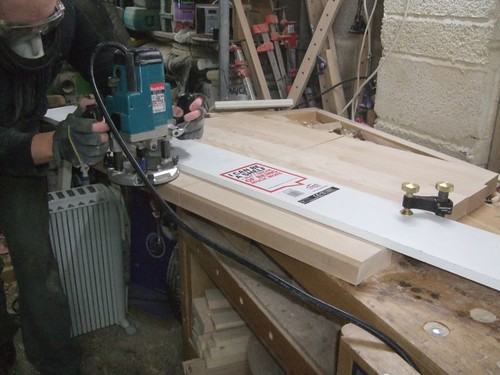
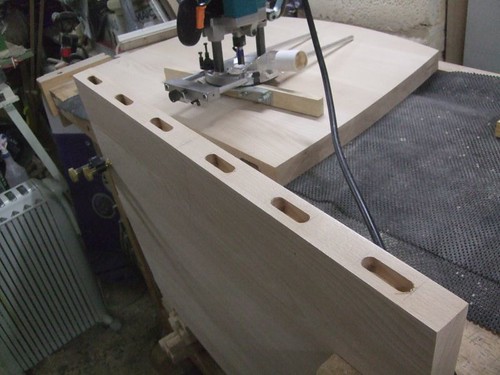
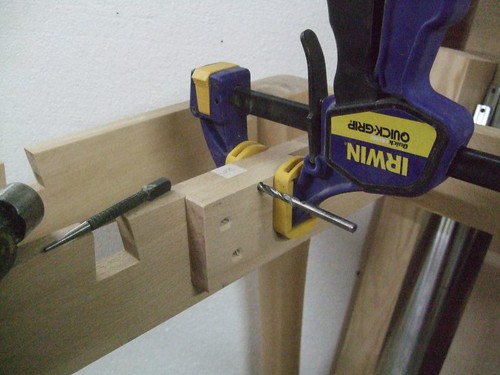
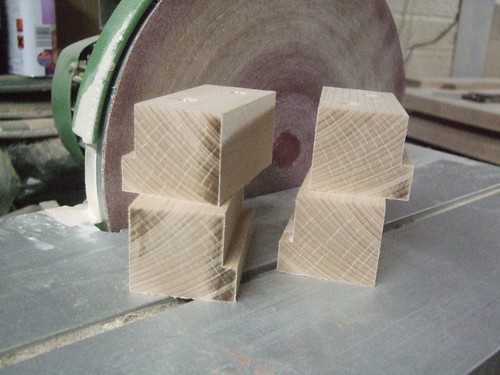
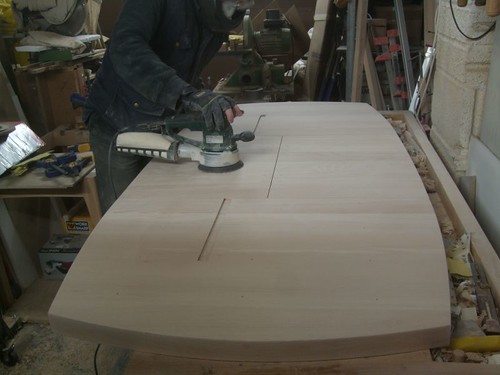
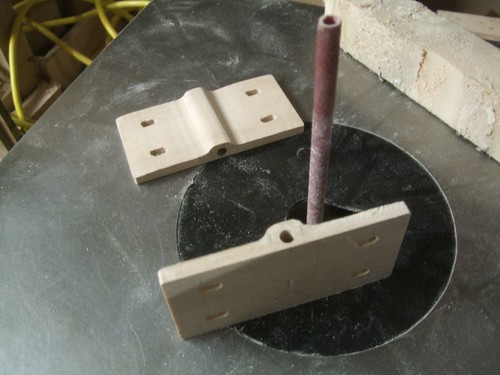
 ). But then, after fitting my router with a top-bearing guided cutter, something went horribly wrong and it took me a while before I realised I was routing away my template!! :shock:
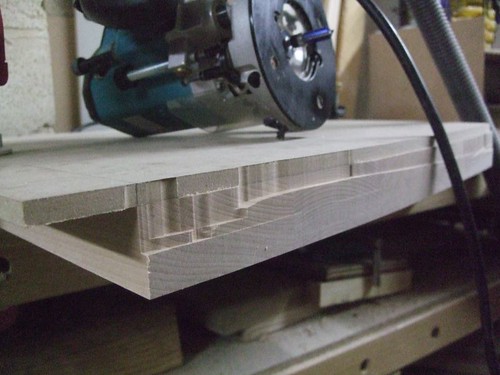 So, I chose to ignore this problem area, leaving quite a bit of beech to be cleaned up by hand later. And least the second bearing-guided operation went much more smoothly (again, my trimming cutter wasn't long enough to do it in one).

 The cold's really getting to me as well, even with the heater running and some draught-proofing in place. It's just not the kind of environment I want to be in, particularly at this time of year.).
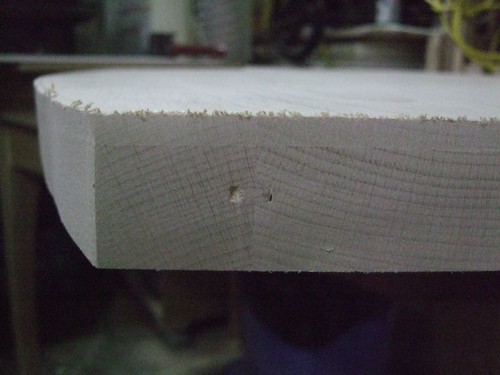
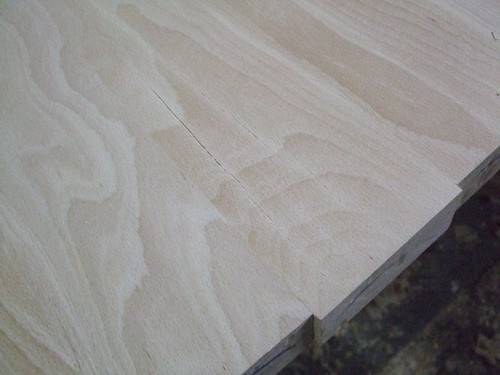
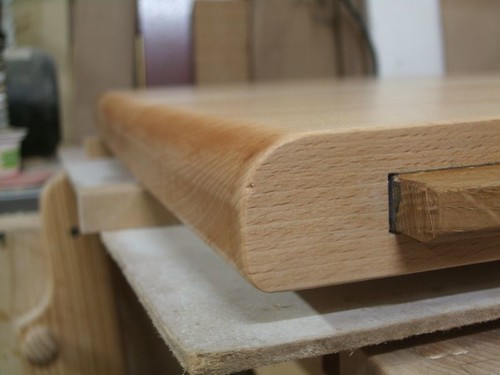
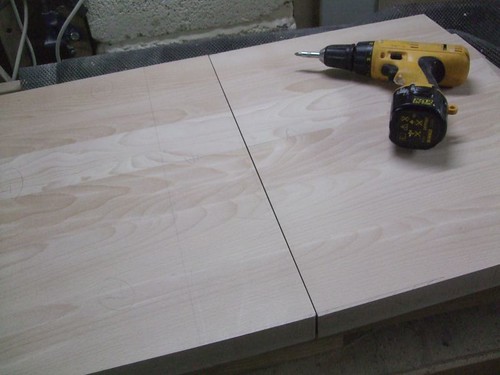 It's definitely timber movement and not my excessive belt-sanding :wink: - the other faces are convex by an equal amount.
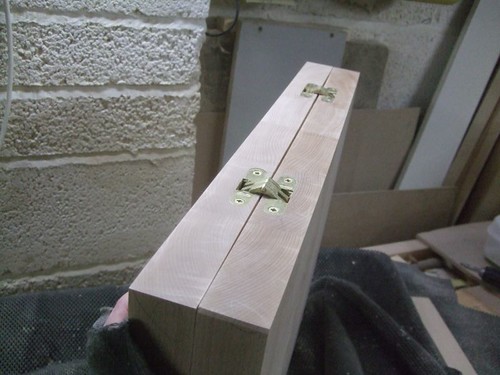
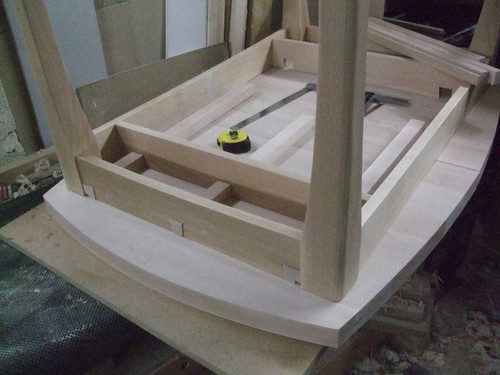
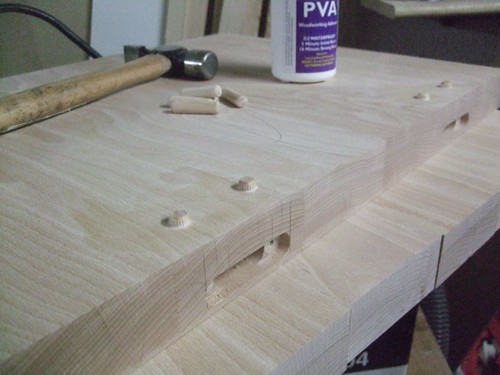
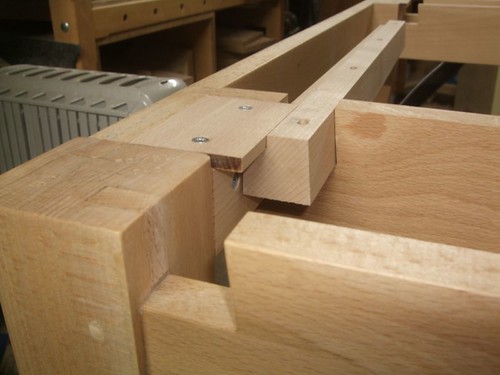
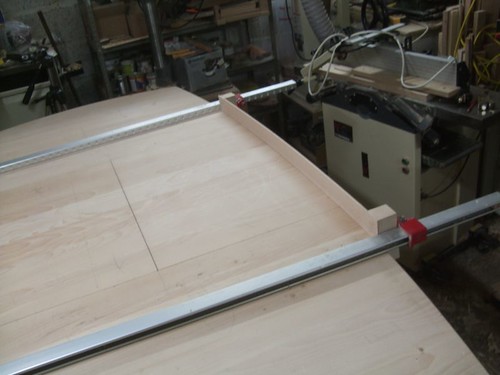
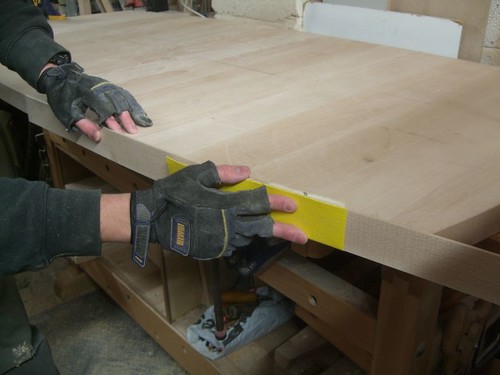
 It allows me to adjust things so the centre of these two is bang on central to the frame. 8)
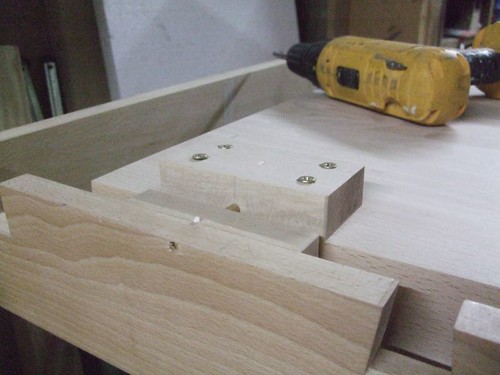
 [Rant over!]
 :wink:
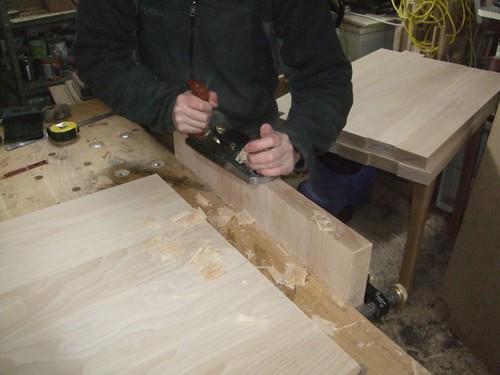
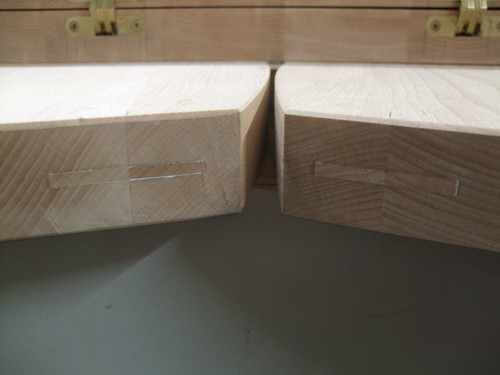 and painstakingly hand-planed and sanded them down to size. The grain match is fair from perfect but, they do look better than the old biscuits and, well, at least I tried.
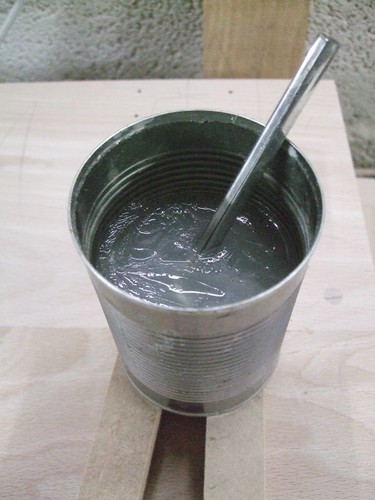
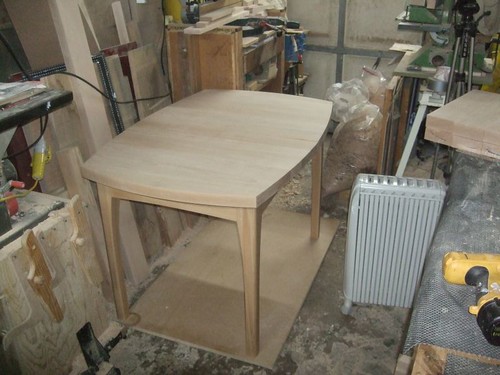
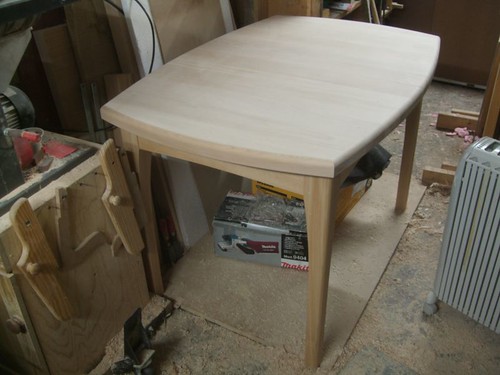
 and came up with this...
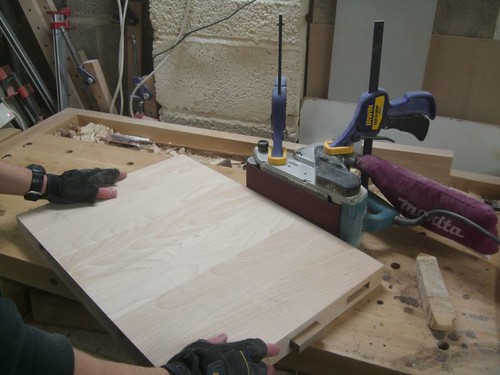
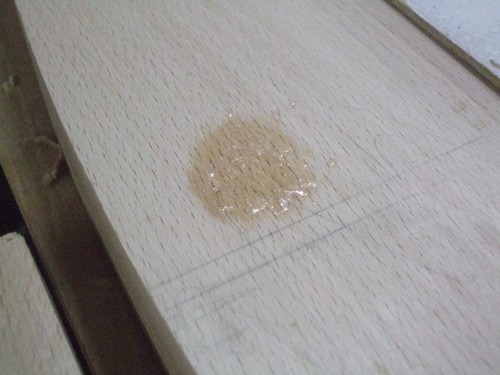
 ) and it feels quite thin compared to other oils. This beech really soaked it up.
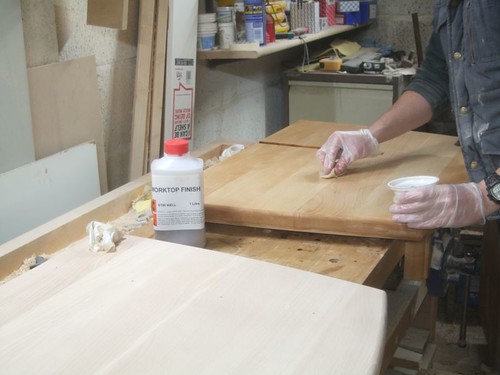
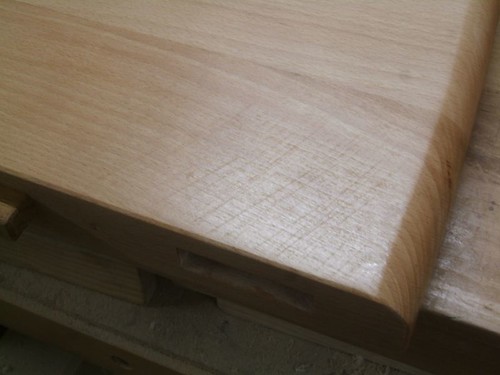
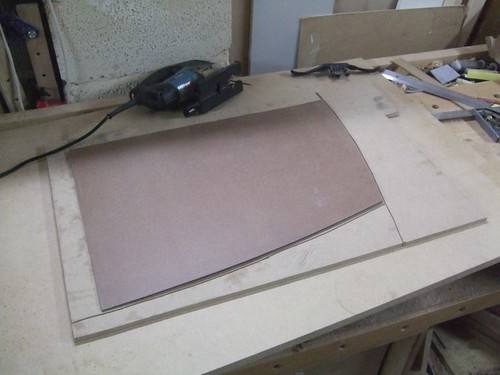
OPJ":2w28fbtm said:Has anyone got any tips for checking that you've removed these "invisible" scratches before you apply a finish?
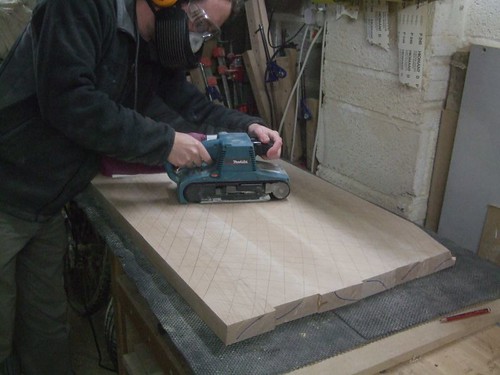
Wiping over the top with whire spirit should darken it up enough to see them, providing you're quick...OPJ":2g3ks1o3 said:I can't be the only person here who uses a belt sander for flattening panels and table tops... Has anyone got any tips for checking that you've removed these "invisible" scratches before you apply a finish? Preferably, answers that don't involve 'lots of extra sanding'!! :wink:
Dammit! The time it took me to read through the post to there you beat mePaul Chapman":2nk2f4q6 said:Keep up, Trim :lol:
) I managed to get the scratches out this morning and the top is looking much better. 8)Enter your email address to join: