Edging Veneer - please help

UKworkshop.co.uk

Help Support UKworkshop.co.uk:

This site may earn a commission from merchant affiliate links, including eBay, Amazon, and others.

Aidex

Established Member
Joined
19 Sep 2015
Messages
57
Reaction score
0
Location
London
Hi Everyone

I've only ever used pre glued edging tape before but I've got a cabinet to build with a eneered board that my supplier can only provide the edging (0.5,1, 2 or 3mm) all unglued.

I don't have an edgebander and I don't have a vacuum press etc plus some of the boards that will need edging will be over 2mlong.

Id be really grateful for any advice on how i can get these done. I've read that contact cement will leave a very visible glue line so would rather avoid this. Can I apply glue to the banding that is then activated by heat (ie make my own preclude banding) with any ease?

Many thanks and happy Easter!
Aidex
 
if the board is veneered mdf the you could size the edge and the non face side of the edging with pva and let it dry. Then using an iron with the steam turned off iron on the edging like any other pre glued banding. just take your time and give it a bit of pressure as you go along. leave it for the glue to go off and then trim.
 
Hi Droogs

Thanks for your post and quick reply!

That sounds perfect (the core is mdf). Any particular glue... titebond, etc or no brand cheapo PVA work just as well? It's an expensive veneered board so dont really mind glue cost.

Any tips to getting the minimum possible glue line?

What would you recommend to use to finish? I've used Bona Mega on Walnut and Wenge veneers recently and I like it and sands really smooth but it can look almost "lamintey" (especially on the walnut) and I'm shooting for a more "natural" finish on this one. I thought Osmo satin but a few posts on the forum suggest a risk of peeling veneers?

Thanks again!
 
You can use edging with any type of glue you like.All you have to do is come up with a sensible way to hold it in place while the glue cures.Edging cramps work as does multiple strips of masking tape,try a couple of test pieces first.
 
Any PVA will be fine as long as it's not too runny. Don't worry about a glue line on the arris as long as you keep the edge veneer wider than the boards thickness and take your time with the iron , allowing the glue to work into the two surfaces, when you trim, if you've let it dry properly, you wont see the line after a quick hand rub with 320grit.

To finish, generally I use shellac to seal everything (oddly enough I use a sponge/plastic brillo pad as the brush for sealing coats x 2 usually) as it doesn't react to whatever I put on next. It then depends on the effect you want. i give it either a very gentle sand with 320 or a card scraper if it needs de-nibbing. then either wax or put on very thin coats of varnish until I get the sheen I want. Now and then I do use oil on larger pieces and its usually osmo. hth
 
You say you've got the option of edging material that's up to 3mm thick, but you don't mention which thickness you're planning on using. The iron on method works great for thin edging, but for thick edging it's less reliable. If you use thick edging use the cramps or masking tape method previously detailed.

Whatever you do practise on a bit of scrap first, there is a learning curve and you don't want to mess up your project. Flushing off or trimming the edging is in some ways the trickiest bit and you don't mention your plans for this. A sharp chisel, or razor blade scraper can handle thin edging (going with the grain), but for thicker edging you'll need a block plane or a router. Flushing off definitely needs some scrap practise first!

Good luck!
 
+1 for custard's advice, especially the practice.

I tend to cut my own edging, as I have a lot of recycled teak floorboards, and use about 3 mm. Edging clamps are great. I launched on a set of Rutlands:

http://www.rutlands.co.uk/sp+woodworkin ... k6706pack6

which are cheaper than most, and they are very effective. I normally put slips of wood on one side of the edge to get it flush one side and minimise the trimming. With edge clamps you can put these in, clamp top and bottom, then insert the edging accurately and clamp it on, running from one end to keep it butted against the slips. I flush-trim with a router and flush-trimming bearing bit. I do it on everything I make for the workshop, which gives me the required practice!
 
Hi Everyone

Thank you all for your help! Sorry for the late "thanks" but I've been away and I dont get email notification of post
.
Ok so... I'm leaning towards 2mm edging as it seems more readily available and pretty reasonable. Ive not been able to find this preglued though. :(

Ive done a few hundred metres in different woods of the pre glued 0.5mm wood edging in a few different species and although slow have always done it with a new Stanley blade running it with the grain with good results. I'd then rub it down by hand lightly but the last few jobs I've rubbed down with a very fast and light hit with a Rotex and 320 grit paper with great results.

With the 2mm edging I was thinking of buying the1010 router and the horizontal accessories (my old Dewalt 1/4 inch is starting to fail me so can justify a new toy) and using this with a flush trim cutter OR in the first instance making and playing around with a jig like this to see how I got on (and if I could save a few £ on not buying Festool accessories! ) - it won't let me post the link but it's a flush trim router jig. There's a few online but I was going to try something similar to the one on Canadian Woodworking.

I'm confident one of the above would work so that's why I wasn't too worried about trimming... it was and is the gluing without an edgebander that I'm struggling with the most. Does using masking tape let you achieve results with no visible glue line? I like the clamping idea especially us if a batten against the edging but it could be quite slow...?

Thanks again!

EDIT: sorry just a quick edit. I want to use the thicker edging tape so that I can apply small chamfers or roundovers to the edges. I so hoped it would be a more hard wearing edge. Many thanks!
 
Probably way too late, however I have just done about 200m of edge banding with 2mm thick ABS banding.

I had a special glue (https://www.ostermann.eu/en/product/red ... -greenline) which is ideal for ABS and PVC edging.

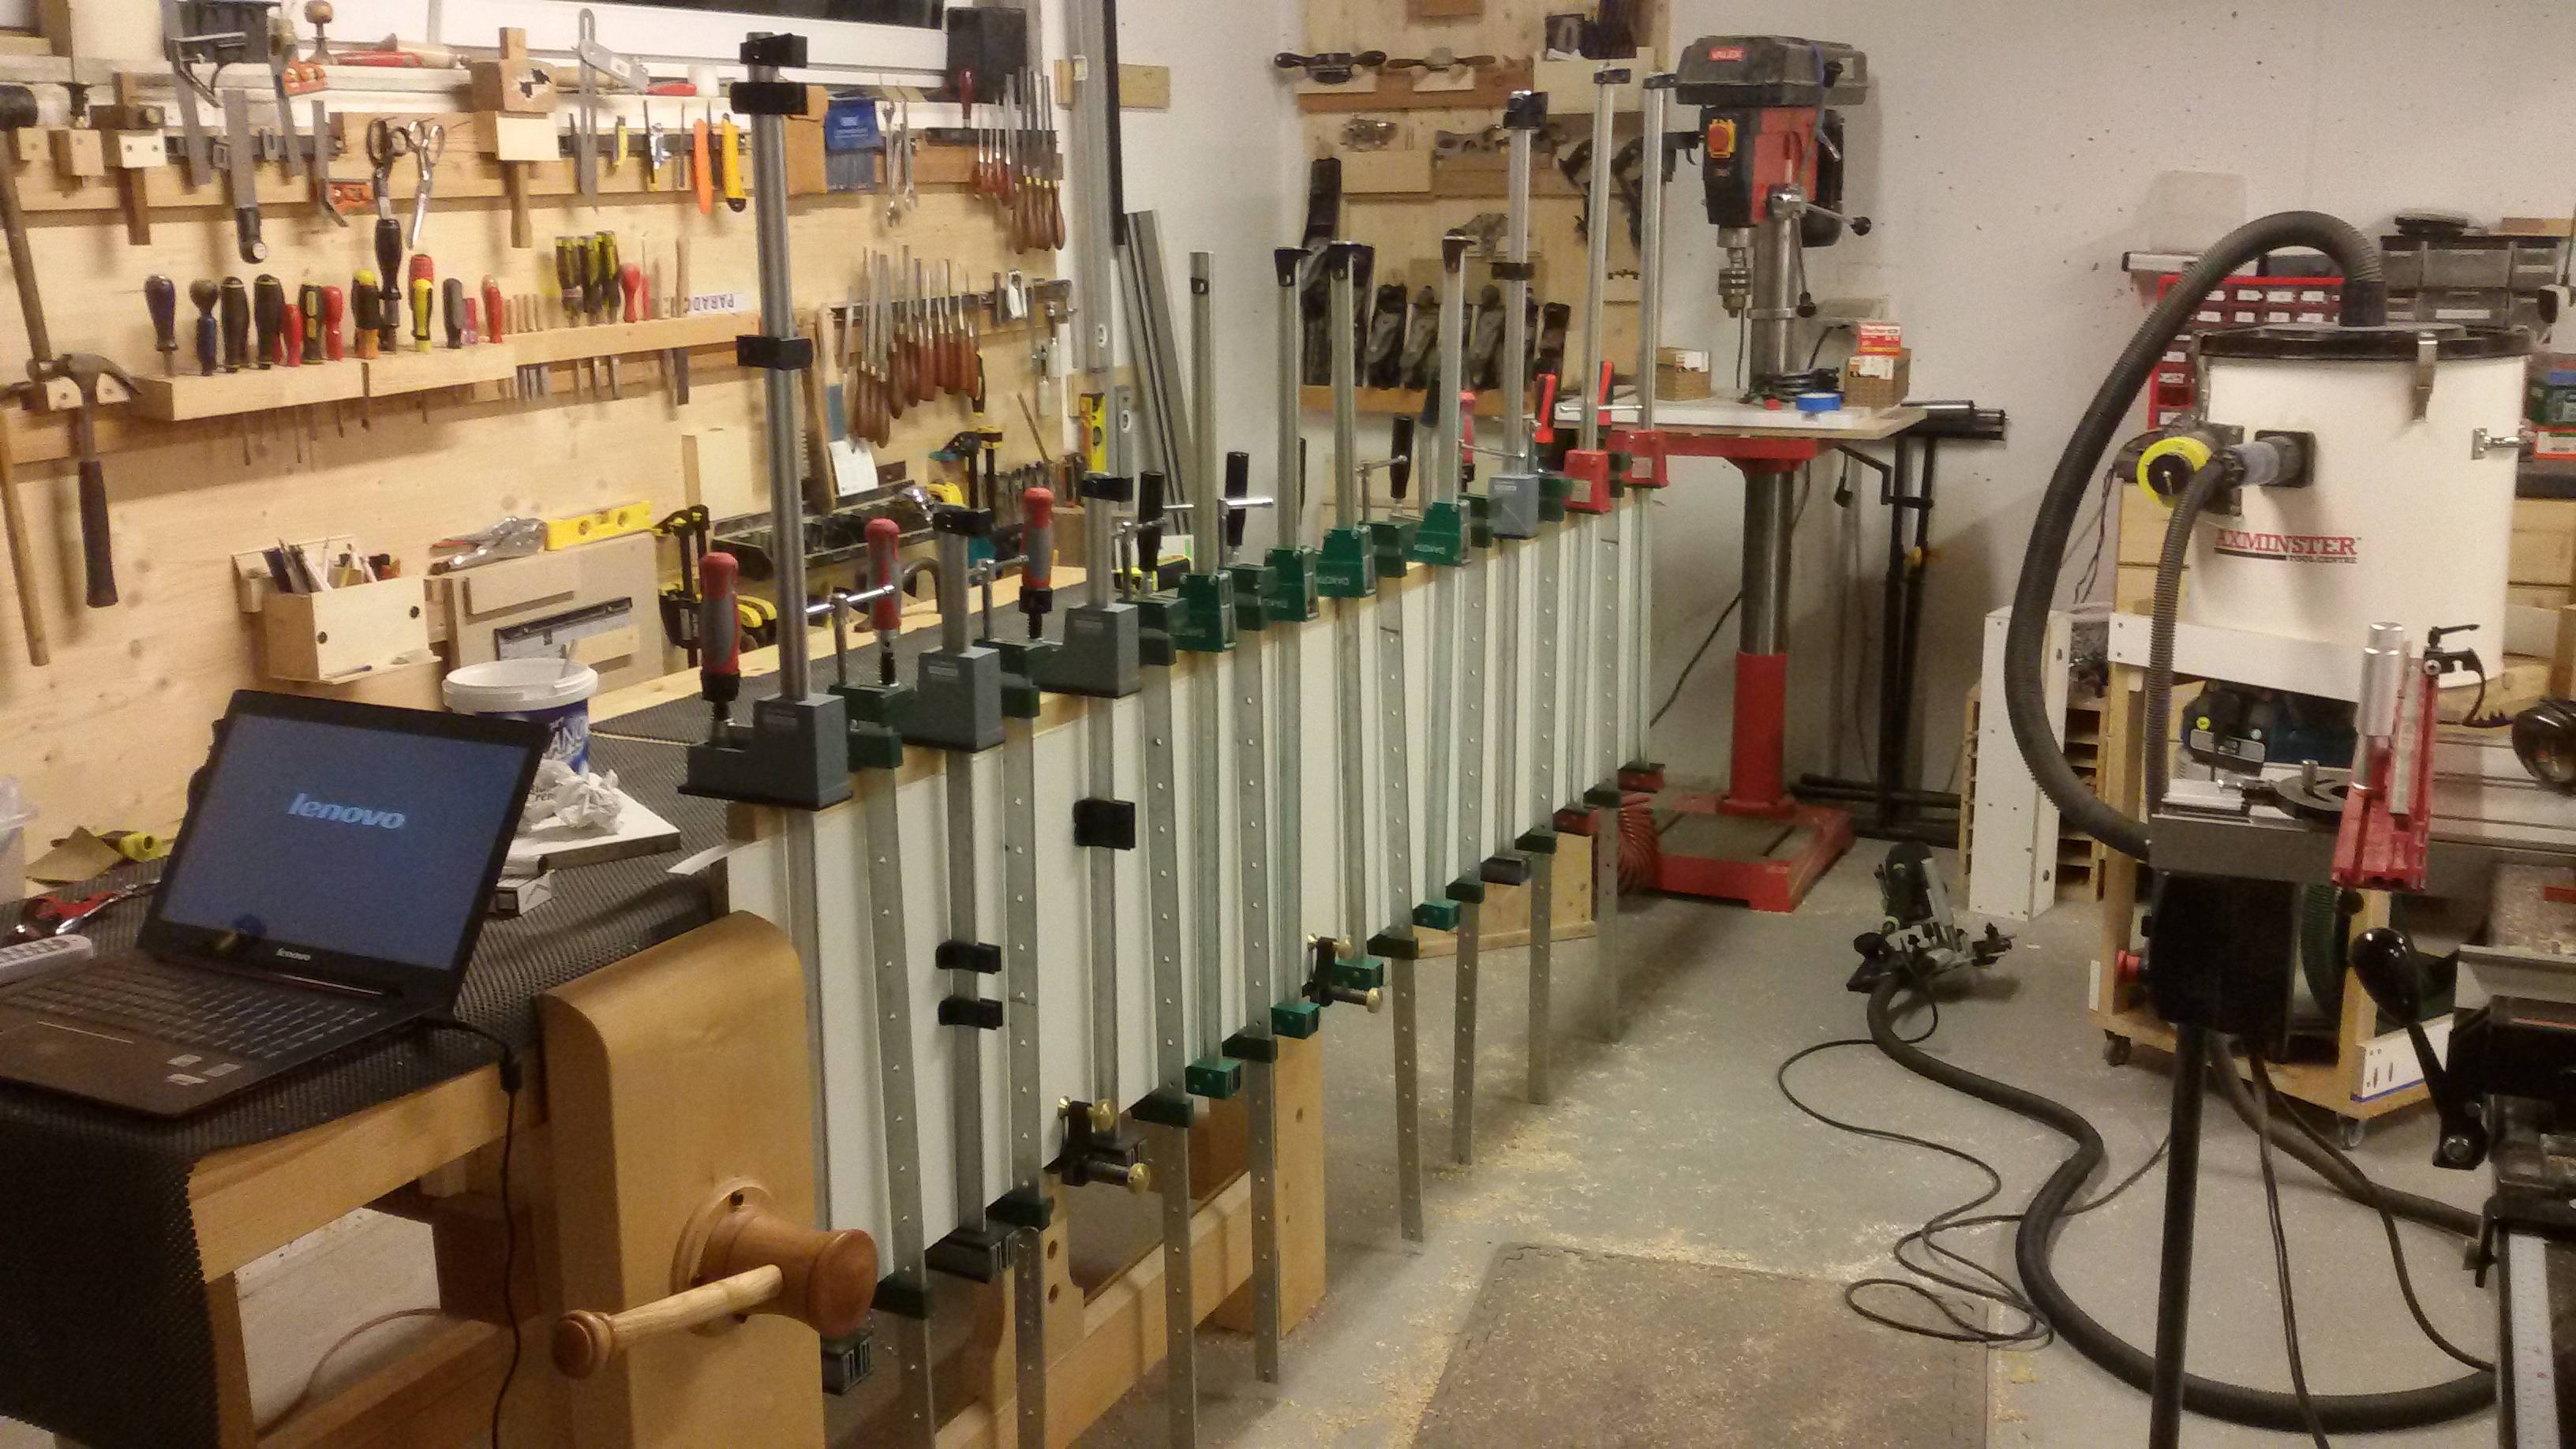
I glue the edge with the board supported vertically in my bench, then the edging goes on, then a caul (I had to make some about 2m long), and then a LOT of clamps. I needed lots of different lengths etc, so even my pretty decent collection of about 60 clamps was hard worked.

Also the glue slips and you need to keep checking there is an overhang on both sides, and that there's no gaps, you want squeezout all the way along.

I actually planed my cauls into a curve to ensure even pressure.

Then I use the Festool OFK700 (not my 1010) to trim the edge, as it is made exactly for that job. Lovely fine adjustment and a 1deg angle off the surface of the board.

Then... cut of the ends, and move to the next edge. When it's a door, i do one edge, then table saw to final size, then route (with the 1010) and a festool track 2mm off, and then apply the 2mm edging.

That way I get a chip free edge before banding, to correct dimensions once banding applied. However for doors etc (cupboard doors), getting every piece parallel and square takes care and time.

This coat and shoe cupboard I custom built into my entrance hall has about 140m of edging believe it or not!

Each edge was 30 mins prep, 30 mins glue and clamping, 30 mins drying. So probably 80+ hours of that.

I feel it's too late to buy an edge bander now, however I still have loads to do :'( So I think I will get one of the le-matic ones from axminster, as it's just too much time, and too tedious by hand...

(I have 3 bedrooms, 1 office, 1 utility room, 1 linen cupboard and 3 bathrooms still to do with built in laminated cupboards / doors...)

rEOEvIr.jpg


6dl1LZM.jpg
 
Back
Top