Dovetailed Infill - First Fumblings

UKworkshop.co.uk

Help Support UKworkshop.co.uk:

This site may earn a commission from merchant affiliate links, including eBay, Amazon, and others.
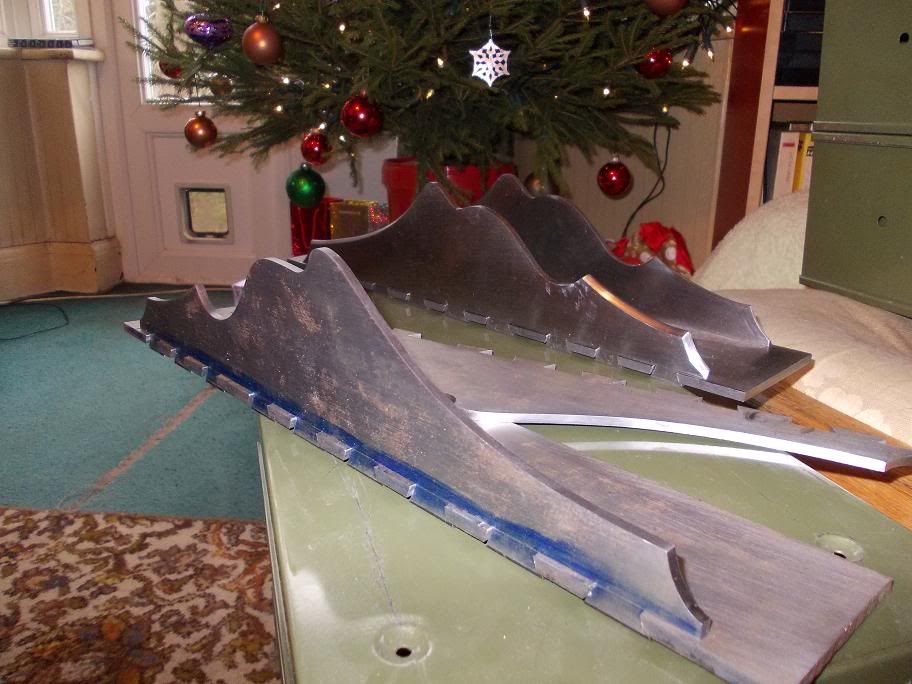
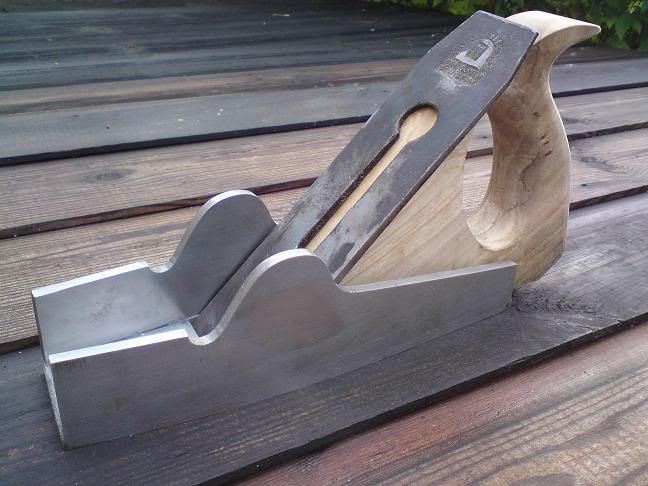
The great thing about infills Richard, is you can test fit them to see what they look like.

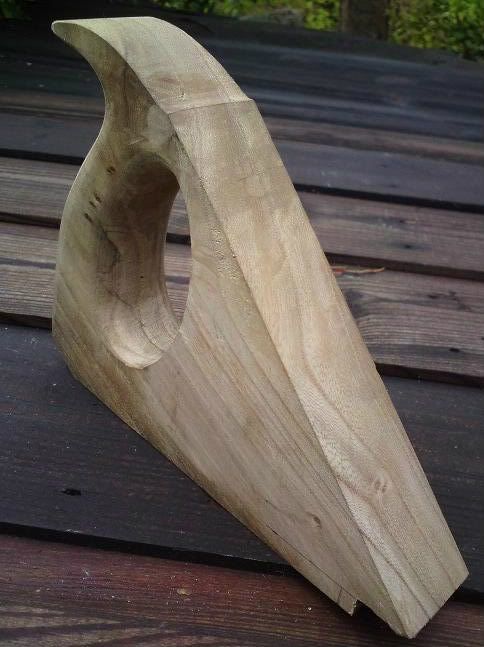
If you're not going traditional...then elm would be fun...can't wait to see it. Will you be staining it or au naturale?

Jim
 
Finally got around to doing a bit of whittling.

DSC00076-1.jpg


Just file work thus far. Needs quite a bit more shaping/smoothing.

DSC00075-2.jpg


Looks odder semi naked than fully naked somehow. I'll be glad when I've got the handle sides done. Largely groping in the dark with this bit.
 
Looks great. Want to have a go myself but have loads of gates to be getting on with :roll: .

Still think it's great how you are making a plane. Tool making, even just chisel handles, is always a bit challenging but to be able to make a plane is some achievment.
 
Hi Richard

Just thinking...before you set it into place...shouldn't the handle base overlap the edges?

pl3033.l.jpg


Or am I being premature and are you going to fit the handle into a slip base as on some....

Jim
 
Quite right Jim, but on the infills I have worked on the side cheeks are laminated to the handle rather than being one solid piece. I suspect this is the direction Richard is taking too.
 
matthewwh":2ukuk6wm said:
Quite right Jim, but on the infills I have worked on the side cheeks are laminated to the handle rather than being one solid piece. I suspect this is the direction Richard is taking too.

My guess too...I just didn't want him gluing things in after such perfection without at least a few eggs for his grandma!

:mrgreen: :mrgreen: :mrgreen: :mrgreen:

jim
 
Thanks FF. When you are all gated out and you feel like having a go, I strongly recommend making a straight one. :)

Yup Jim & Matthew, side cheeks it will have. I will attempt to over stuff but just getting them to a good, tight fit will be an adventure in itself.

Scouse, I still have the shell (the other parts ,as you know, were sprinkled with holy water and buried upside down in unconsecrated ground). I see you you have a P********* ... I don't think you "let the right one in" there ... still, just an opinion. :)

Since seeing Konrad's take on the full width rebate the idea of rescuing the RB10 shell has paled somewhat I'm afraid. Maybe I'll mount it on the wall, trophy style, in the new shed.
 
Richard T":2n20gw8r said:
Scouse, I still have the shell (the other parts ,as you know, were sprinkled with holy water and buried upside down in unconsecrated ground). I see you you have a P********* ... I don't think you "let the right one in" there ... still, just an opinion. :)

I can tell you are just jealous and don't want to admit it in front of everyone, but it's ok, I understand... :lol:
 
Thanks Tim - more soon hopefully. I'm being madly busy getting ready for bonfire night at the mo but I have some likely candidates for scales and a front bun that are off - cuts from the .... next plane :oops:

More on both soon ...
 
Your infill is coming along nicely and I won't comment on the metal work other then saying I found it to be learning experience all it's own. It was interesting to hear comments about the rear infill and hopefully you are aware there are several ways to accomplish it,the overstuffed method is probably the hardest to do well and achieve a perfect fit and using the three piece method is a helpful thing sice each side is basically done separately then added to the whole. One piece tote and beds are much harder to orient and will require considerable more time and effort with files and rasps and just plain fitting and refitting till you get it right.

I'm sure by now even the novices know why infills cost what they do the amount of labor is considerable so bravo to your perseverence and keep up the good work and the pictures they are very enjoyable to see. Len
 
A belated thanks Len and Hi FF ..

I've been doing the odd bits over the last month including making a lever cap:

DSCN0273s.jpg


DSCN0272s.jpg


I had to make a pair of tongs specially to hold the width of this cap to draw out the neck. If you think the neck is a tad long ... it is. :) I drew it over the horn of the anvil when really it needed a narrower fuller tool. I've since made this tool so the next one will hopefully be more controllable.

Speaking of the next one, as it's Christmas, here's a preview:

DSCN0275s.jpg


DSCN0274s.jpg


Annddd... the next one :oops:

DSCN0271s.jpg


:deer :ho2 :deer
 
Wow that's some cap - have you been forging it.
Lovely work.

By the way Karl Holtey has an article in F&C about hand making his small box mitre.

Rod
 
Good LORD Richard!!!!! :shock: :shock:

What a lever cap and a half!

The only "chatter" you are gonna get from that mate is from the toolmaking community!!

Bleedin' NORA! :shock:

At first I thought....steel...what is this man thinking of. Get a couple of cannon to melt down you maniac! :mrgreen:

Then....I thought..I really...no REALLY like this....in a kind of "De Lorean" way!

I think that once the infill is in...this is going to be one beeeeeutiful little plane!

Bravo dear boy...BRAVO!! =D> =D> =D>

Jim
 
Hi Rod, yup. forged. Though there's ahellofalot of bench work afterwards. Thanks for the Karl H. tip off - though in my cold addled state I can't think for the life of me what F&C might be ... I expect it's obvious but at the mo' all I can think of is Fish and Chips :?

Thanks No, I laid into them with my curved Dreadnought the draw filed with a saw file before emerying smooth.

Jim, this is an alternative to casting or milling .... whether it is a viable one, I don't know yet; it takes a very long time. Although if I had them cast I would have to pay someone to do it and then do lots of filing/polishing too, same goes for milling. I think that we just have to concede that lever caps are a lot of work however they are made.
I like the De Lorean comparison .. but you do know it's going to be hinged in the usual place and not at the top don't you? :D
 
Back
Top