dining table in oak

UKworkshop.co.uk

Help Support UKworkshop.co.uk:

This site may earn a commission from merchant affiliate links, including eBay, Amazon, and others.
Hi Stef, I'm a newbie here, please don't take offense at the info below - quoted (almost verbatim) from 'Collins complete wood workers manual': -

Quote:
Elbow room
600mm (2 ft)
This is sufficient space for an adult to wield a knife and fork without obstructing his or her neighbour.
End Quote.

They also allow (at the end of the table) 250mm (10in) for knee movement, so:-
1000mm wide should be fine;
2100mm long = enough space for two people along the length each side, and one at each end. NOT enough to seat 3 comfortably IMHO.

So, so long as you're not regularly seating more than 6, the size planned seems fine, bit of a stretch for short armed people (I did say armed :) ).

Hope that helps?
 
Mailman14":j4kd93zw said:
Hi Stef, I'm a newbie here, please don't take offense at the info below - quoted (almost verbatim) from 'Collins complete wood workers manual': -

Quote:
Elbow room
600mm (2 ft)
This is sufficient space for an adult to wield a knife and fork without obstructing his or her neighbour.
End Quote.

They also allow (at the end of the table) 250mm (10in) for knee movement, so:-
1000mm wide should be fine;
2100mm long = enough space for two people along the length each side, and one at each end. NOT enough to seat 3 comfortably IMHO.

So, so long as you're not regularly seating more than 6, the size planned seems fine, bit of a stretch for short armed people (I did say armed :) ).

Hope that helps?

thanks for this.
however, the stock i am playing with will not give me that much option.
I will try to make it as big as possible with what i've got, and that's slighly smaller than the original plan.
I should end up at 1970mmx850mm...
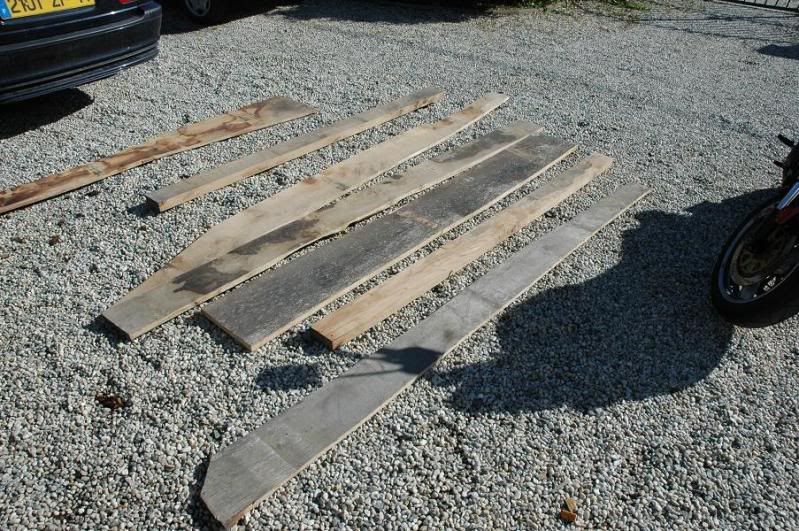
here is what i could use:

DSC_8257.jpg


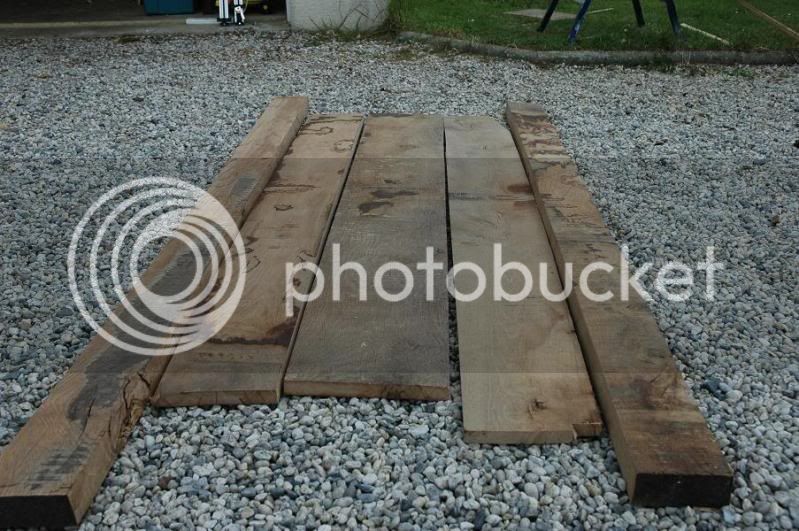
and this is how i finally set it up.
DSC_8261.jpg
 
Hi there Stef, even at the slightly smaller size you quoted, there's enough space to get 6 round the table comfortably. I know it comes down to maximising the use of your available wood, and reducing offcuts etc (the bane of a "treehugger" - me!)

I've spent hours over figuring out the best use of wood, leaving it to one side, moving it round, drawing / cutting bits of paper to 'nest' them best.

In the end, offcuts do come in handy for splits / models, oh, and the coal fire in the living room!

Seriously though, if you get anything left over, I find making dowels out of them quite satisfying! (I saw down pallet chunks, use a steel tube 10mm i/d, and hammer the dowels out, then drill a 10mm hole in the framework - hey presto - less scrap!). Look at my projects thread for a piccy.

Good luck, looks like some nice wood there!
 
I made reasonable progress on this project:
I have most planks for the top ready to assemble.
i measured the whole width so far, i am at 840mm.. which is a little narrow to my taste.
So..here is a question:
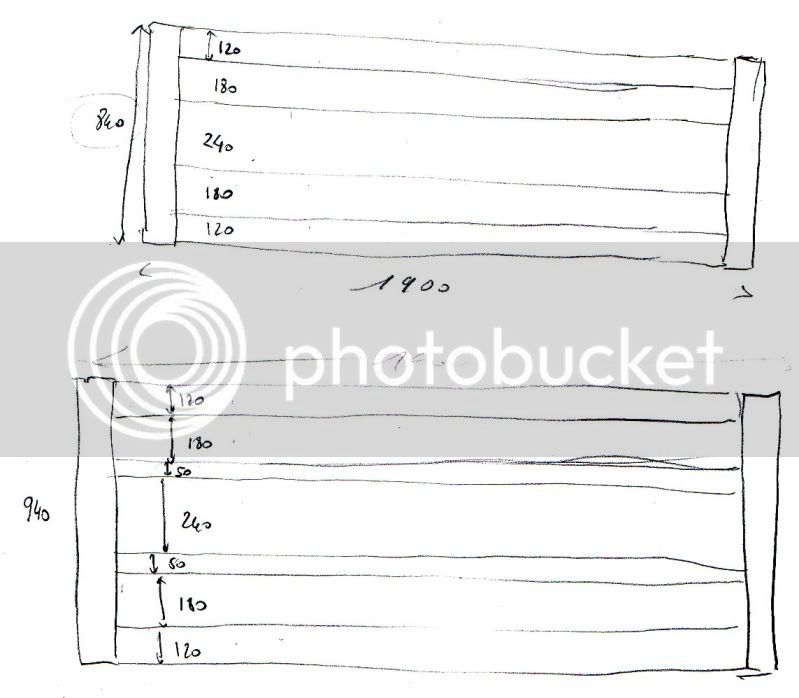
I could keep it as it is: top sketch.
or, i could insert 50mm boards either around the middle plank (bottom sketch) or around the 3 middle planks, not shown.


layout2.jpg


what would you do ?
 
I like the graduation in the board widths (120, 180, 240mm) and I think that, for the sake of aesthetics, it would probably be better for a 1900mm long top to be a bit wider than 840mm...

Not sure about the 50mm idea though - what about inserting 25mm widths in between each wide board?
 
OPJ":2l72ds14 said:
I like the graduation in the board widths (120, 180, 240mm) and I think that, for the sake of aesthetics, it would probably be better for a 1900mm long top to be a bit wider than 840mm...

Not sure about the 50mm idea though - what about inserting 25mm widths in between each wide board?

umm..
i share your view on the width..940 would definitely be nicer.
but the 50mm planks would look odd.
i'll do a sketch with the 25mm, as suggested.
4x25mm planks... thats a bit of extra work unplanned for. oh well..
 
I decided to go for the 4x25mm strips.
I glued 2 around the center plank this afternoon. Bscuit joined.
They are currently 35mm as i plan to rabbet them back by 10mm to form the tongue that will fit in the next plank.
DSC_8296.jpg

DSC_8297.jpg

DSC_8298.jpg


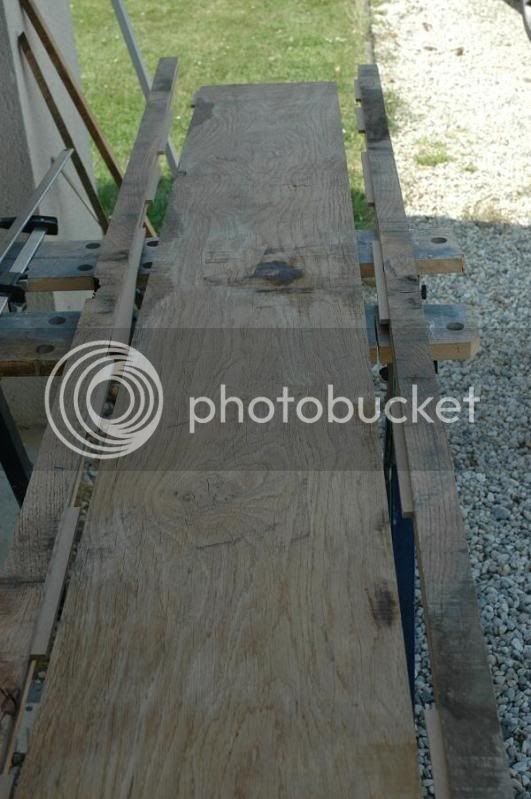
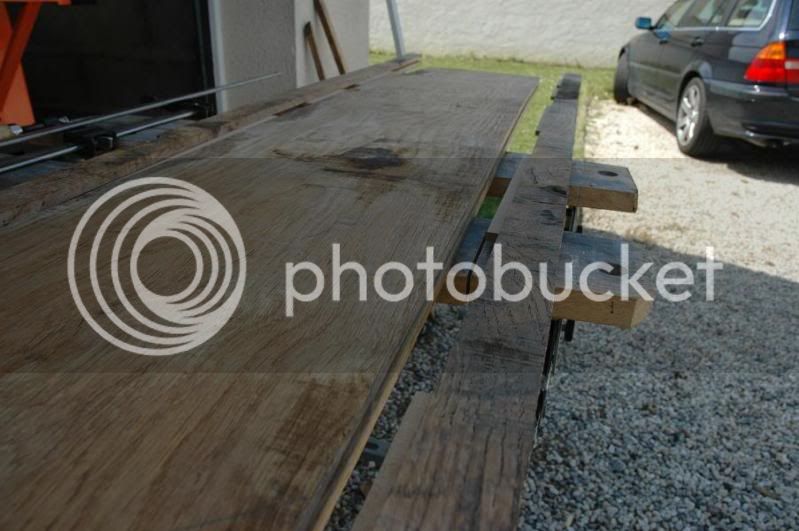
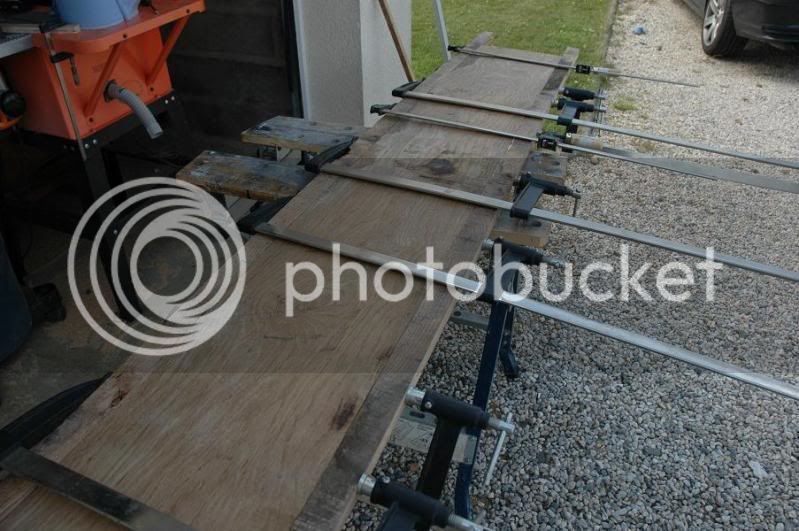
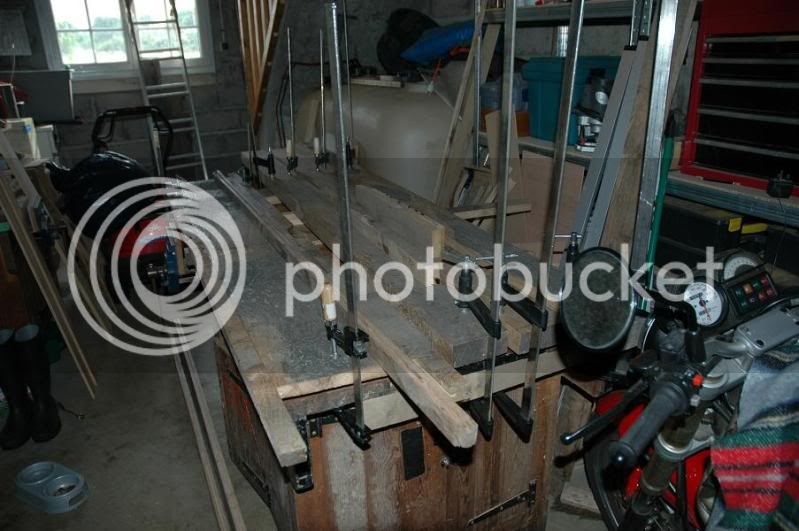
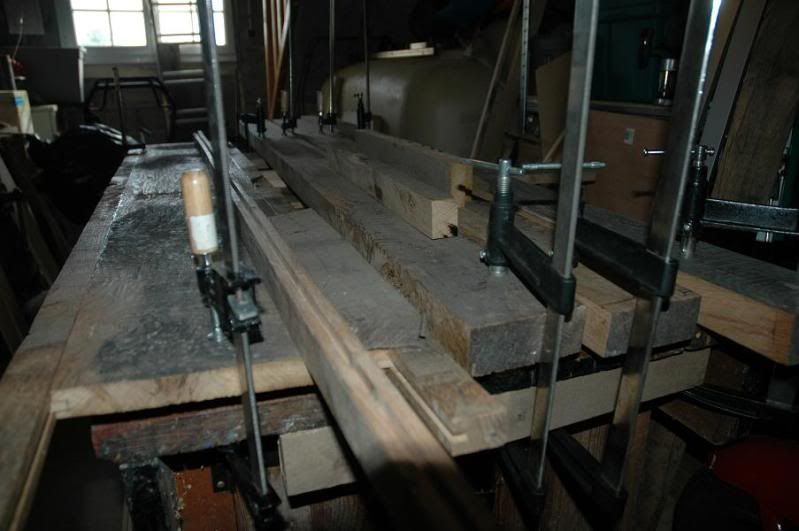
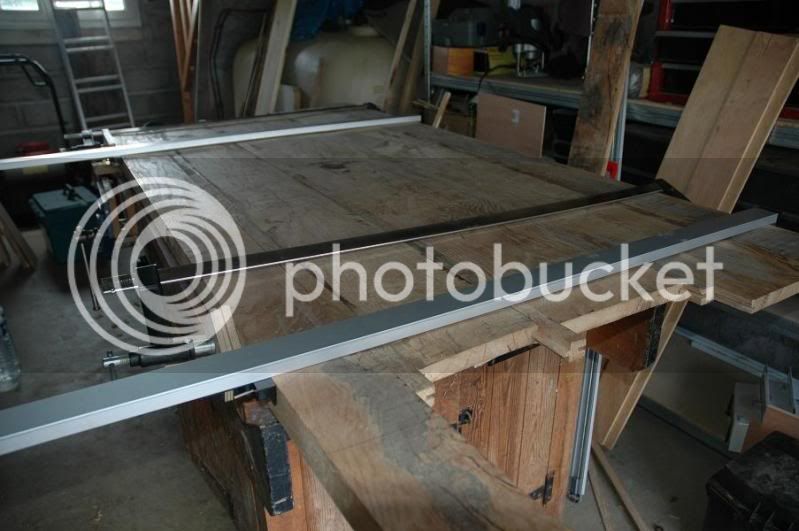
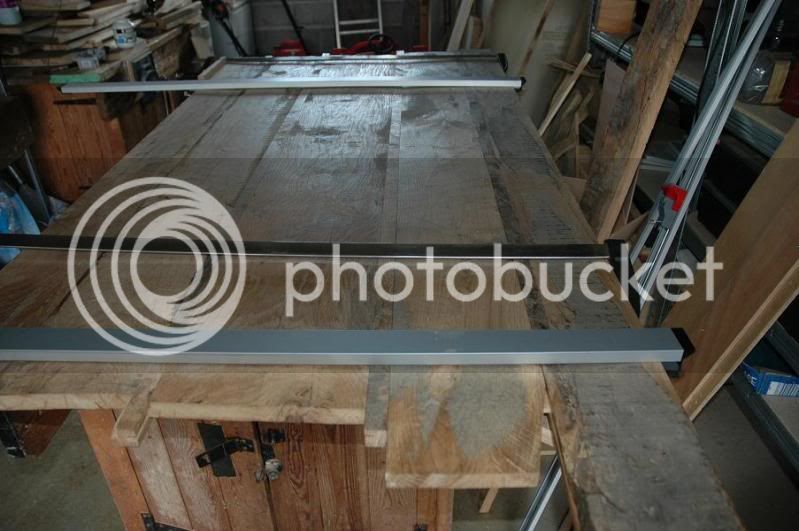
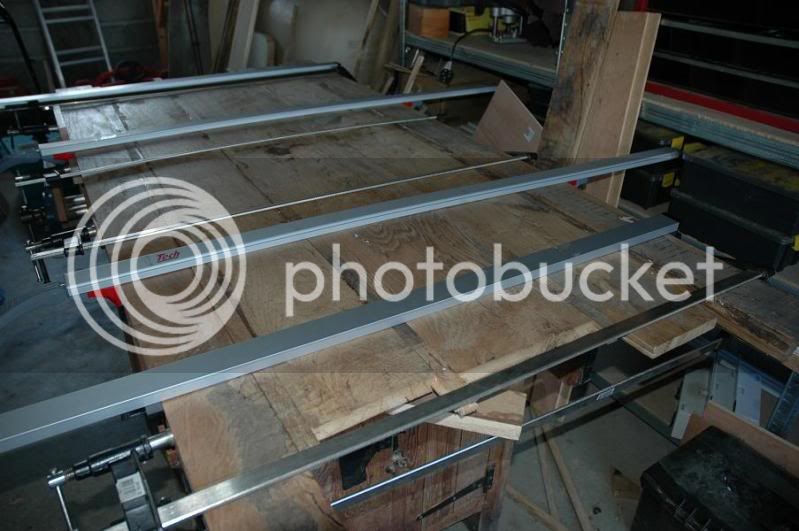
The 2 outer beams have a bit of a bow (1 or 2%), so i cramped them to the bench in order to try to straighten them. They are flexible enough to take it, and more.
How long should i leave them jigged like this to see a difference ?
they are the 3 bigger pieces on the RHS.
DSC_8304.jpg

DSC_8305.jpg
 
Good progress on this this week end.
I did all the TG joints for the 5 boards and 4 strips. i assembled, and glued the lot.
fairly happy with it.
one thing worries me a little though is that my joins are fairly small in comparison to the weight of the top.
i doubt the board will stay in place if i lifted the top carelessly. regardless of the glue. i normal use, the top wont be moved, so i am not too worried. i am just a little concerned when i will be handlling it to finish it.
DSC_8310.jpg

DSC_8311.jpg

DSC_8312.jpg
 
breadboards morticed, tenons cut...

DSC_8315.jpg

DSC_8316.jpg

DSC_8317.jpg


just need a little adjustement (or a heavy hammer) to drive them fully home.
then it's glue and dowels (only on the middle plank, of course)
 
how the **** are you going to finish off the top ? Will you be sanding the lot down by hand ? :shock: :shock: :shock:
 
LarryS":2nvfyxqe said:
how the **** are you going to finish off the top ? Will you be sanding the lot down by hand ? :shock: :shock: :shock:

If it were me i'd use a belt sander with 80G , then follow up with a random orbital with 120 and 240 - doing something that big by hand will take ages.
 
LarryS":wwz6th5c said:
how the **** are you going to finish off the top ? Will you be sanding the lot down by hand ? :shock: :shock: :shock:

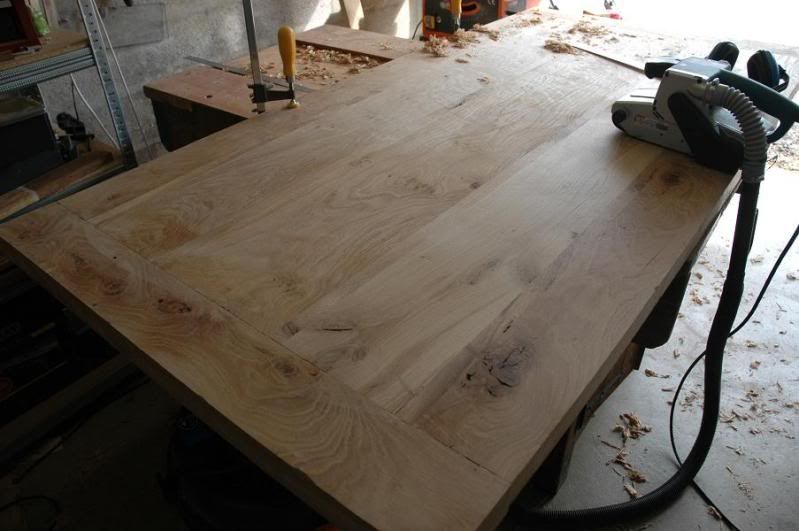
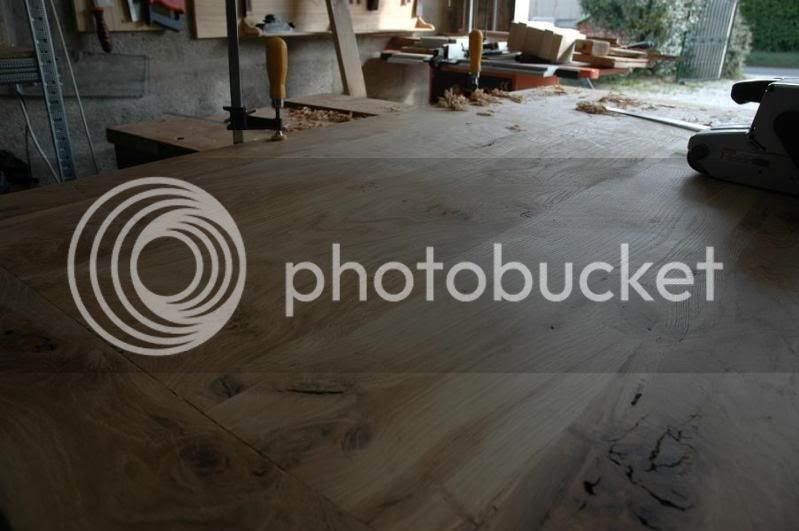
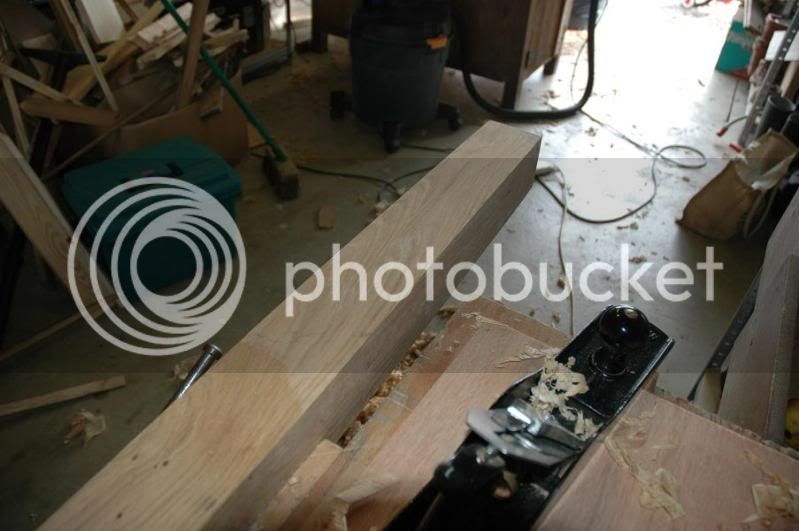
It still need some work with the 7 plane, then the jack plane, and followed by the belt sander and then the orbital sander...
plenty of work left to do !
I still havent settled on a finish. it's most likely going to be "fond dur" (some sort of pore filler, protecter) followed by shellac and wax.
 
stef":1vct4axv said:
LarryS":1vct4axv said:
how the **** are you going to finish off the top ? Will you be sanding the lot down by hand ? :shock: :shock: :shock:

It still need some work with the 7 plane, then the jack plane, and followed by the belt sander and then the orbital sander...
plenty of work left to do !
I still havent settled on a finish. it's most likely going to be "fond dur" (some sort of pore filler, protecter) followed by shellac and wax.
If it were me and assuming you're going for a rustic look then I wouldn't bother with the plane. I'd just hit it with a belt sander, across then along the grain, going from 40g to 120g.
 
studders":2m8h245u said:
stef":2m8h245u said:
LarryS":2m8h245u said:
how the **** are you going to finish off the top ? Will you be sanding the lot down by hand ? :shock: :shock: :shock:

It still need some work with the 7 plane, then the jack plane, and followed by the belt sander and then the orbital sander...
plenty of work left to do !
I still havent settled on a finish. it's most likely going to be "fond dur" (some sort of pore filler, protecter) followed by shellac and wax.
If it were me and assuming you're going for a rustic look then I wouldn't bother with the plane. I'd just hit it with a belt sander, across then along the grain, going from 40g to 120g.

i would too, but there are still a few high spots i need to sort out. i like the rustic look, but i am not too keen on wobbly plates !
 
stef":1prysthc said:
i would too, but there are still a few high spots i need to sort out. i like the rustic look, but i am not too keen on wobbly plates !

Nowt wrong with wobbly plates, makes dinner time more fun. Seriously tho, using a straight edge to find the high spots you could still knock them back with the belt sander. Not sure a No7, unless used as a scrub, is going to be the right tool for this.
 
studders":321cj5q5 said:
stef":321cj5q5 said:
i would too, but there are still a few high spots i need to sort out. i like the rustic look, but i am not too keen on wobbly plates !

Nowt wrong with wobbly plates, makes dinner time more fun. Seriously tho, using a straight edge to find the high spots you could still knock them back with the belt sander. Not sure a No7, unless used as a scrub, is going to be the right tool for this.

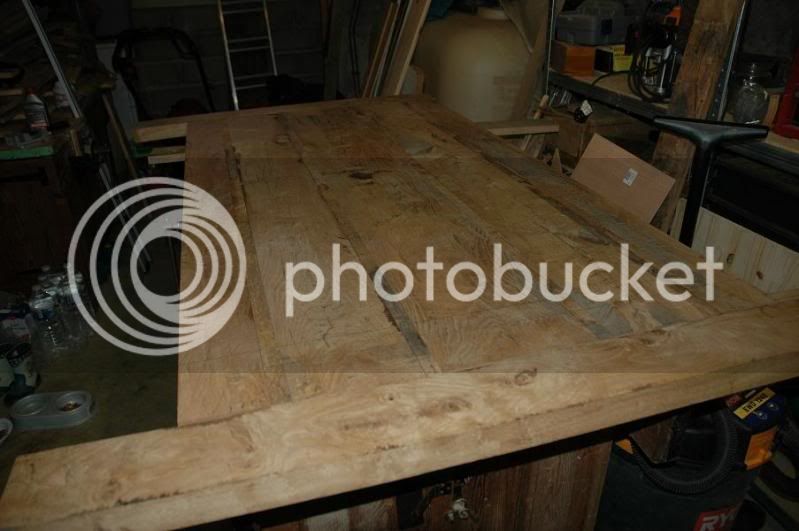
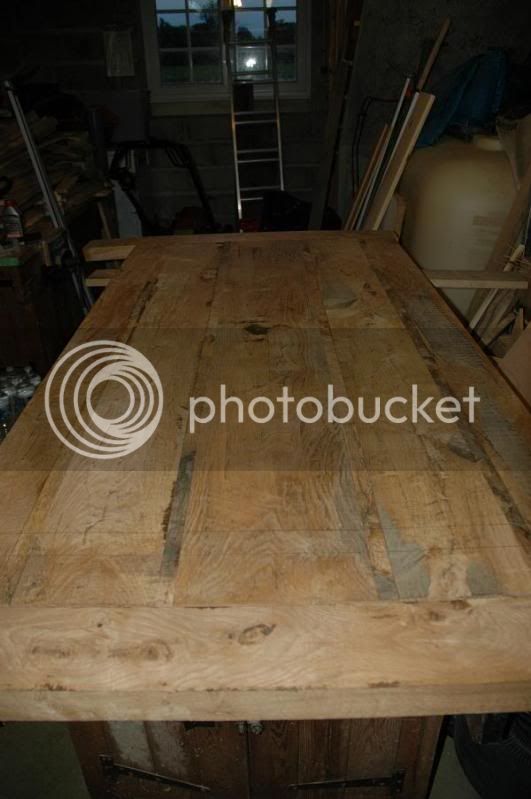
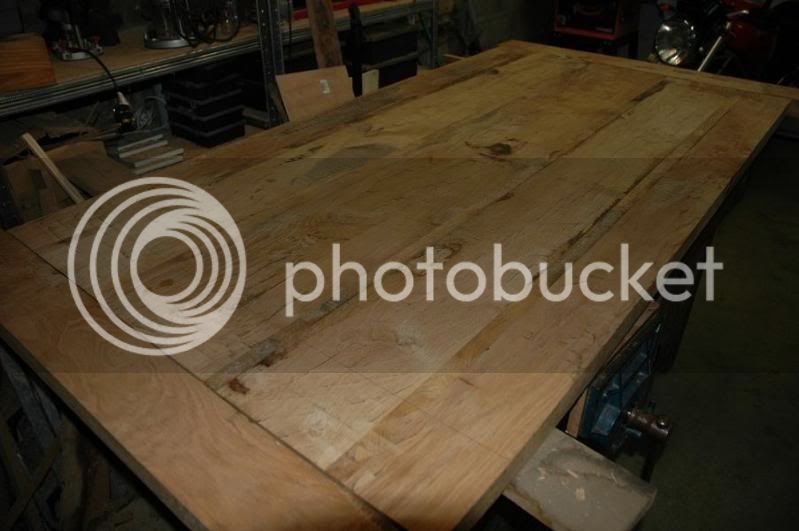
why is that ? (naive question from a beginner) i have been at it for about 90mins this evening, on the n7, and it's slowly getting flat. i dont use it with the grain, but diagonally to the grain, in a criss-cross way, across the table. it seems to work out, and really flattening it out... (it may be more hills and valleys than it looks in the picture). Some of the middle board had a slight cupping.
I still have maybe a couple of hours or work left with the 7, to get it flat everywhere, and then its belt sander.
 
One advantage in using a scrub plane is that you can remove 'high spots' very quickly, due to the heavily-cambered blade. I recently noticed Paul Chapman has a blade like this specifically for his no.6 or no.7 plane (I forget which), he says this suits him better. You'd still require a standard square-edged blade for final finishing once you get close to flat. Perhaps something to bear in mind for a future project?

Cutting diagonally across the grain first is also the best way to go. I admire your approach to building this table, I've never seen anyone take sawn timber this far through a build before. :)
 
stef":1kcpljjm said:
why is that ? (naive question from a beginner) i have been at it for about 90mins this evening, on the n7, and it's slowly getting flat. i dont use it with the grain, but diagonally to the grain, in a criss-cross way, across the table. it seems to work out, and really flattening it out... (it may be more hills and valleys than it looks in the picture). Some of the middle board had a slight cupping.
I still have maybe a couple of hours or work left with the 7, to get it flat everywhere, and then its belt sander.

Maybe its just me, I'm not 'that' experienced myself but, imagine you have a hollow surrounded by level wood, surely the long plane is going to ride on the high, level part until you get down to the level of the hollow? This may be what is needed to get an absolutely flat surface but is that necessary here? My suggestion of the belt sander was that, being shorter, you could blend the two to an acceptable degree without taking off so much wood as planing would need.
 
studders":1gw33fa6 said:
stef":1gw33fa6 said:
why is that ? (naive question from a beginner) i have been at it for about 90mins this evening, on the n7, and it's slowly getting flat. i dont use it with the grain, but diagonally to the grain, in a criss-cross way, across the table. it seems to work out, and really flattening it out... (it may be more hills and valleys than it looks in the picture). Some of the middle board had a slight cupping.
I still have maybe a couple of hours or work left with the 7, to get it flat everywhere, and then its belt sander.

Maybe its just me, I'm not 'that' experienced myself but, imagine you have a hollow surrounded by level wood, surely the long plane is going to ride on the high, level part until you get down to the level of the hollow? This may be what is needed to get an absolutely flat surface but is that necessary here? My suggestion of the belt sander was that, being shorter, you could blend the two to an acceptable degree without taking off so much wood as planing would need.

you are right.
however, i also have parts of the table which are above the average level (due to the cupping of some boards). those, i need to get flat. i am sure there will be hollows left in there, but those, as you suggest, i will reach with the belt sander.
 

Latest posts

Back
Top