Benchwayze
Established Member
I haven’t seen much on the forum regarding the flattening of ‘buckled’ exotic veneers, such as burls and flames. These expensive veneers often come in resembling book pages that have been left in a damp room. The problem is they are fragile and they break easily, if you try to apply them as-is.
I don’t often use veneer, and some years ago, I had a small piece of burr-elm to lay. The veneer resembled a relief map of the Himalayas! Without a vacuum press (which might be a sledgehammer for small sizes,) I sought advice from the late, much-missed Jim Kingshott.
Here’s what he told me.
Dampen the veneer with warm water and let soak (out of the water) until it is reasonably pliable.
Apply a weak coat of warm animal-glue size to the side you have chosen as the ‘shown’ side.
Place a sheet of dampened newsprint, or brown paper on a flat ‘caul’ (melamine coated chipboard is ideal.)
Place the veneer with the sized face downwards onto the paper.
Place another sheet of paper over the veneer and dampen again. Then cramp the whole lot with another flat caul on top, and leave for 24 hours. (At least) This should flatten the veneer completely.
Remove most of the sized paper with a warm, damp pad. Now you can apply the veneer. I used cascamite and the cauls again, with aluminium foil to prevent sticking to the cauls. It worked.
After you have applied the veneer and it’s all dry, remove any remaining paper by soaking off again and maybe a gentle scraping. Then you can sand and fill, before applying your chosen finish.
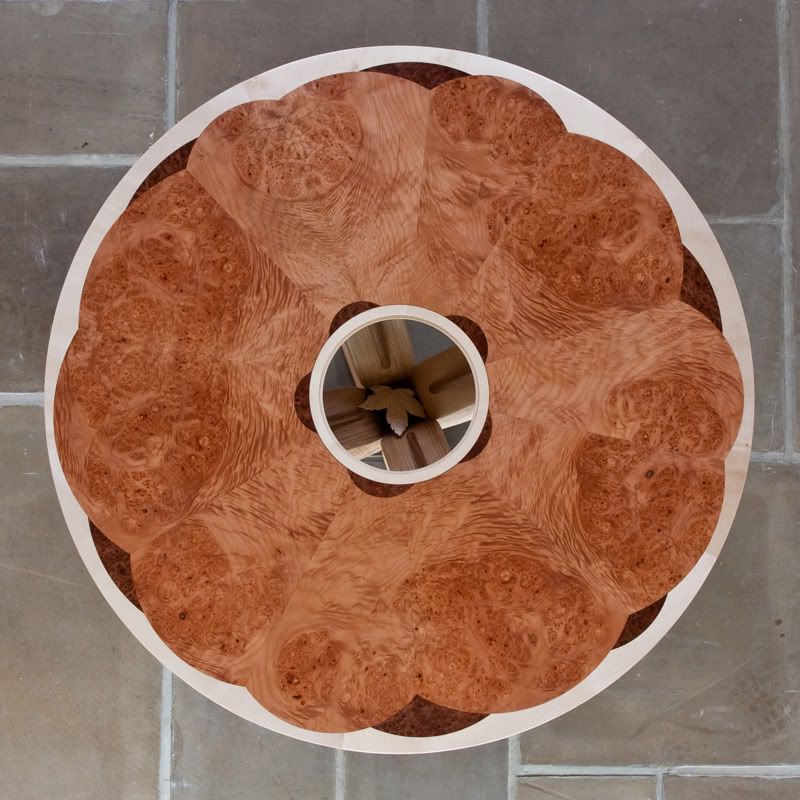
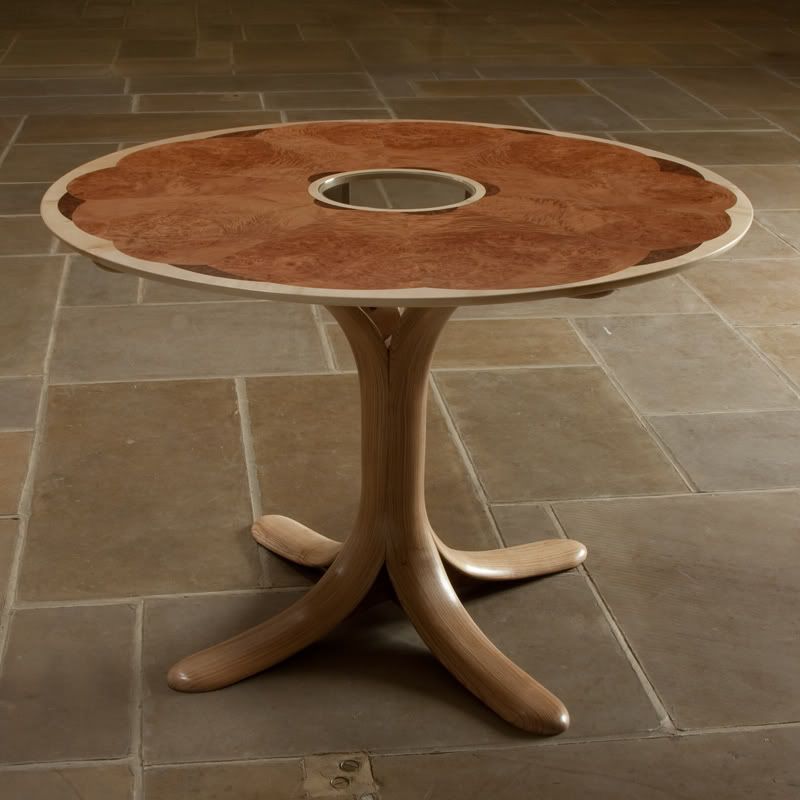
This worked for me and I was able to apply the burr-elm as if it was a modern, ready glued veneer. I was also able to work the recess for an inlay without any chipping of the glued veneer. No problems at all. It really was a breeze in this small size. It was mostly a case of patience, and softly-softly catch the monkey.
Hope this helps
Regards
John
")
 Burr elm
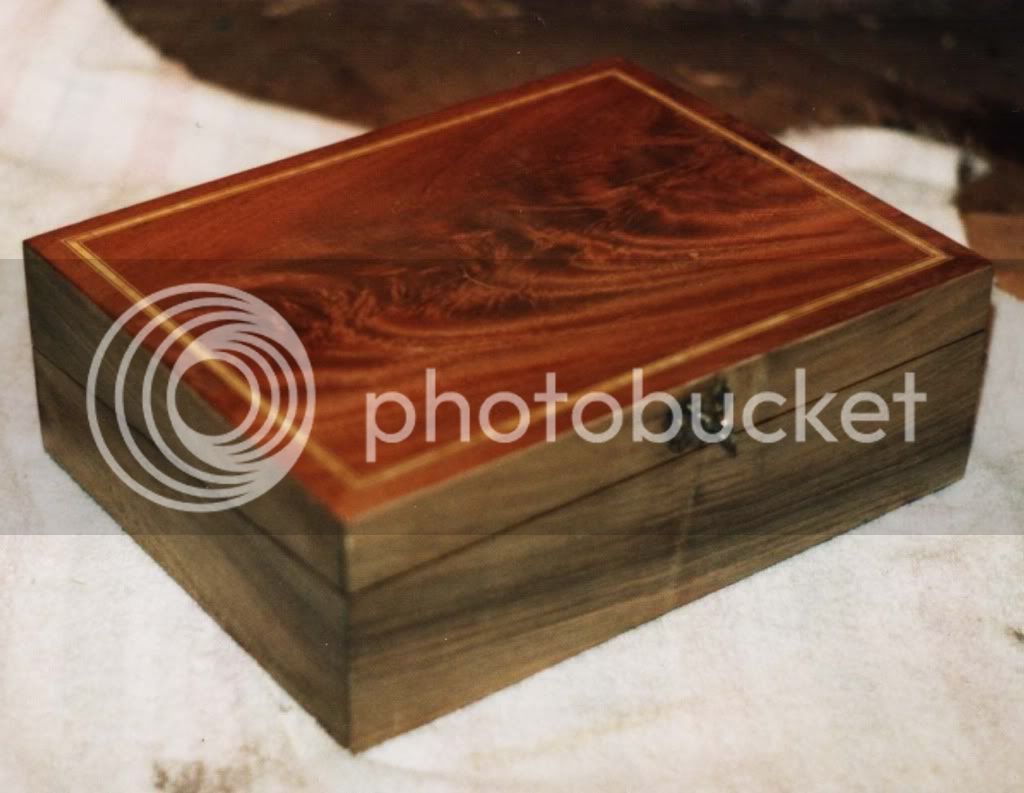 Mahogany
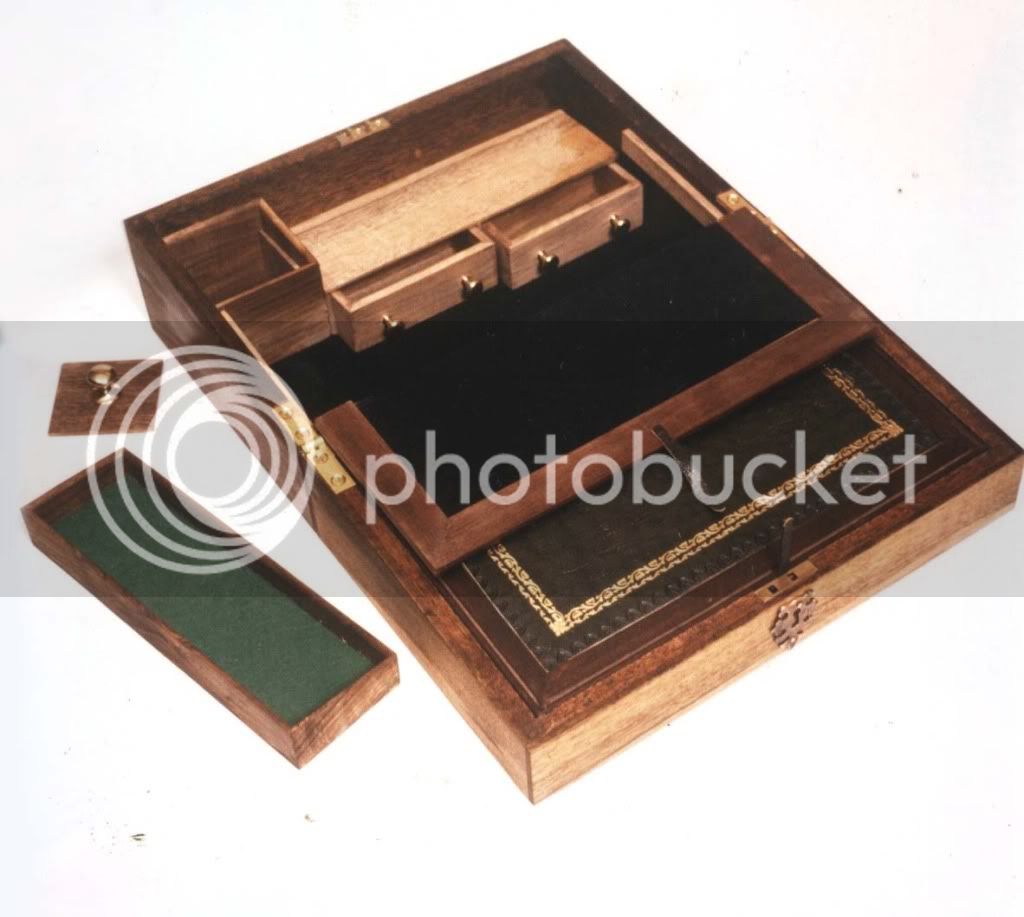 Opened slope.
The inlays were box and ebony stringing.
The pics are old SLR shots scanned in via a non-dedicated film scanner, so apologies for the quality of the pics. The lid-closures were dealt with before the pieces left my shop.
I don’t often use veneer, and some years ago, I had a small piece of burr-elm to lay. The veneer resembled a relief map of the Himalayas! Without a vacuum press (which might be a sledgehammer for small sizes,) I sought advice from the late, much-missed Jim Kingshott.
Here’s what he told me.
Dampen the veneer with warm water and let soak (out of the water) until it is reasonably pliable.
Apply a weak coat of warm animal-glue size to the side you have chosen as the ‘shown’ side.
Place a sheet of dampened newsprint, or brown paper on a flat ‘caul’ (melamine coated chipboard is ideal.)
Place the veneer with the sized face downwards onto the paper.
Place another sheet of paper over the veneer and dampen again. Then cramp the whole lot with another flat caul on top, and leave for 24 hours. (At least) This should flatten the veneer completely.
Remove most of the sized paper with a warm, damp pad. Now you can apply the veneer. I used cascamite and the cauls again, with aluminium foil to prevent sticking to the cauls. It worked.
After you have applied the veneer and it’s all dry, remove any remaining paper by soaking off again and maybe a gentle scraping. Then you can sand and fill, before applying your chosen finish.
This worked for me and I was able to apply the burr-elm as if it was a modern, ready glued veneer. I was also able to work the recess for an inlay without any chipping of the glued veneer. No problems at all. It really was a breeze in this small size. It was mostly a case of patience, and softly-softly catch the monkey.
Hope this helps
Regards
John
The inlays were box and ebony stringing.
The pics are old SLR shots scanned in via a non-dedicated film scanner, so apologies for the quality of the pics. The lid-closures were dealt with before the pieces left my shop.