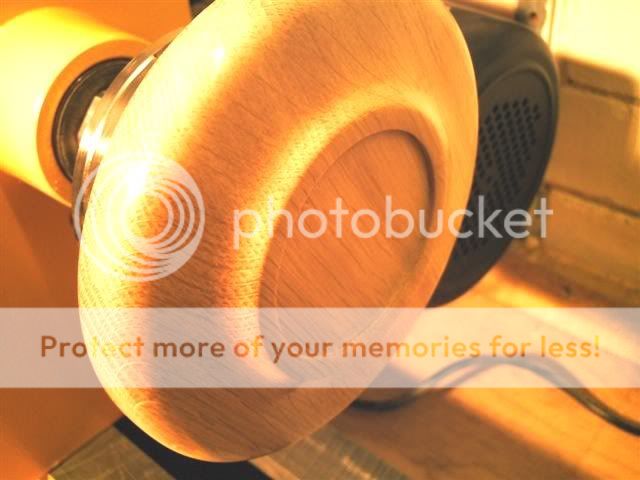
CHJ / powertool

UKworkshop.co.uk

Help Support UKworkshop.co.uk:

This site may earn a commission from merchant affiliate links, including eBay, Amazon, and others.

Blister

Established Member
UKW Supporter
Joined
10 Nov 2006
Messages
7,470
Reaction score
450
Location
Boston Lincs
Hi gents

Any chance when you do your next turning you can do a set of work in progress photos for us new chips on the block ??

would help out so we can see if it looks the same as ours " before it finished

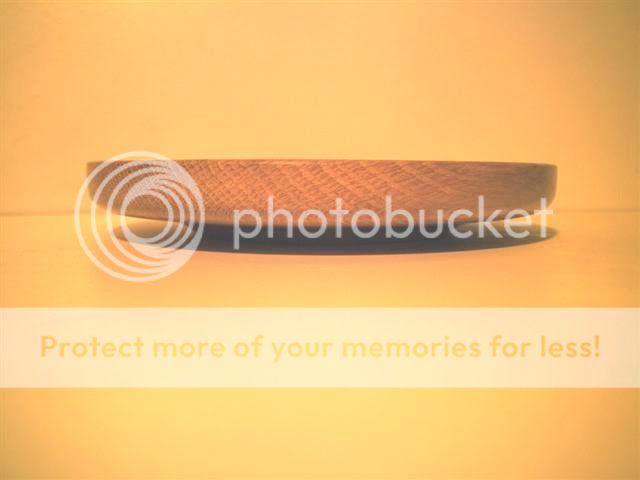
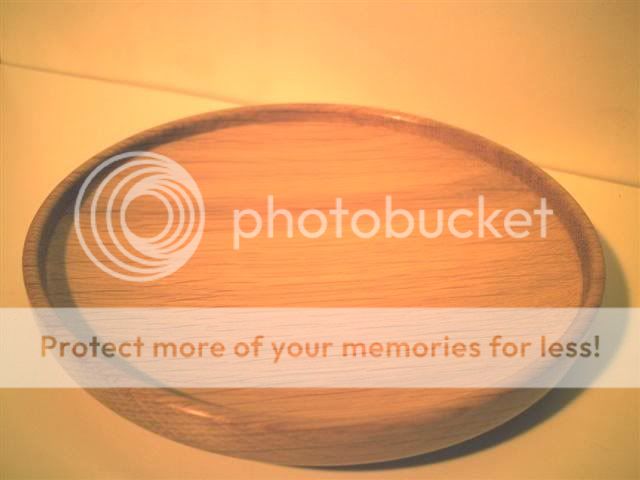
Its nice to see the finished items as well
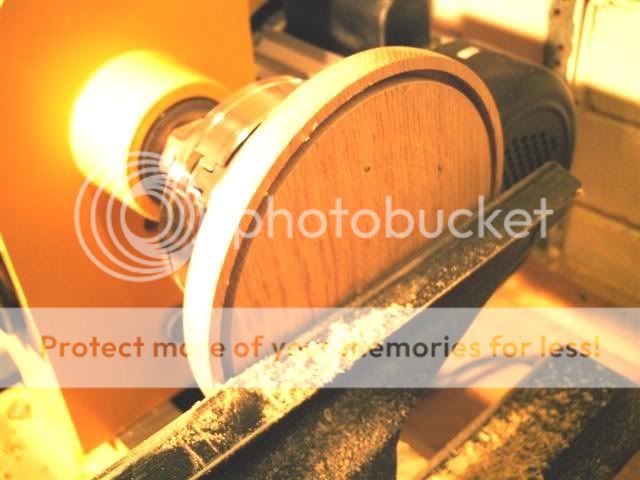
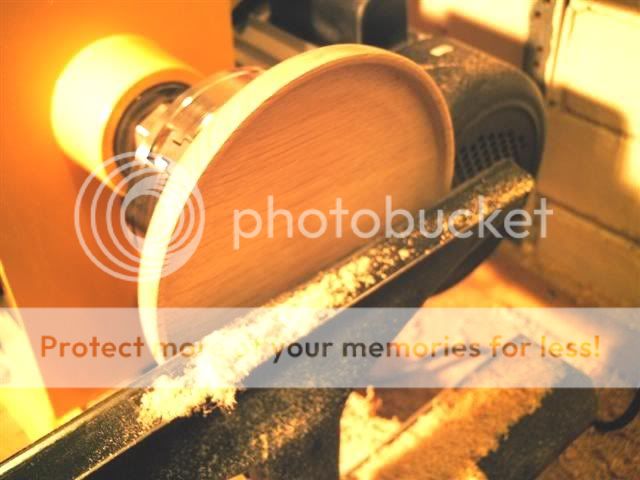

:p :p
 
Yes of course,but it might be the weekend.
As long as you are aware that I am an enthusiastic amateur,and am in awe at the work produced by several other forum members :D

Andrew
 
Made it into the workshop this afternoon,after spending a couple of hours this morning precariously balanced up a stepladder changing a toilet cistern :shock:

So here's a few work-in-progress type pictures :-

Blank mounted on a faceplate ring with 16mm screws
Picture041Small.jpg


Then mounted on the lathe,and made a little more round

Picture042Small.jpg


Chucking recess made
Picture048Small.jpg


Base shaped
Picture049Small.jpg


Power sanded (dry) with 120 grit

Picture050Small.jpg


Then wet sanded (with wax,as this was to be the finish) by hand to 400 grit,and waxed
Picture051Small.jpg


Turned round,and the wall thickness and depth set with a parting tool
Picture054Small.jpg


Inside shaped with the trusty bowl gouge

Picture055Small.jpg


Again,power sanded with 120 grit

Picture056Small.jpg


And wet sanded to 400 grit and waxed

Picture057Small.jpg


Finished article :-

Picture060Small.jpg

Picture059Small.jpg


Oak,150mm diameter,20mm overall height

Andrew
 
powertool, thats a nice little bowl. many thanks for shareing it with us newbies. now ive got a couple of tools i can start to do somthing in the morning :roll:
 
I'll see if I can take some WIP photos as well next time I'm out - hopefully tomorrow. I've also got a load of finished turnings waiting to be photoed when I can be bothered...

Duncan
 
PowerTool":34ql5fd9 said:
Yes of course,but it might be the weekend.
As long as you are aware that I am an enthusiastic amateur,and am in awe at the work produced by several other forum members :D

Andrew

Thanks Andy that was really useful. If you feel in awe imagine what us newbies feel like. I was looking at Mark Hancocks site the other day when I was looking for inspiration.....have I got a long way to go.
 
No need to bother with a face plate ring Pete.

I tend to use a large, sat 1 1/2" sawtooth bit in the drill press and sink a hole 3 to 5 mm deep to mount on the chuck dovetail jaws initially. You can also then bring the tailstock up for some extra support initially if required until the piece is better balanced.

Alternatively, just mount the blank straight on a screw chuck, or even just between centres, and then turn your chucking recess before reversing the piece onto the chuck jaws.

Lots of different ways of getting there........!

Cheers, Paul. :D
 
Thanks PowerTool

Looks simple enough , but I know its not :?

Nice bowl

when you say wet sanded with wax , how do you do that ? does it not fly of all over the place ? or do you do it at a slow speed ?

Thanks
 
Forgot to say that doesn't need to be a chucking recess of course, sometimes better to be a spigot, and can be turned whilst on the screw chuck or between centres.......

Cheers, Paul. :D
 
I still sometimes resort to using a paper joint with a scrap block if the wood I want to turn is thin - for anyone who's never used this ...

put a dovetail matching your jaws on a scrap block of wood and flatten the other face
sandwich a piece of paper of card between the 2 pieces of wood and glue using pva,
allow the pva to dry
mount the scrap block in the jaws and turn your final profile including a chuck mount of your choice
reverse the piece in the chuck
prise apart the glue joint using a chisel - do this across the grain
continue as normal

Glue blocks can be re-used so it's useful to keep a few handy

I'll try to get some photos next time I do it

Duncan
 
duncanh":26ct1hkw said:
I still sometimes resort to using a paper joint with a scrap block if the wood I want to turn is thin - for anyone who's never used this ...

Duncan

I tried that and.......flying saucers!!!

I wasn't using flour and water, honest. I was using hot glue

Pete
 
Blister":1q3fcoel said:
when you say wet sanded with wax , how do you do that ? does it not fly of all over the place ? or do you do it at a slow speed ?

Thanks

I always sand at the lowest speed on the lathe (500 rpm on mine) - the idea is to let the abrasive do the work; going too fast will burn and polish,rather than abrade.
Wet sanding involves a light coating with paste wax (if you are going to finish with wax) or oil,and sanded through the grits to a finish; this keeps the dust down when sanding,and creates a light slurry which effectively becomes a grain filler.
This of course only works for timber where the sapwood and heartwood are similar in colour - not a great idea for laburnum :wink:

Andrew
 
Bodrighy":2obzl0wr said:
I was looking at Mark Hancocks site the other day when I was looking for inspiration.....have I got a long way to go.

Me too....Wait 'til you see the stuff in his workshop :D

Andrew..that was a really great series of 'How To' pictures.
 
Andrew,

A great demonstration. I too am curious about the "wet sanding". I often finish with oil. Presumably I can therefore wipe on a coat of oil before starting on the fine sanding (once tool marks gone?). Does the abrasive not just get all clogged up? Do I need to use wet and dry paper? Presumably it would be wise to cover the bed of the lathe for this part?

Cheers,

Dod
 
Yes,exactly as you said - light coat of oil when the toolmarks have gone.The abrasive does clog up more,but it is this slurry that becomes the grain filler.
I tend to do a very light coat between each grit,and sand until you can just about get dust off it again.
And there is no need to use wet-and-dry (but also,no reason why you can't) - ordinary abrasives are fine; when round to fine finishing,it also works well with webrax/nyweb.

I read about this technique in a book by Mark Baker,and think he learnt it off Ray Keys,so although this is how I happen to do it,like all things you need to find what works best for you. (In the same way as Chisel said,although I happen to use a faceplate ring and short screws for thin pieces,there are several other ways to achieve the same thing)

Happy turning :D

Andrew
 
speanwoody":39f8sefi said:
dare I put this link on for another chat site that has online videos http://www.turnwood.net/videos.html, also if you type woodturning in to http://www.youtube.com/ you can see some video clips there

The first link won't work as it is, you'll need to type it in without the '/videos.html' part then use their link. You can also download these videos. I have a few that are useful, at least to us newbies.

Pete
 
Back
Top